Contents
- Pricing & Availability
- What comes in the box?
- Design & Construction
- Size & Measurements
- User Interface
- Emitter & Beam
- Mode Chart
- Runtime
- Driver & Regulation
- Switch
- Carry & Ergonomics
- Batteries & Charging
- Competition
- Conclusion
Pricing & Availability
Olight sent me this light at my request in exchange for an honest review. Here is the official product page where you can see current pricing. That’s an affiliate link that let them know I sent you, but I’ve chosen not to earn any commission. Code “tgreviews” is 10% off most items that aren’t on sale.
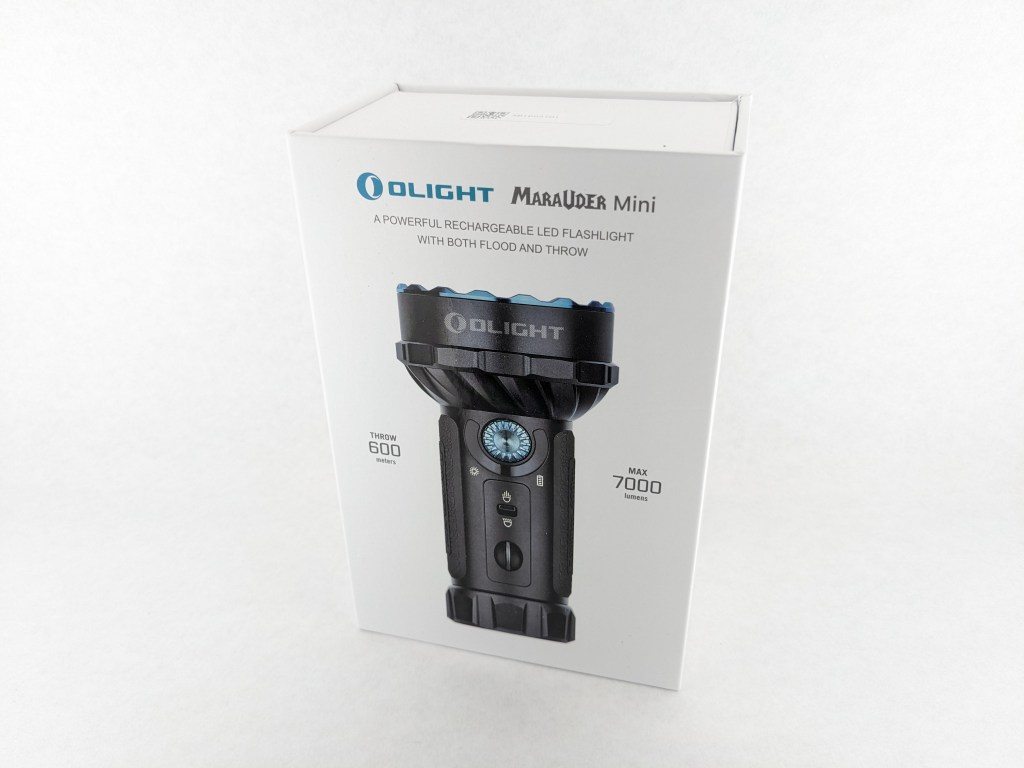
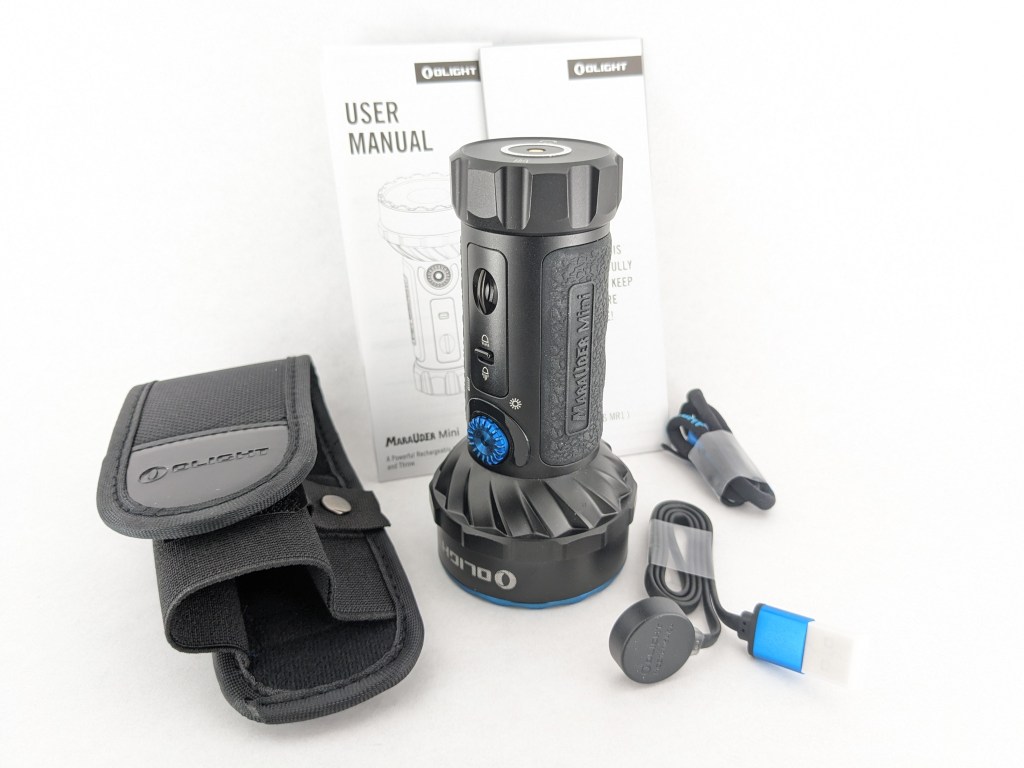
What comes in the box?
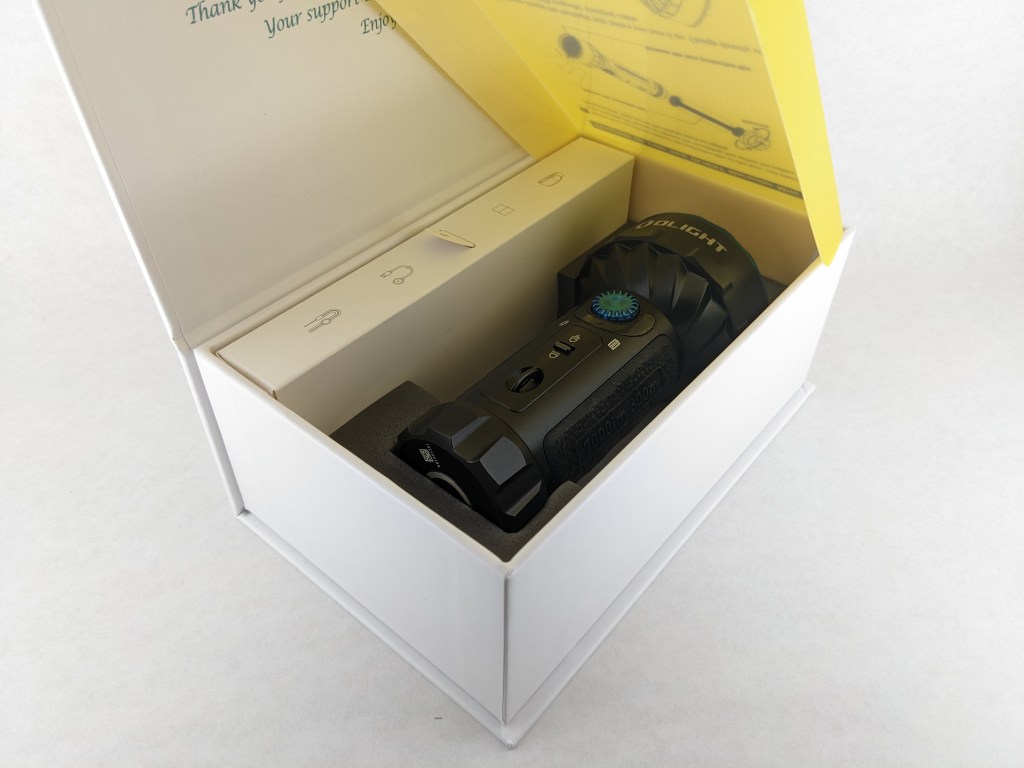
Marauder Mini comes in Olight’s premium box design. It’s white laminated cardboard with high-quality printing and a magnetic closure. It’s a whole unboxing experience that’s sure to impress.
- The light itself
- Battery (inside the light)
- User manual & safety booklet
- Magnetic USB charging cable
- Wrist lanyard
- Belt holster
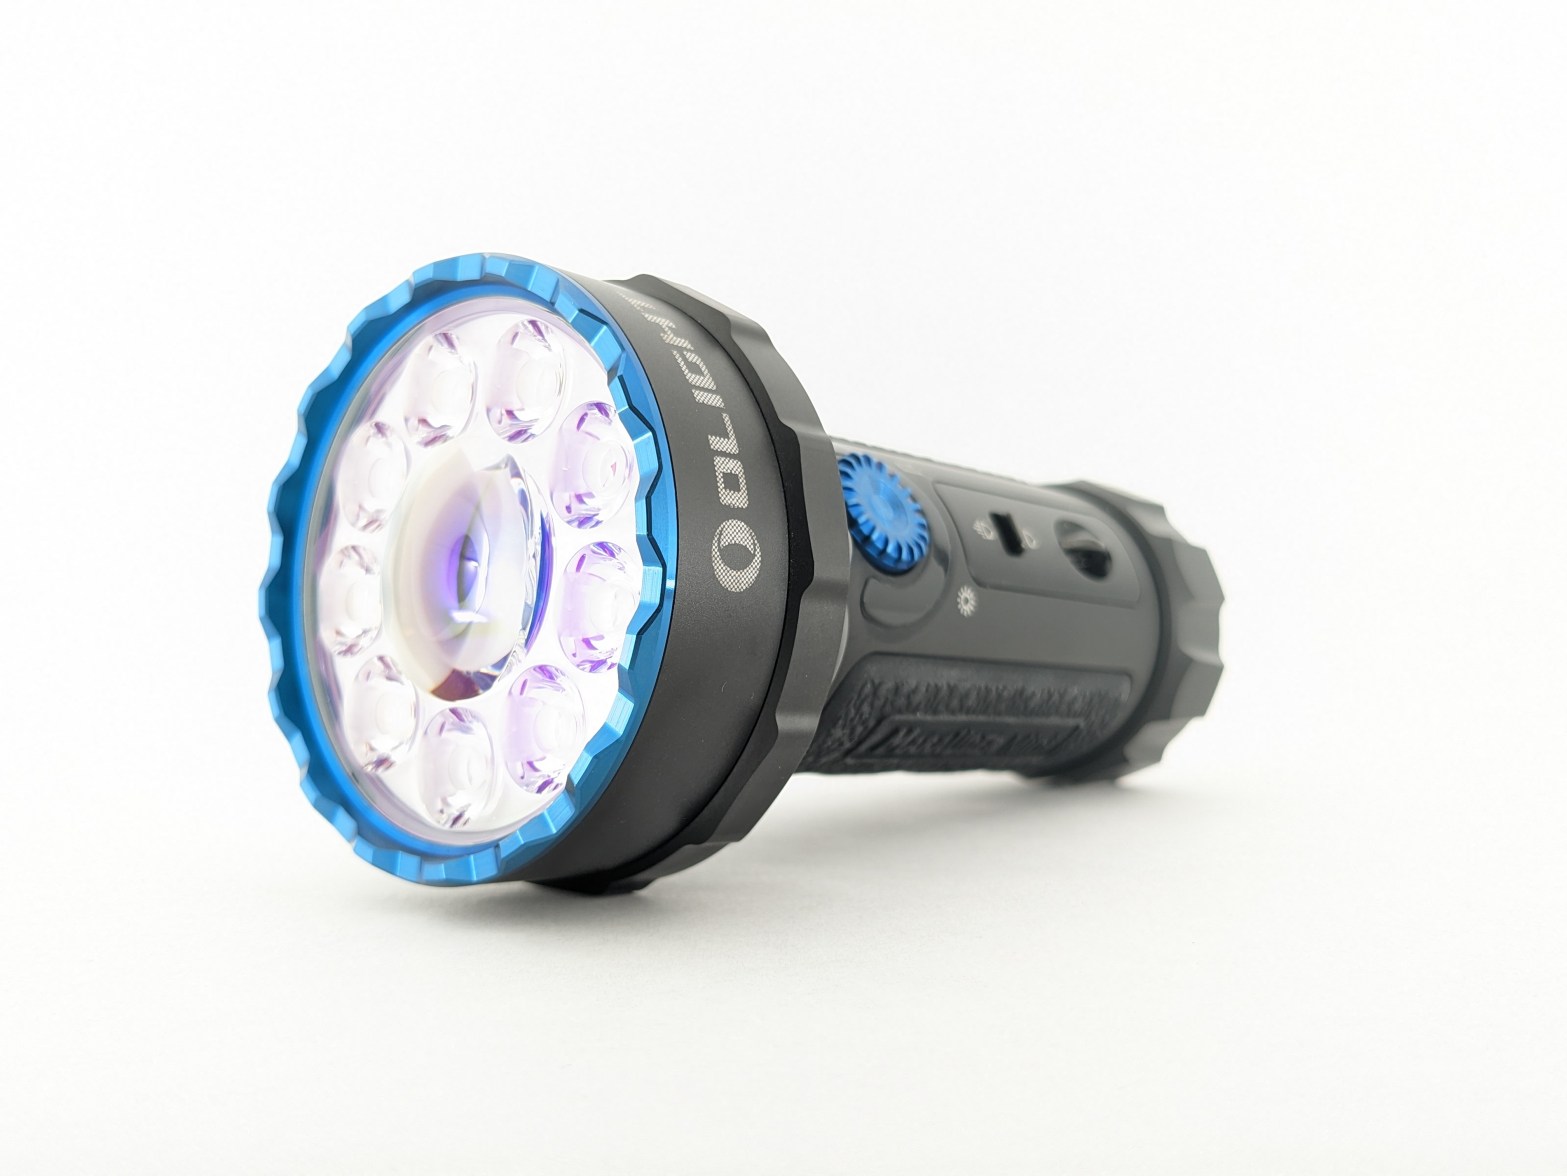
Design & Construction
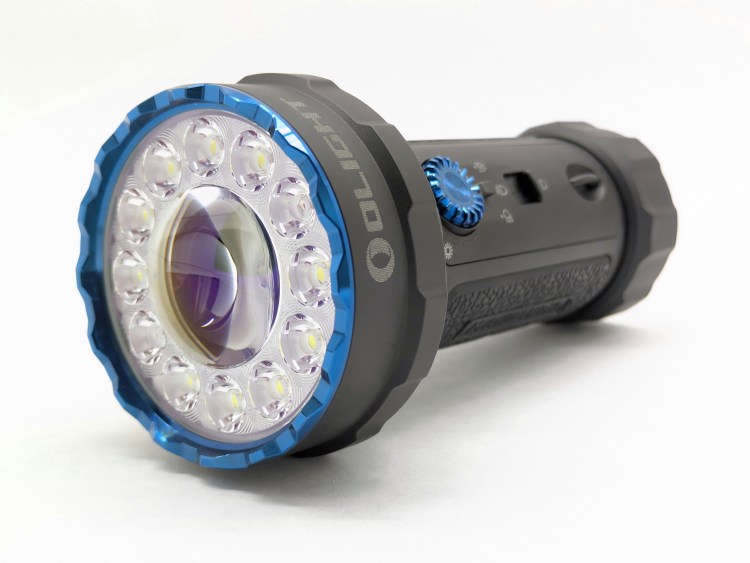
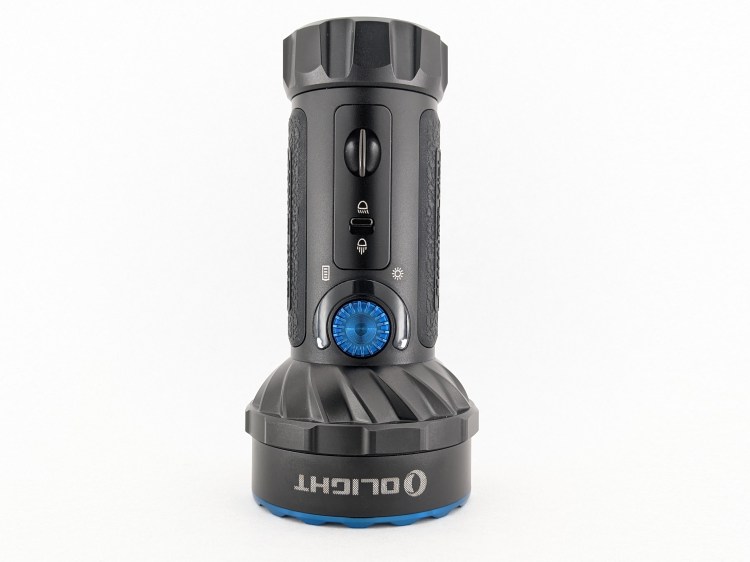
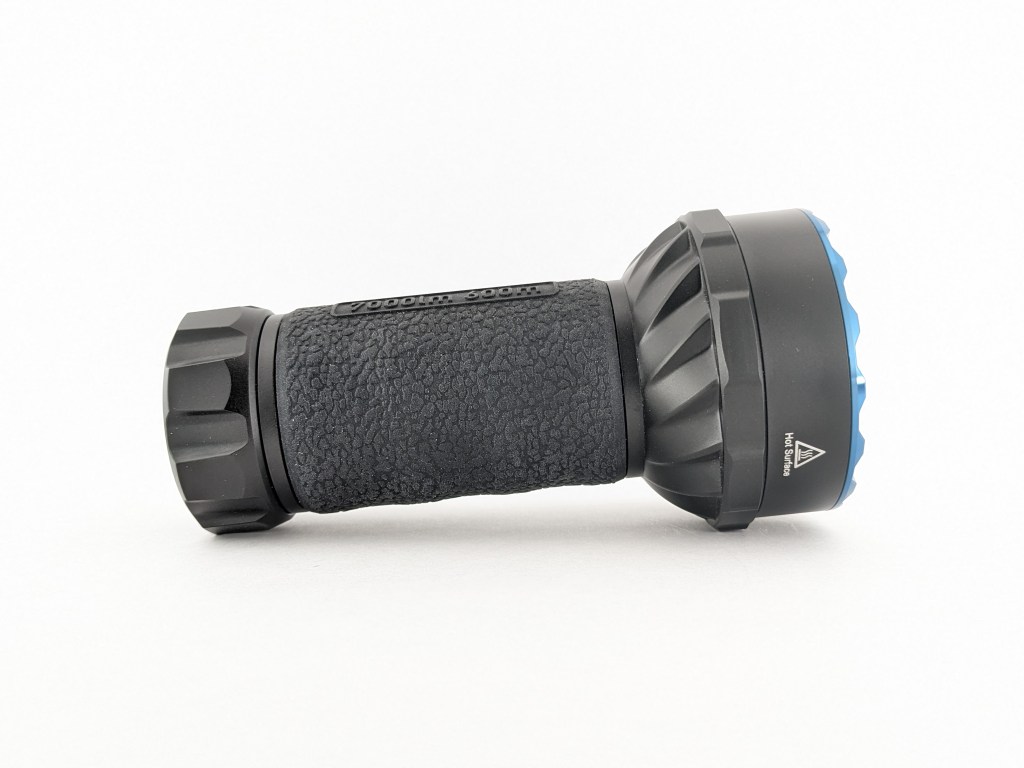
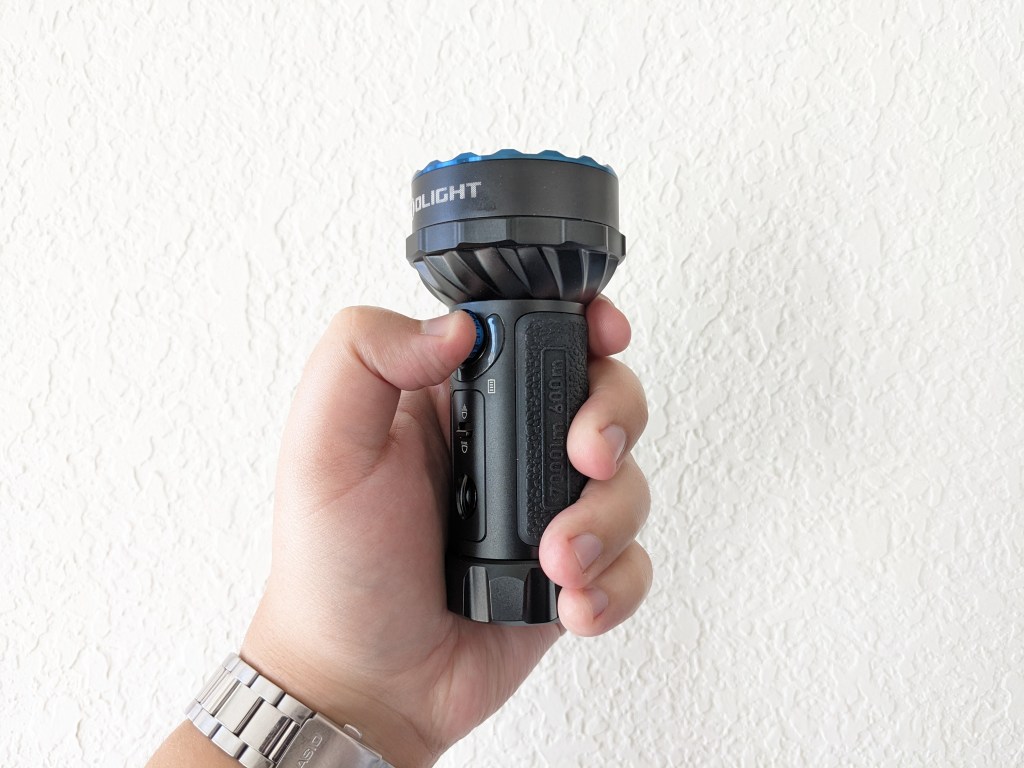
Marauder Mini has a unique design in its class because of its relatively narrow body and flared head. Most bright flooders this size are more of a soda can shape.
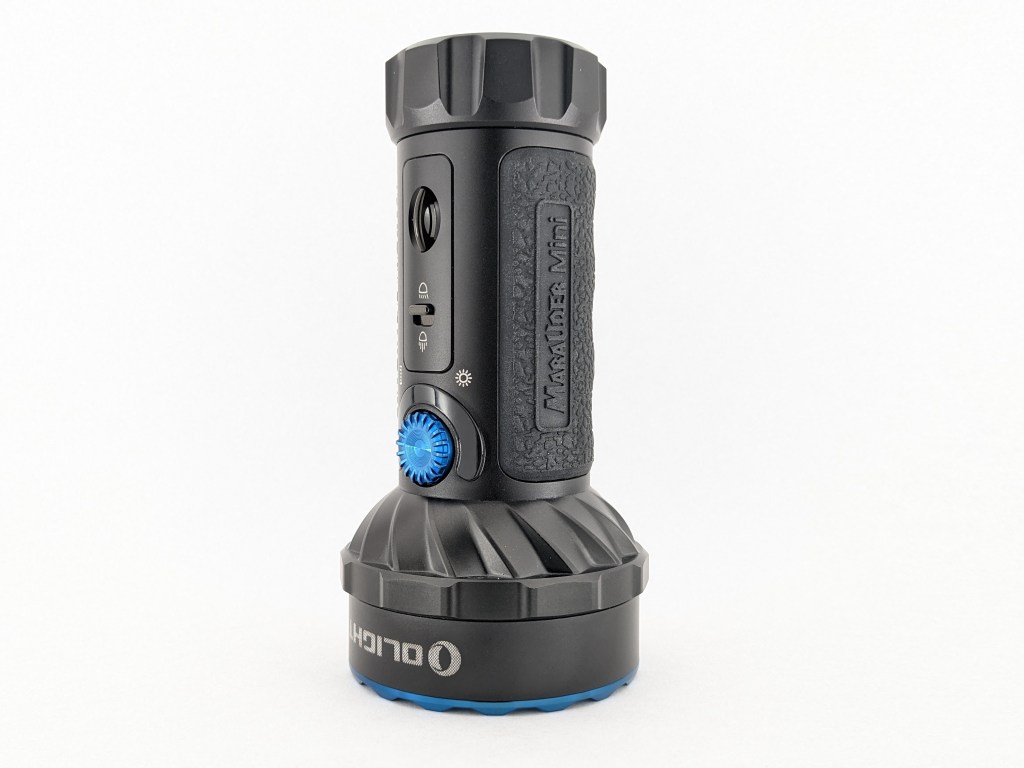
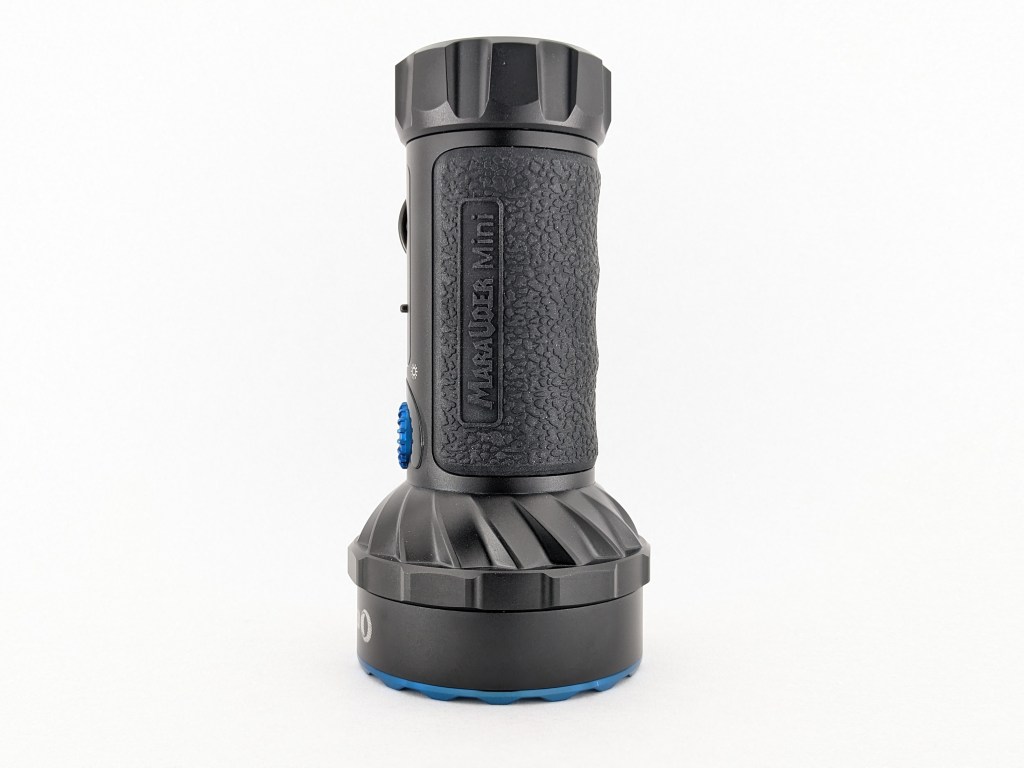
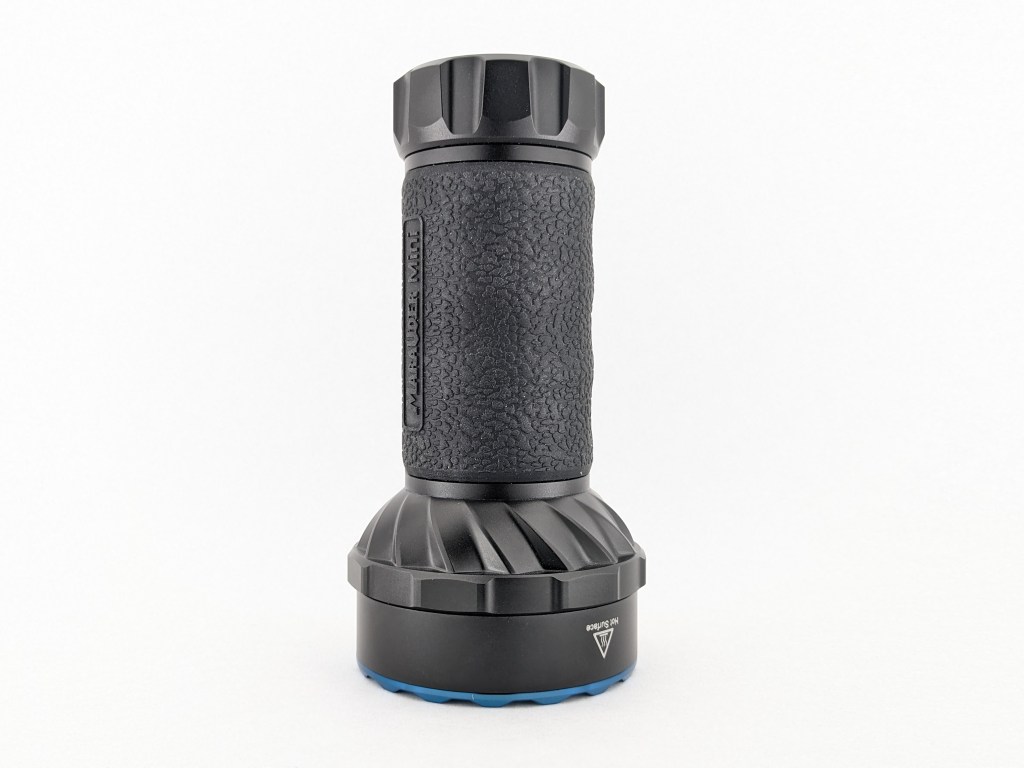
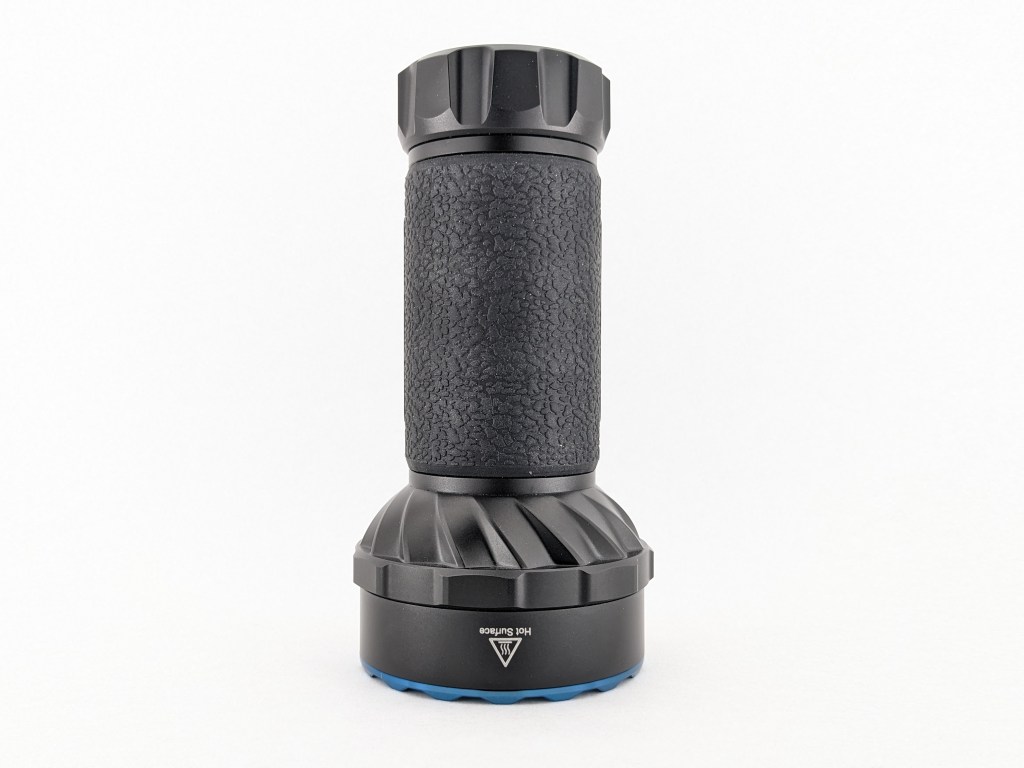
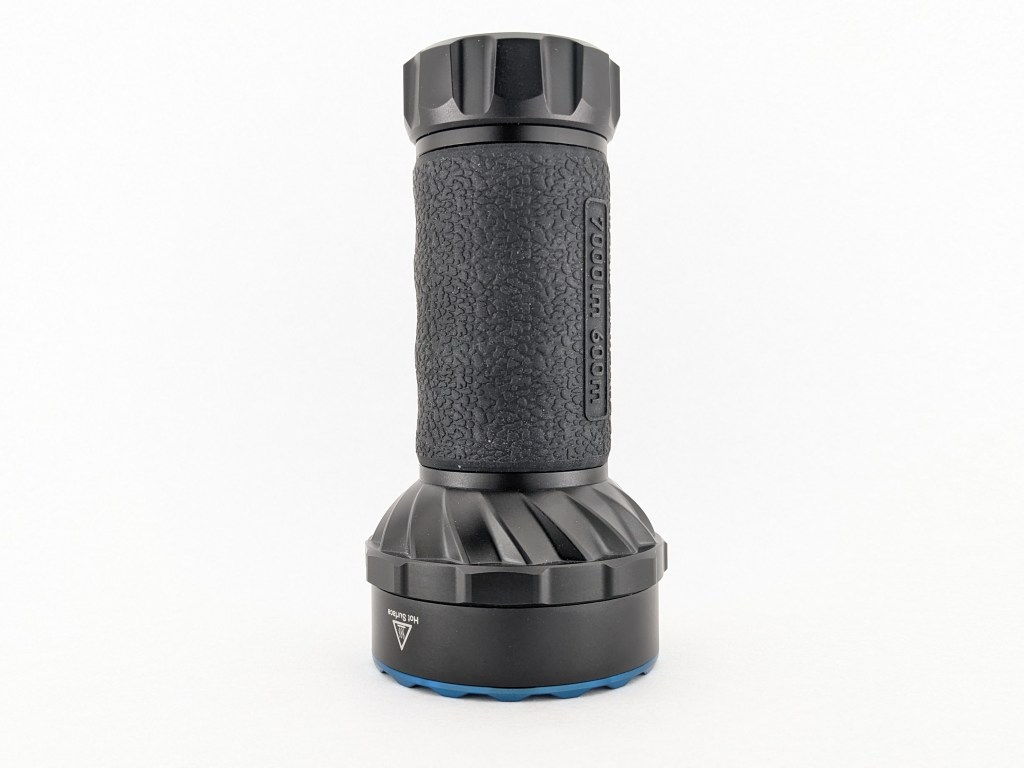
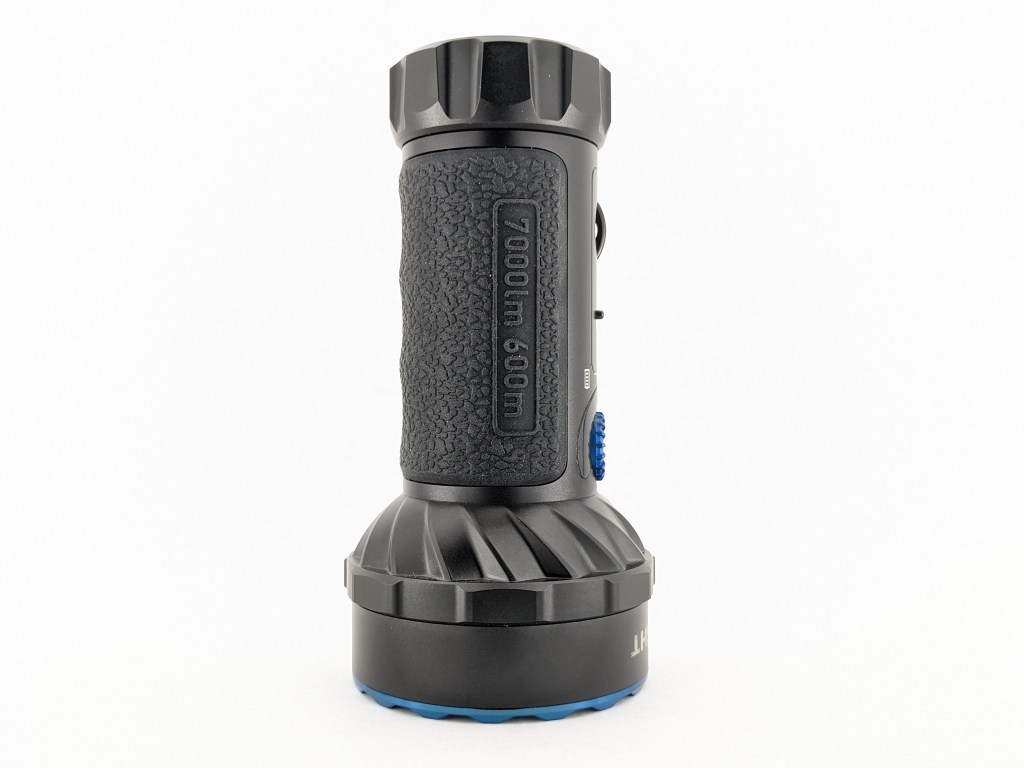
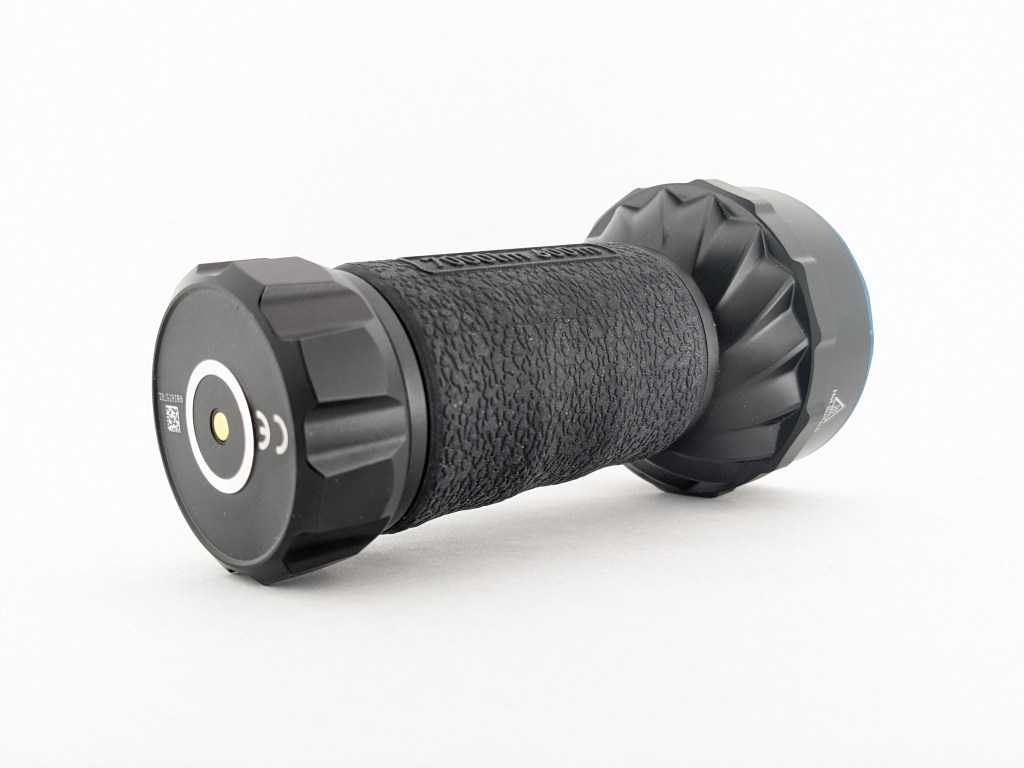


Build quality is top-notch. Olights always have a feeling of quality, fit, and finish that you can’t get from budget brands. The anodizing is particularly nice. It’s smooth with a deep satin finish.
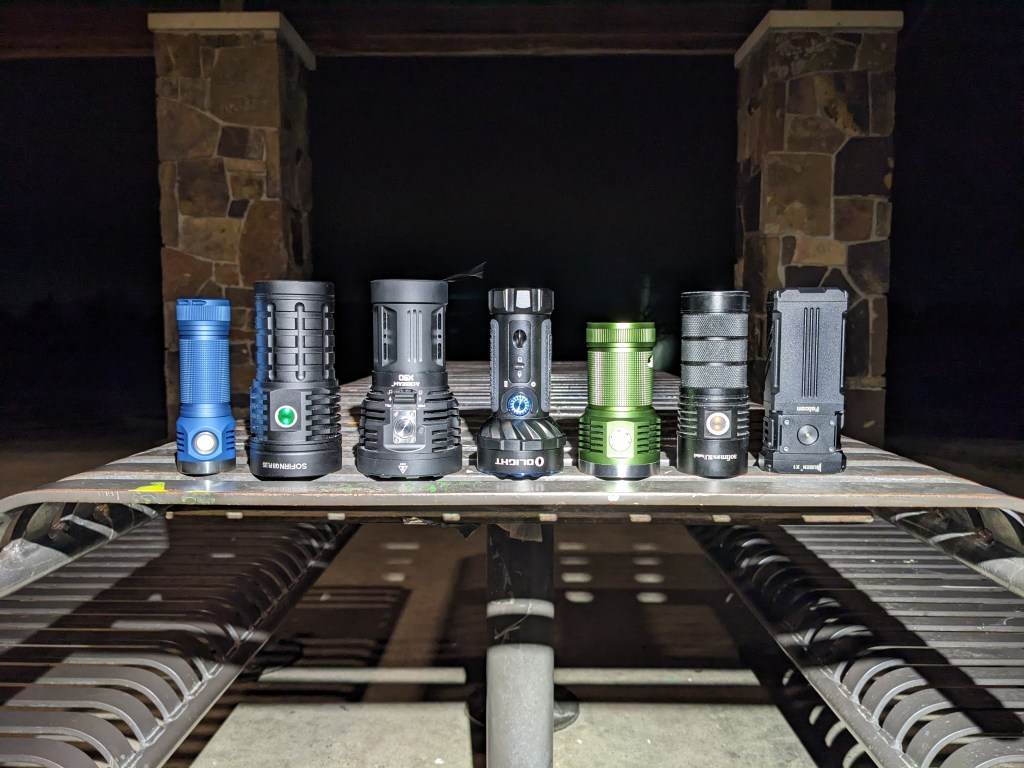
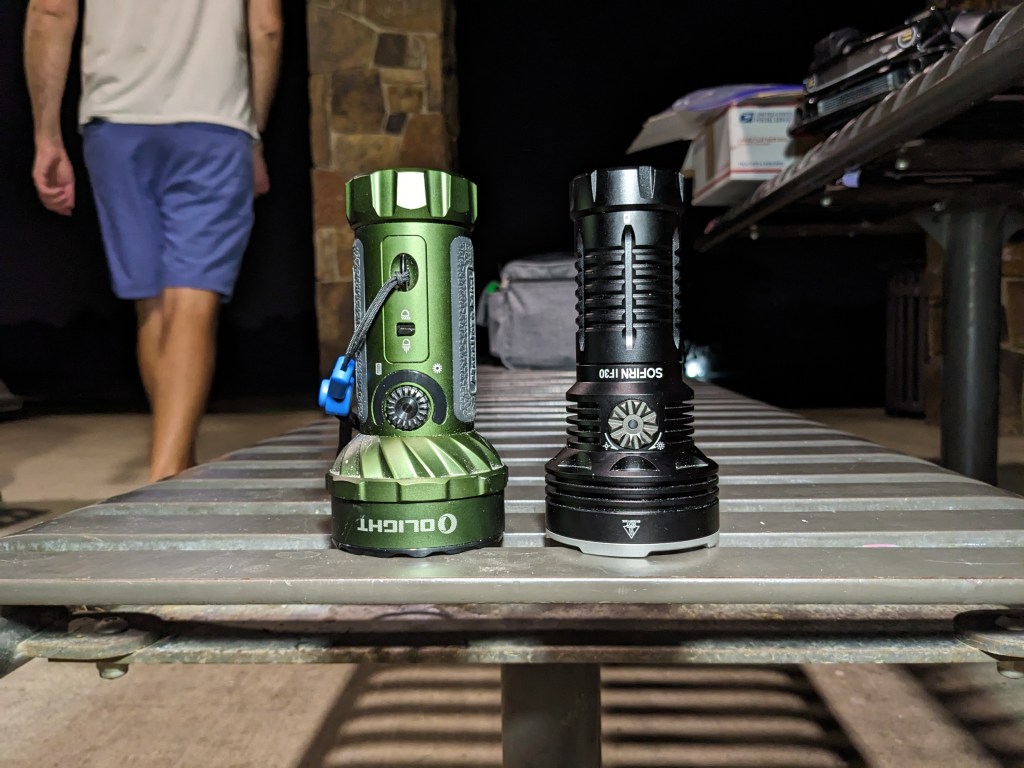
Size & Measurements
Emisar D4K (26800) | Q8 Plus | Acebeam X50 | Marauder Mini | Noctigon M44 | Sofirn SP36 | Wuben X1
Olight Marauder Mini | Sofirn IF30
| Measurement | Measured (mm) |
|---|---|
| Bezel Diameter | 63.0 |
| Maximum Head Diameter | 67.0 |
| Length | 130.3 |
| Switch Diameter | 14.9 |
| Switch Proudness | 1.5 |
| MCPCB Size | U/M |
| Body Tube Diameter | 44.0 |
| Tailcap Diameter | 47.3 |
| Tailcap Length | 18.0 |
| Driver Diameter | U/M |
| Included Battery Length | 70.0 |
Weight with included battery: 464g
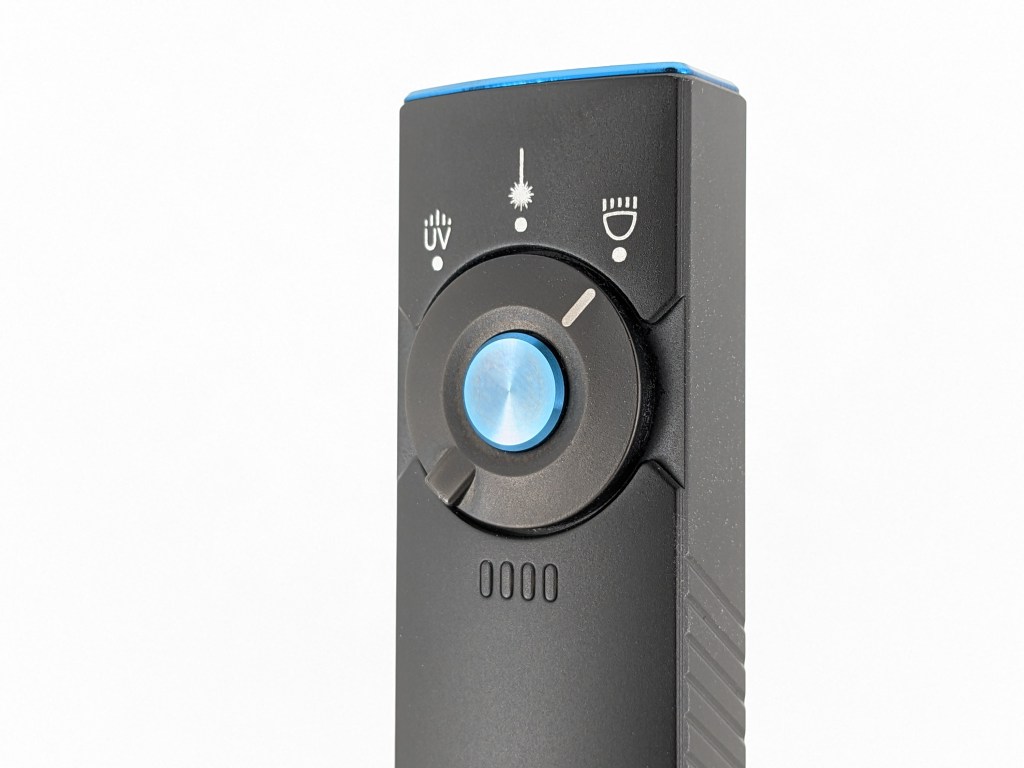
User Interface
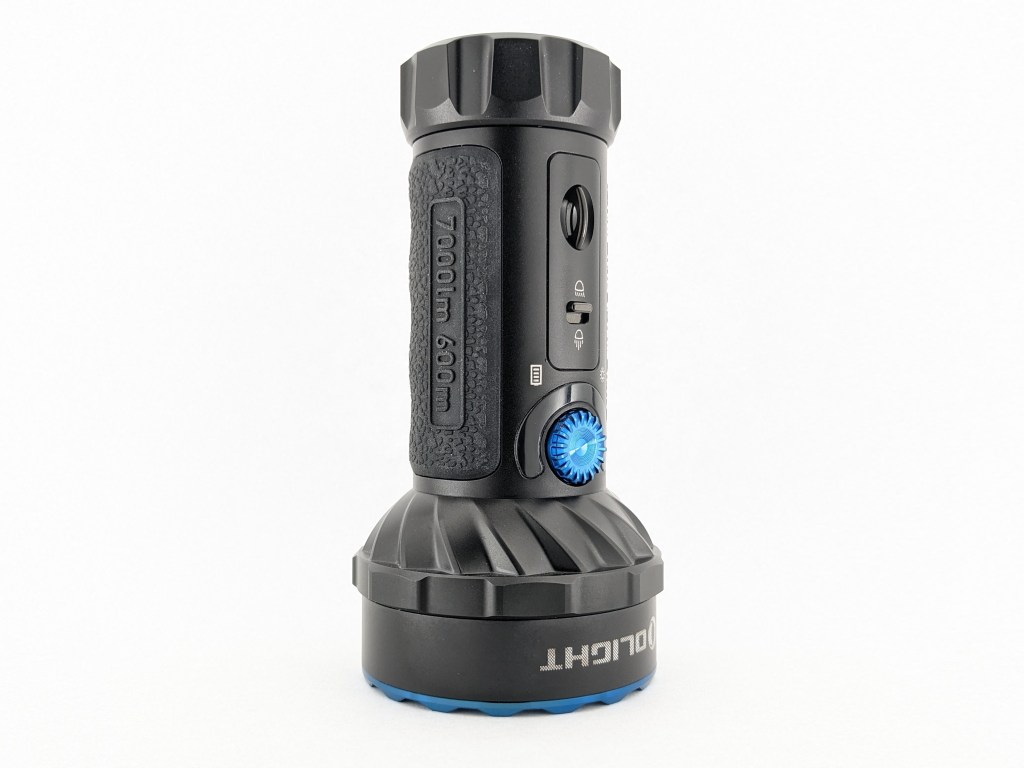
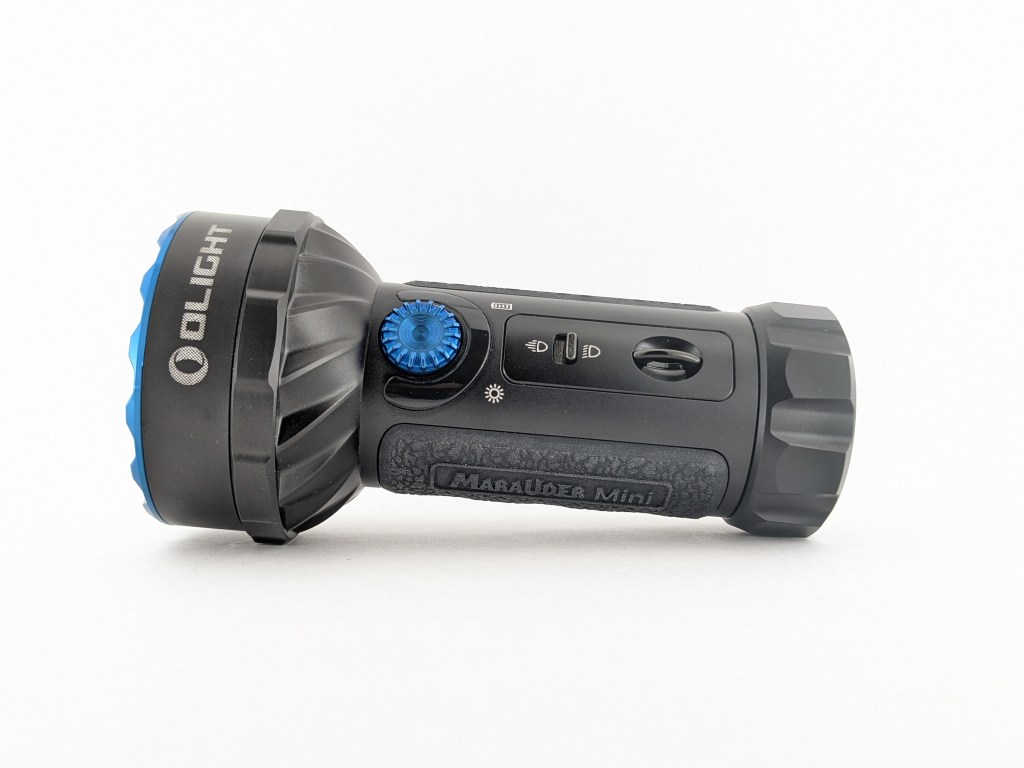
Marauder Mini has several controls. There’s a sliding toggle switch for switching between flood and throw, a rotary knob for adjusting brightness, and that same rotary knob pushes in like a button to control on/off and color changing. Here’s how it all works.
Auto Lockout: After just 10 seconds of inactivity while off, the light will enter electronic lockout mode. You have to rotate the knob to unlock it before it will do anything. I found this to be more of a nuisance than a feature. Mechanical lockout works great here so I’d rather just loosen the tailcap when I need it locked out.
On/Off: Pushing the rotary knob down will turn the light on/off (after you’ve rotated the knob to unlock it of course.) Double clicking will go to Turbo (not memorized) and triple clicking will go to Strobe (not memorized). Holding the button down while the light is off goes to the dimmest mode and memorizes it. Holding the button down while the light is on will cycle between the four light colors (white, red, green, and blue). Color modes are not memorized and it always defaults to white light.
Brightness Adjustment: Rotating the knob will adjust brightness up or down. You can also double-click the knob to jump to/from Turbo mode. The brightness level stays the same when you switch between flood and spot, so if you are at flood level 1 and you switch to spot, it will be in spot level 1.
Flood/Spot: The slider toggle switch switches between flood and spot beams. If you are in a color mode, toggle to spot, and then toggle back to flood, it will go to white. There’s no way to activate both flood and spot beams simultaneously.
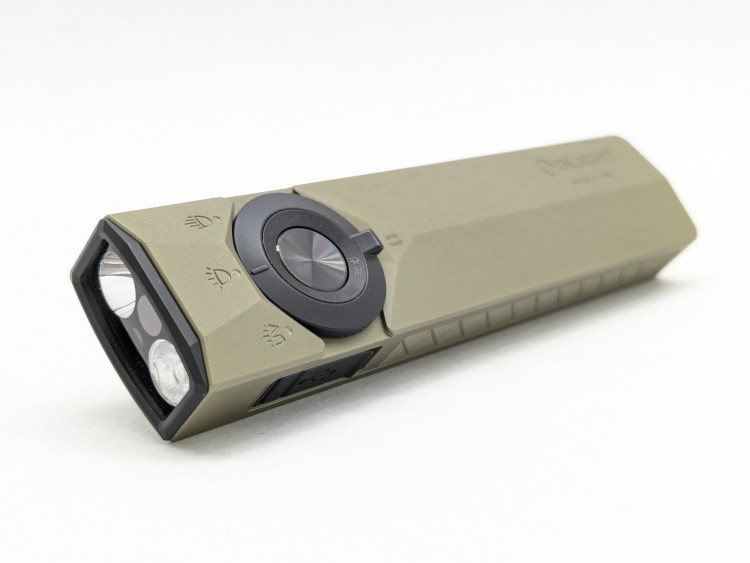
This UI works but it’s not particularly elegant. I would prefer a control scheme like Olight Arkfeld Pro. That light has typical on/off/brightness control through a single button with no auto lockout. Channel-switching is handled by a rotary switch around the main button. The rotary toggle switch has distinct detents for each channel and it works great. Perhaps Olight can implement that in the next Marauder.
Emitter & Beam

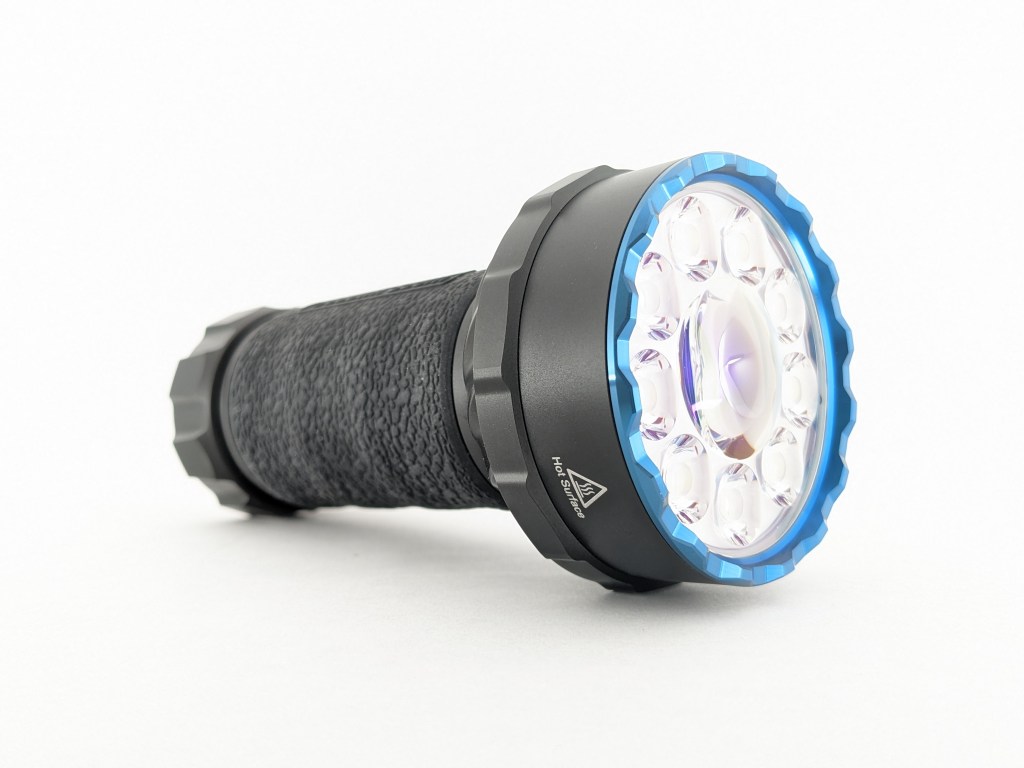
The Flood LEDs aren’t specified, but I think they’re Osram P9s, just like in many other Olight models. Osram P9 is a good choice for high brightness and efficiency but it doesn’t have the prettiest color properties. I think it’s a reasonable choice here, but I would have liked to also have a high-CRI neutral-white option like Nichia 519A 4500K.
The Spot LED has a round die instead of a square, which is cool. I think that’s what makes the spot beam round even though it’s paired with an aspheric projection lens. It’s an OK beam but it’s just not as bright as I want it to be. There’s also a lot of tint shift, and it’s got some artifacts outside of the hotspot. Perhaps my Acebeam Terminator M2’s crisp, clean spot beam has spoiled me.
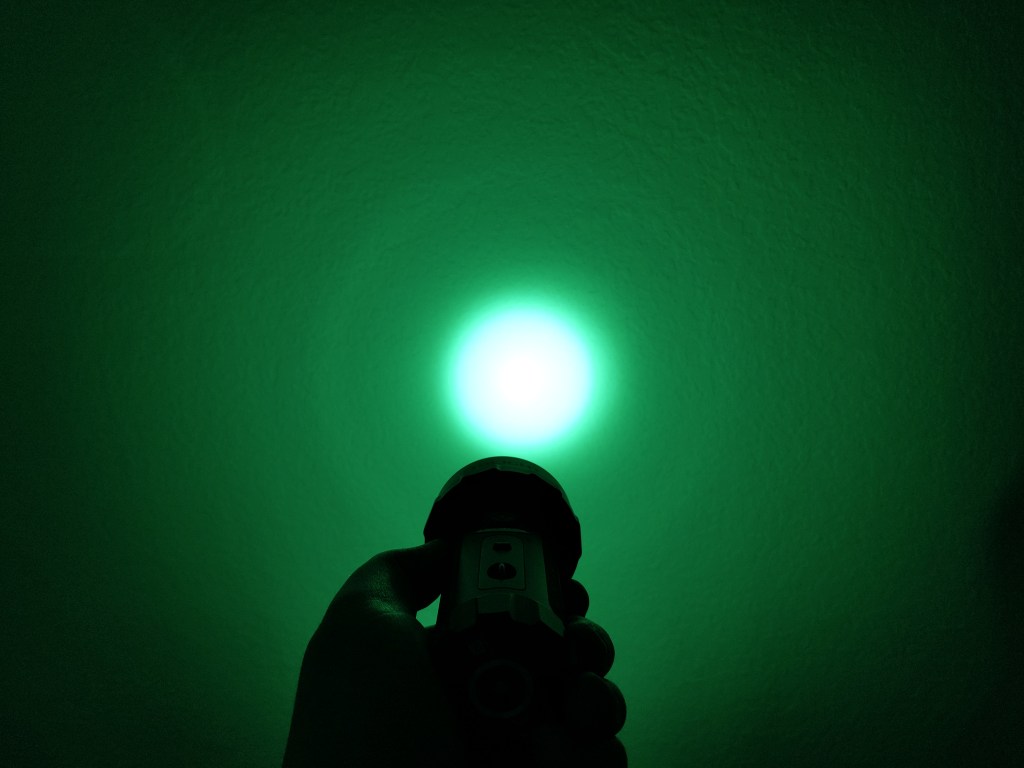
The Color LEDs aren’t specified either and I don’t know what they are. They’re staggered around the flood ring, but they each have their own complete TIR. That makes the color beams nice and symmetrical, while most other RGB lights have weird-shaped color beams.
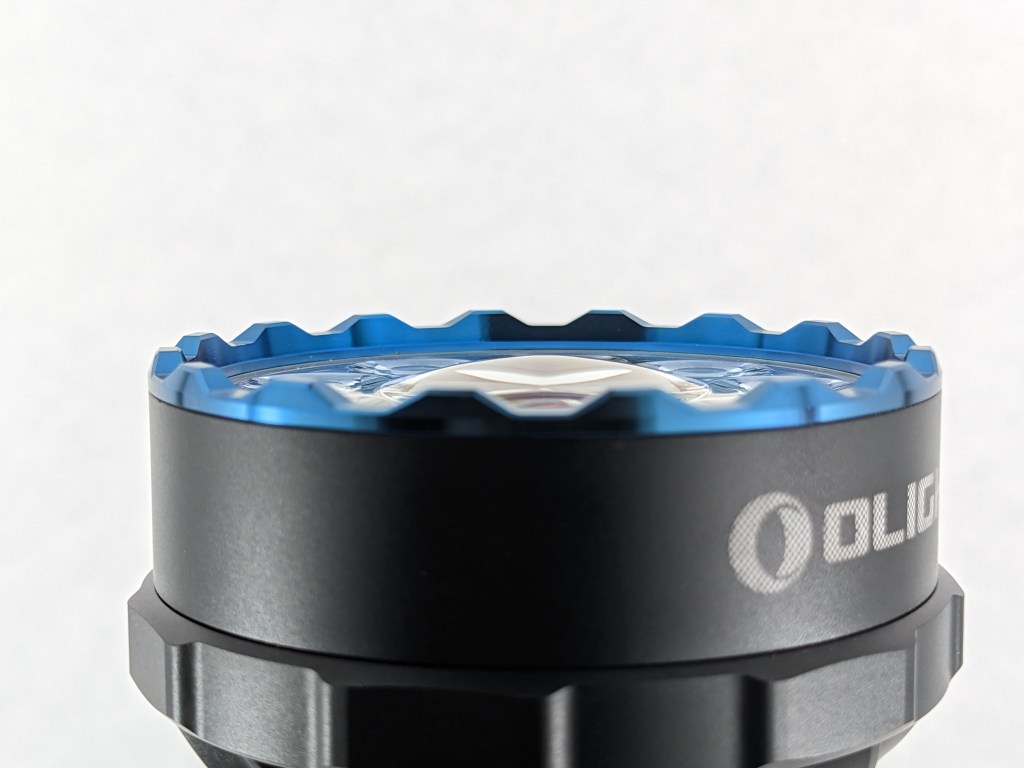
All the LEDs sit behind a one-piece plastic optic. There’s no glass to protect it, and the center is convex. It sticks out past the rest of the optic but not past the bezel. Usually exposed plastic optics are fine, but I wish this one had glass over it. Since it’s so large and the spot lens protrudes, I think it could easily be scratched and damage the spot beam.
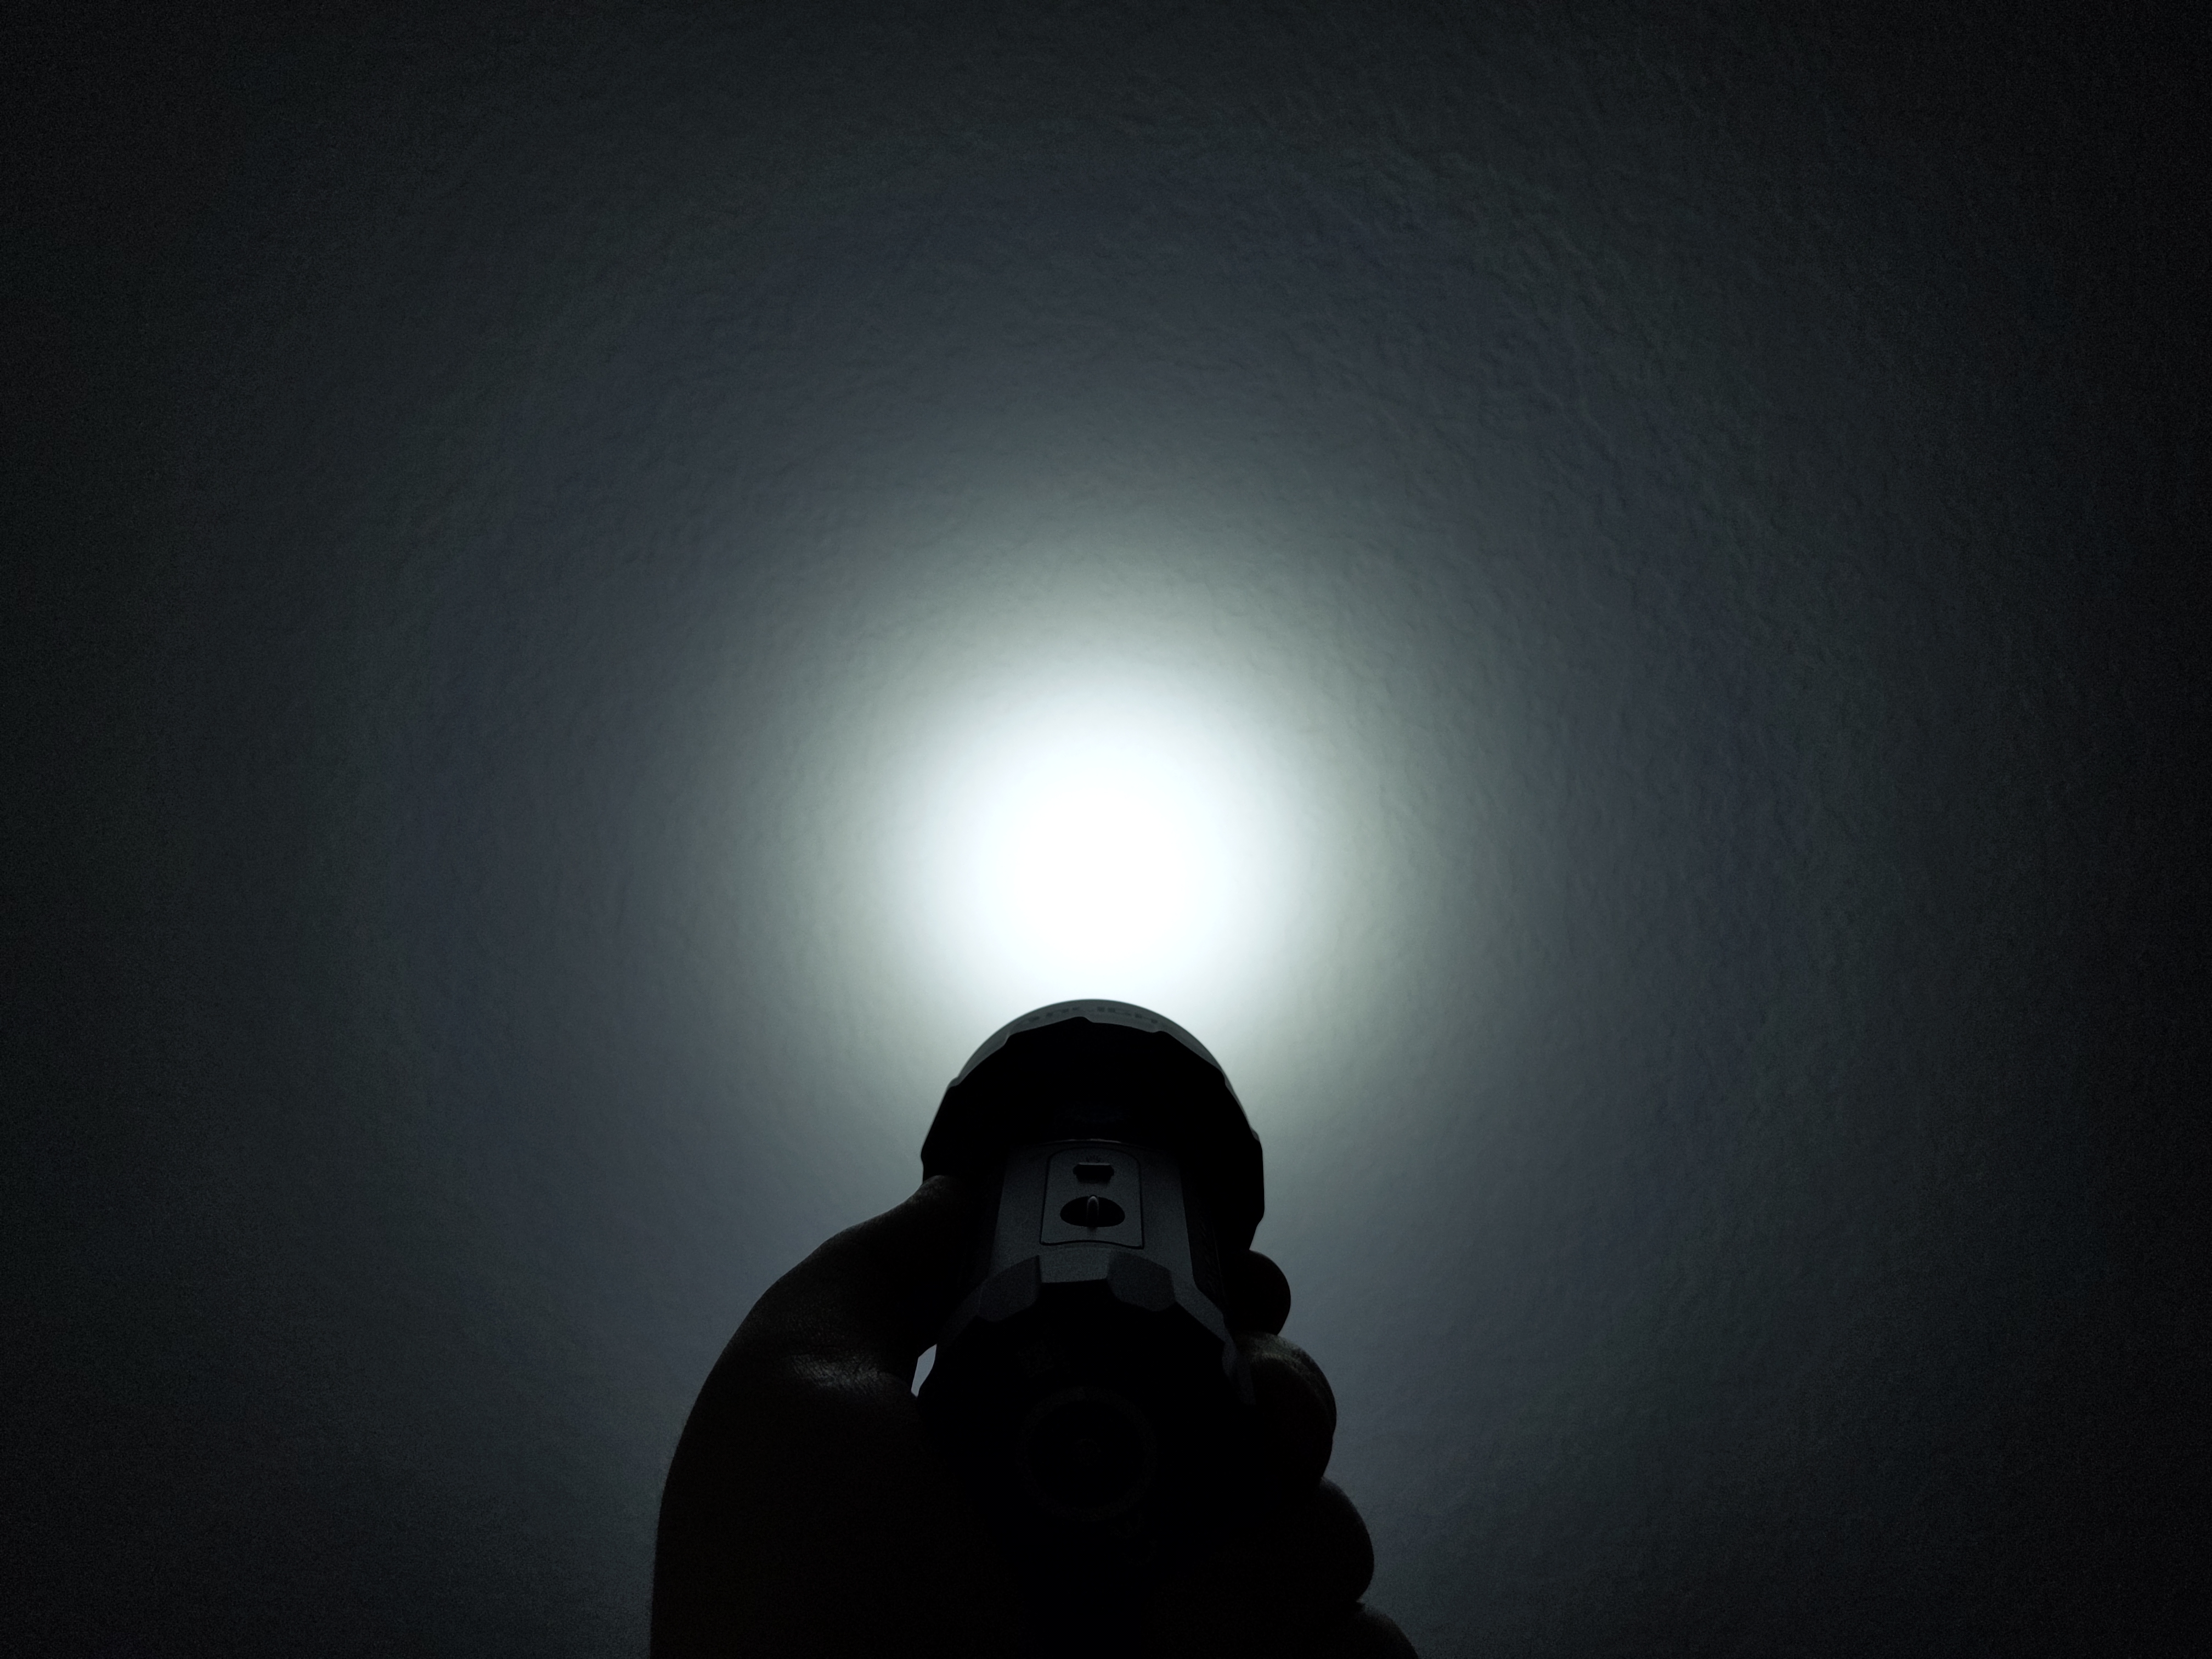
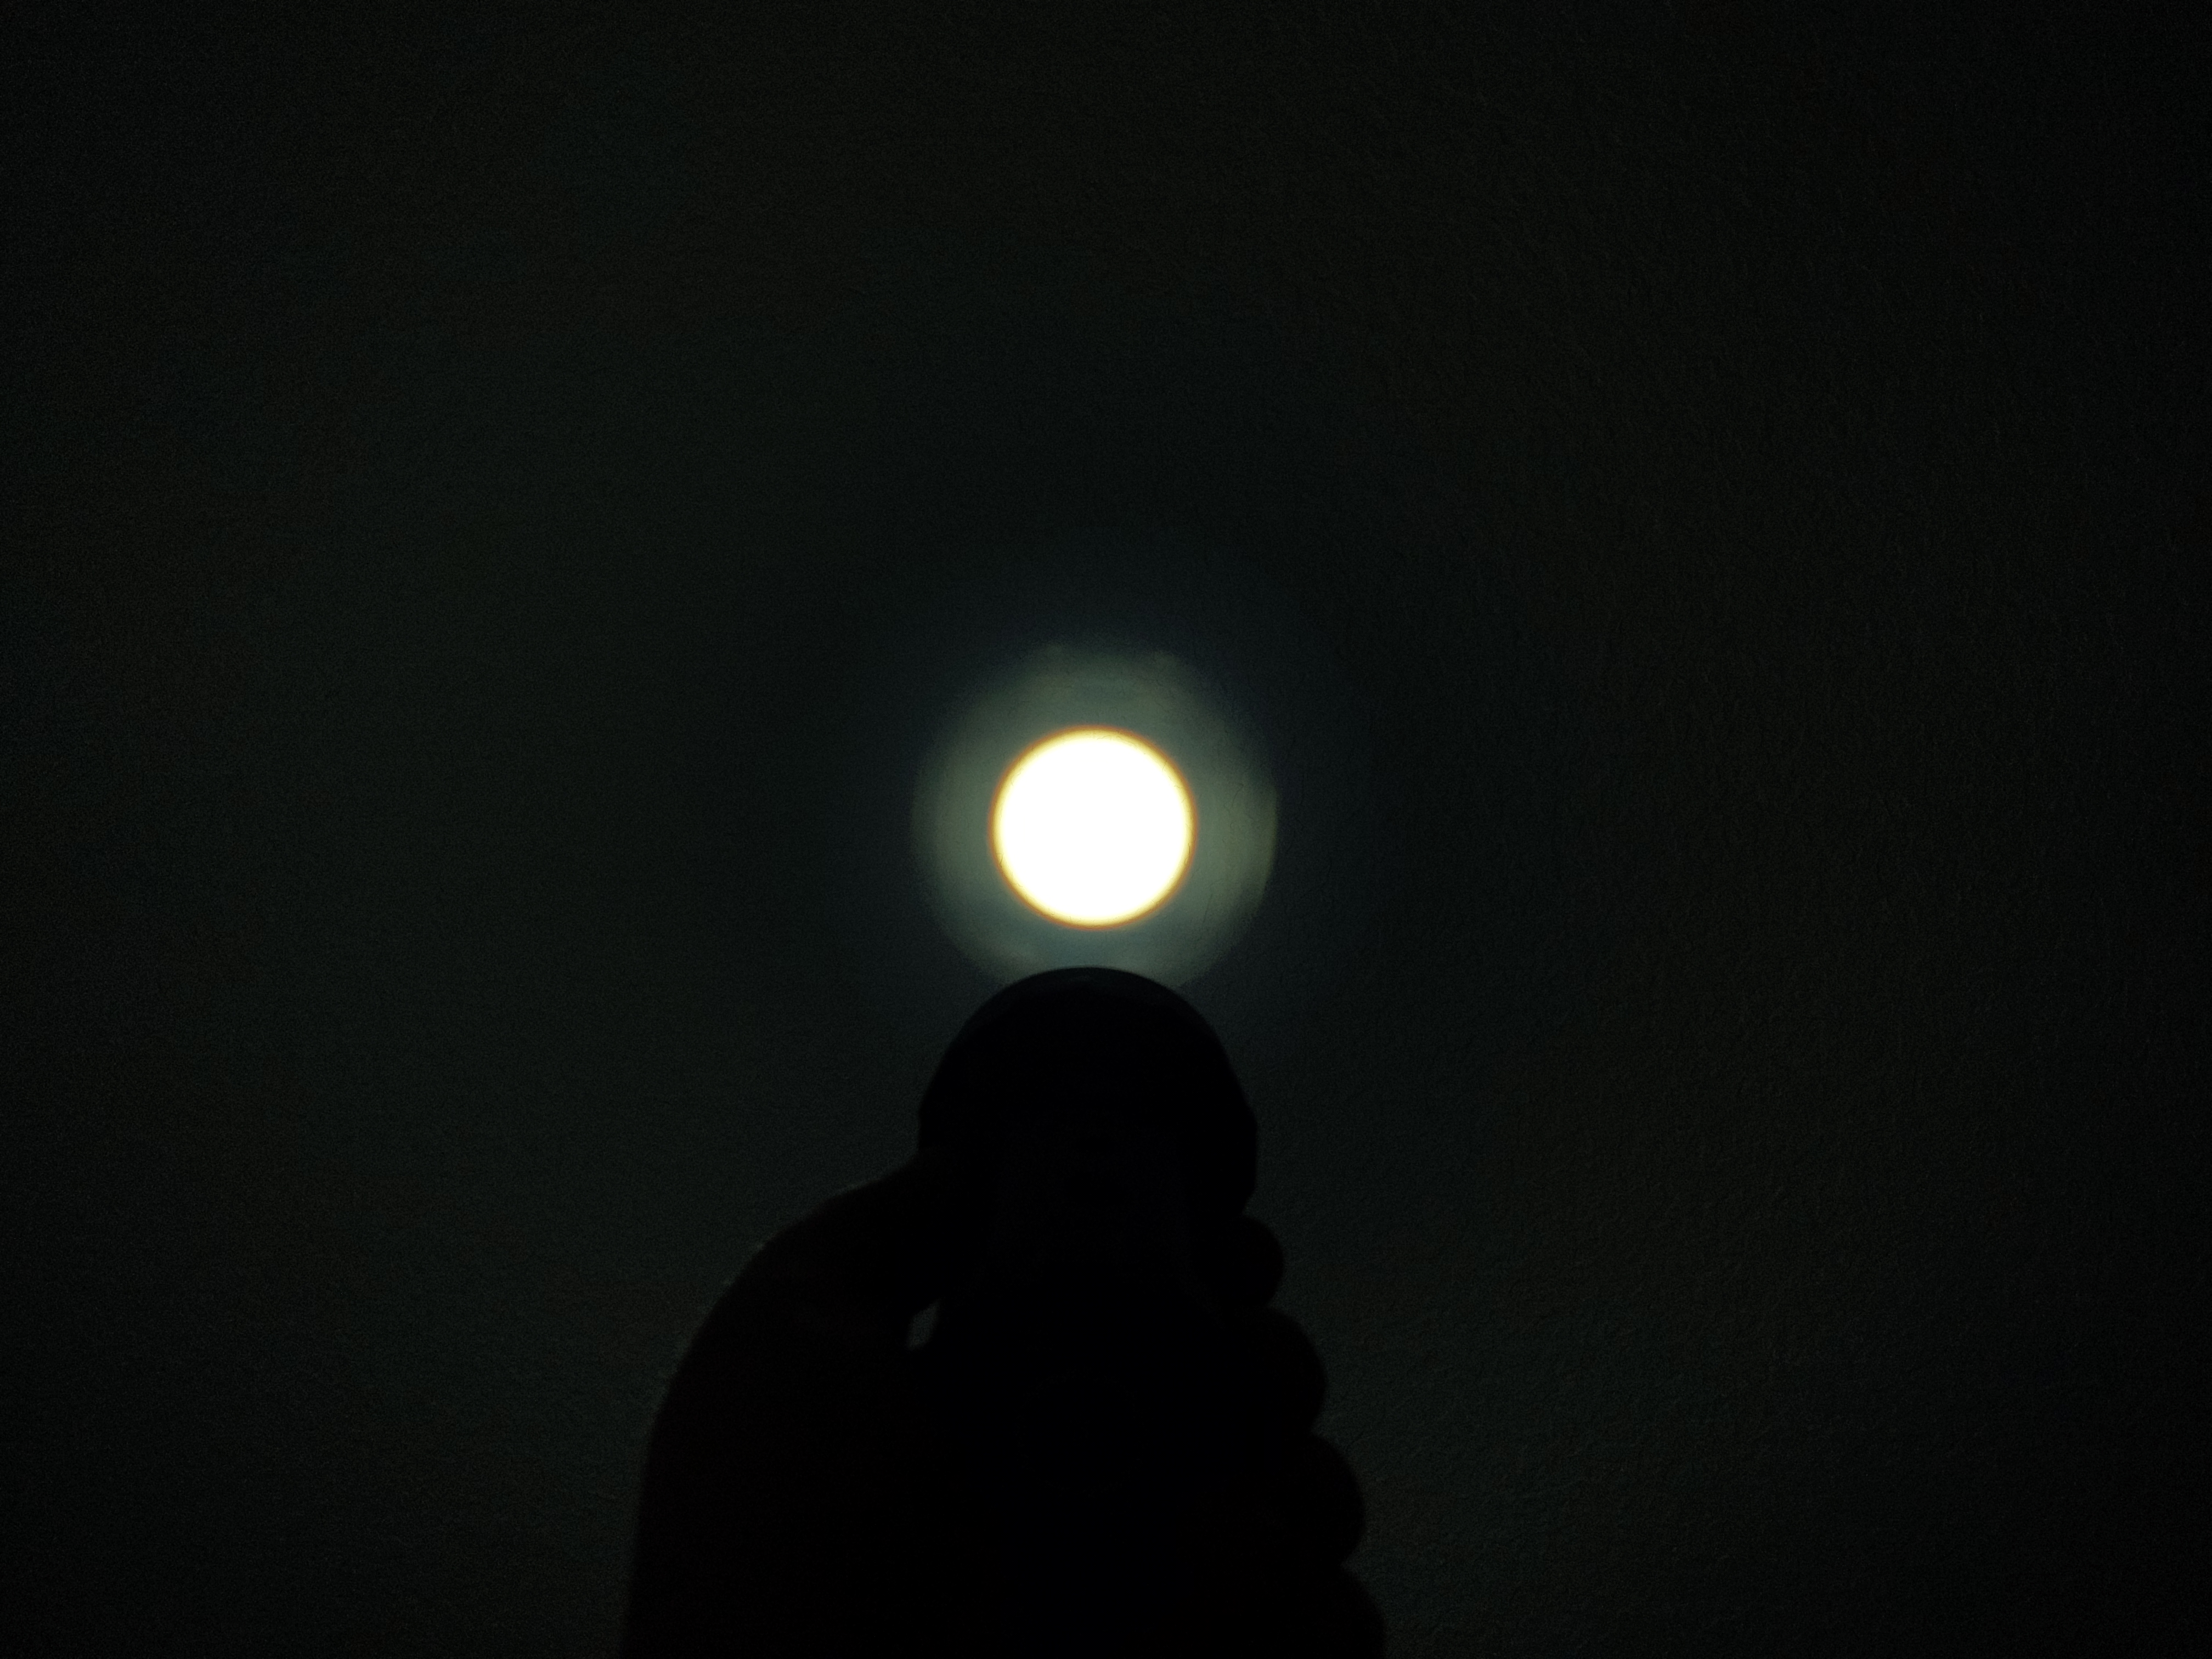
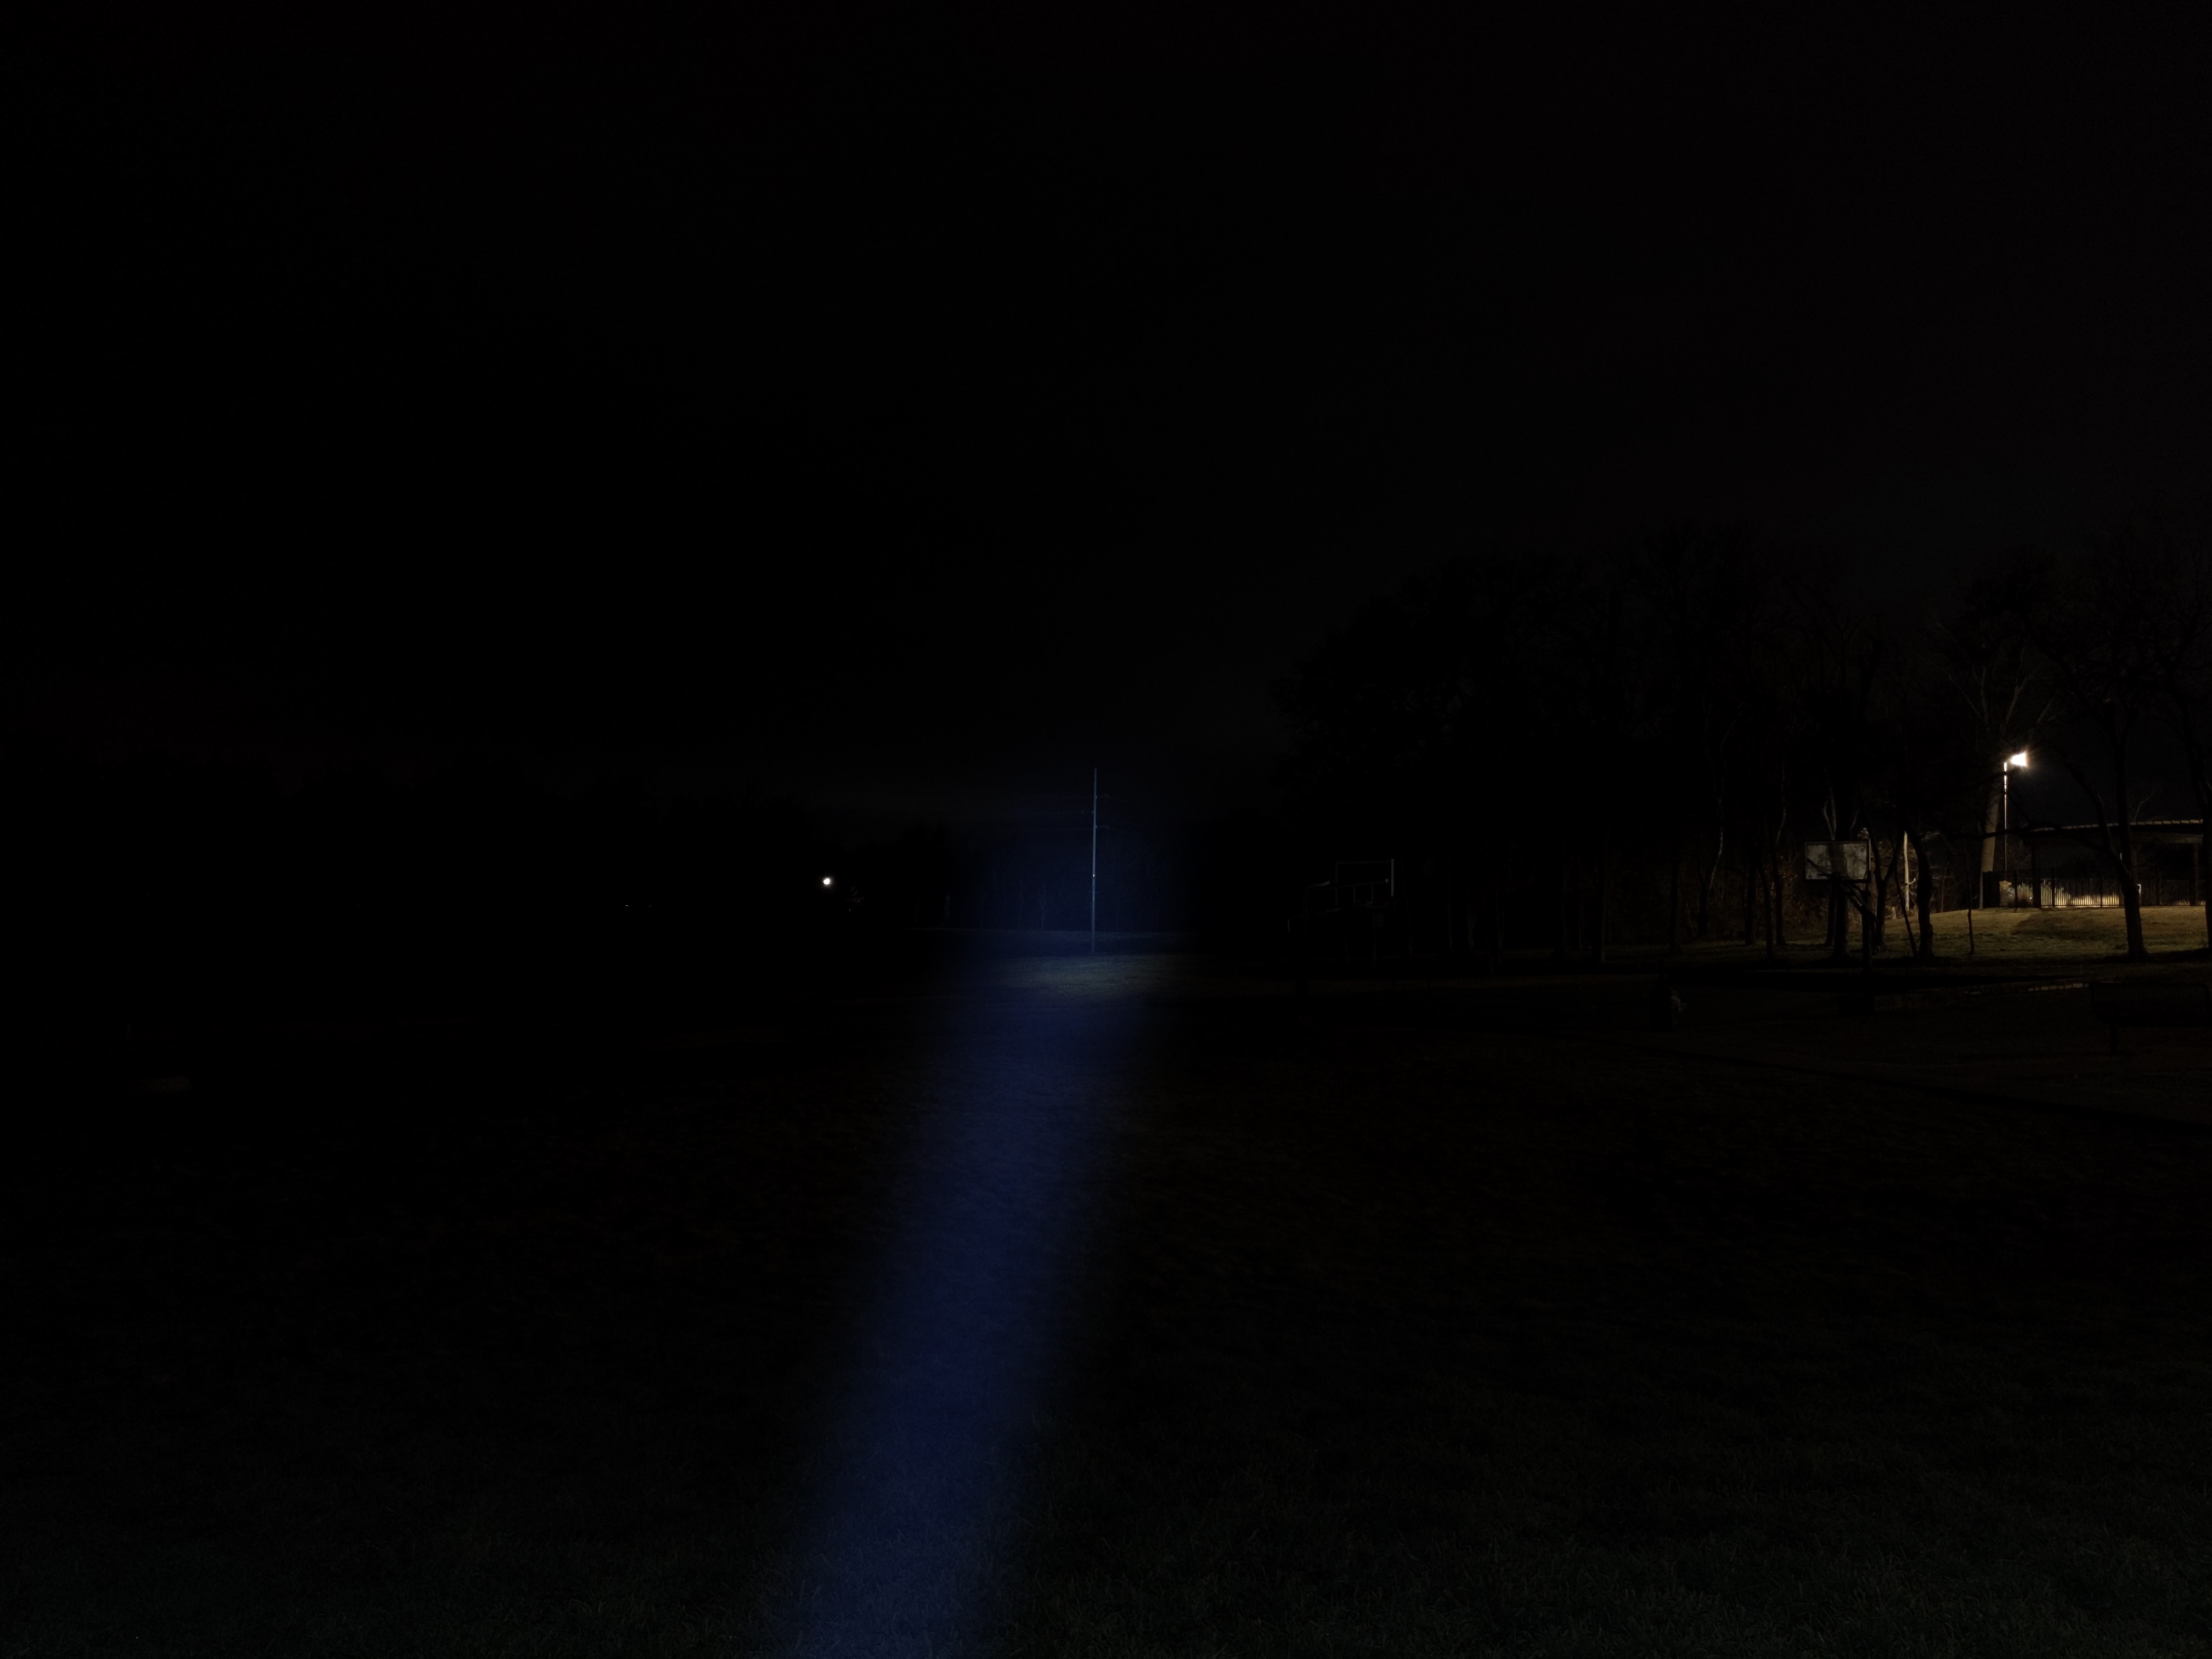
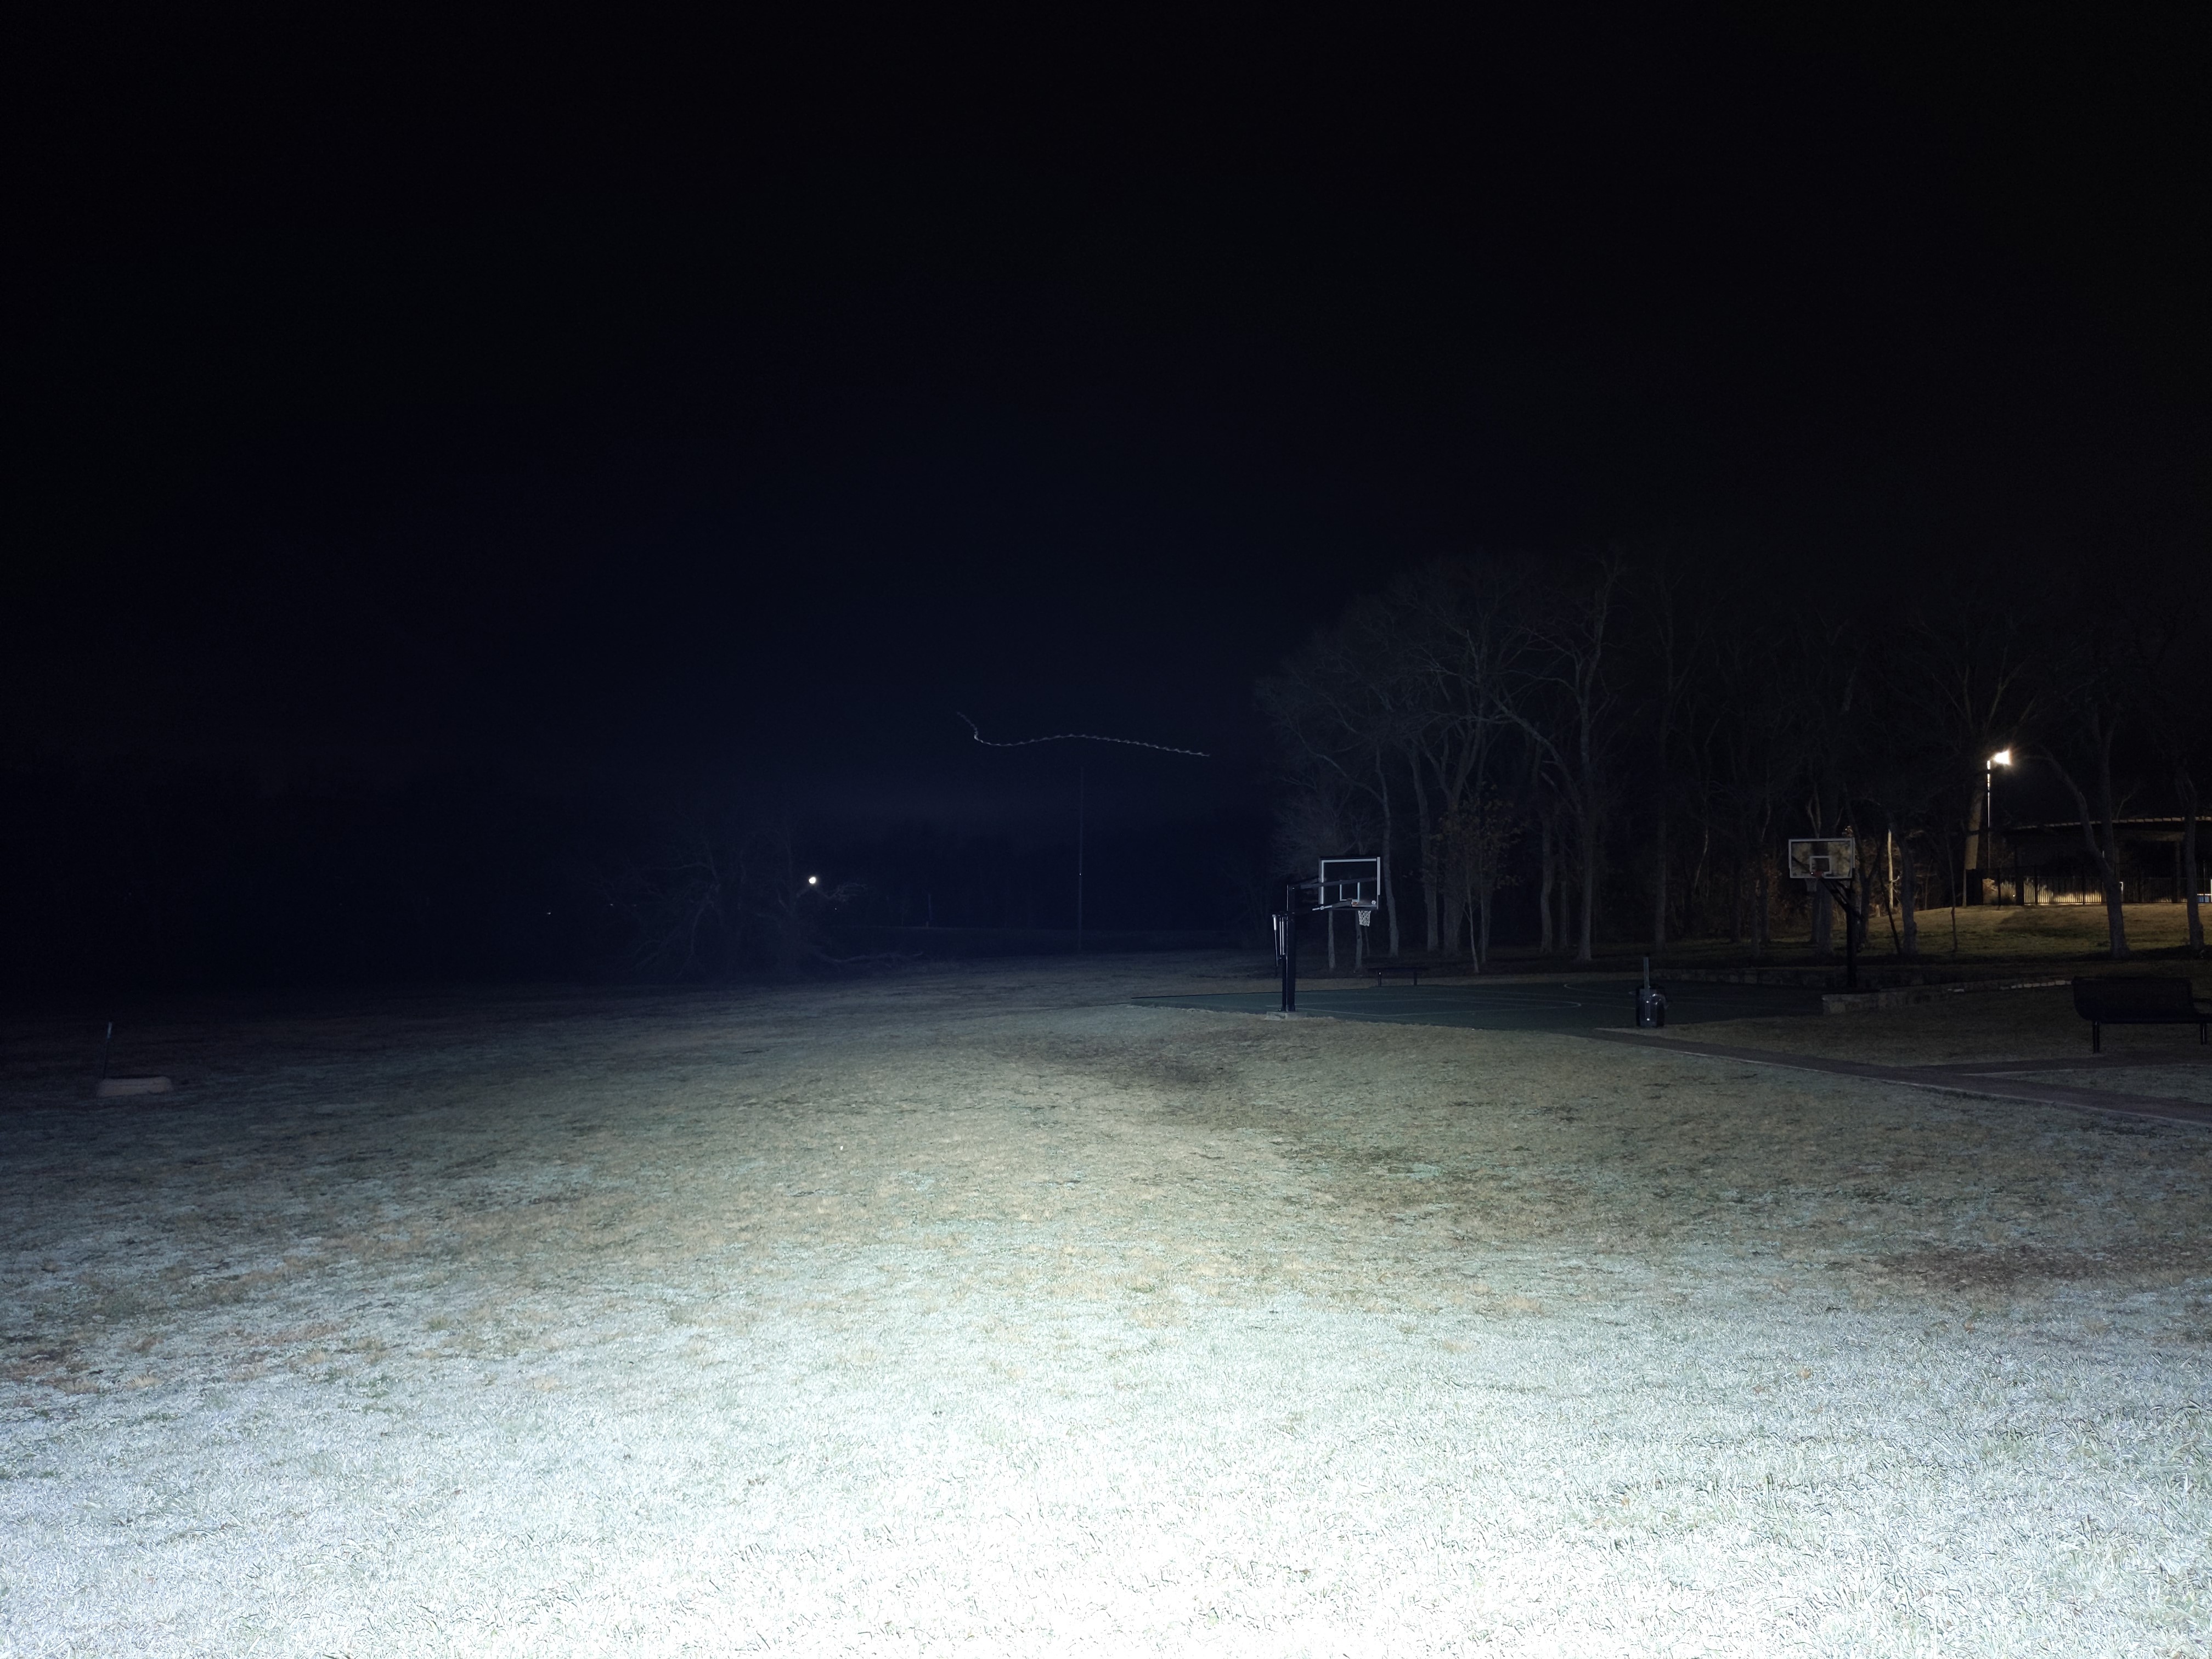
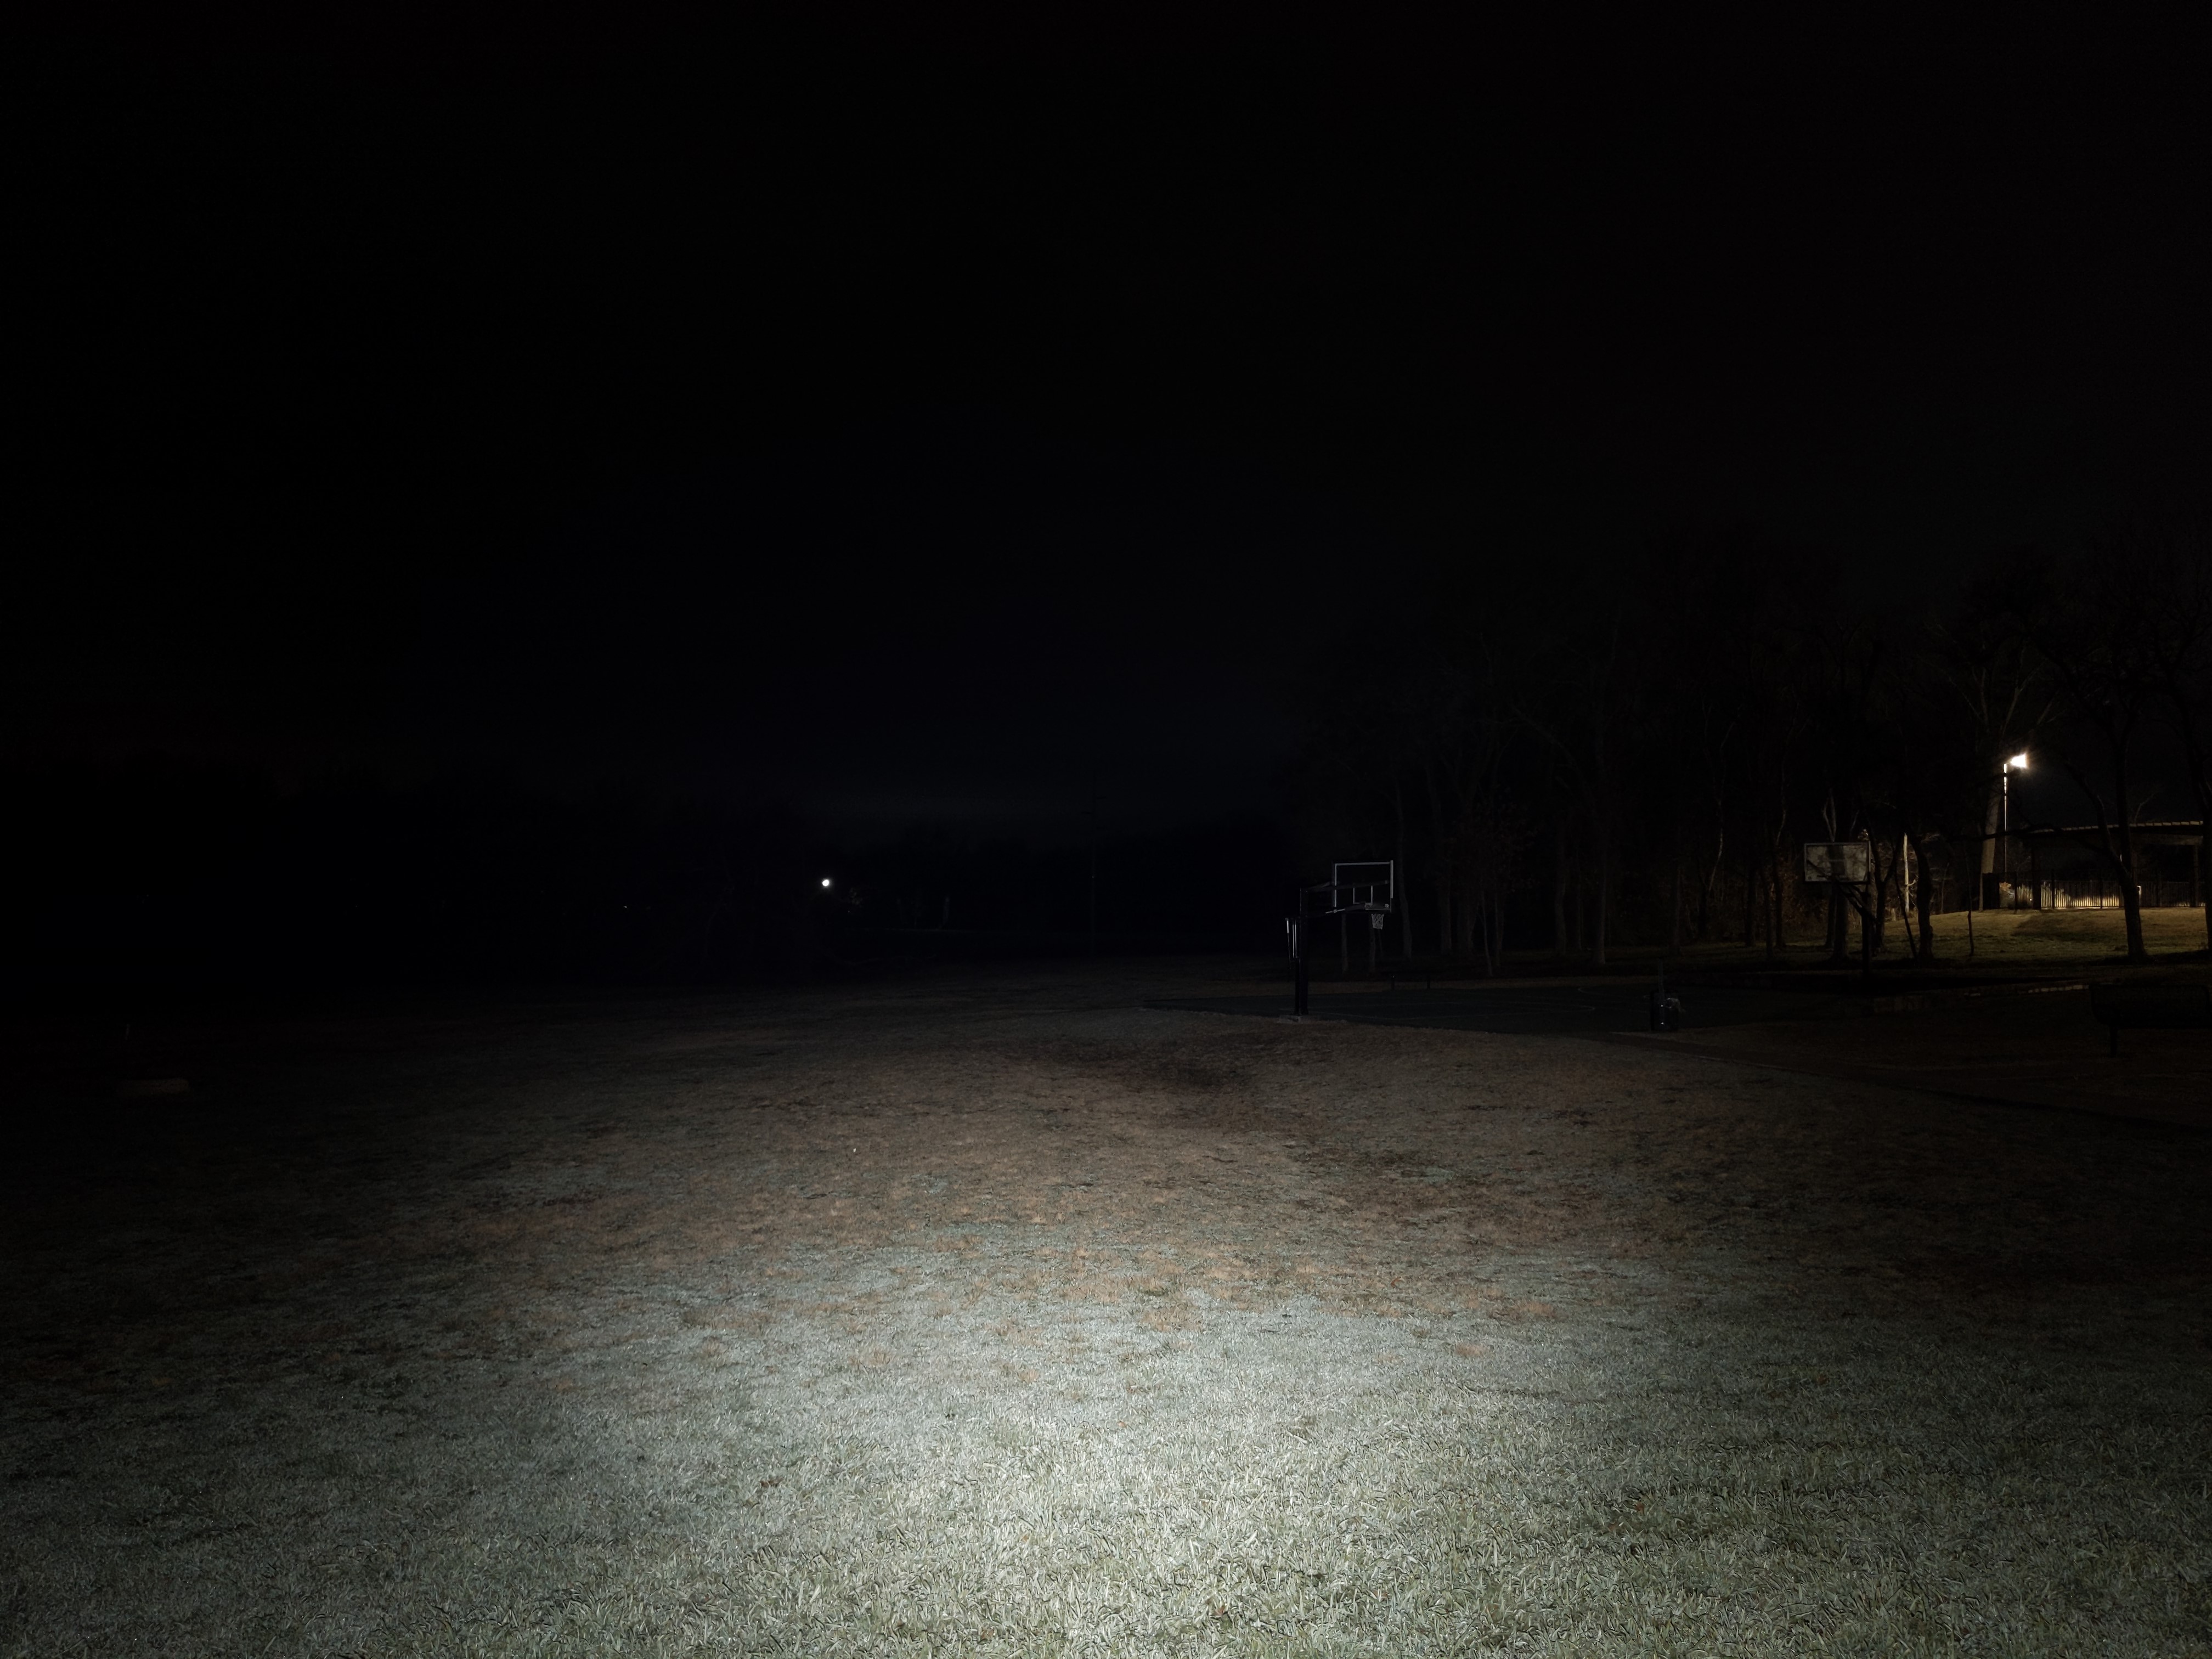
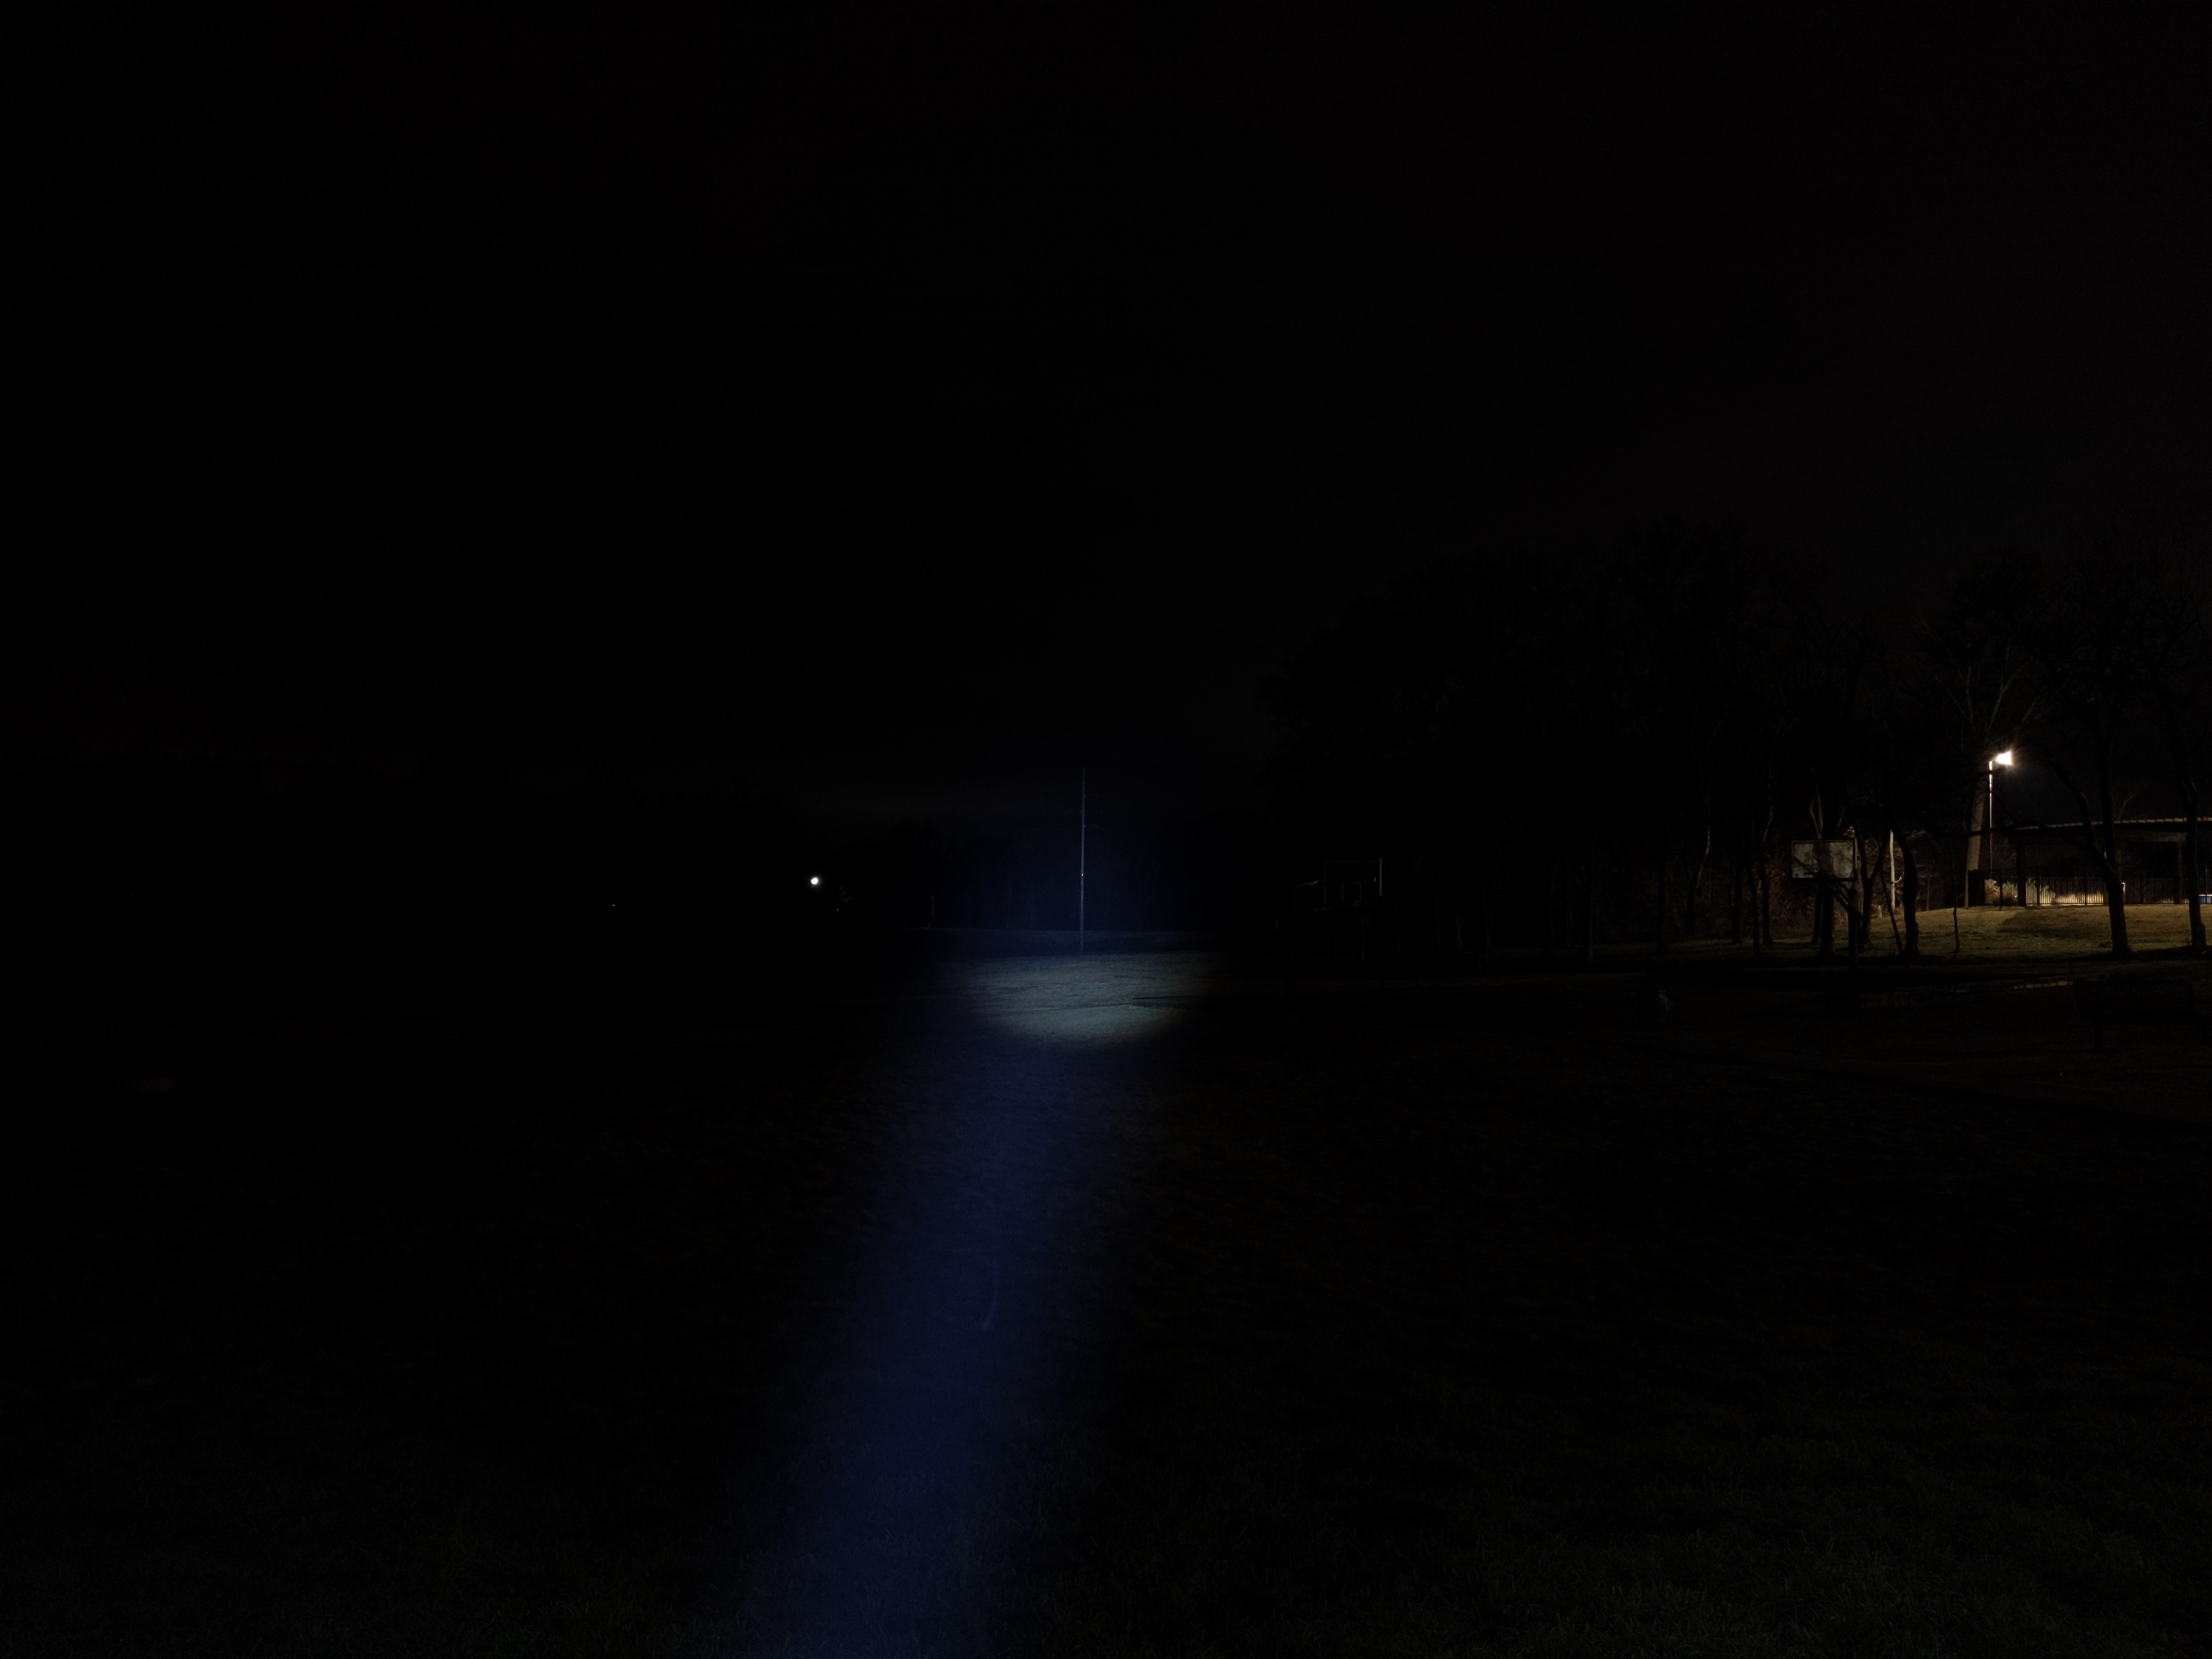
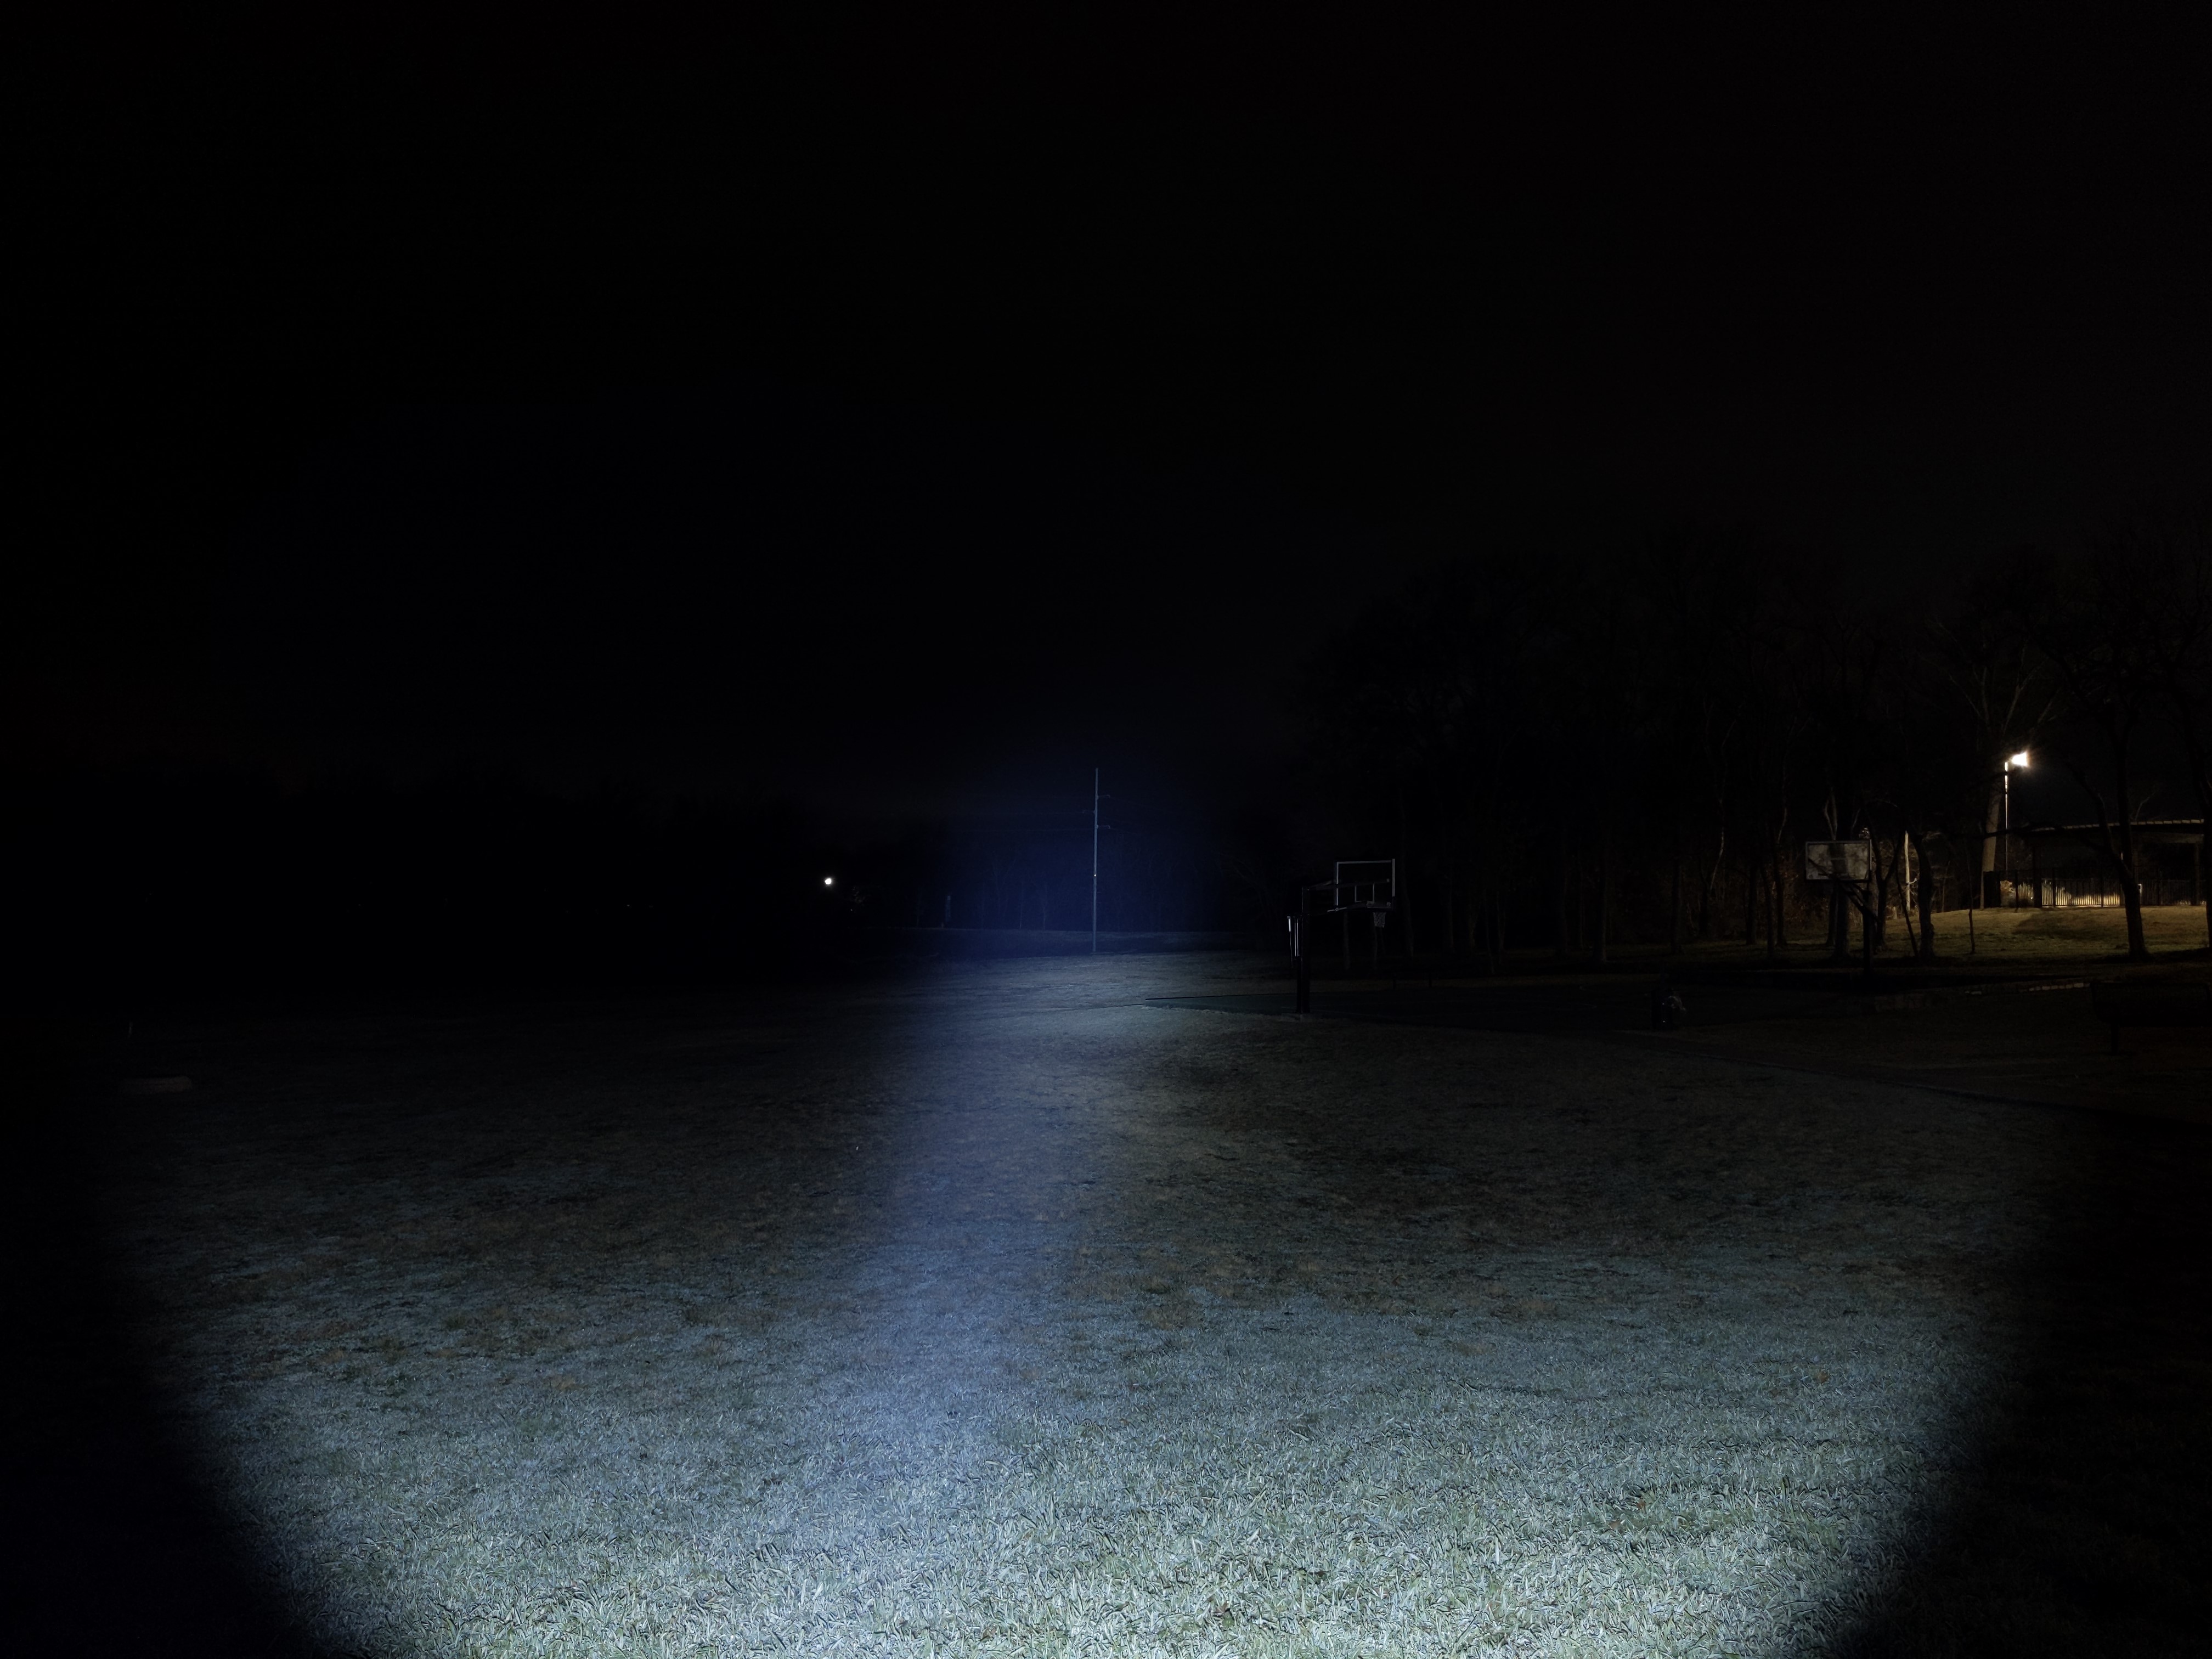
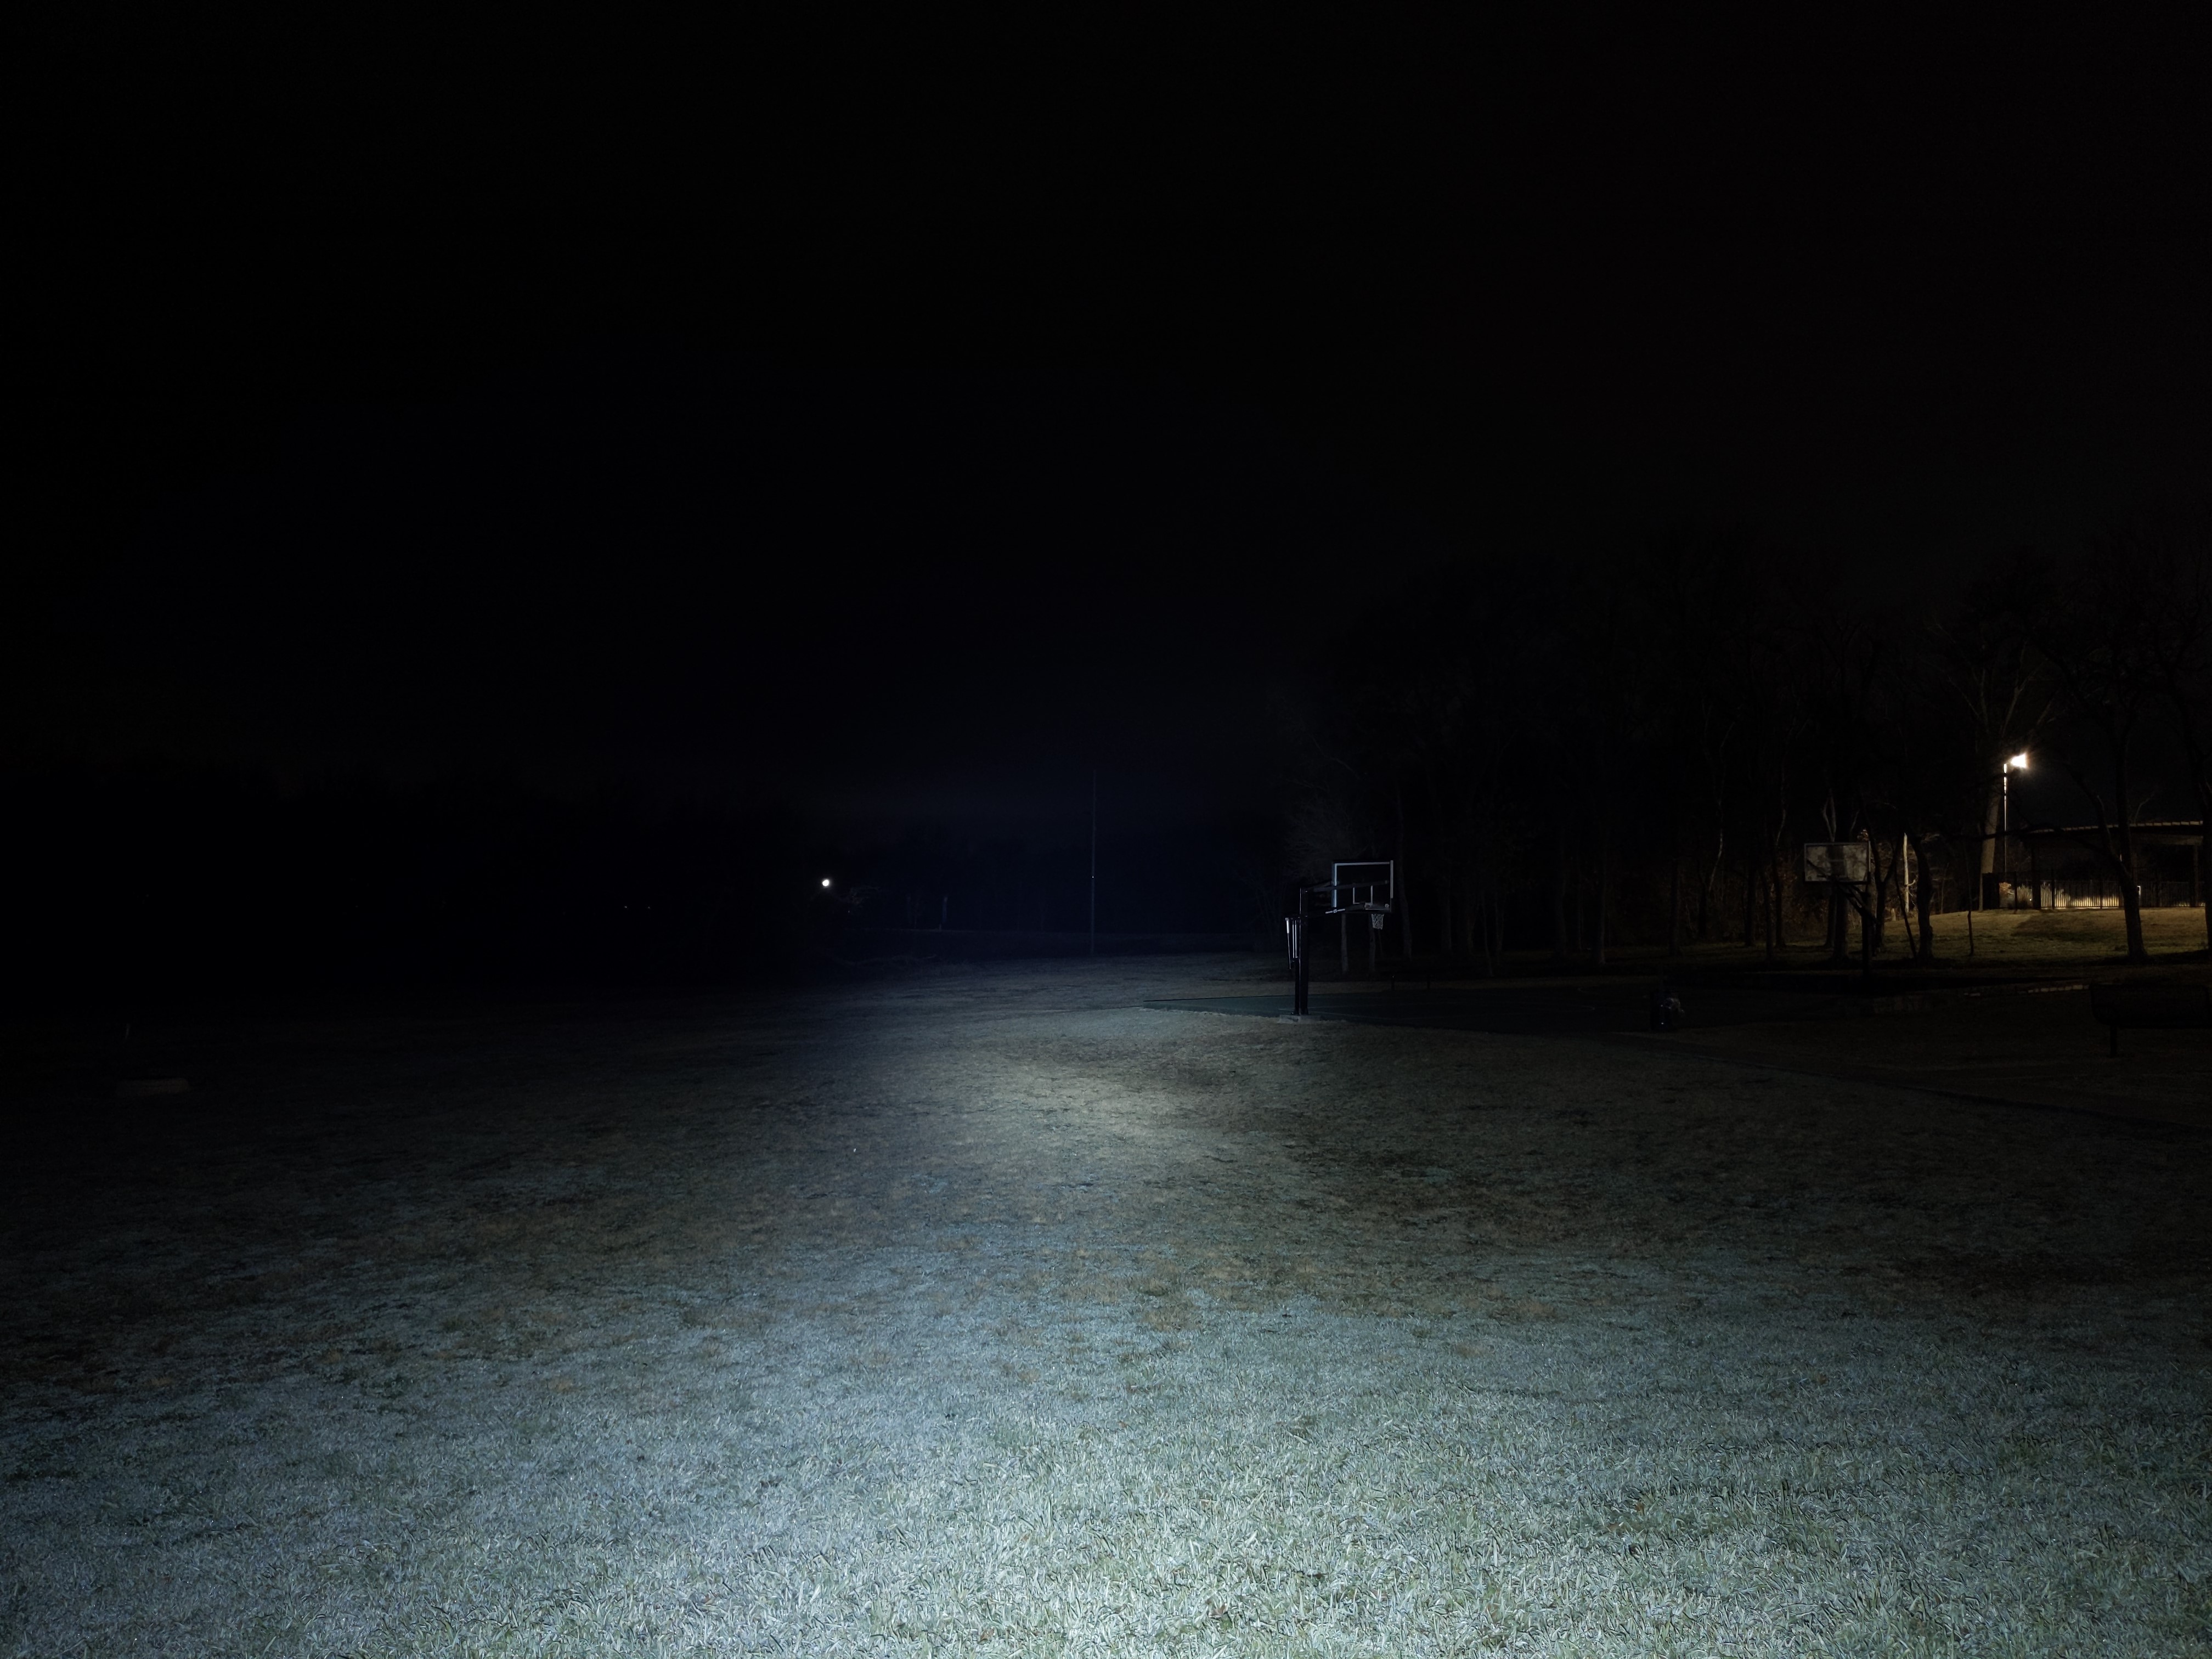
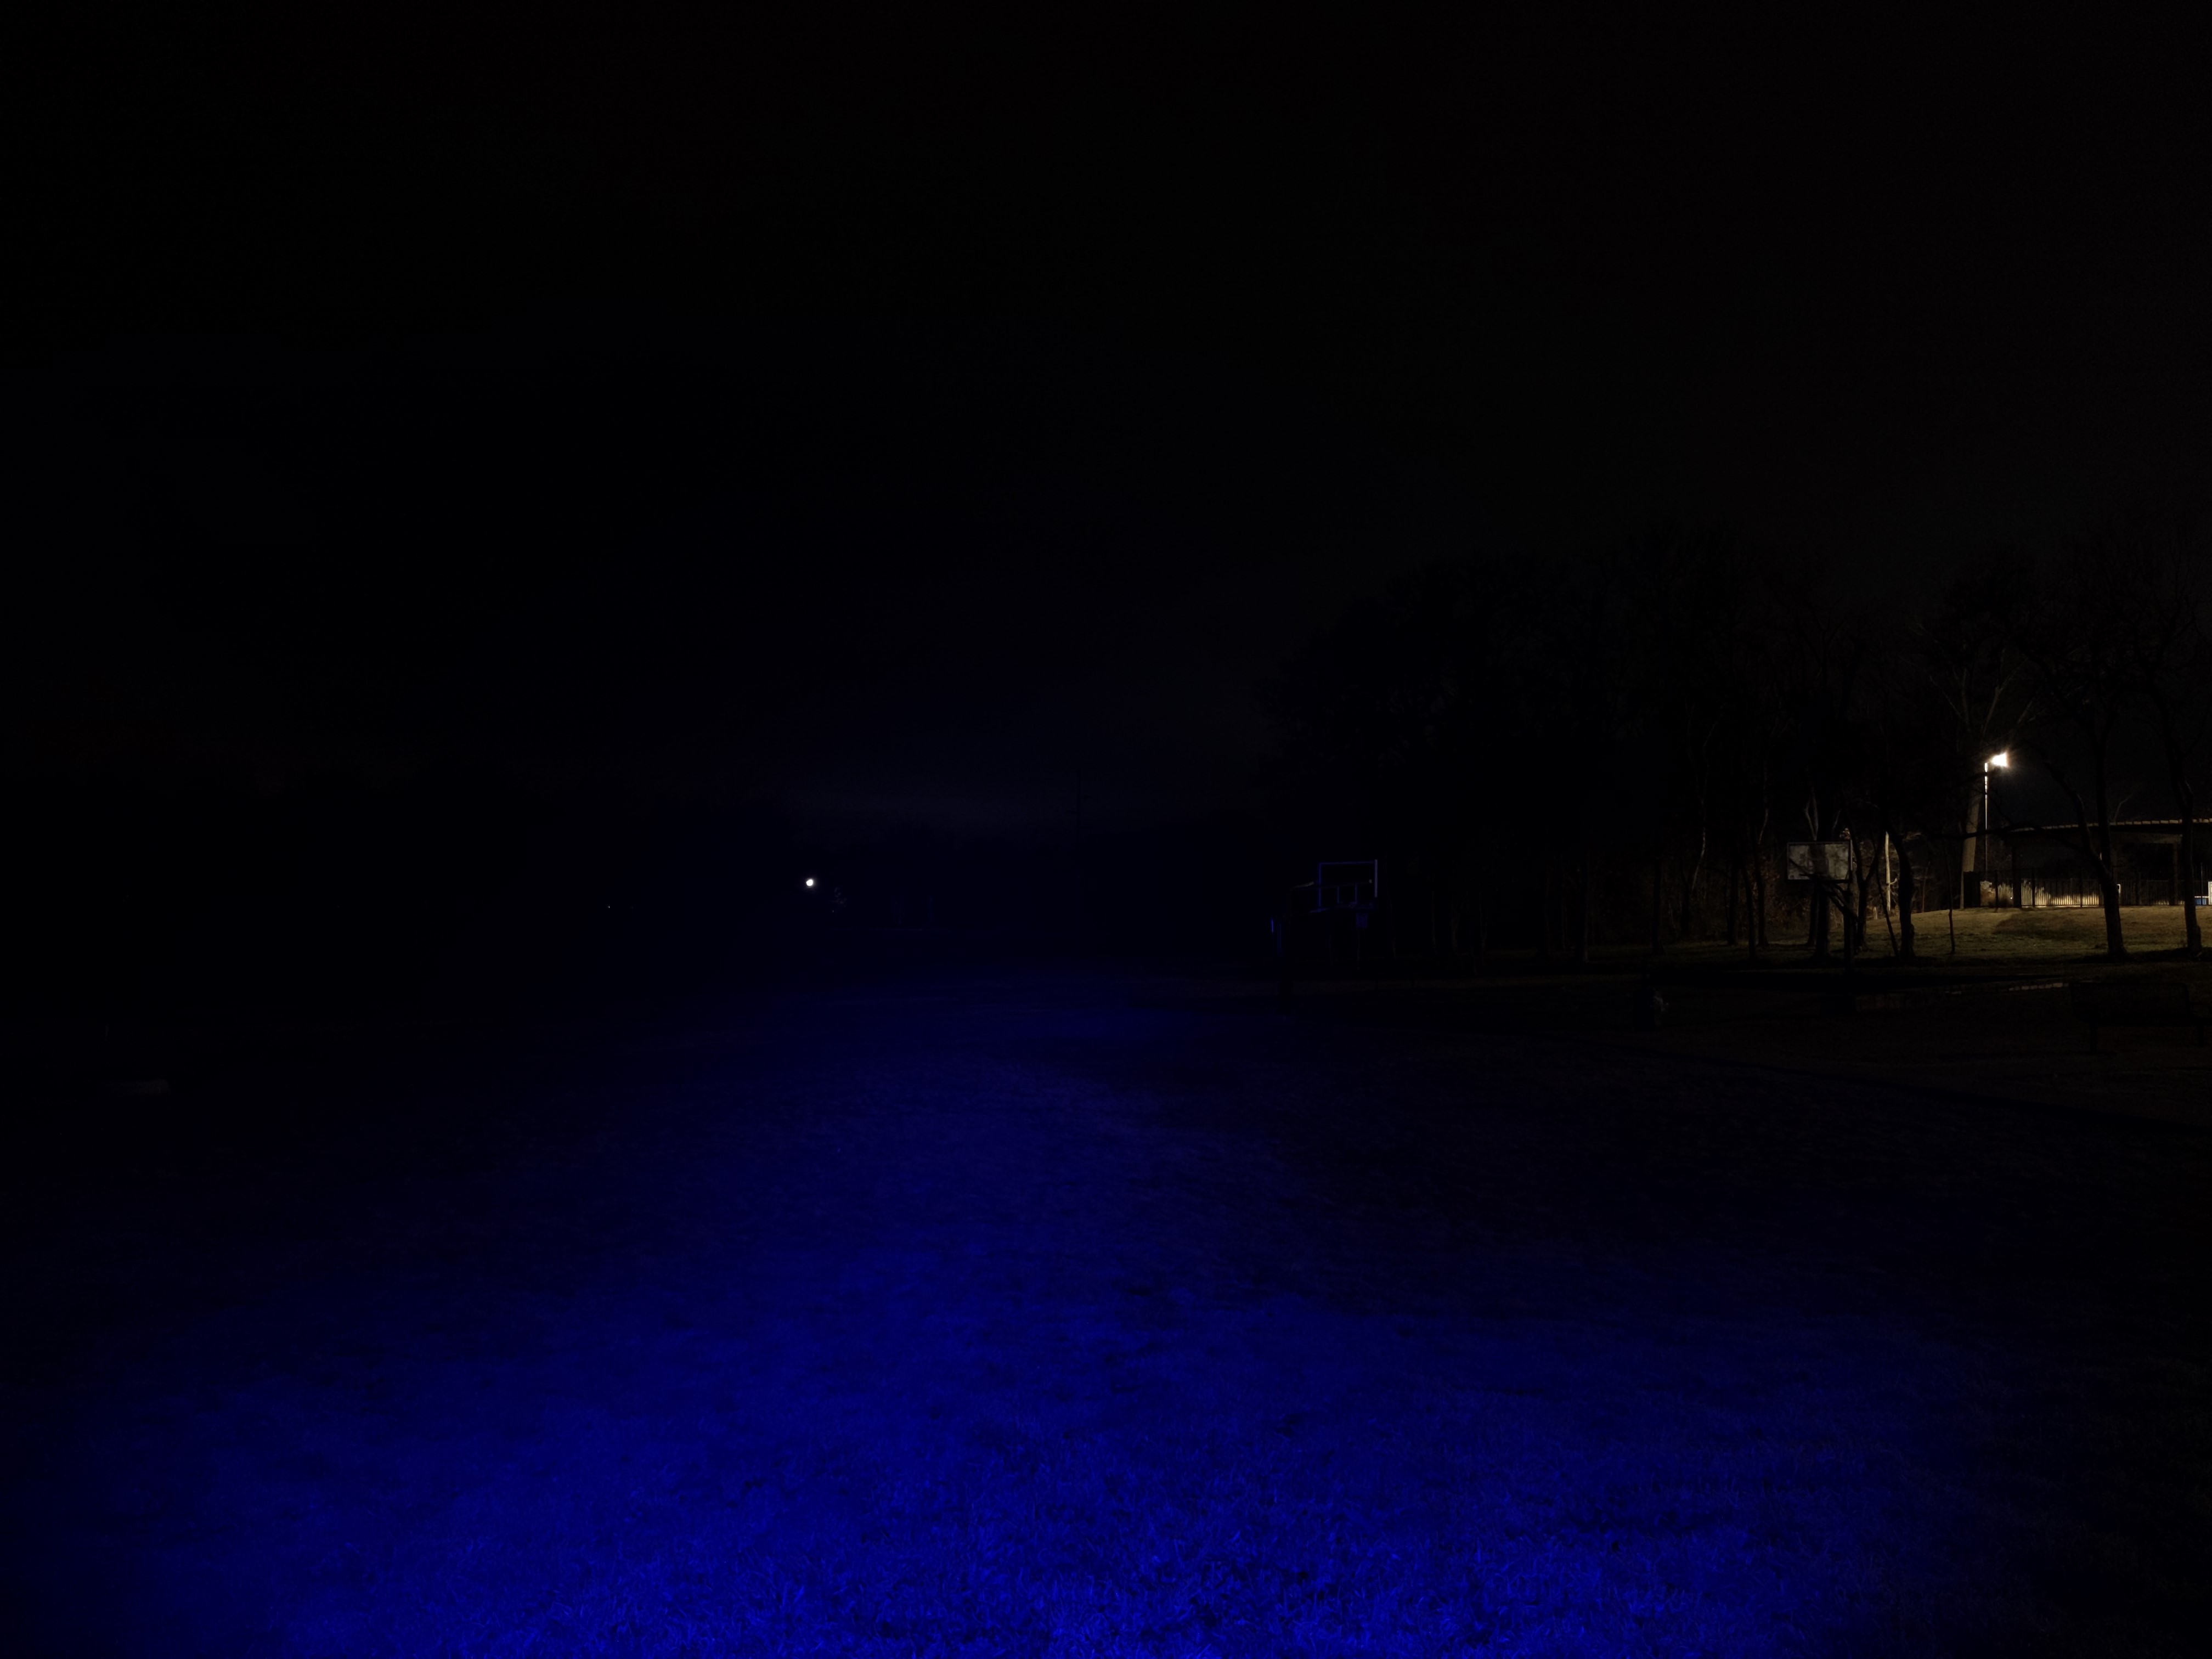
In the beamshots below, the basketball goal to the right of the hotspot is 39M away and the power pole in the center is 185M away.
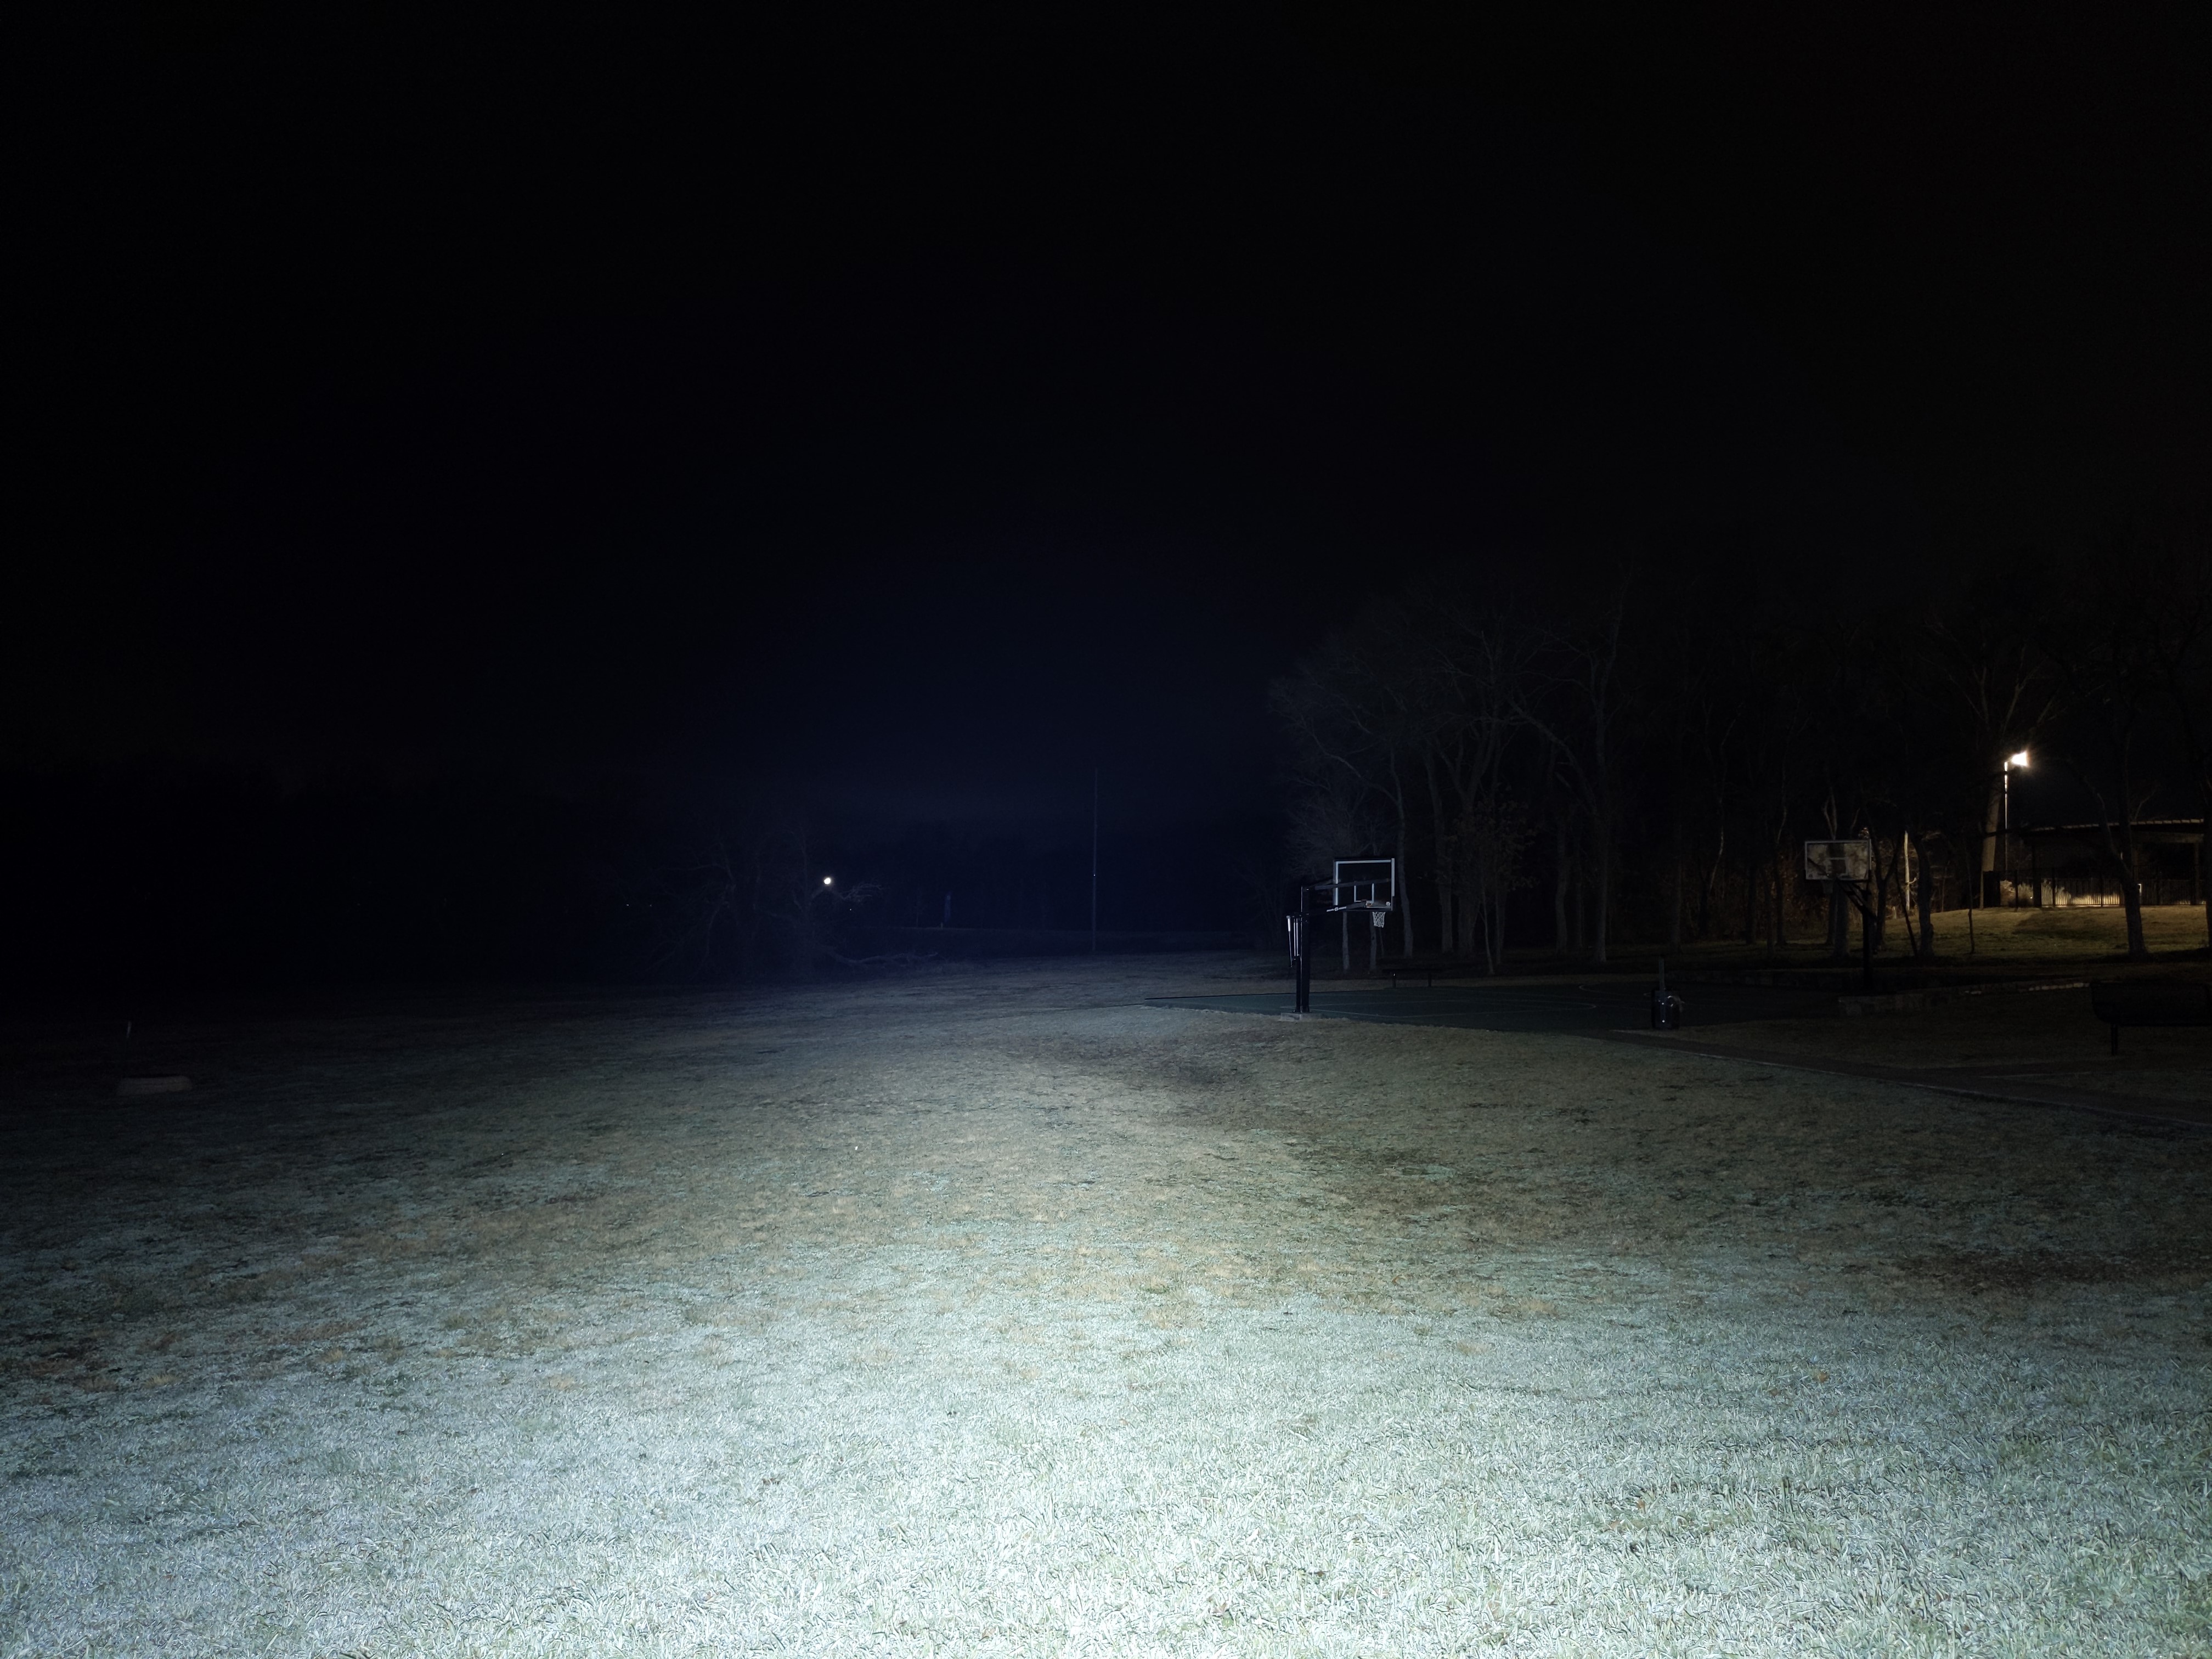
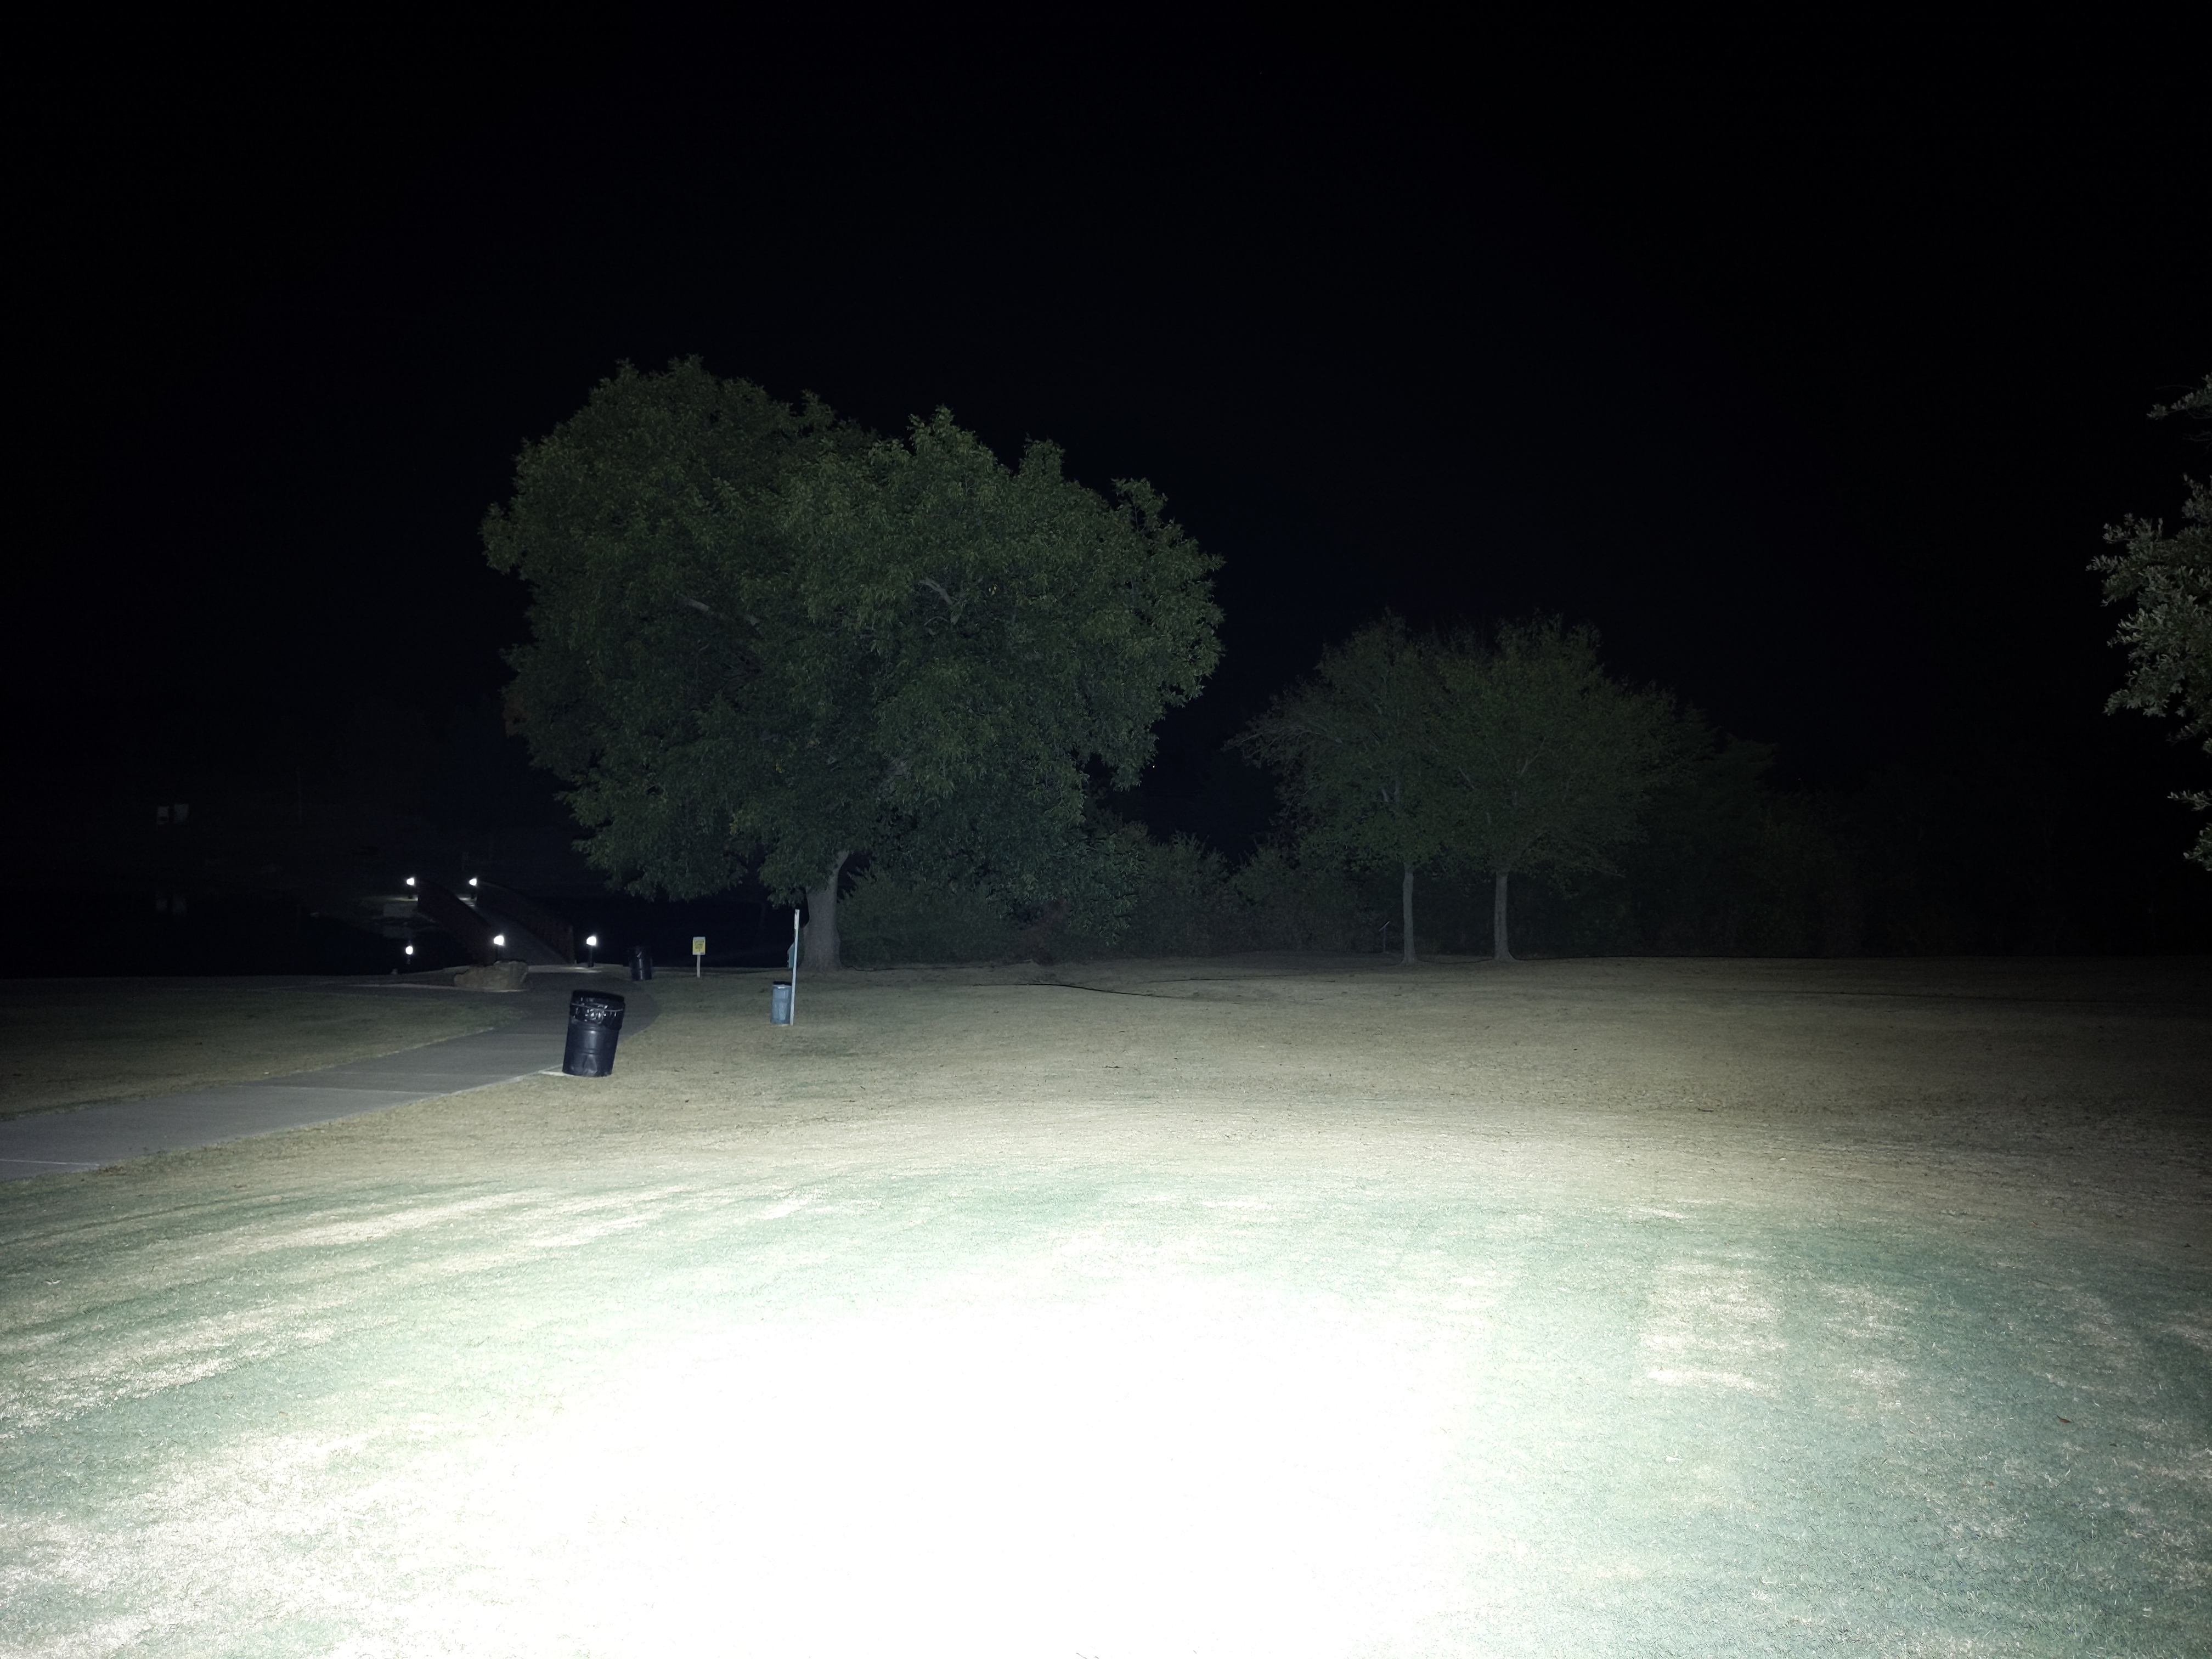
FLOOD BEAM

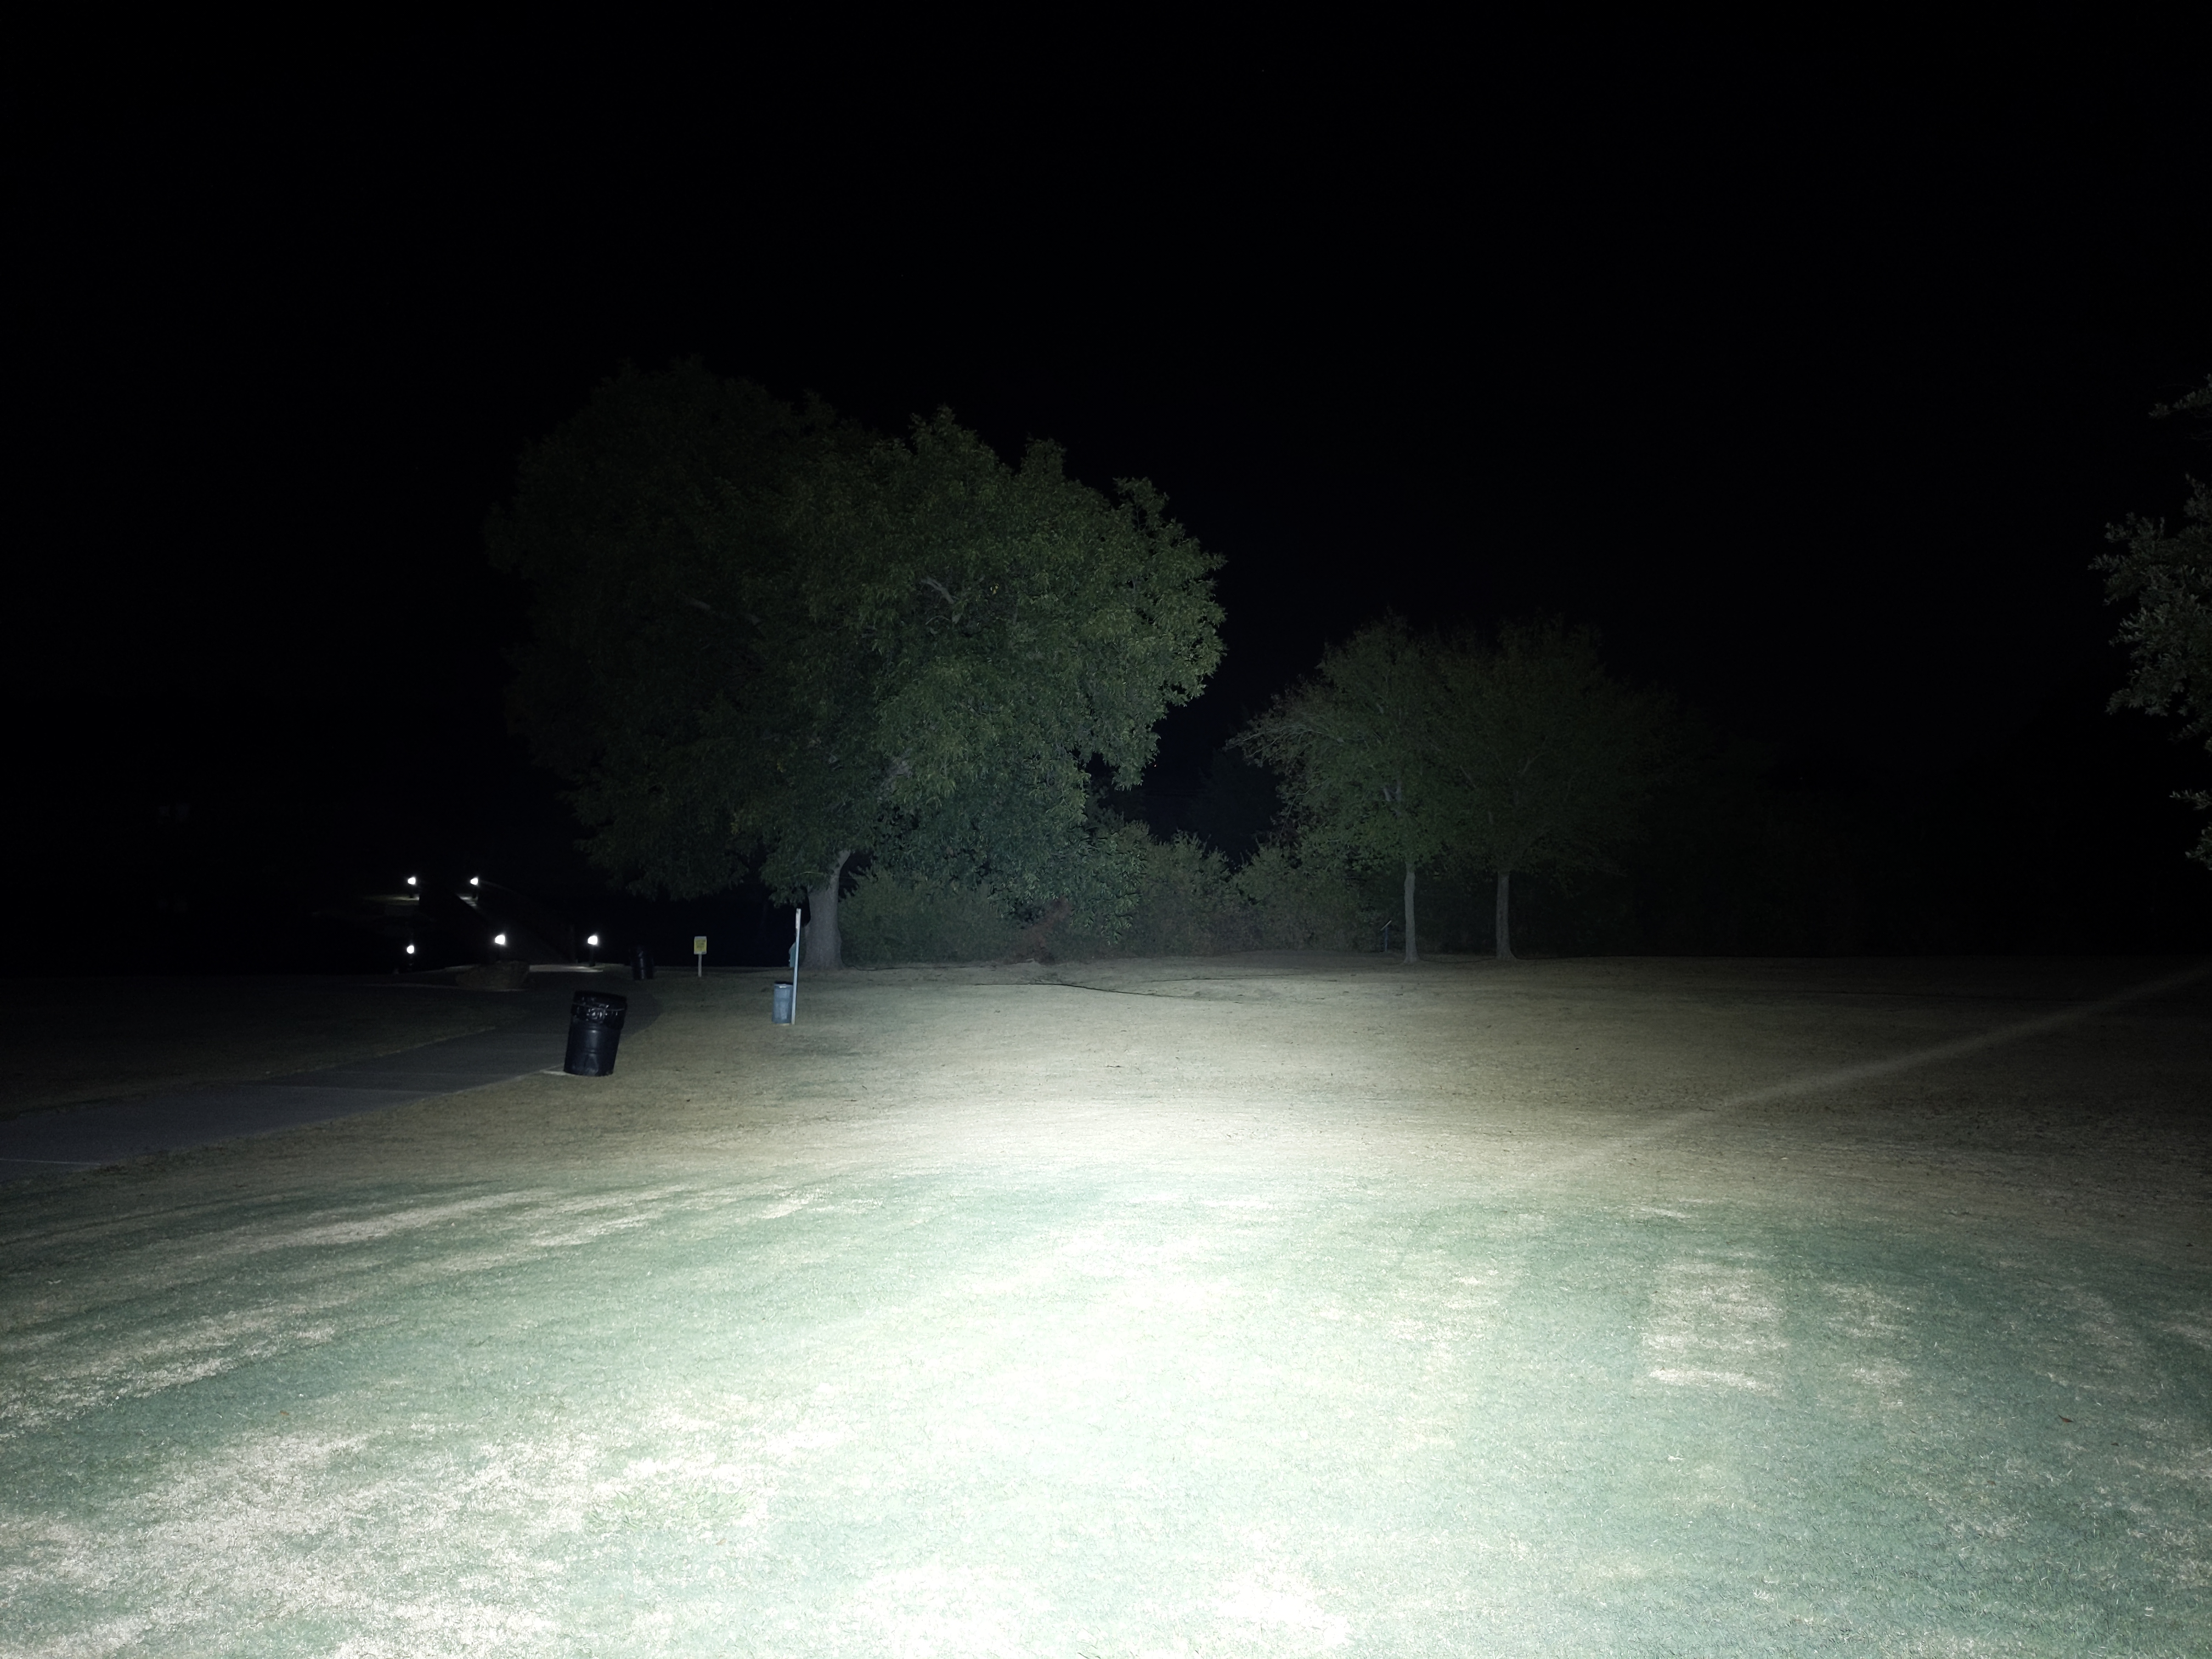
SPOT BEAM
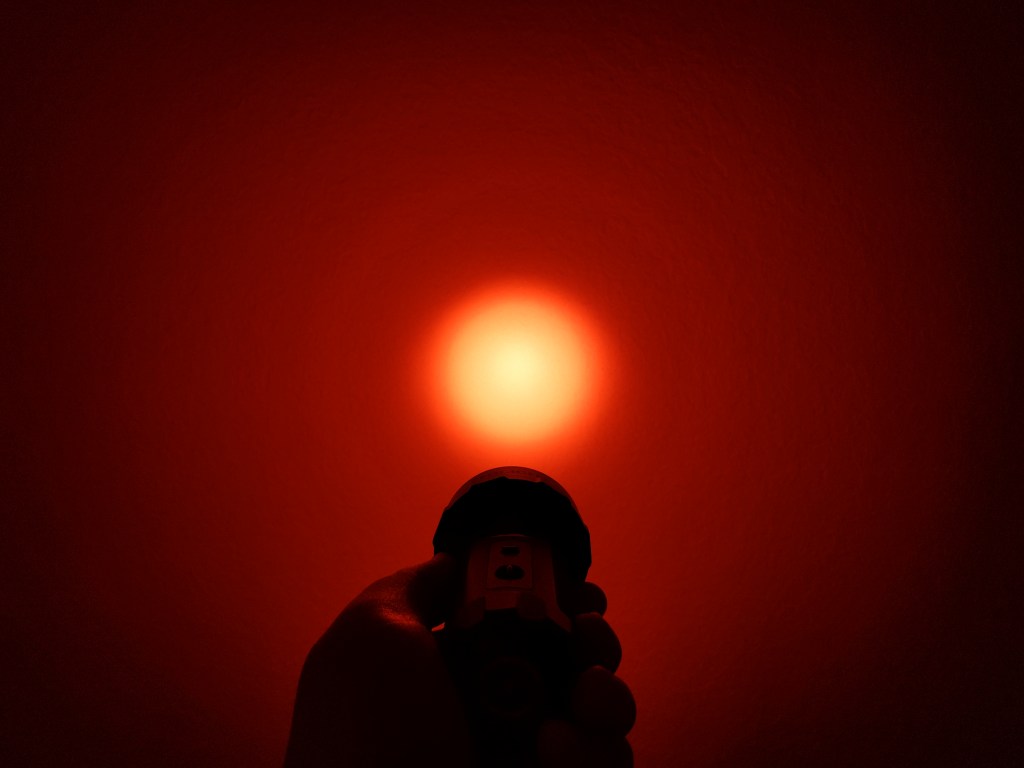
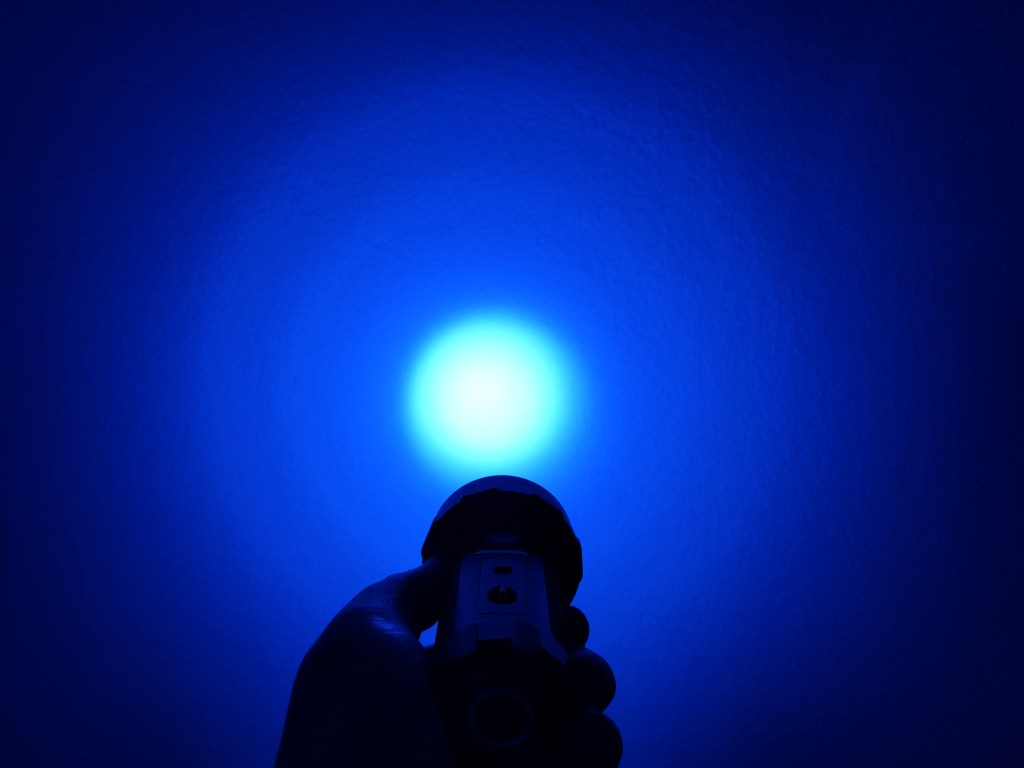
R-G-BEAM
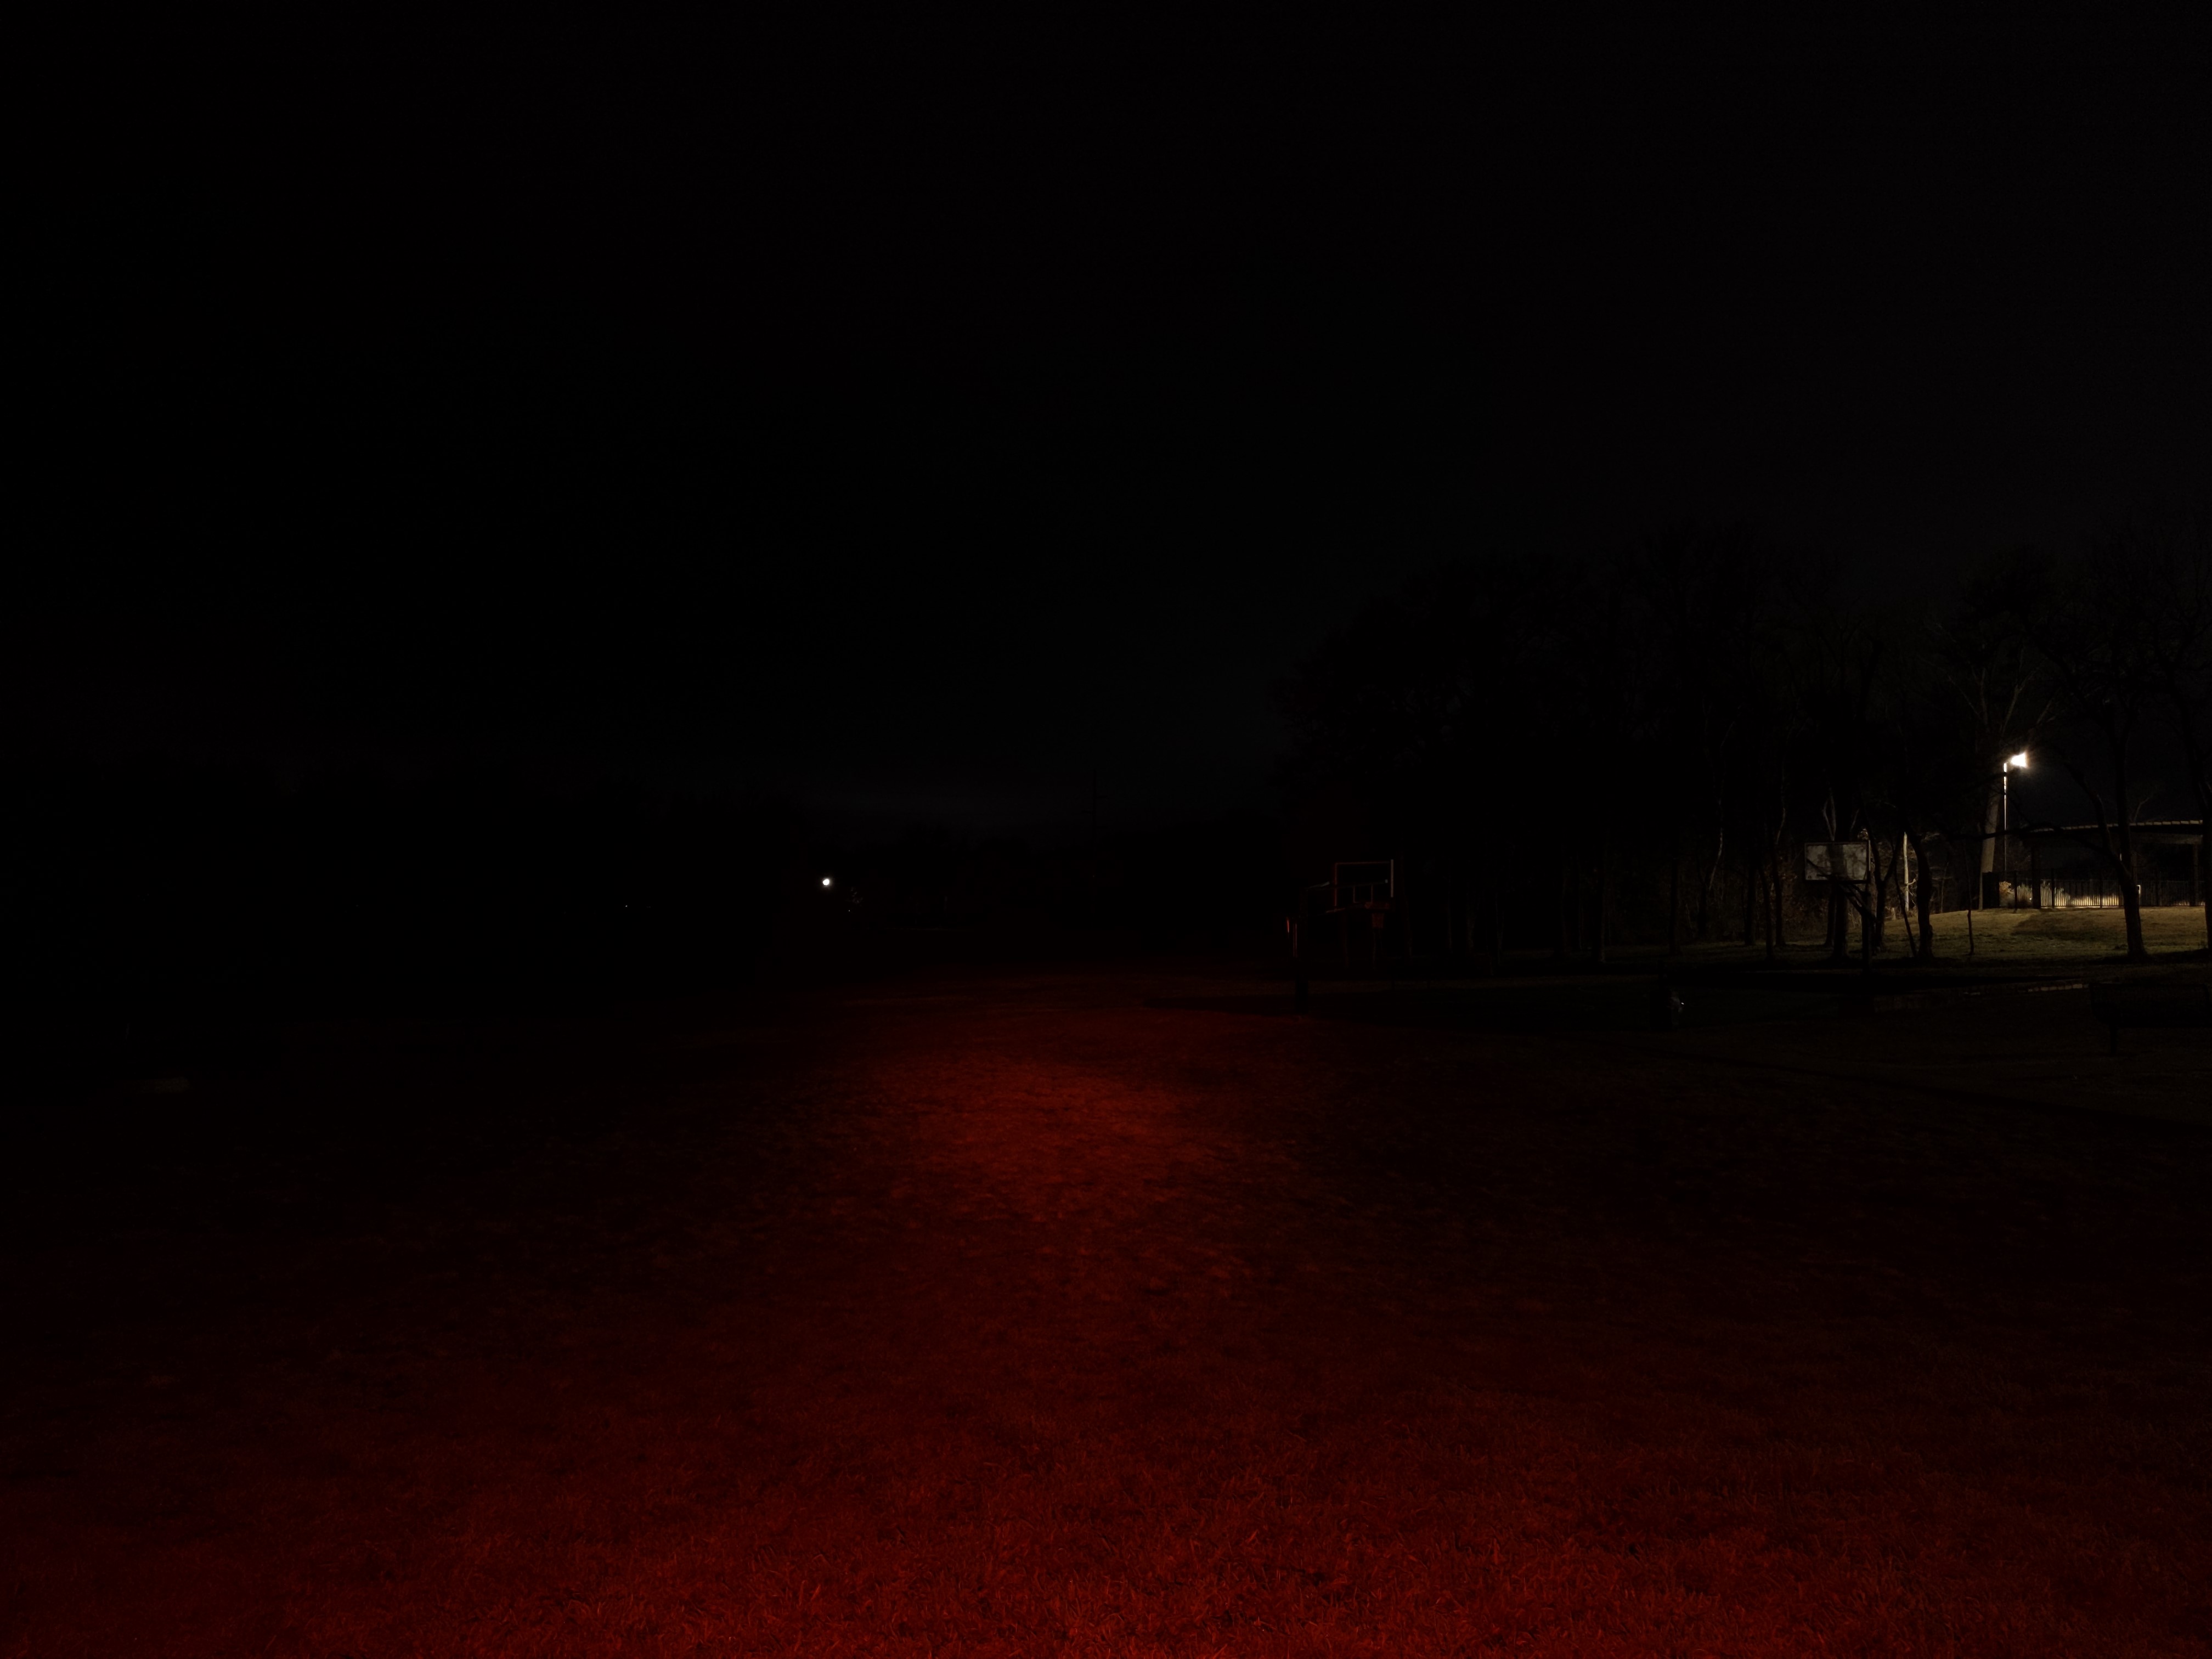
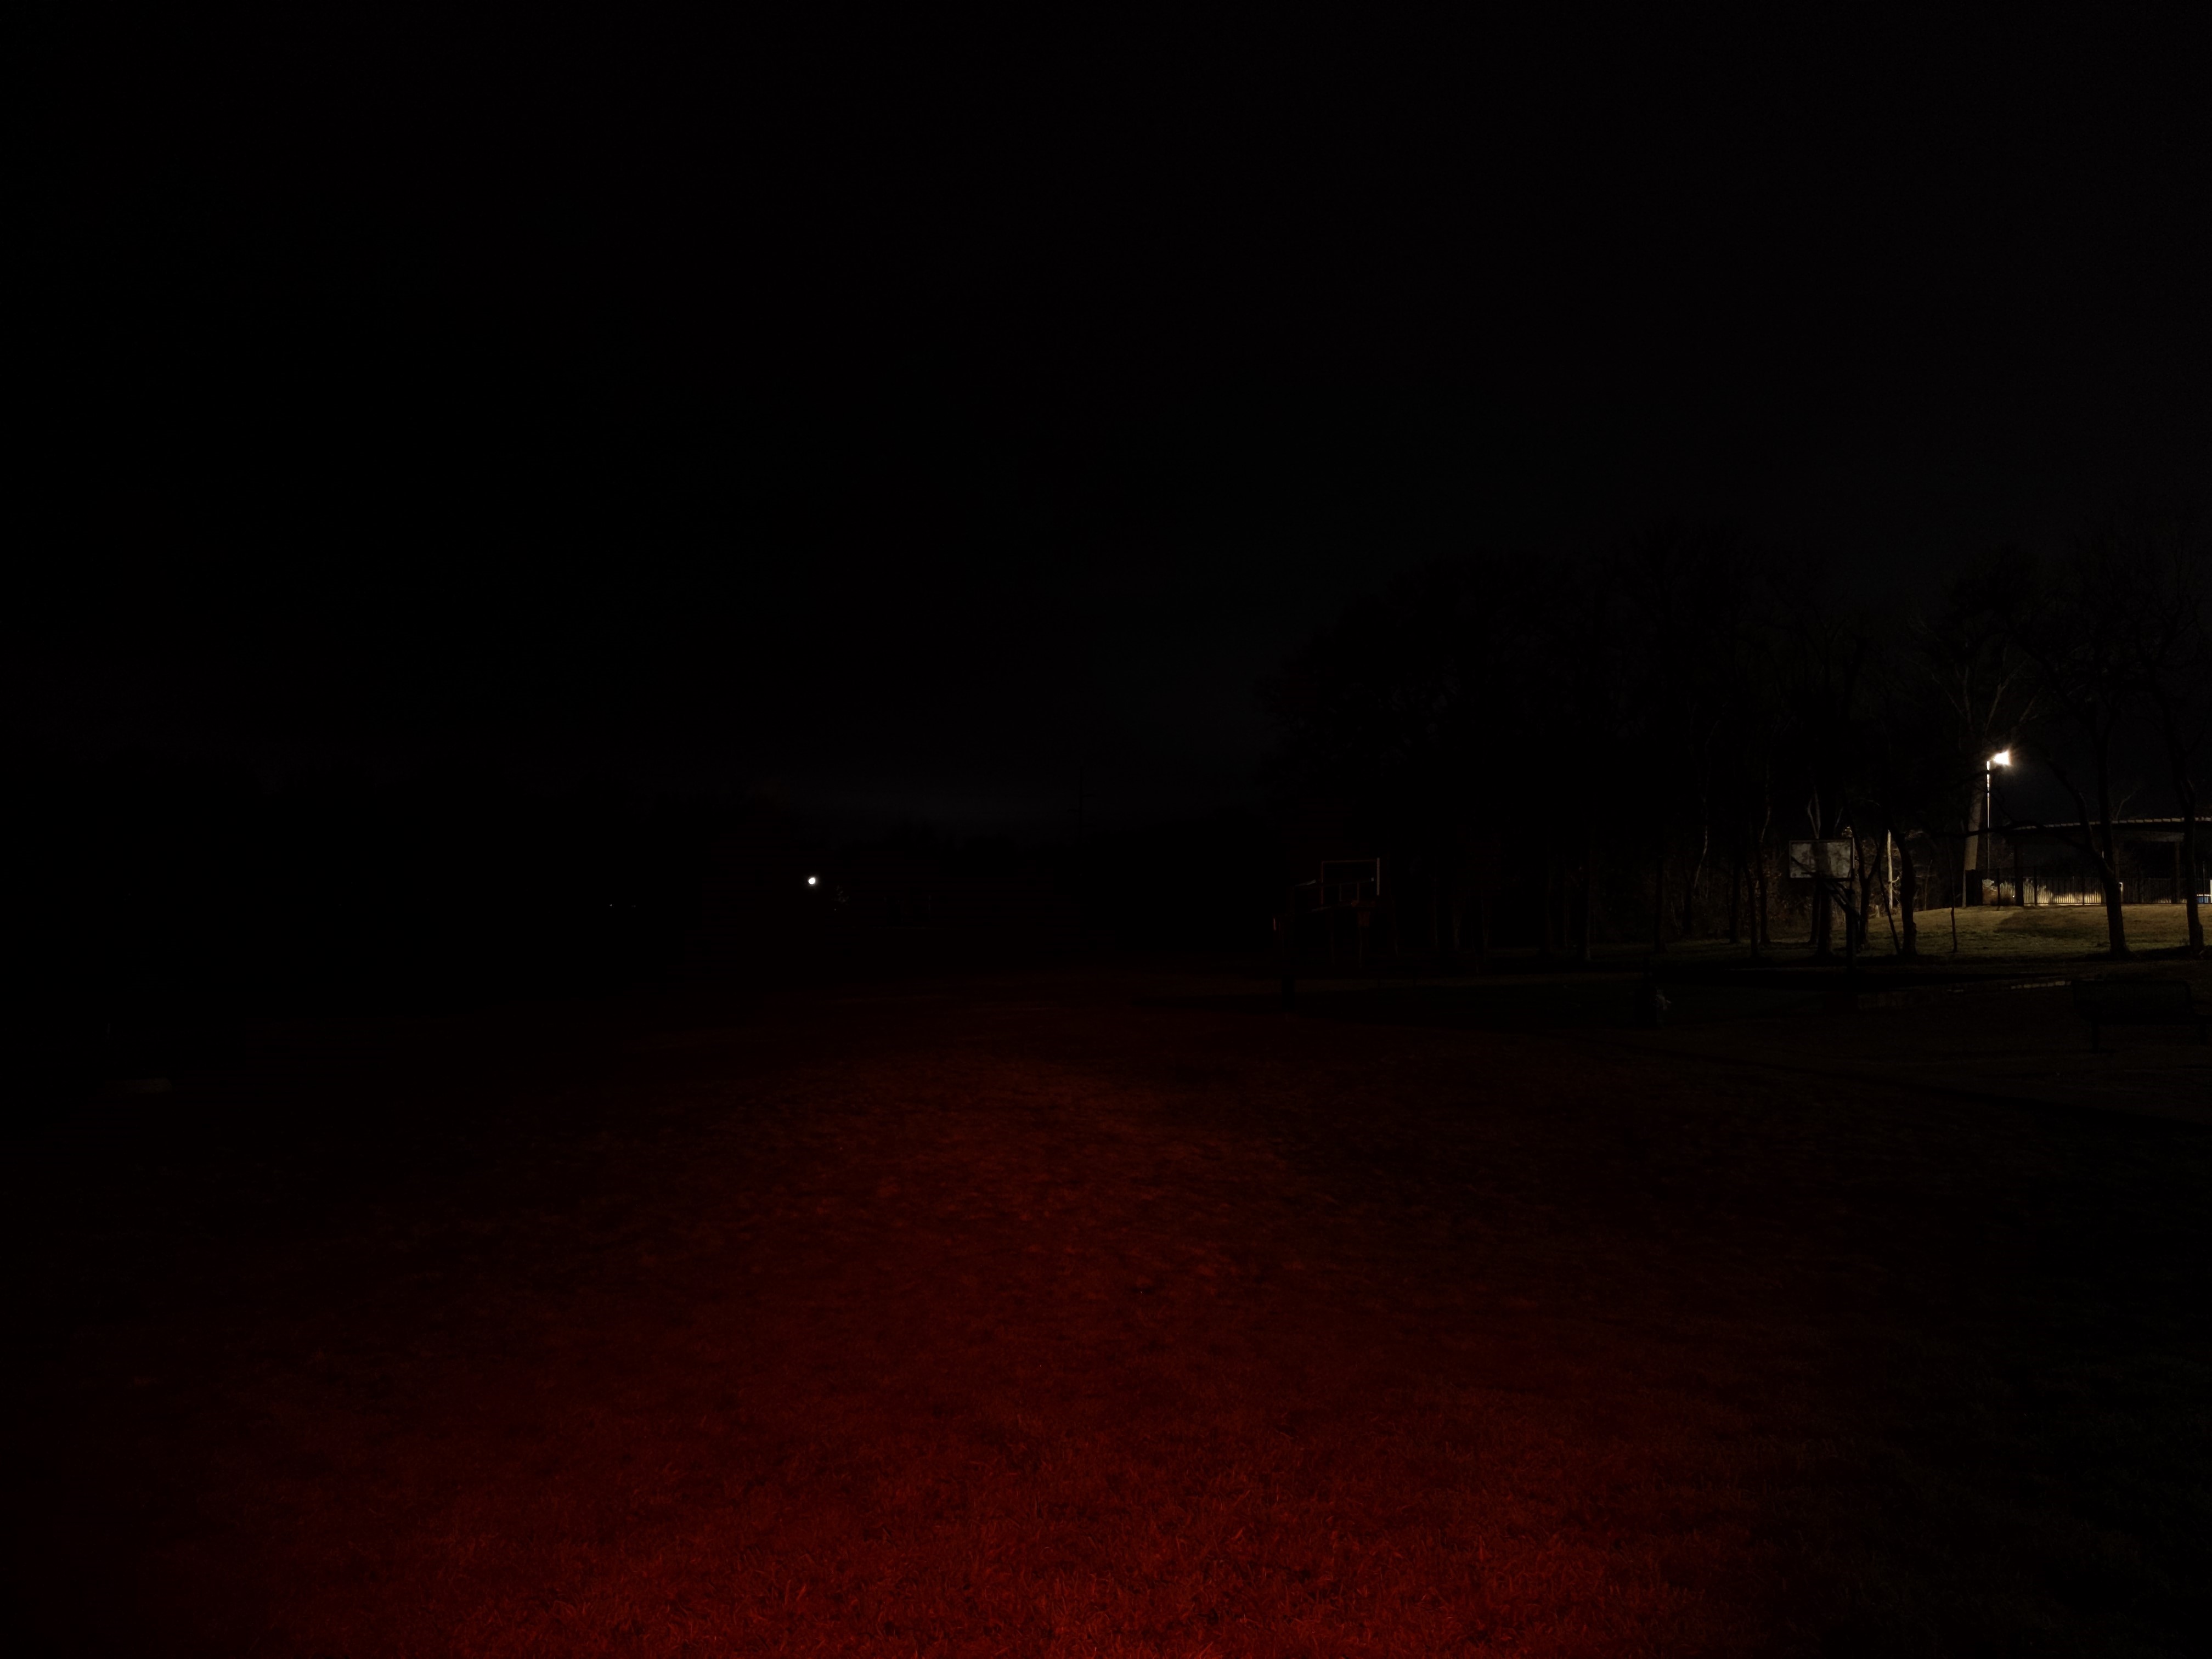
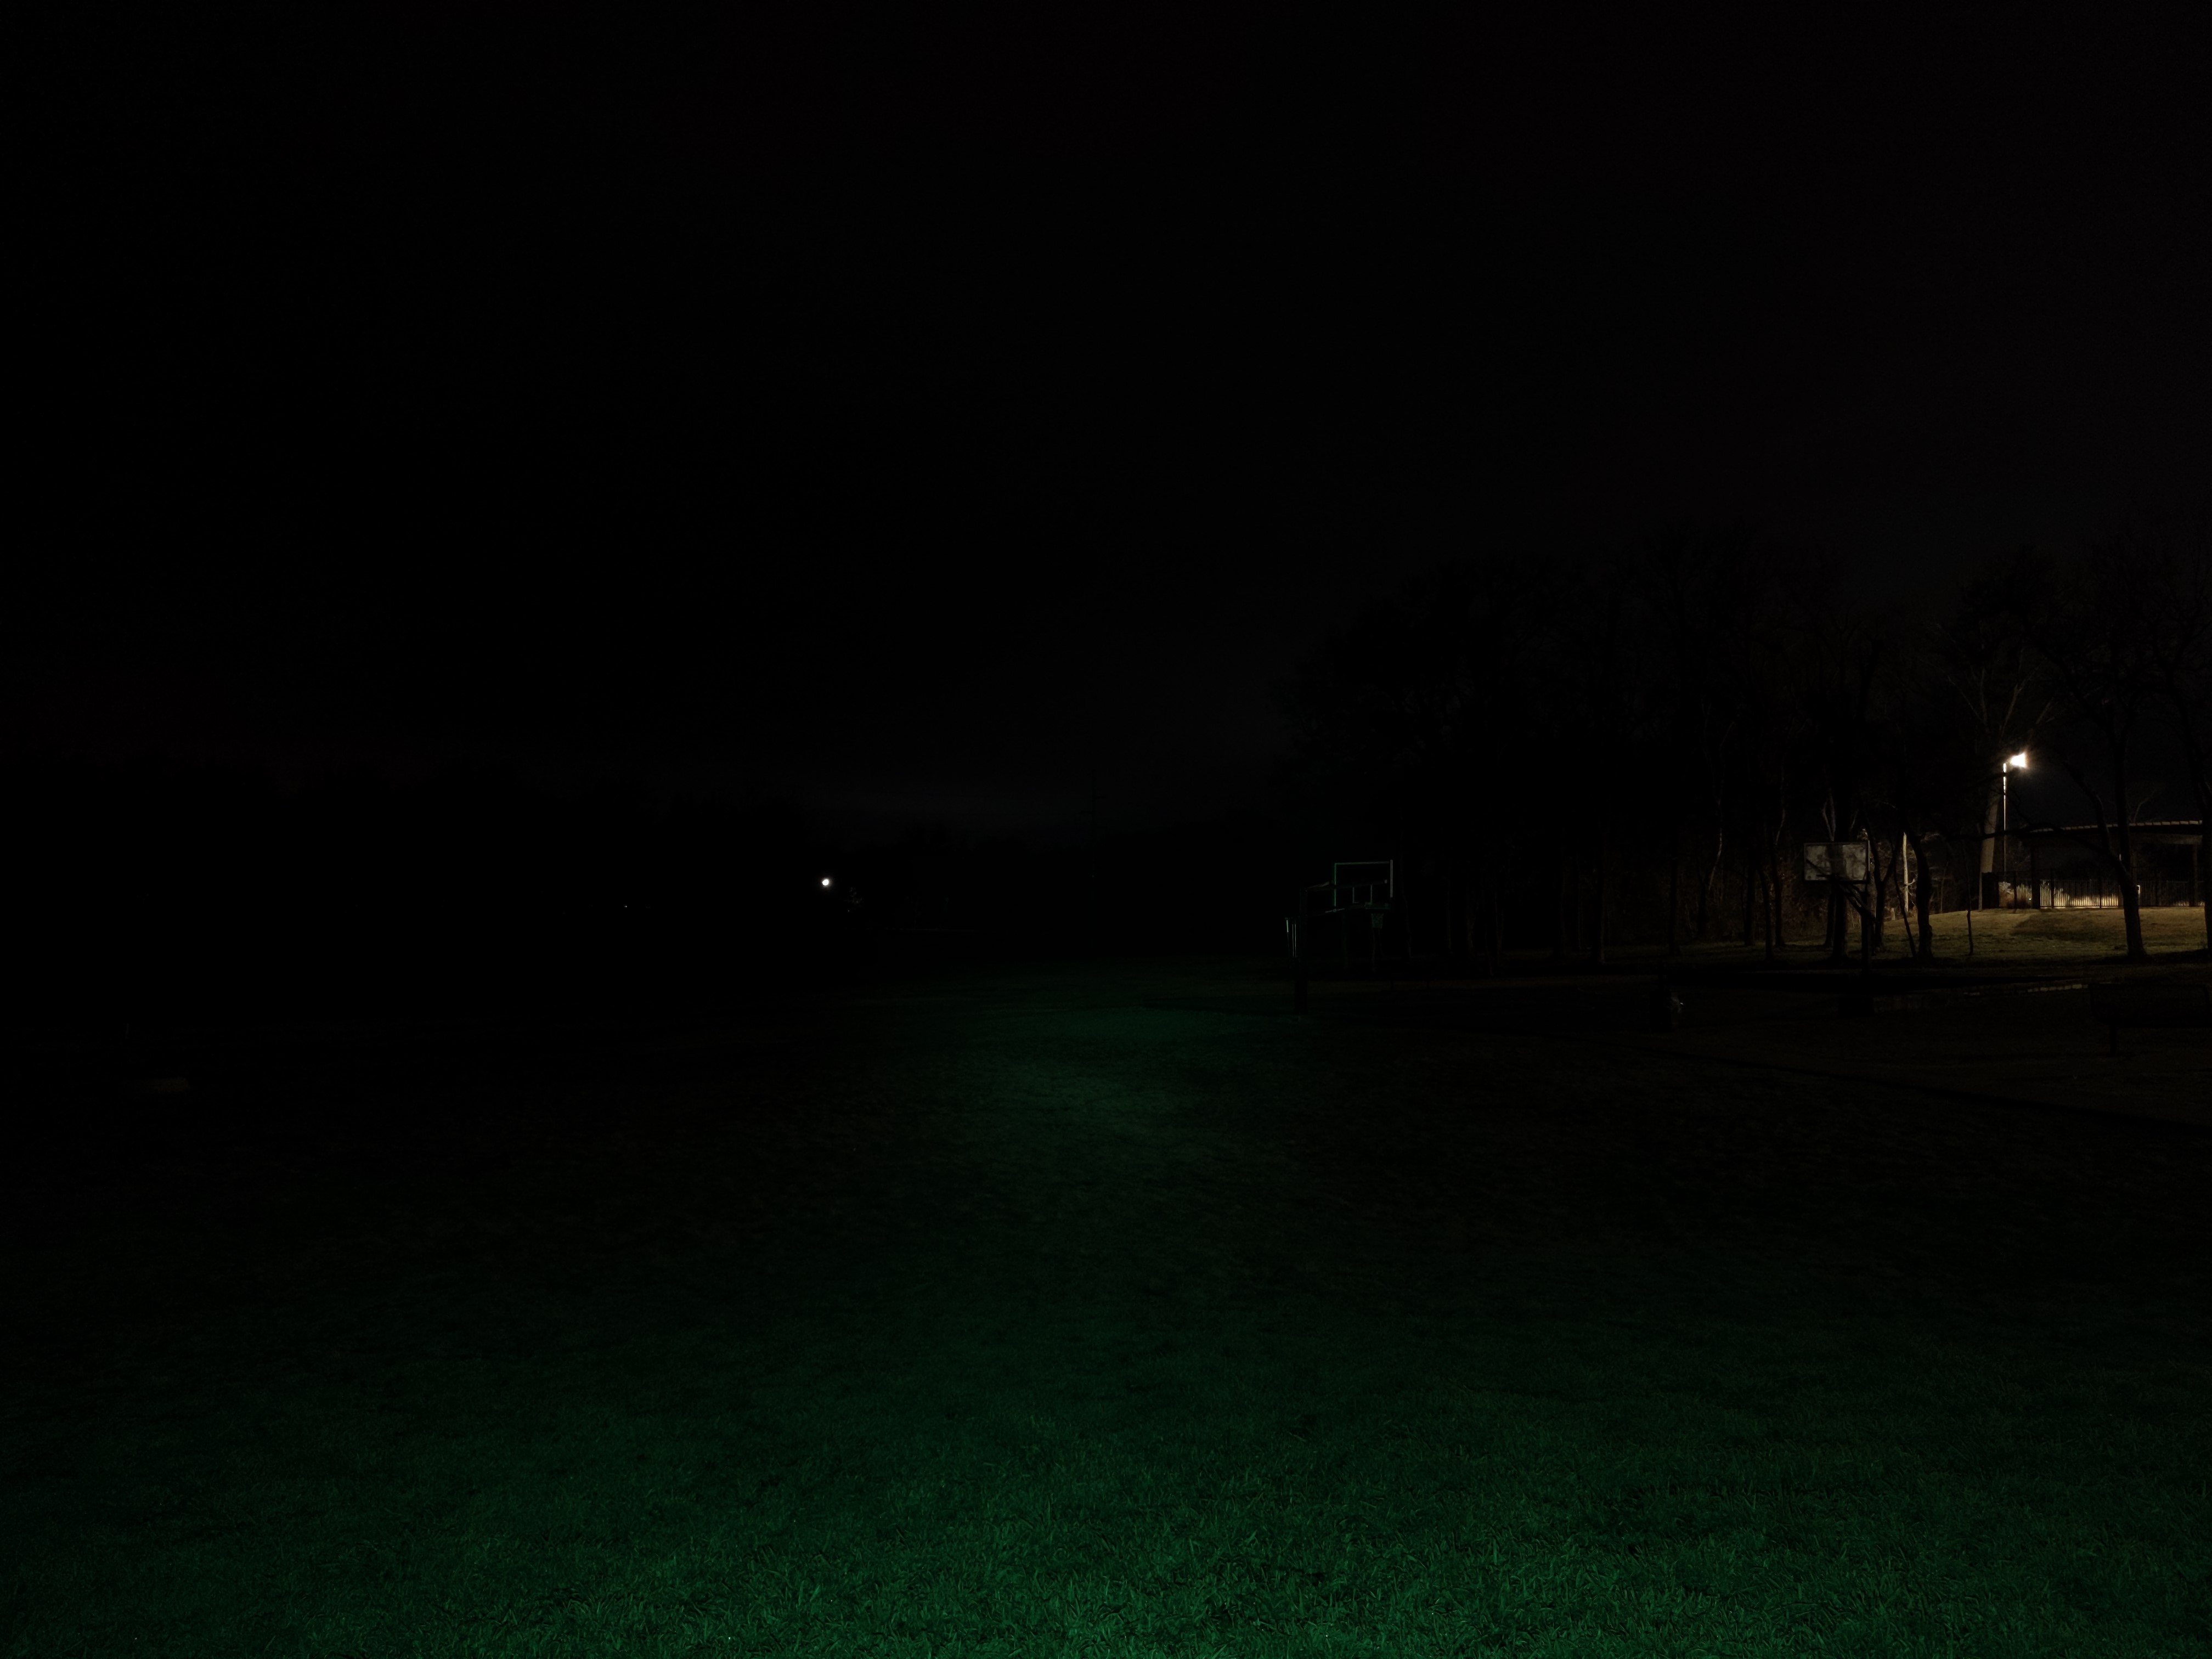
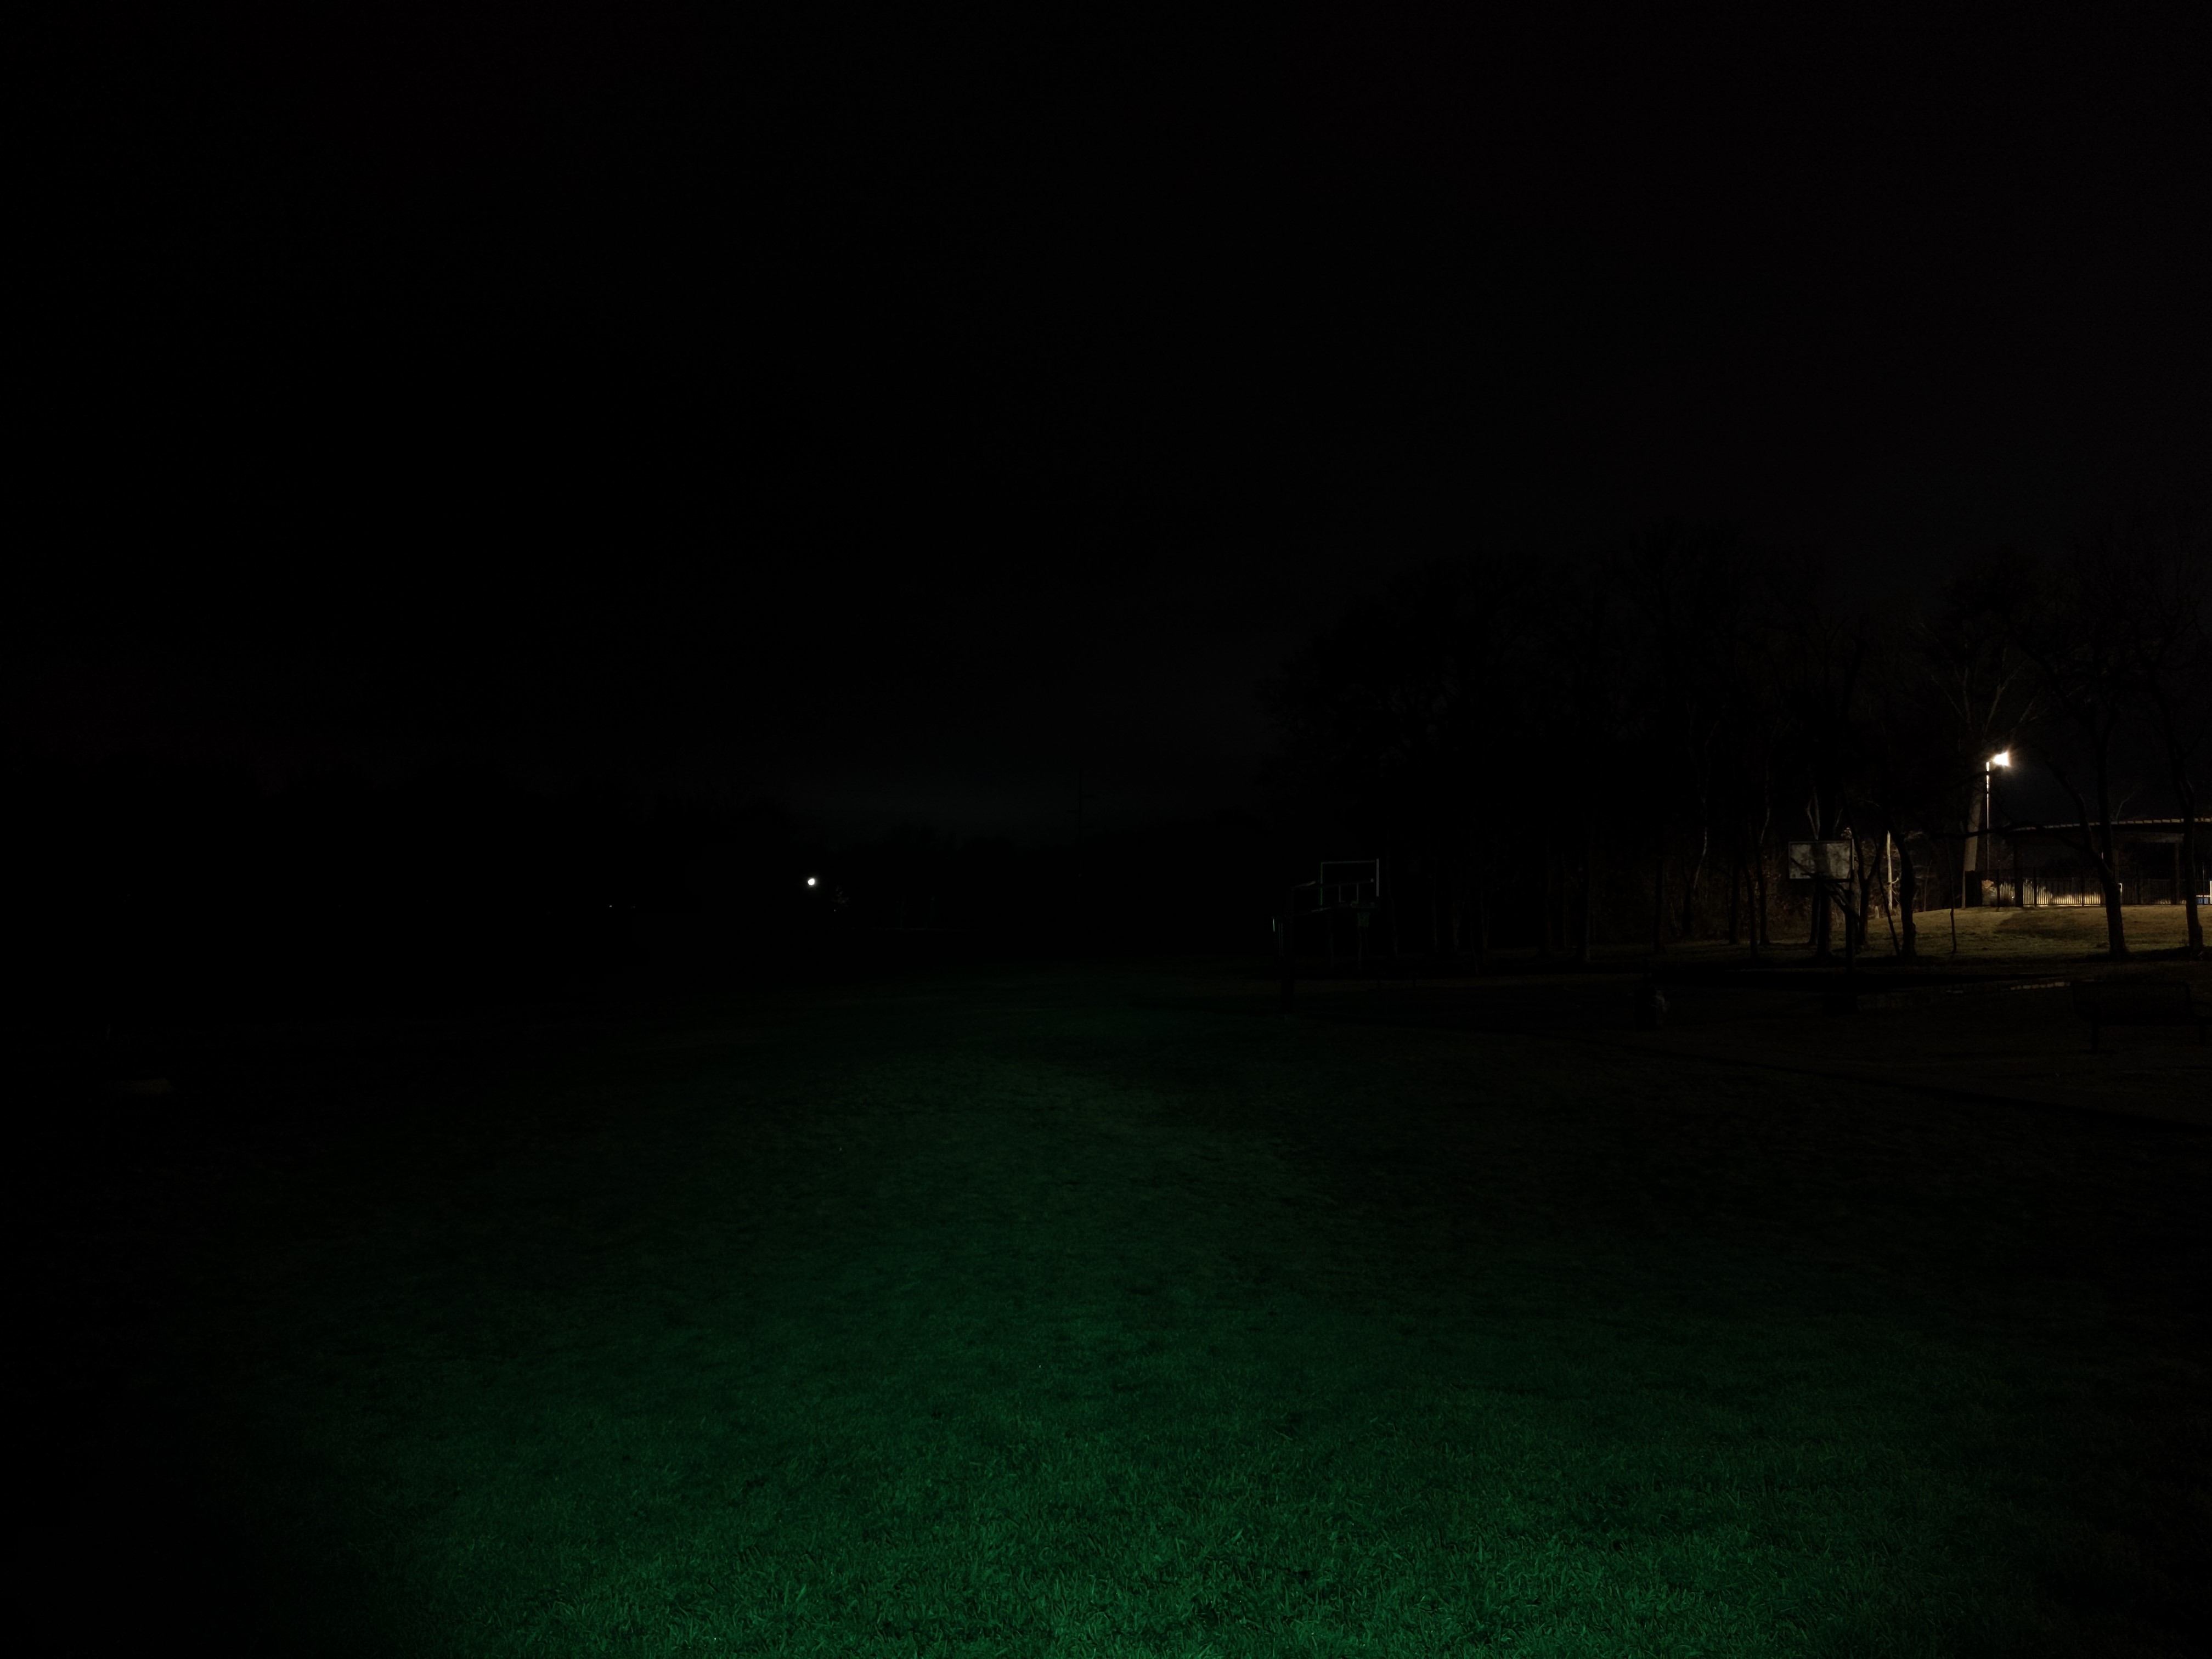
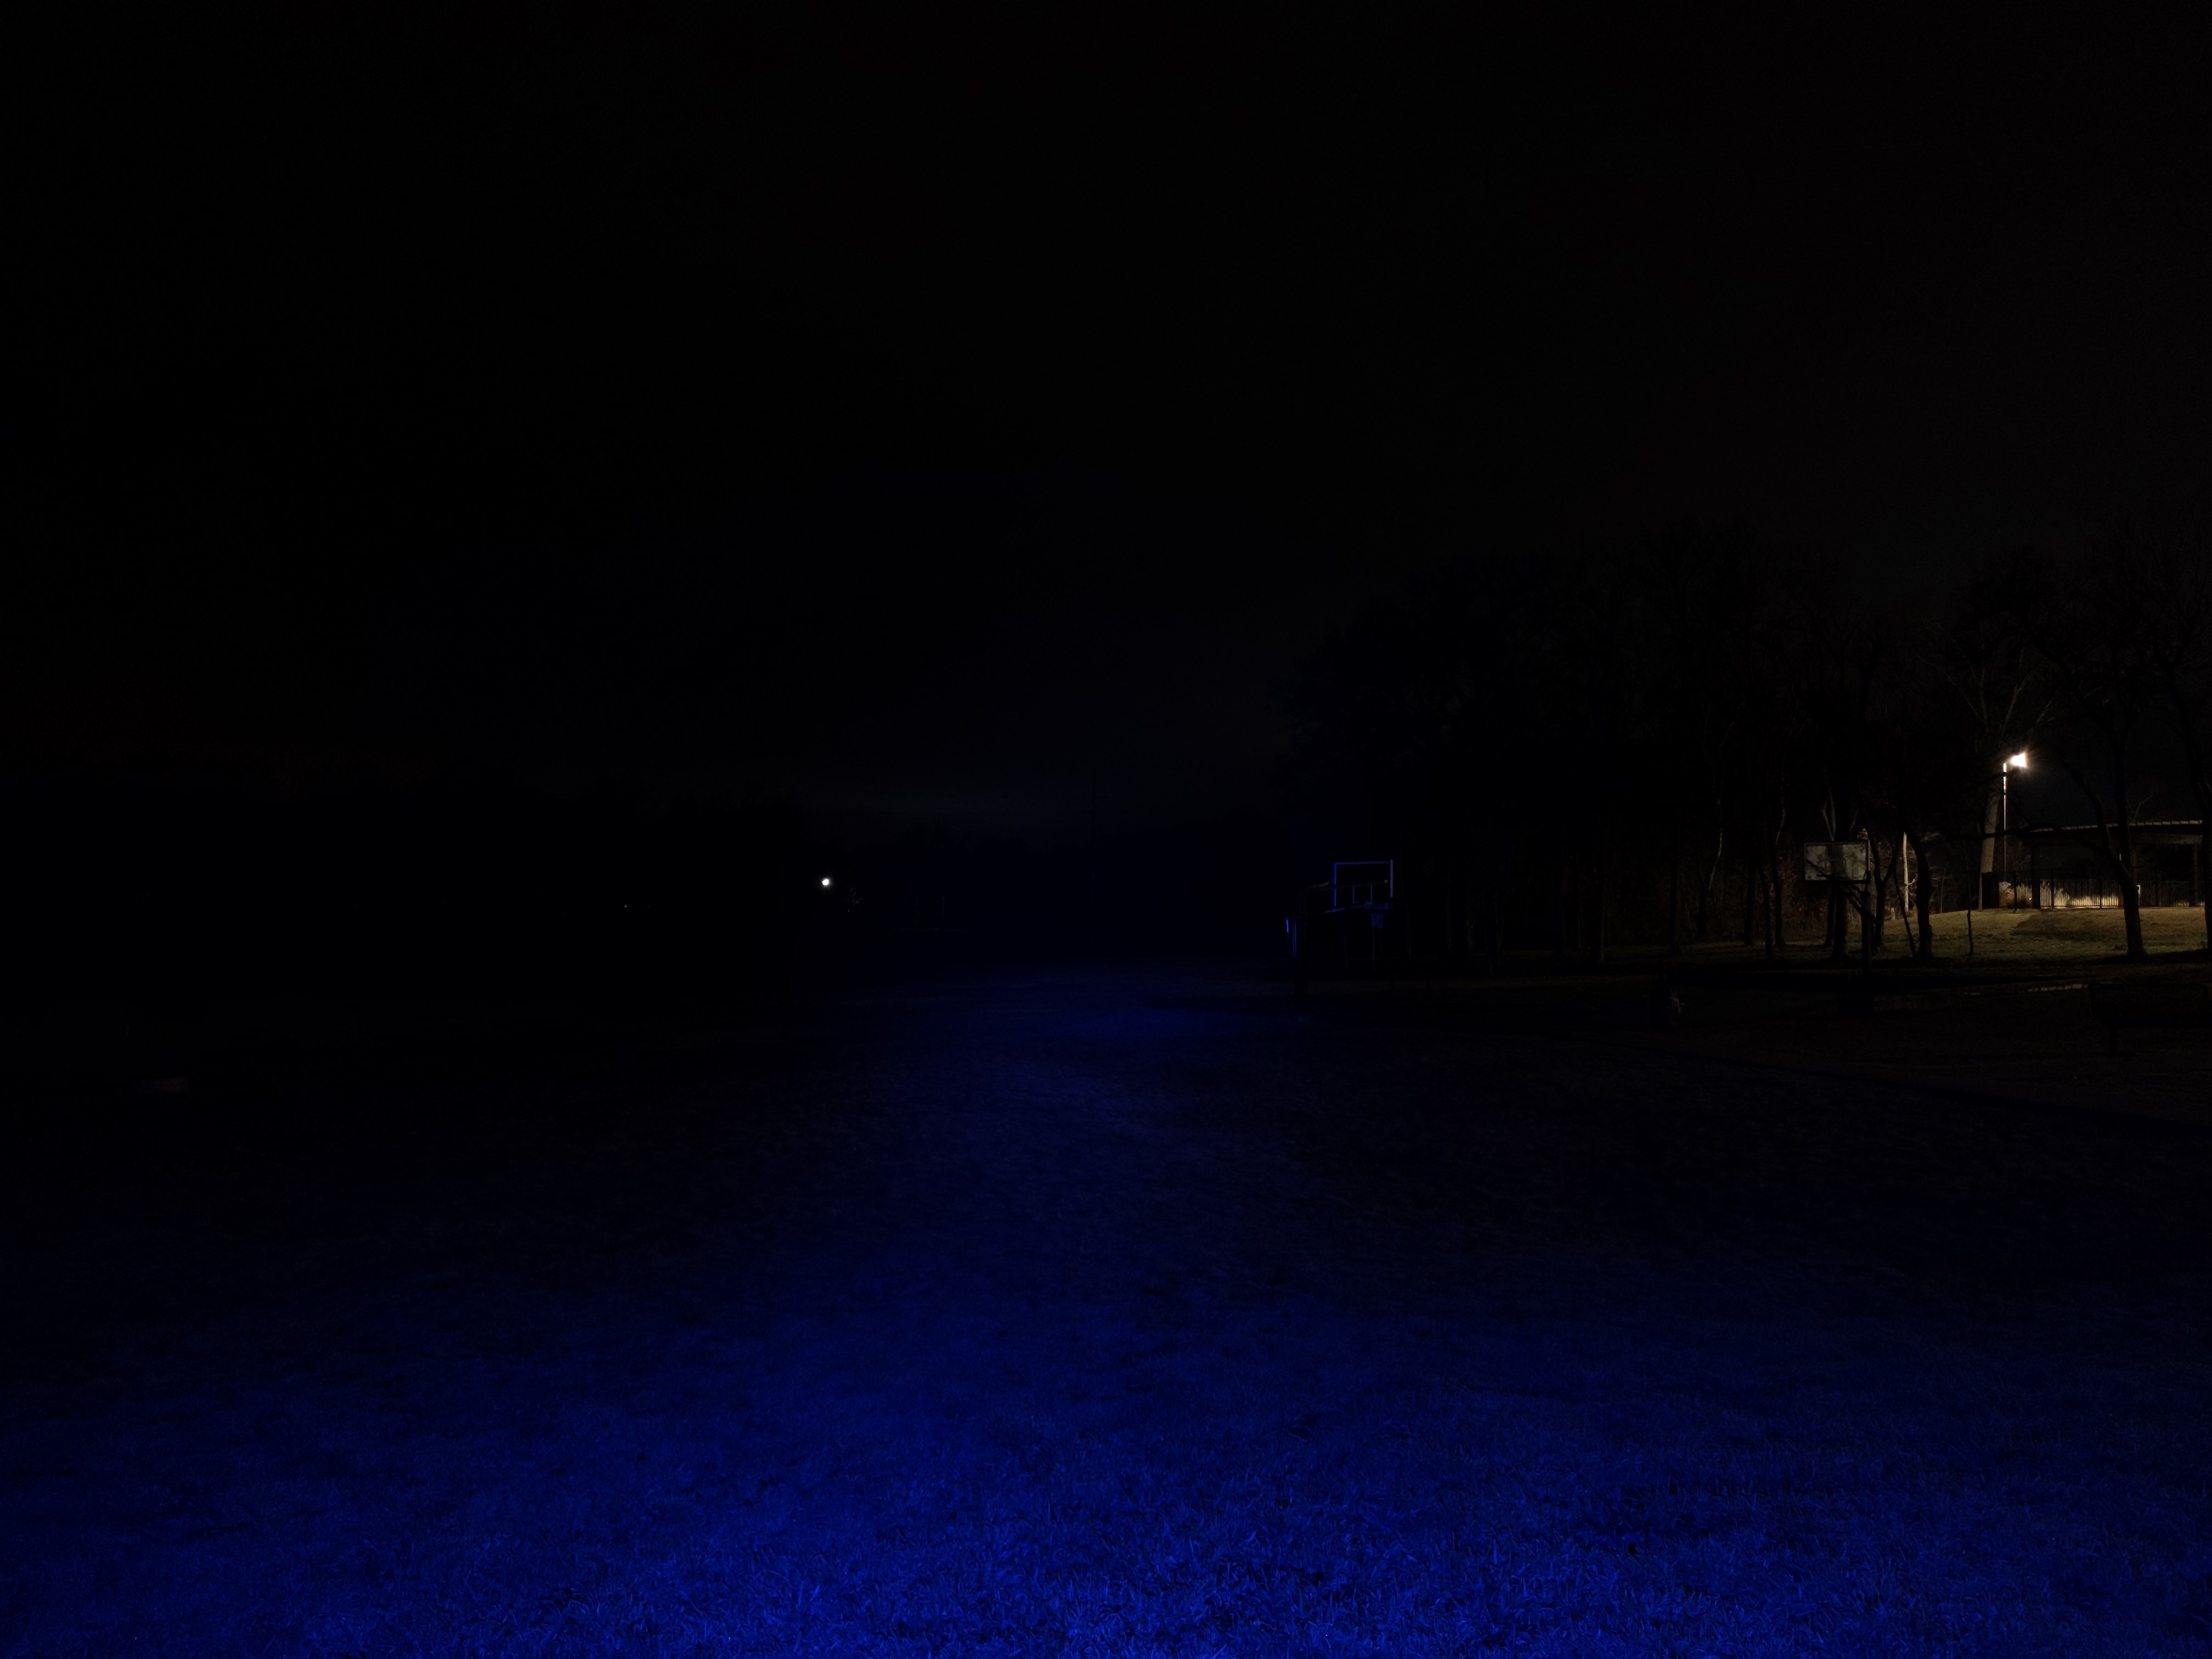
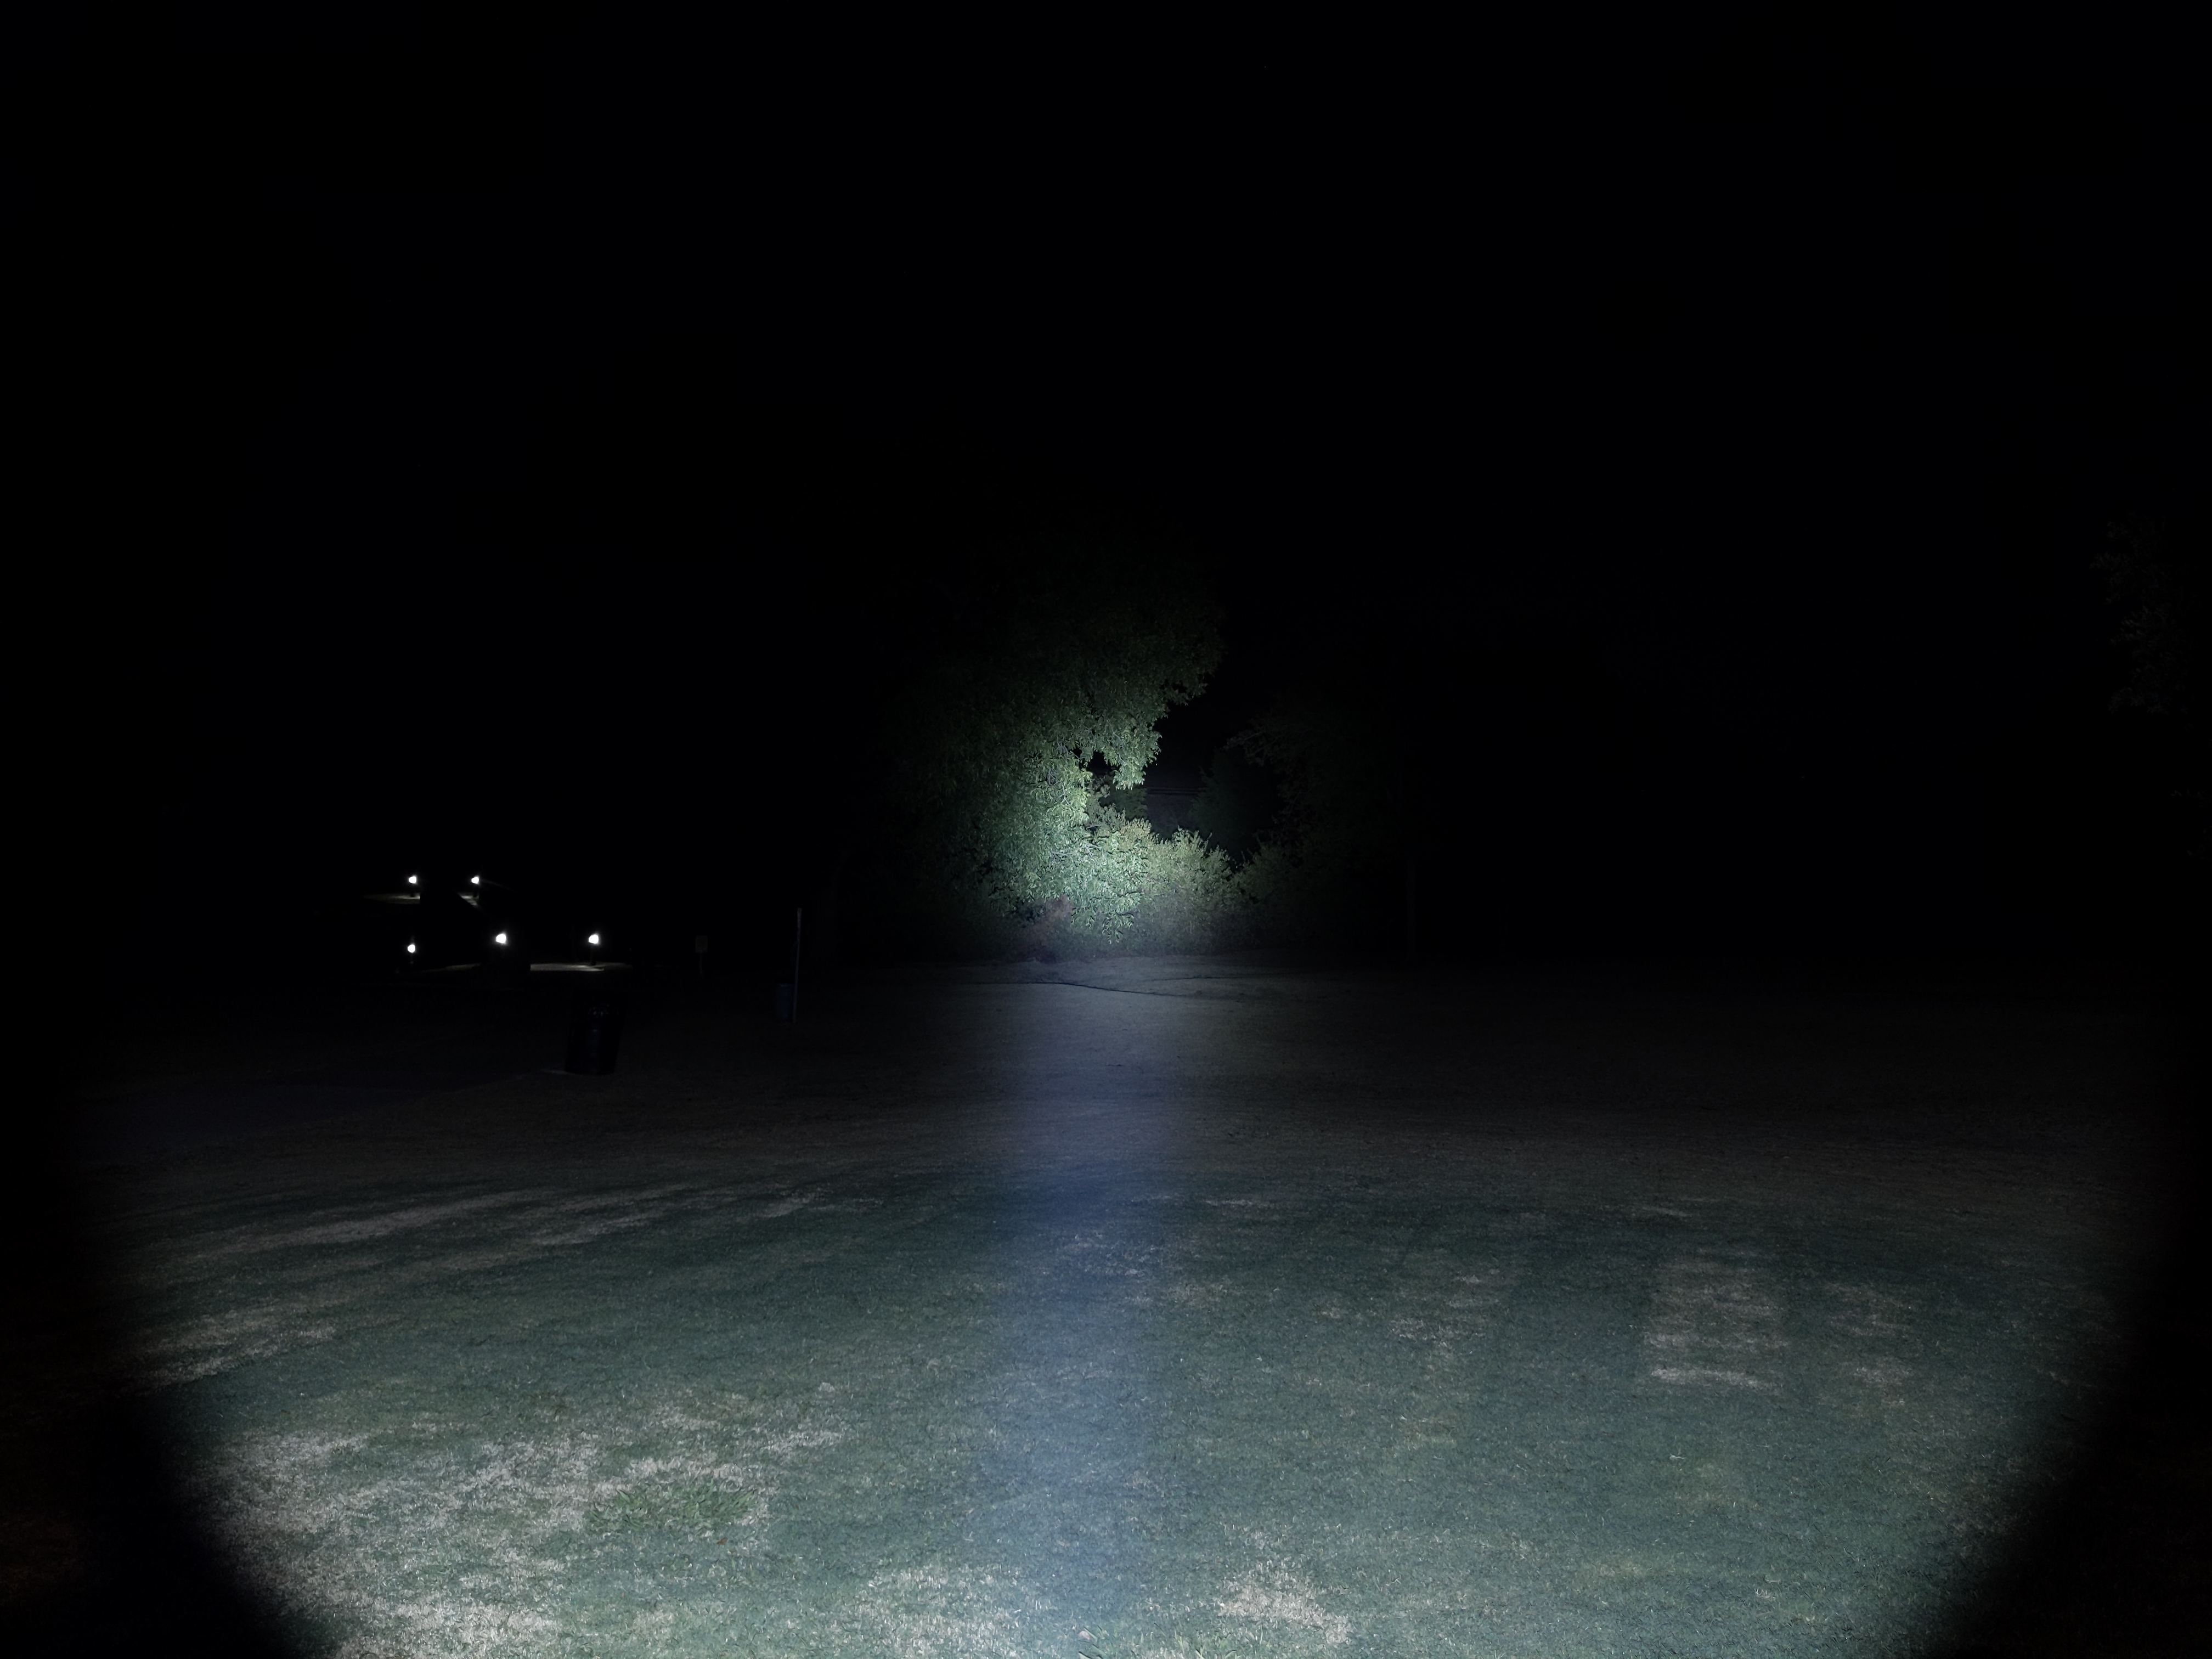
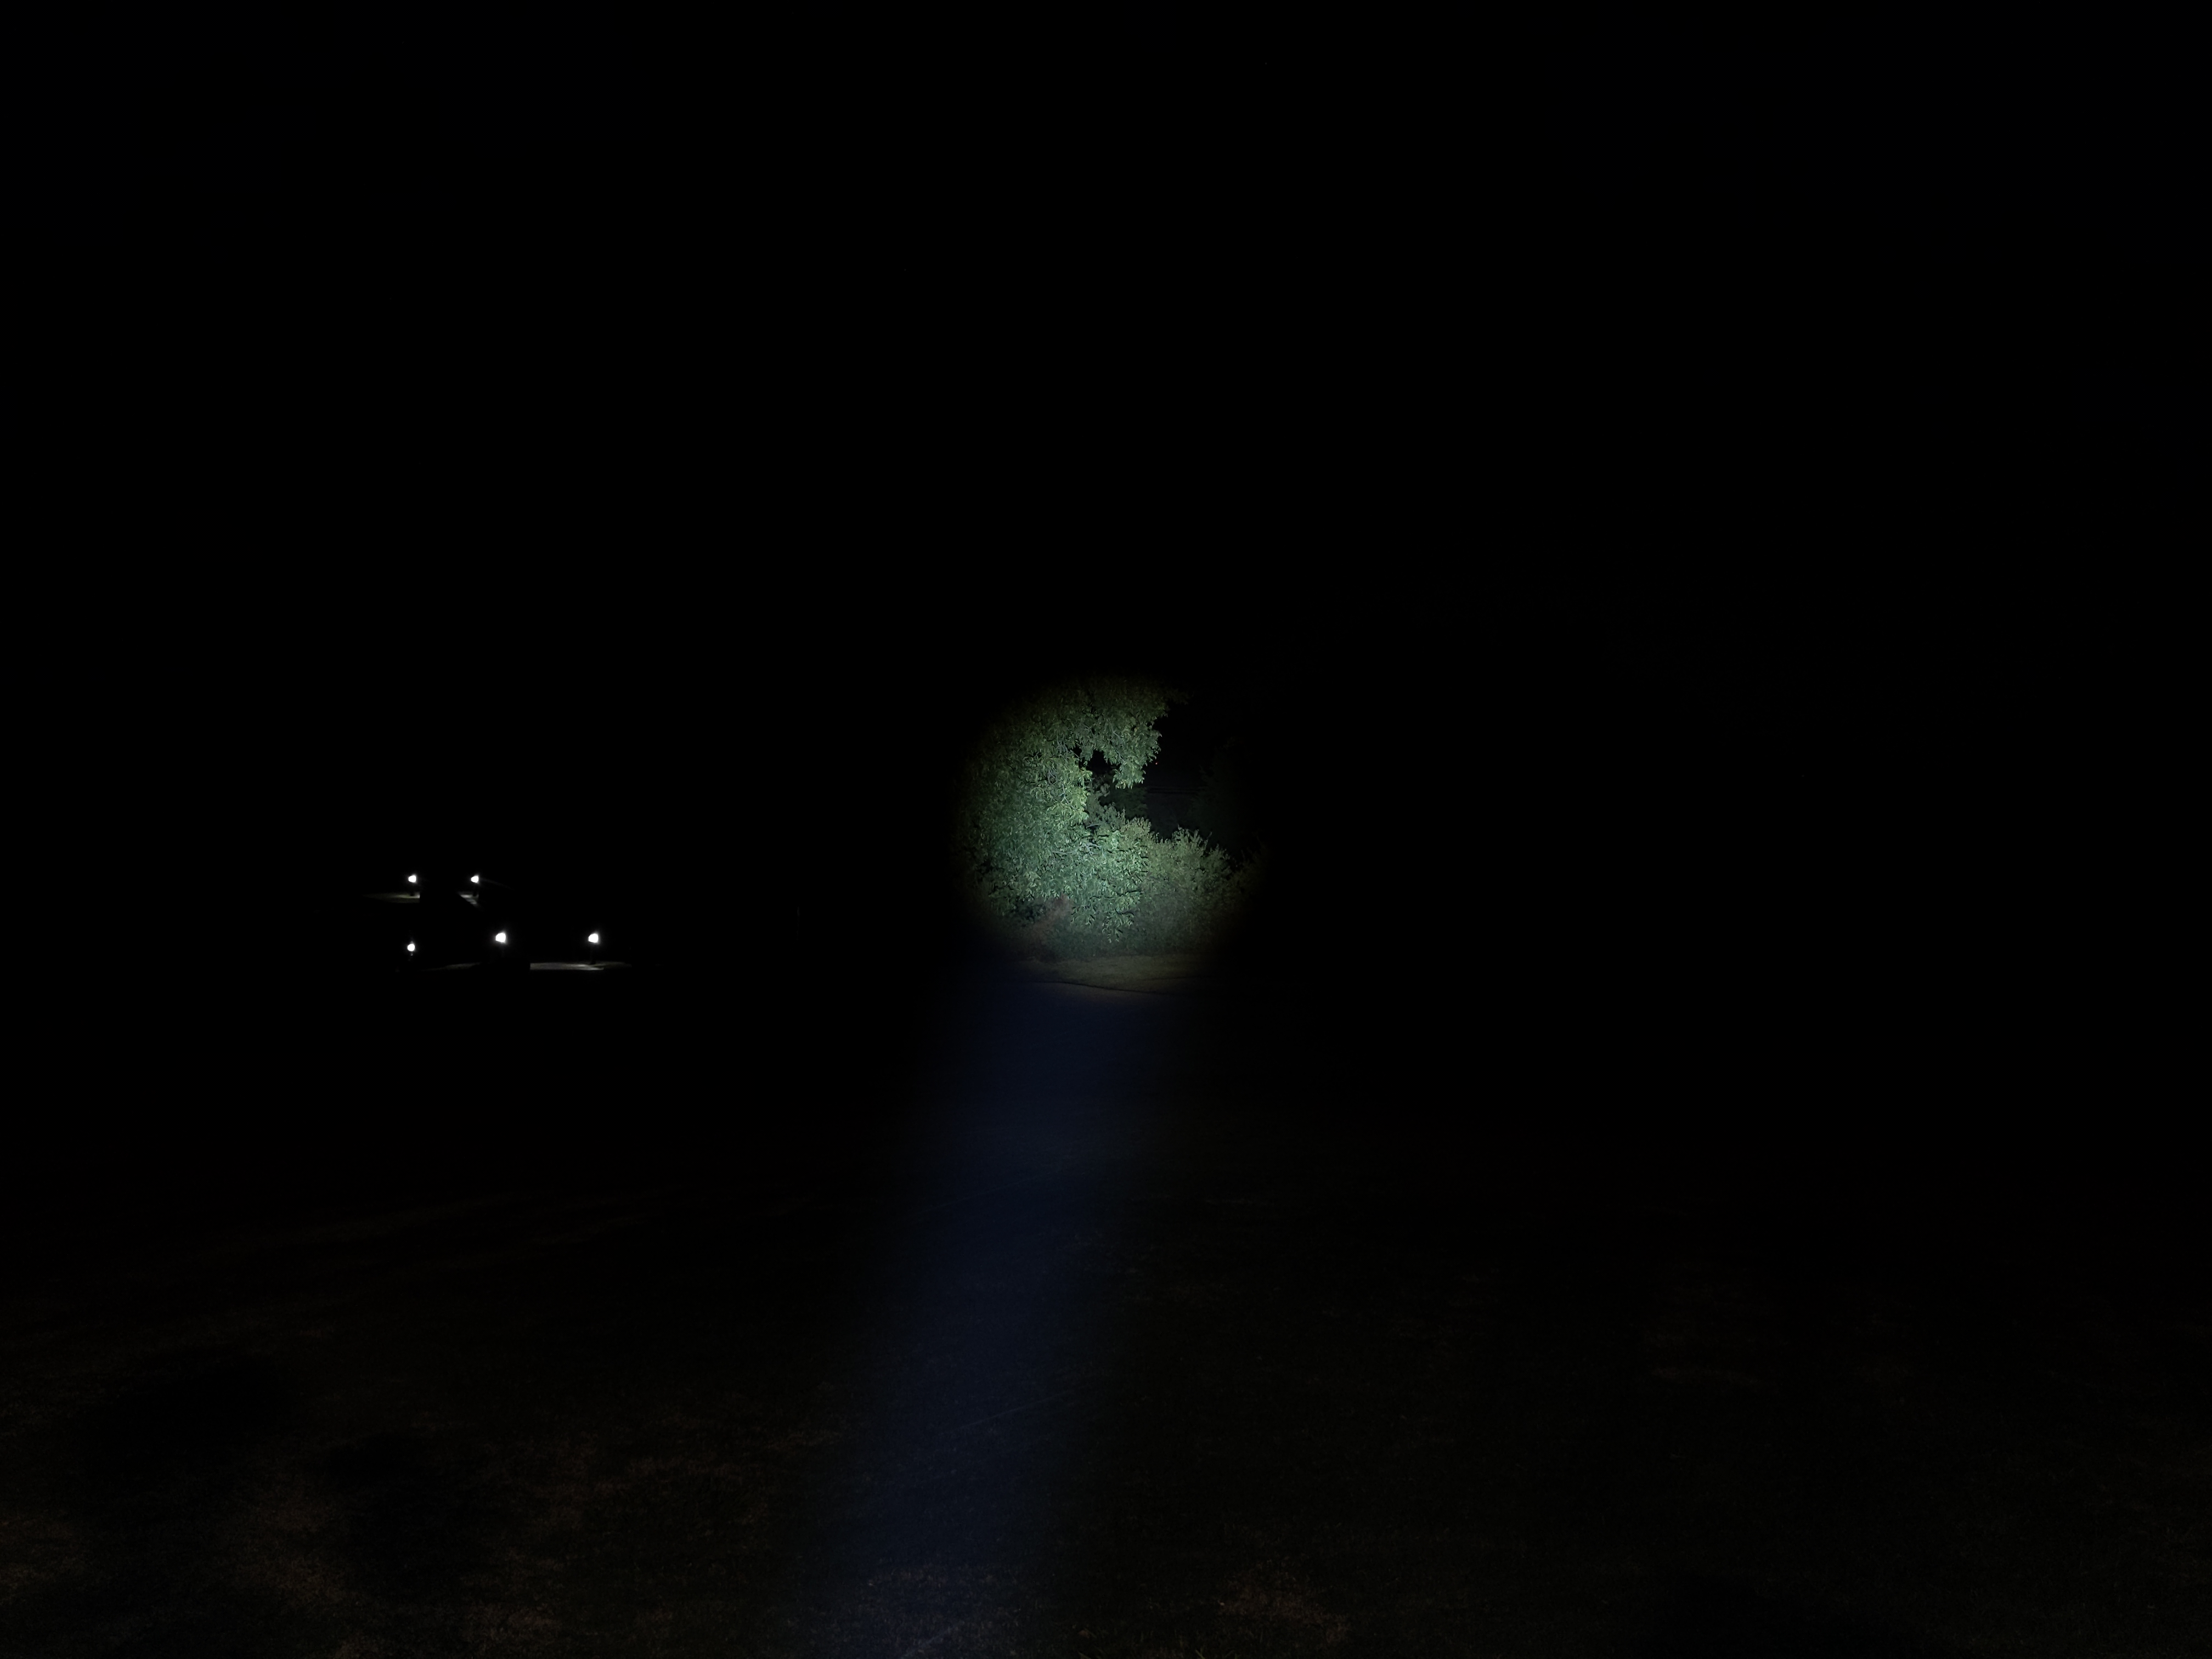
In the beamshots below, the garbage can is 21M away and the trees are 40-50M away.
Mode Chart
Disclaimer: All of my measurements are taken at turn-on. Lumen measurements were taken on a Texas Ace 3.5″ Lumen Tube. A candela measurement was taken at 10 meters with an Opple Light Master III on the highest brightness, and other candela figures were calculated relative to that. CRI, CCT, & DUV data were taken for each mode from a few feet away at the center of the hotspot with the Opple Light Master and Waveform DUV Calculator. Runtime tests were performed with the Ceilingbounce app on my smartphone. All of these tests were performed with a fully charged included battery unless otherwise specified. I cannot measure moonlight directly, so moonlight readings are calculated based on the brightness relative to the next-lowest mode. None of this is professional equipment, so take all of these measurements with a grain of salt.
| Level | Lumens (Claim) | Lumens (Tested) | Candela (Tested) | Throw (Meters) | CRI (Ra) | Color Temp. (K) | DUV (Tint) |
| 7 | 7000 | 5300 | 26800 | 327 | 69 | 6210 | 0.0025 |
| 6 | 3200 | 2400 | 12136 | 220 | 69 | 6140 | 0.0030 |
| 5 | 1600 | 1220 | 6169 | 157 | 68 | 6070 | 0.0035 |
| 4 | 800 | 620 | 3135 | 112 | 68 | 6010 | 0.0039 |
| 3 | 400 | 320 | 1618 | 80 | 68 | 5960 | 0.0043 |
| 2 | 200 | 150 | 758 | 55 | 68 | 5940 | 0.0050 |
| 1 | 100 | 77 | 389 | 39 | 68 | 5850 | 0.0048 |
| Level | Lumens (Claim) | Lumens (Tested) | Candela (Tested) | Throw (Meters) | CRI (Ra) | Color Temp. (K) | DUV (Tint) |
| 7 | 900 | 870 | 108000 | 657 | 66 | 6750 | 0.0087 |
| 6 | 700 | 640 | 79448 | 564 | 65 | 6670 | 0.0097 |
| 5 | 500 | 470 | 58345 | 483 | 65 | 6450 | 0.0101 |
| 4 | 300 | 290 | 36000 | 379 | 63 | 6360 | 0.0126 |
| 3 | 200 | 188 | 23338 | 306 | 62 | 6210 | 0.0142 |
| 2 | 100 | 100 | 12414 | 223 | 61 | 6360 | 0.0172 |
| 1 | 50 | 45 | 5586 | 149 | 60 | 6170 | 0.0183 |
| Power Level | 4 | 3 | 2 | 1 |
| Red Lumens (Claim) | 200 | 150 | 100 | 50 |
| Red Lumens (Tested) | 330 | 220 | 132 | 71 |
| Green Lumens (Claim) | 220 | 180 | 140 | 100 |
| Green Lumens (Tested) | 270 | 200 | 145 | 110 |
| Blue Lumens (Claim) | 120 | 100 | 80 | 55 |
| Blue Lumens (Tested) | 230 | 170 | 130 | 88 |
Mode Spacing: is quite poor.
There are too many modes too close together. Generally, two adjacent modes should have a ~3x lumens difference. That’s enough for the difference to be visible, but not so much that it’s jarring. Here, the differences between modes range from just 1.31x to 2.21x. I don’t think the white LEDs here need more than four levels and the color LEDs don’t need more than two. Perhaps they’ll change that in the next Marauder, and maybe add one dimmer level for each LED.
The low modes aren’t low enough. I don’t need sub-lumen moonlight levels from a large light like this, but single-digits would be great. That’s particularly true for red, which some people like to use to “preserve night vision”. The lowest red mode here is 71 lumens and that’s comically bright for some situations where you might use a red light.
Runtime
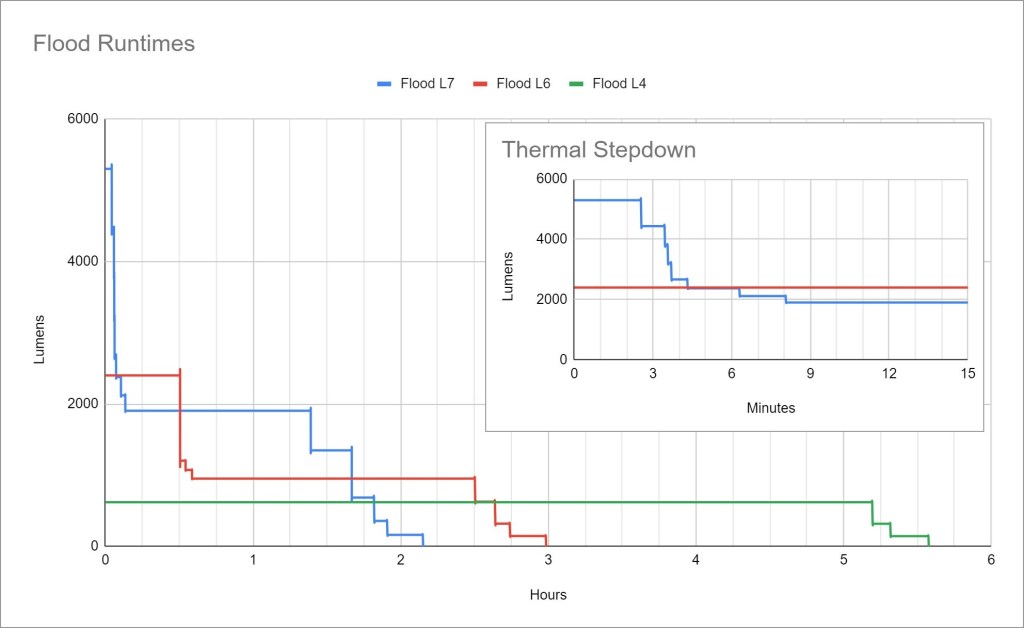
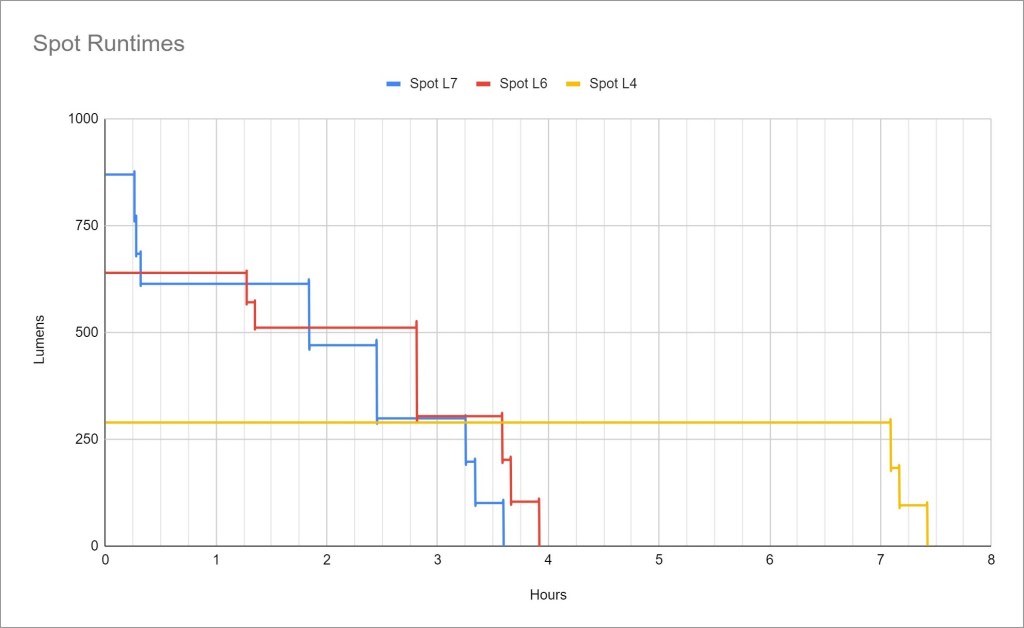
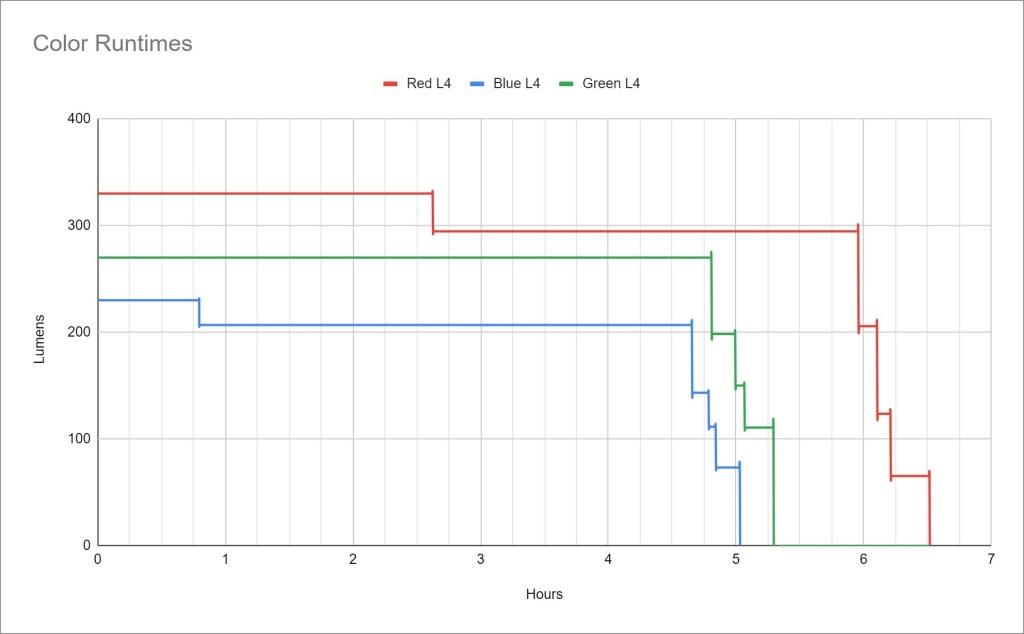
Performance is satisfactory. 3 minutes of turbo on Flood and 15 minutes on Spot are both excellent. Sustained Flood output is ~2500 lumens. Sustained spot is a little low at ~600 but that’s still plenty. Runtime is good too thanks to the large battery. The RGB channels don’t get hot enough to need a thermal stepdown and they all last for 5+ hours at respectable brightness.
Thermal regulation: I chose not to test for active thermal regulation on this light. Olight rarely incorporates active thermal regulation and typically uses timed stepdowns instead. That means the light will perform consistently but may also overheat in hot weather or leave some performance on the table in cold weather.
LVP (Low Voltage Protection): The cell has protection circuitry, but in my testing, I found that the light itself cut off before the cell. Removing & reinstalling the tailcap will let you temporarily re-activate the light in an emergency even after low voltage shutoff.
Driver & Regulation
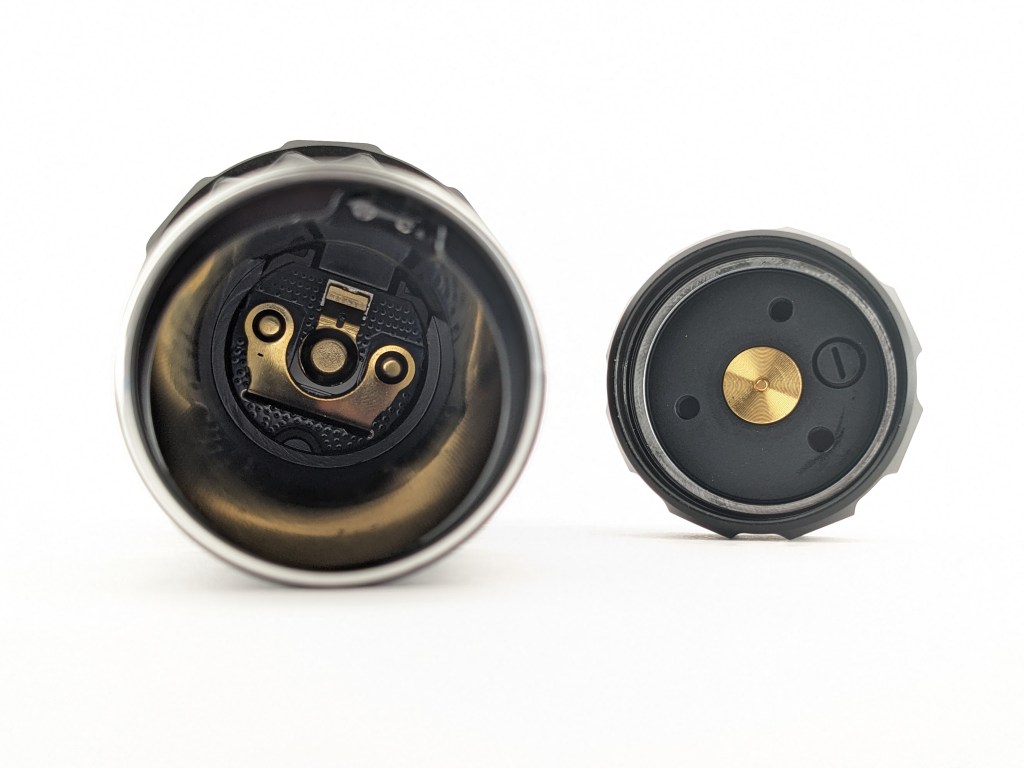
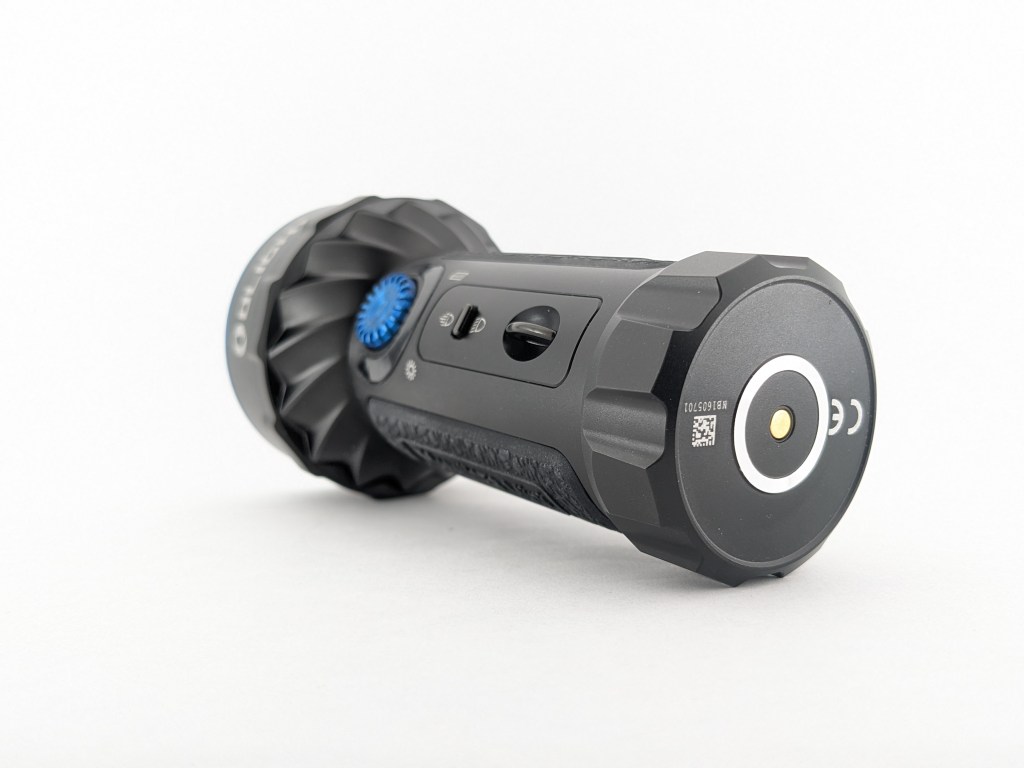
I’m not sure what kind of driver this light uses. Olights generally have good quality Buck or Boost drivers. I could not get any photos of the driver. You can see in the photo above that the driver has both positive and negative contact pads, and that’s why the proprietary battery is required.
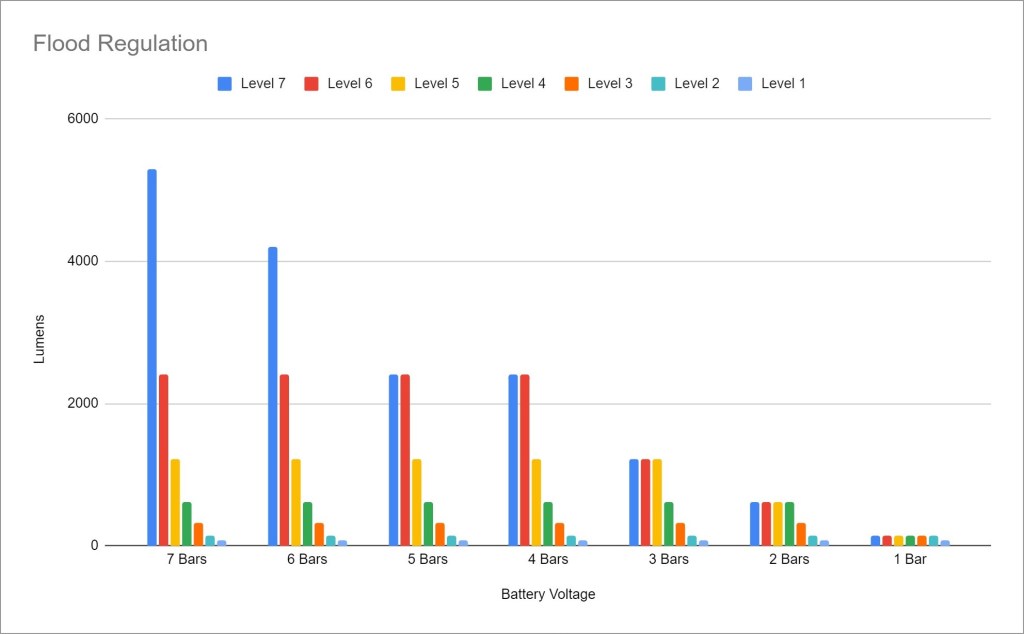
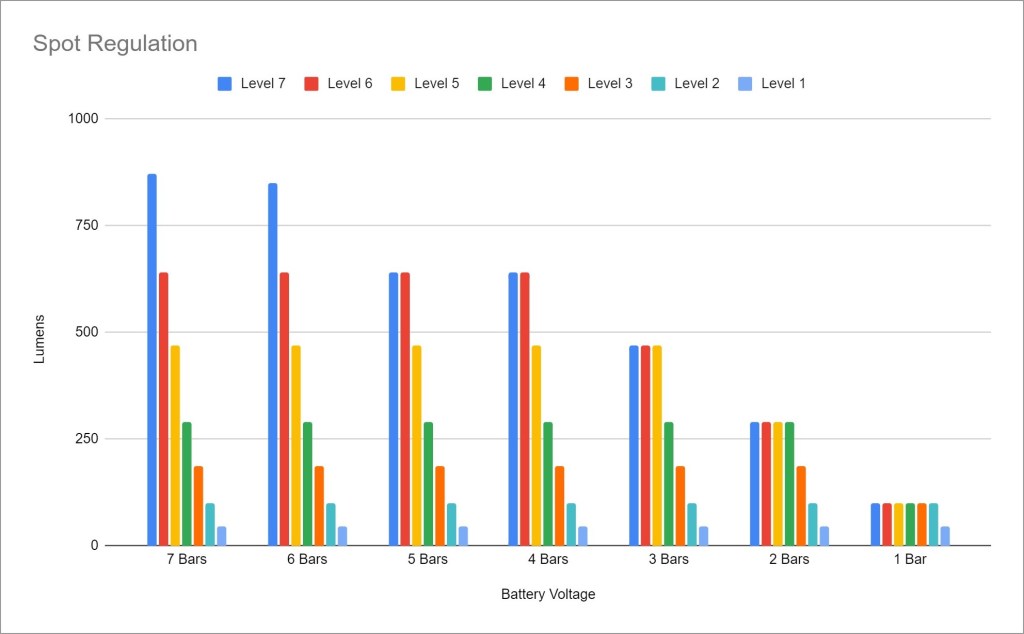
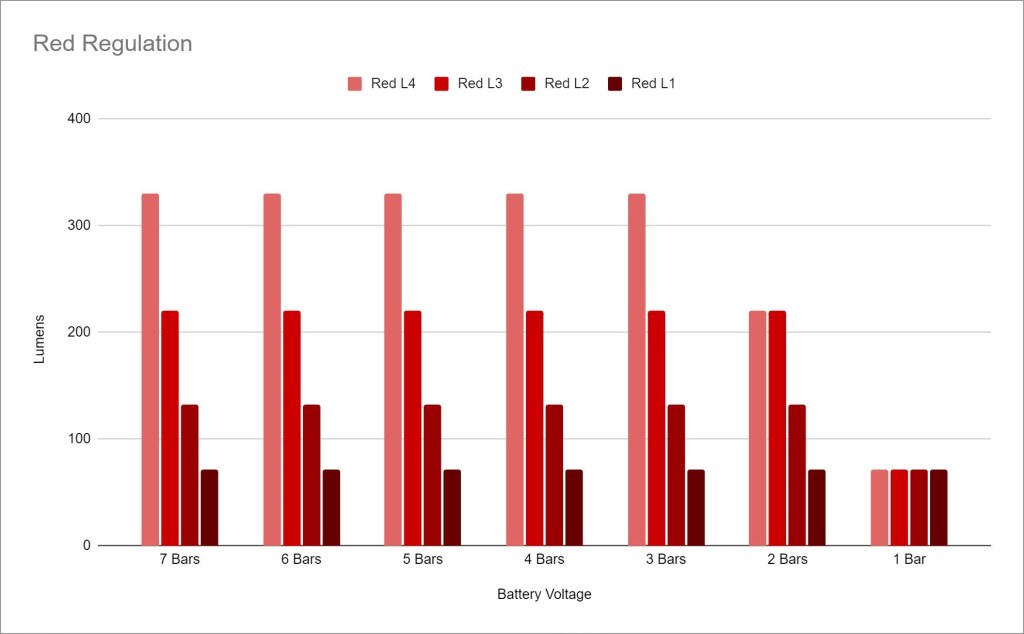

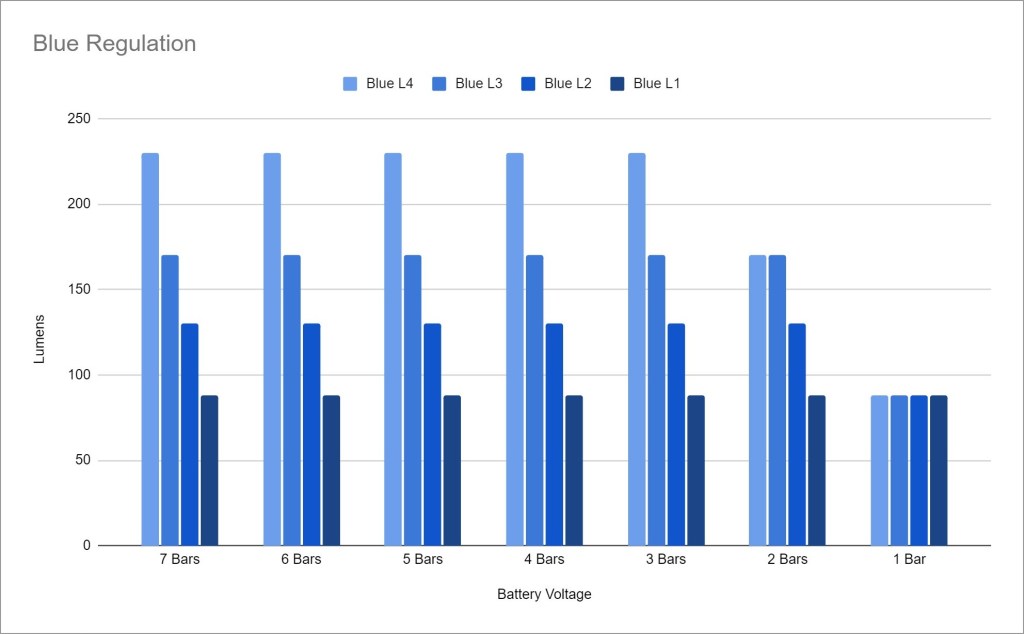
Regulation performance for white light is ok. It’s not great, but it’s about what I’d expect from a “7000 lumen” single-cell flashlight. You really only get full brightness performance with a near-full battery, even in the low-output spotlight channel. Generally, I like to see full brightness achievable with a half charge or more. The colored LEDs provide full output until the battery is near empty. This is advertised as a 7000-lumen light, but it’s really more of a ~2500-lumen light with a 5000-lumen bonus mode if the battery is full.
Note: All regulation measurements are taken at turn-on so they do not reflect any thermal or low voltage stepdowns that may occur. A value of 0 indicates low voltage shutoff immediately upon activation.
PWM: No PWM is visible to my eyes or camera, nor audible to my ears.
Parasitic Drain: The proprietary battery prevents me from measuring parasitic drain.
Switches
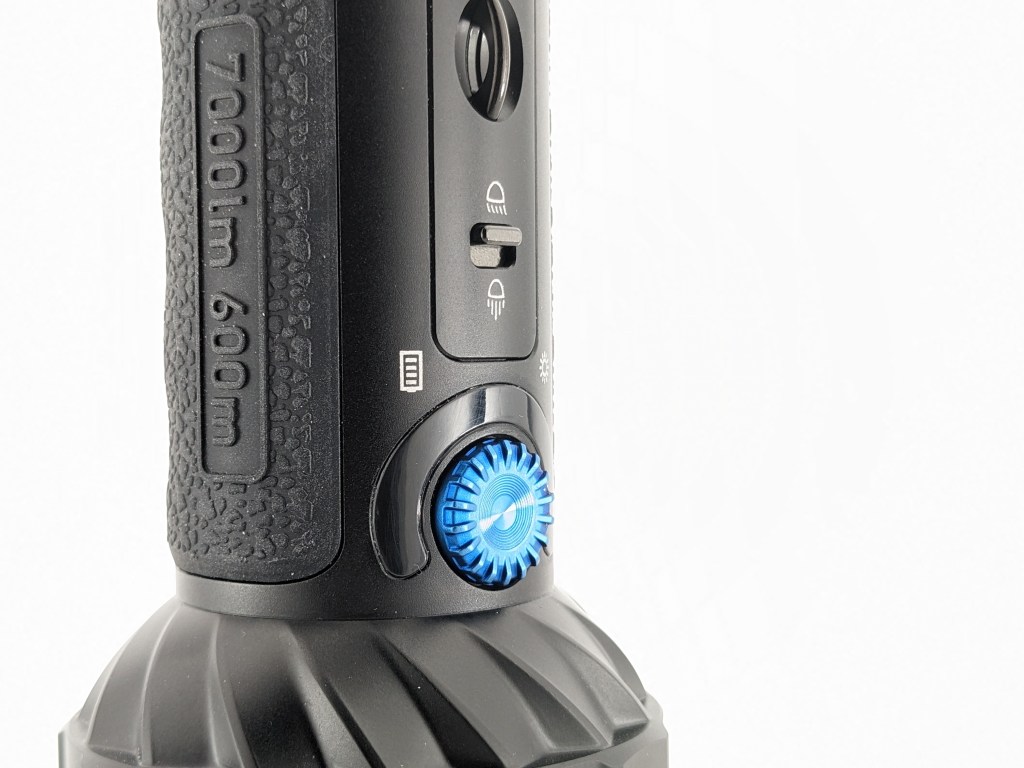
The Rotary Knob/Button is made of blue anodized aluminum with machined ridges around the outside for grip. It rotates smoothly for brightness adjustment and can also be pressed like a button to turn the light on/off and change colors. I don’t love it but it works well enough.
Adjusting brightness is a little fiddly because there aren’t any detents and it doesn’t respond if you turn it slowly. If I want to go up one brightness level, I’ll spin the knob slowly so I don’t overshoot, but then it doesn’t do anything. The trick is to spin it fast for a short distance and that takes some practice.
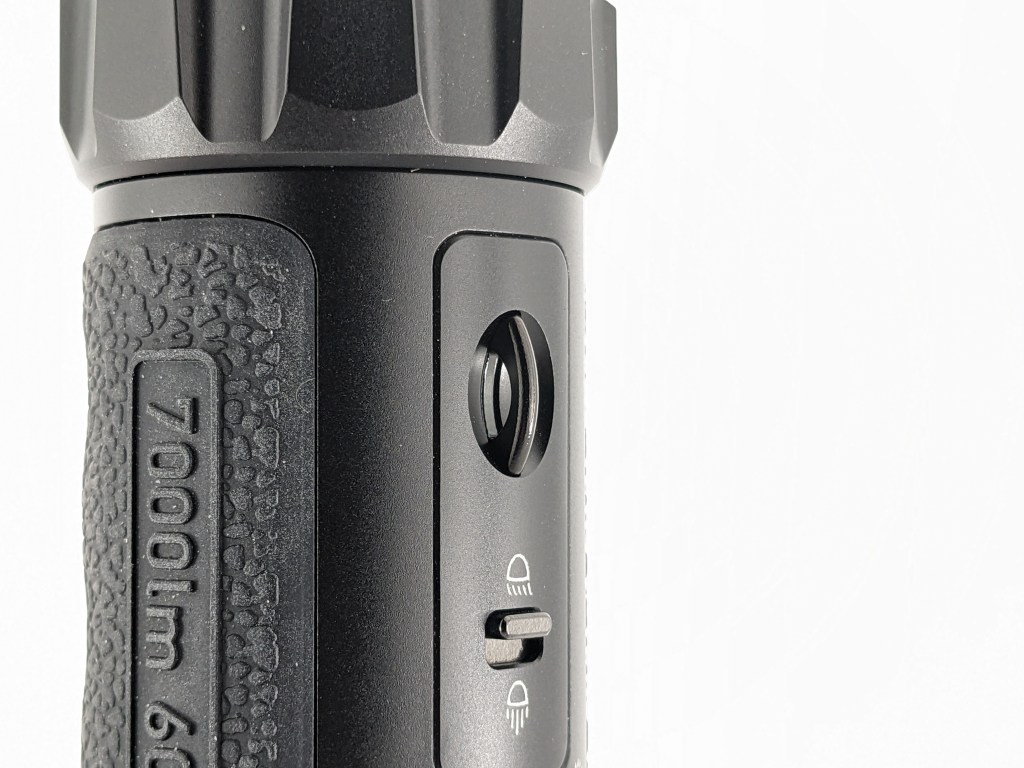
The Toggle Switch serves to switch between flood and spot. That’s it. Pushing it forward activates the spot beam and pulling it backwards activates flood. It’s intuitive and it works great. I really like this toggle switch.
Carry & Ergonomics
Ergonomics are pretty good on Marauder Mini. The body tube has a rubberized grip on the back that makes it secure and comfortable to hold. My thumb can reach both switches without needing to change grip. It feels a little bit on the short/stubby side but there’s just enough room for me to get all my fingers on it.
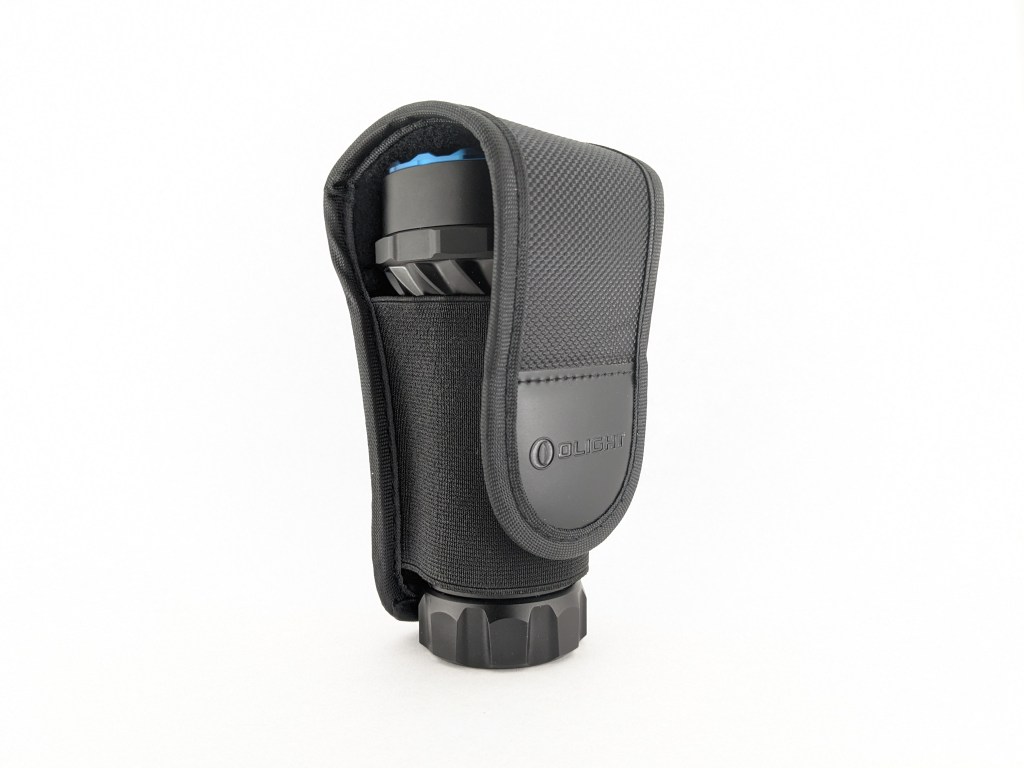
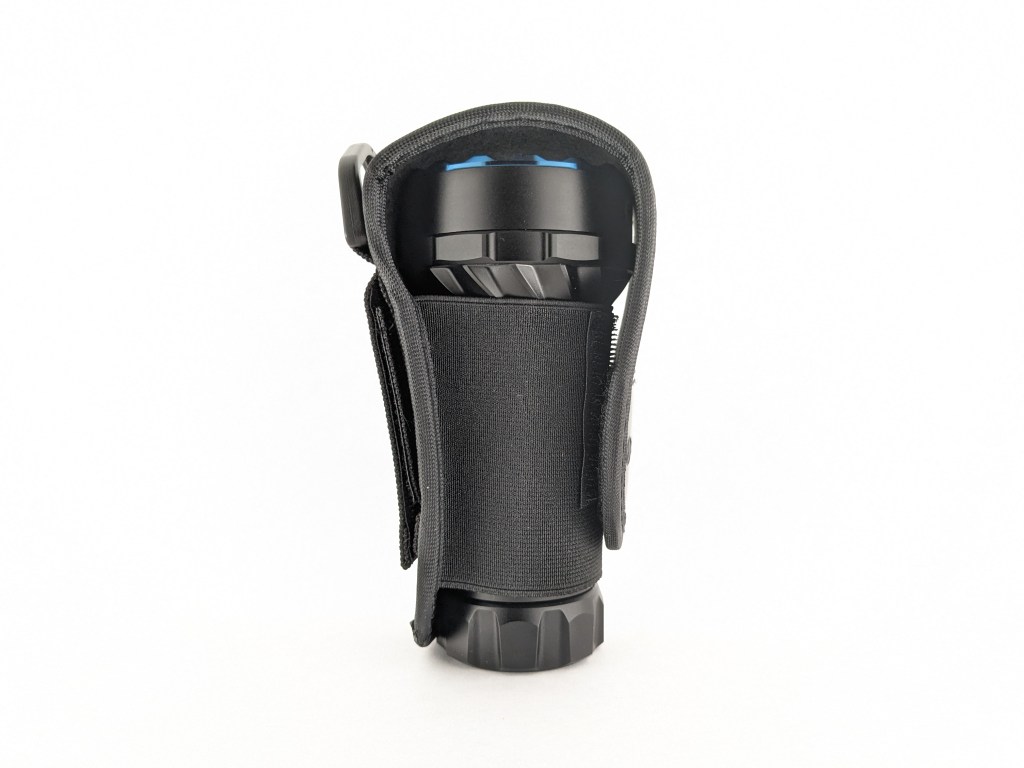
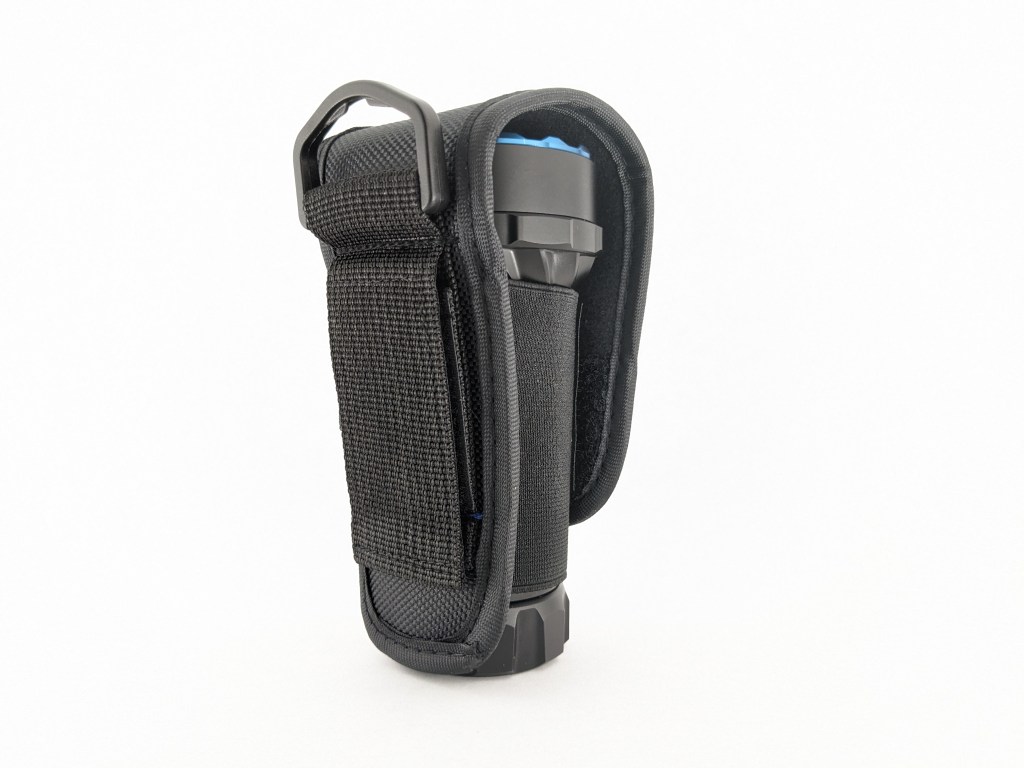
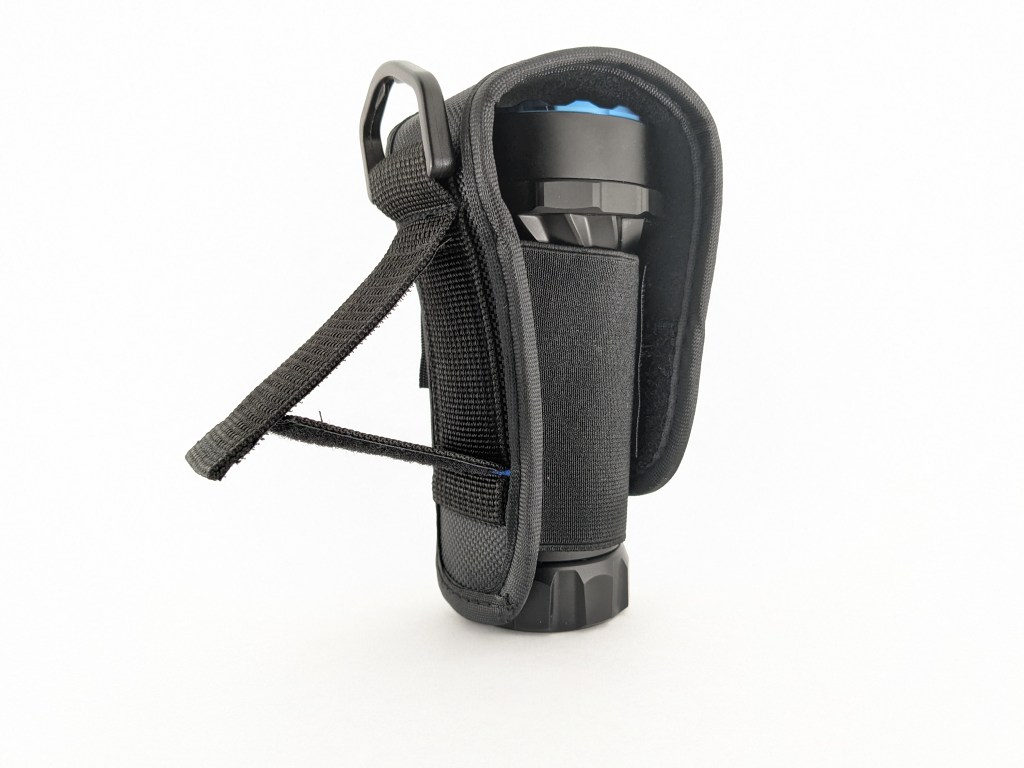
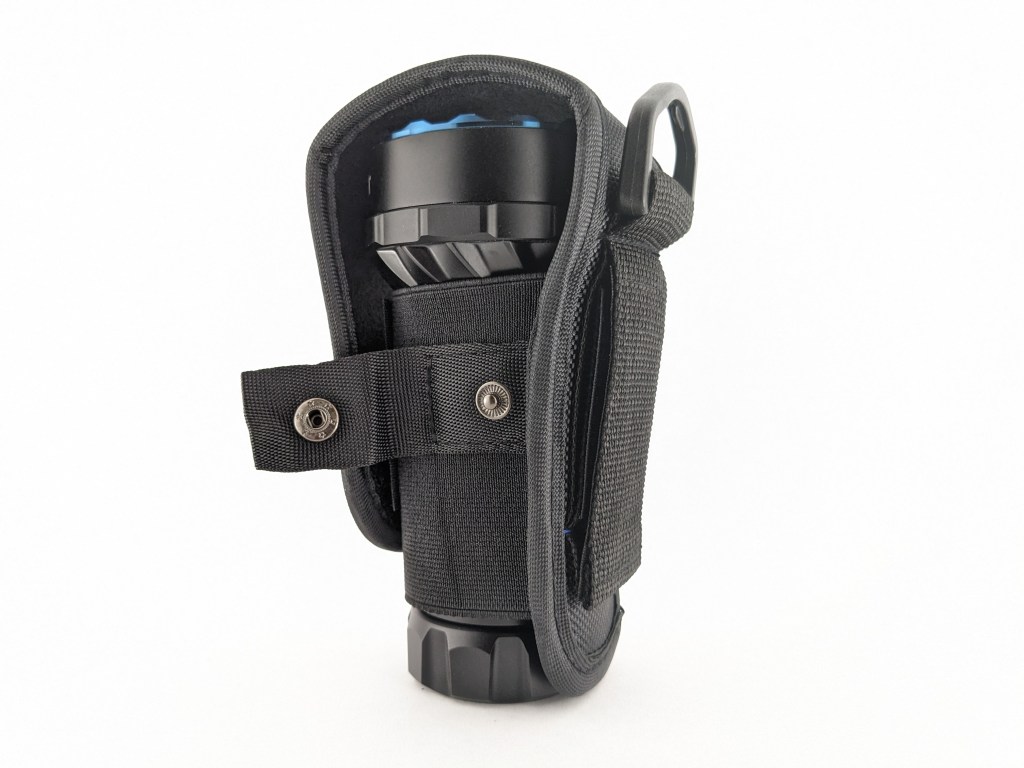
A holster is included to make it easier to carry. It’s a basic nylon holster with a velcro closure and elastic loop to hold the light. The belt loop closes with velcro so you can install/remove it from a belt without needing to un-thread the belt. There’s a small button-clasp loop that can hold the lanyard or charging cable when not in use. Finally, there’s a D-ring on the back for some reason. If you know why all flashlight holsters seem to have a D-ring like this, let me know in the comments!
A lanyard loop is built into the side of the light right below the flood/spot toggle switch. A wrist lanyard is also included in the box.
Haptics: There’s a haptic motor inside the light that vibrates when you rotate the knob but have already reached minimum or maximum brightness. I thought it was neat the first time I noticed it but it quickly became a nuisance. It’s jarring, audible (sounds cheap), and cannot be disabled. It may also vibrate when the battery is low like some other Olight models, but I never observed that and can’t find it documented. I don’t think haptics are a beneficial addition to a flashlight.
Magnet: There is a small magnet in the tailcap to facilitate magnetic charging, but it’s not strong enough to be useful for anything else. It can’t support the weight of the light. It would have been cool if the magnet were a lot stronger.
Batteries & Charging
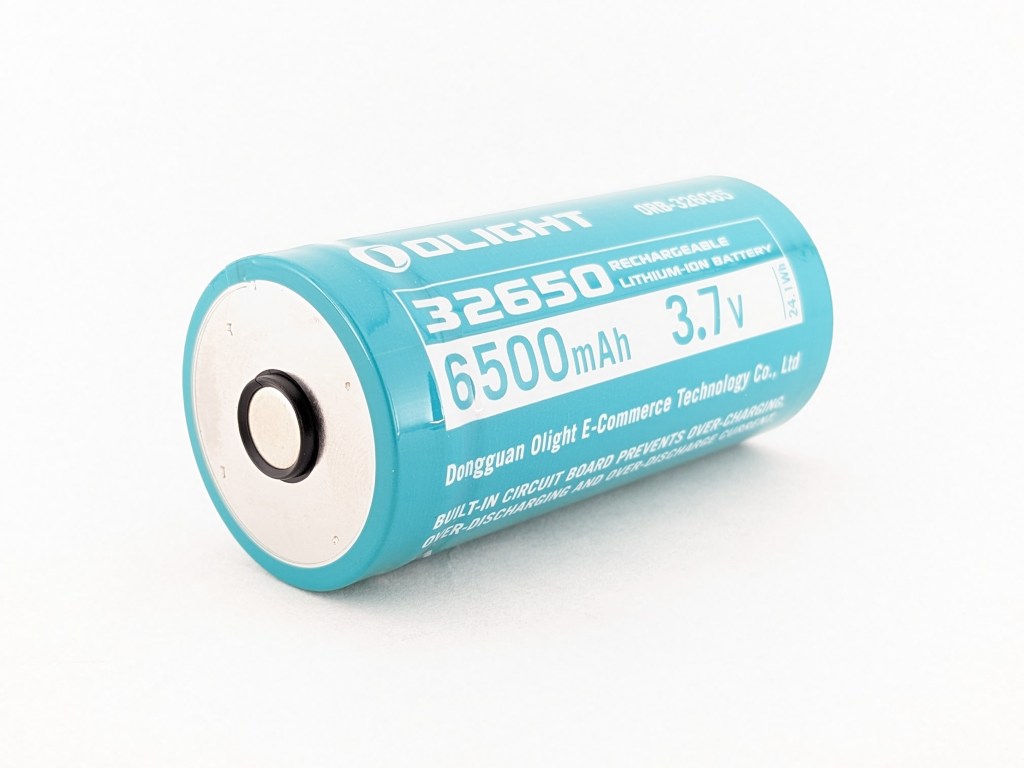
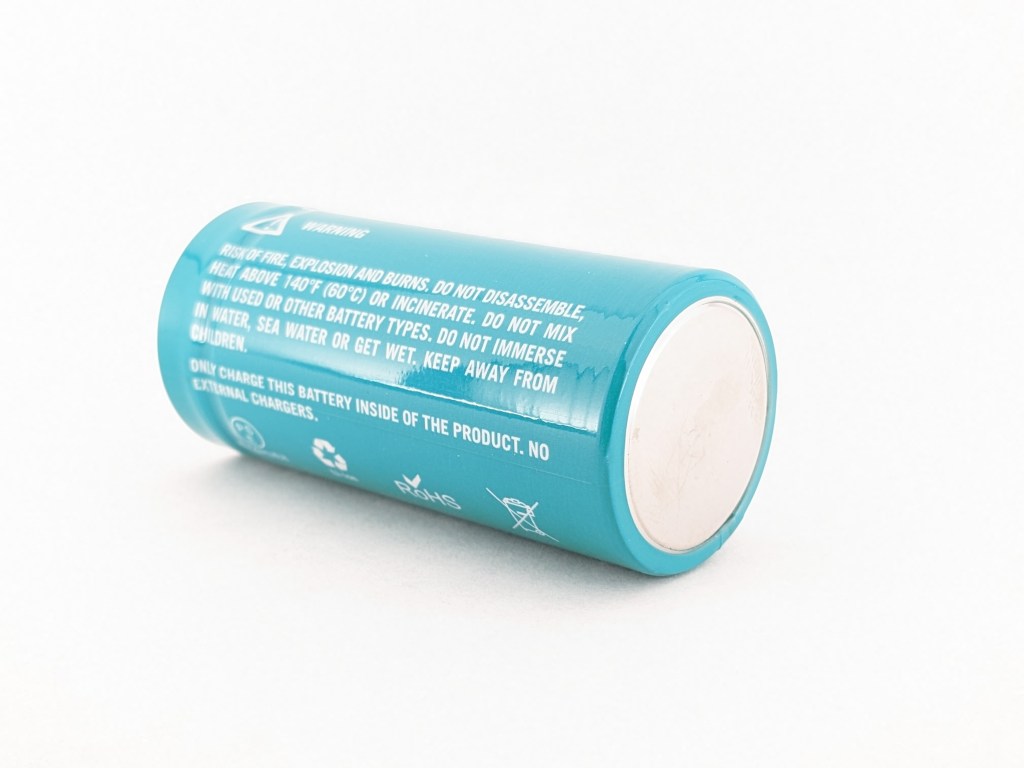
Battery: Marauder Mini uses an included, proprietary, protected, 32650 cell. That’s really a shame because it’s a highly unusual size and this is the only Olight model that uses it. I don’t mind Olight’s proprietary batteries in common sizes like 18650 and 21700 because they’ve been making them for years and will continue to make them for years to come. Unfortunately, if your Marauder Mini battery wears out after the light is discontinued then you won’t be able to get a replacement battery and no other batteries will work. That’s hard to stomach on a light with a $200 MSRP.
I was able to charge the battery in my SkyRC MC3000 charger, but I noticed it had a very high internal resistance. I noticed the same thing when I tested Sofirn’s IF30 which uses the same size battery, so I wonder if both batteries were sourced from the same manufacturer. High internal resistance is one of those things that enthusiasts will complain about. Still, I’m not sure it’s a problem because it didn’t affect the usability of the light for me, other than making it take forever to charge.
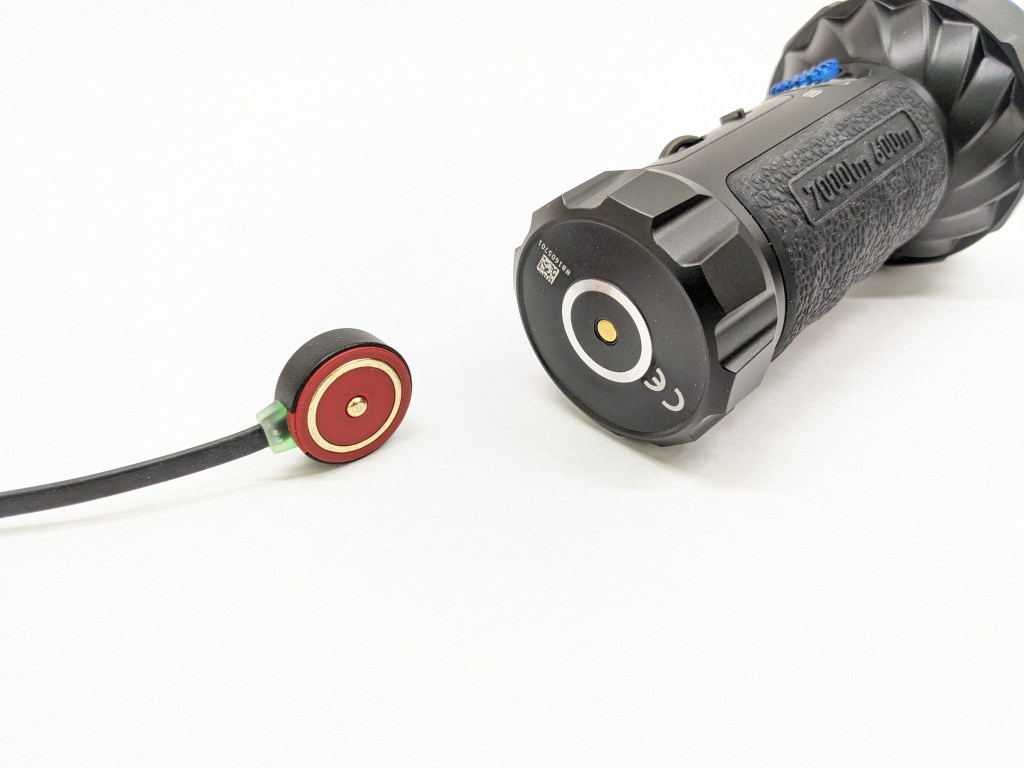

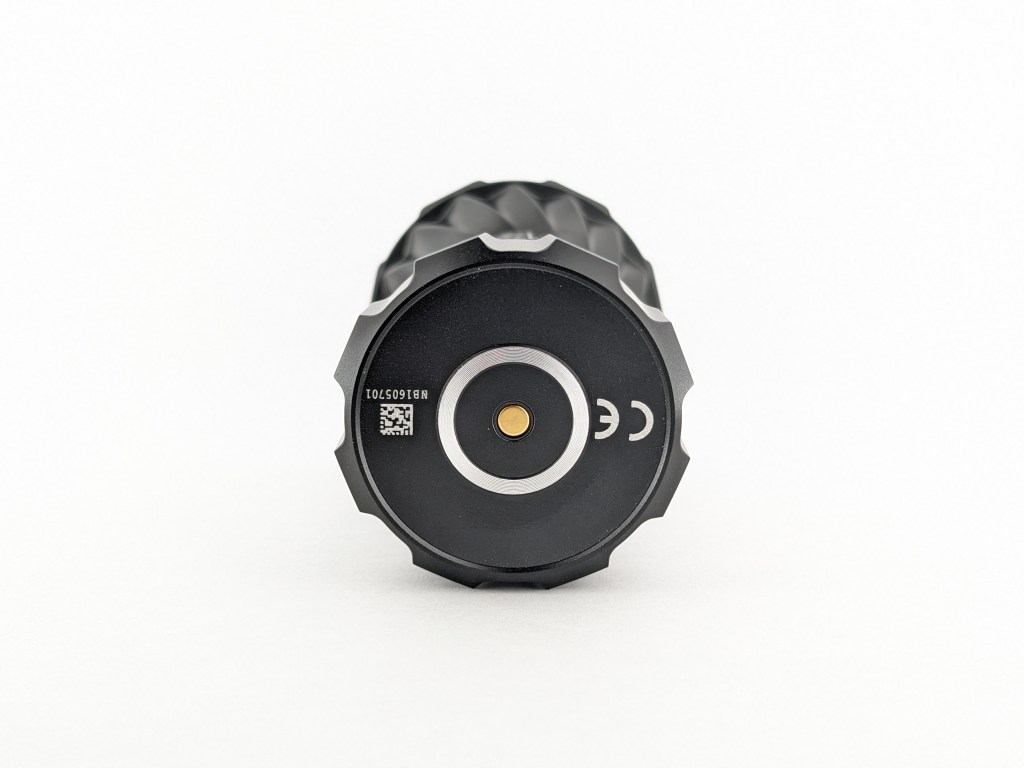
Charging is facilitated by Olight’s proprietary magnetic tailcap charging system. A USB-A charging cable is included that magnetically snaps onto the tailcap of the light. The puck has an LED indicator that glows red while charging and glows green when not charging. It’s easy to see but it’s a little too bright to have on your nightstand at night. The light is usable while charging. It’s worth noting that this is different than the full-size Marauder 2, which has a USB-C port.
Charging takes five hours. I would have preferred a higher-power charging solution that can charge the light in 1-2 hours.
This magnetic charging system is tremendously convenient if you have a designated spot where you always charge your light because you can just wave the light near the charger and it will connect. When you’re finished, just grab the light and pull. It’s not very convenient if you like to charge in different locations or on the go because you have to have that proprietary charging cable. It’s worth mentioning that I haven’t found these magnetic charging systems to be as reliable as a traditional USB port. On rare occasions, they just don’t work for no apparent reason. If that happens, re-plugging the USB end and/or cleaning the contacts usually fixes it.
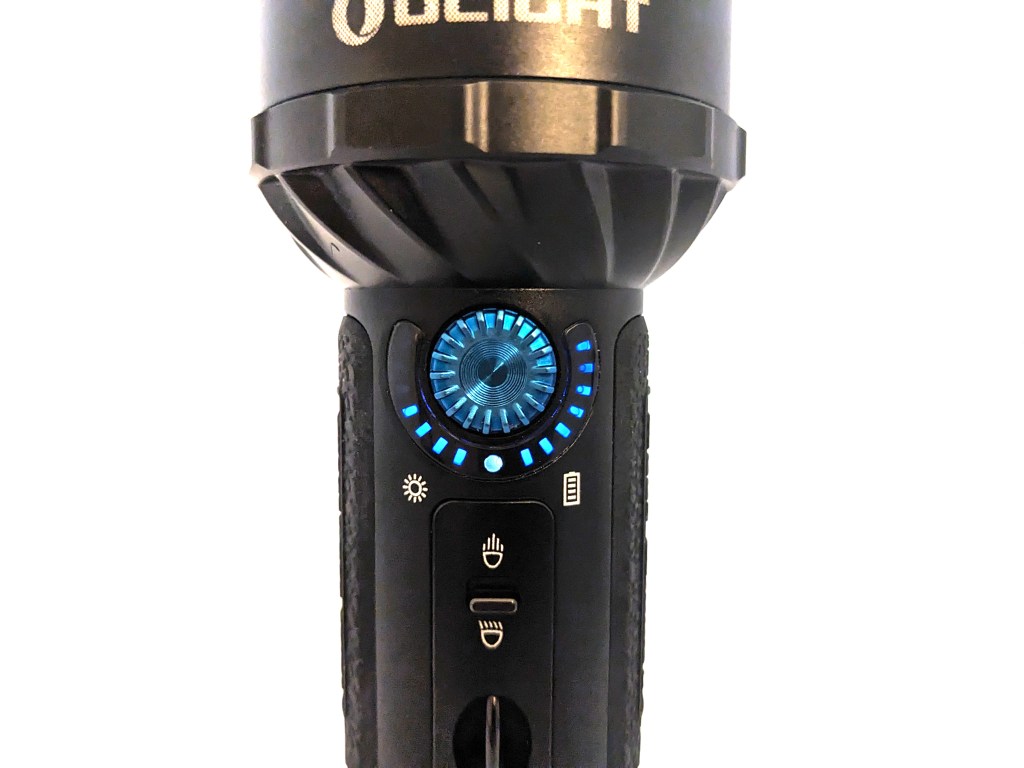
Battery Indicator: There’s an array of indicator LEDs around the knob. The left seven are for brightness. The center is for LED color. The right seven are for battery status. They light up to show battery status for a short time after the button is pressed. I love this indication system as it’s obvious, precise, and doesn’t require any extra user input. Some lights use a series of clicks and holds to enter a battery check mode that blinks out the voltage or does several blinks to tell battery status, but that’s ambiguous and isn’t glanceable. This solution with LED indicator bars is perfect. Anyone can pick up the light, turn it on, and immediately understand what the bars mean.
Competition
Here are some lights in the same class and how they compare.
- dramatically less expensive (~half the price depending on when/where you buy)
- non-proprietary battery but it’s still a weird size and low quality
- reflectors instead of optics
- USB-C instead of magnetic charging
- Similar shape and size
- Less intuitive battery indicator
- Brighter and wider flood beam
- Dramatically brighter spot beam with useful spill
- Smooth brightness ramping instead of distinct levels
- More expensive
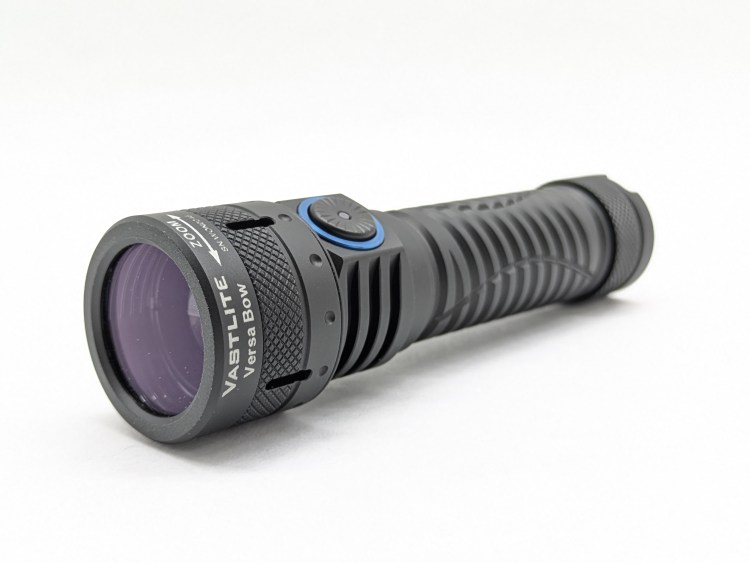
- Focusable LEP spot beam that can throw 2-3x as far
- Flat-ish design
- Smaller and more portable
- Standard 21700 battery
- Flood beam is not quite as bright
- No RGB secondaries
- Less intuitive battery indicator
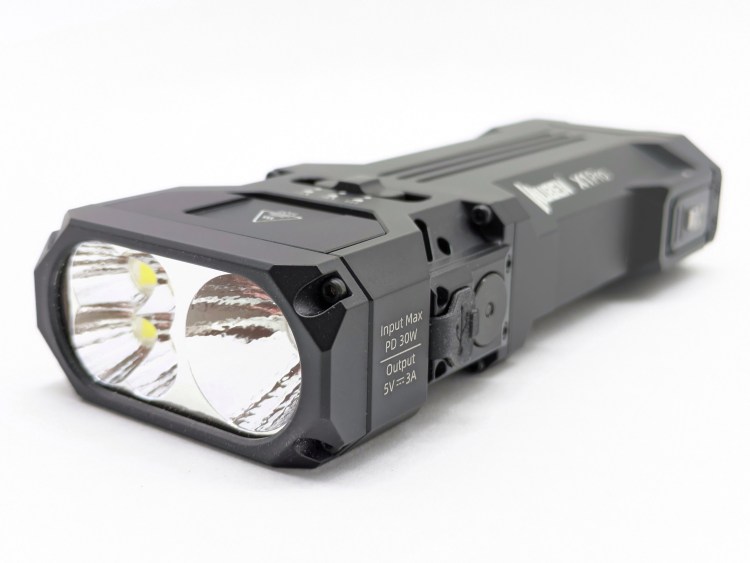
- Less expensive
- Pocket-size with a pocket clip
- RGB secondaries are much dimmer
- Cleaner spot beam
- Flood beam isn’t as bright
- High-CRI LEDs available
- Flat design
- Standard 18650 battery
- Less intuitive battery indicator
- Dramatically less expensive
- Dramatically smaller (EDC pocket size)
- UV instead of spot beam
- Much smaller, standard 18350 battery
- White beam isn’t as bright, but High-CRI is an option
- Similar magnetic charging
This section is not comprehensive. If I didn’t include a particular light here, it doesn’t mean it’s bad or doesn’t deserve to be here. I simply cannot list every possible competitor.
Conclusion
I requested this light from Olight because I thought I would love it, but it was a mixed bag. There are some things I really like: flood+spot+RGB in one light, the flood/spot toggle switch, convenient magnetic charging, and an awesome battery indicator are the best features. Unfortunately, it’s also got some issues: the proprietary battery in a weird size, the fiddly rotary knob, the super slow charging, the lackluster spot beam, poor mode spacing, poor regulation performance, and the high price tag. If you’re certain that the Marauder Mini is the perfect light for you, then go for it. If you’re unsure, I recommend considering the models listed in the competition section instead.
Thanks to Olight for sending me this light for review!