Contents
- Pricing & Availability
- What comes in the box?
- Design & Construction
- Size & Measurements
- User Interface
- Emitter & Beam
- Mode Chart
- Runtime
- Driver & Regulation
- Switch
- Carry & Ergonomics
- Batteries & Charging
- Competition
- Conclusion
Pricing & Availability
Olight sent me this light in exchange for doing an honest review and including some information about their upcoming sale (March. 13-14) where this light will be discounted. Here are links to their website and the official product page to view current pricing and color options. Those affiliate links let them know I sent you, but I’ve chosen not to earn any commission. Code “tgreviews” is 10% off most items not on sale. I think all customers can also get a free keychain light during the sale.
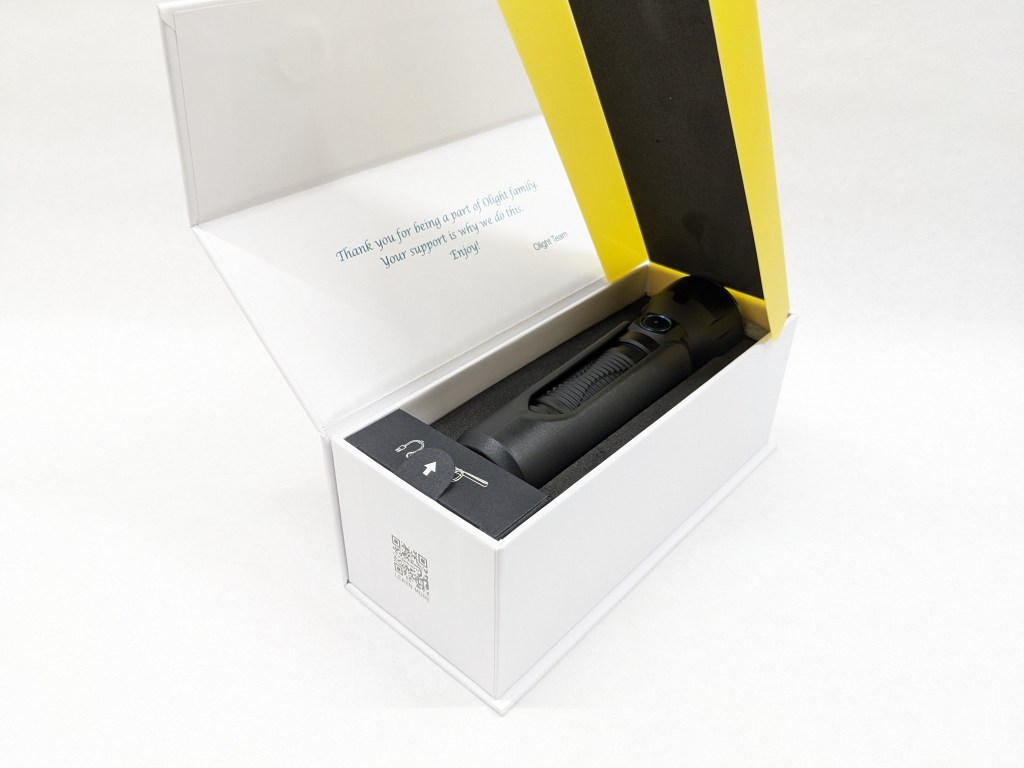
What comes in the box?
Javelot comes in one of Olight’s premium boxes with high-quality printing and a magnetic closure. It’s an unboxing experience and will impress if you gift the light to someone.
- The light itself
- Battery (inside the light)
- User manual & safety booklet
- Magnetic USB charging cable
- Pocket clip
- Belt holster


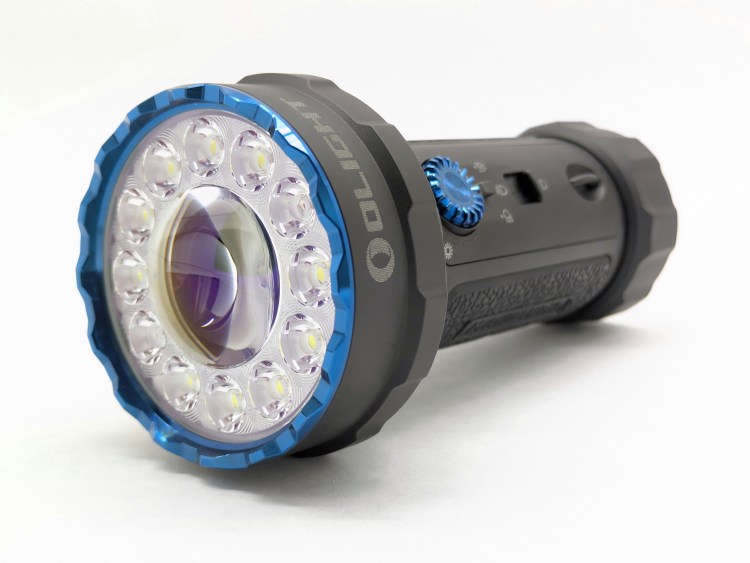
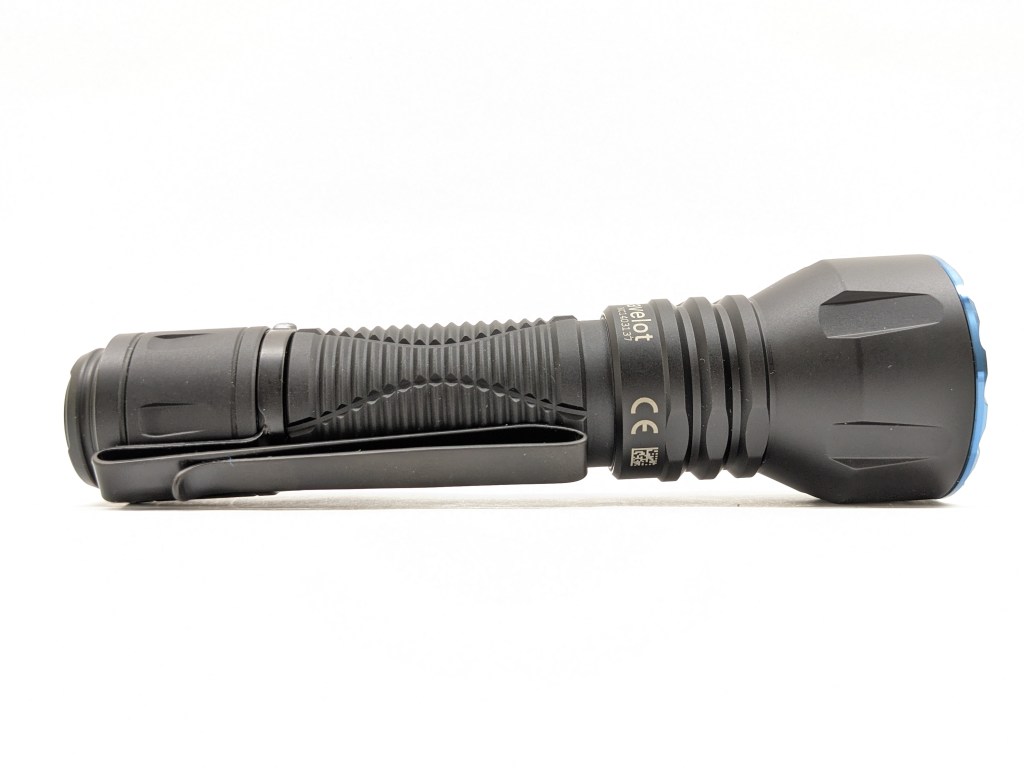
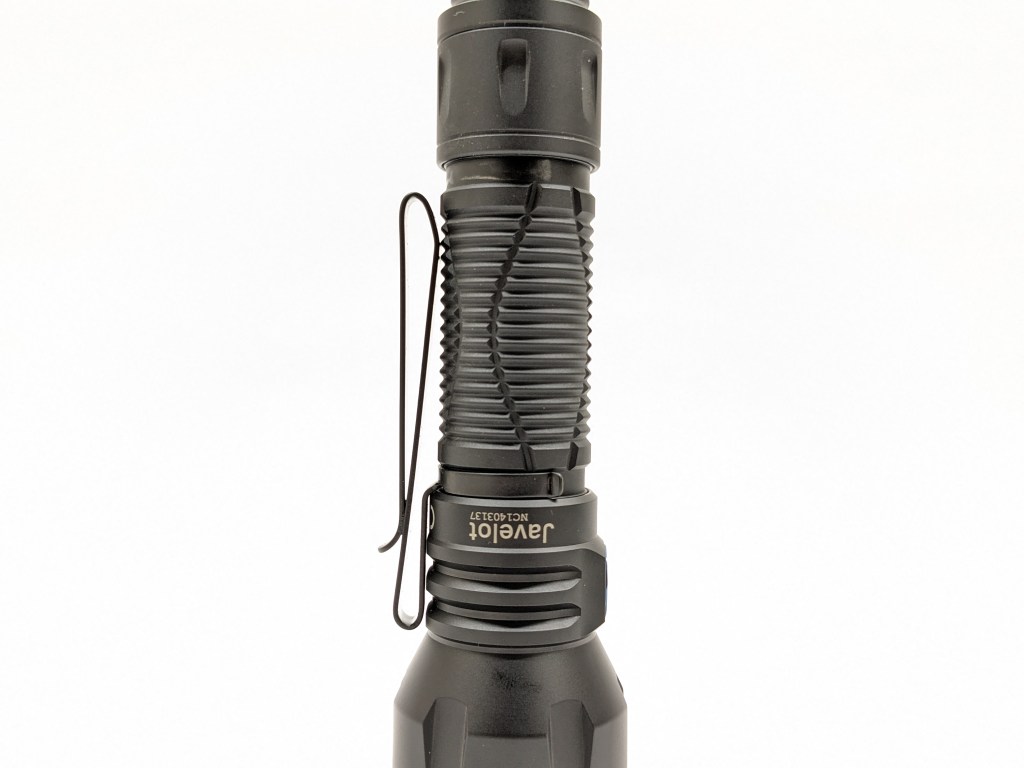
Design & Construction
Javelot is basically a longer, brighter Javalot Mini. They share the same bezel and probably the same reflector and LED. They have similar tail switches, knurling, and holsters too. The main difference is that Javalot has a longer handle, a larger battery, and a second switch on the side. I find the longer handle and second switch provide excellent ergonomics.

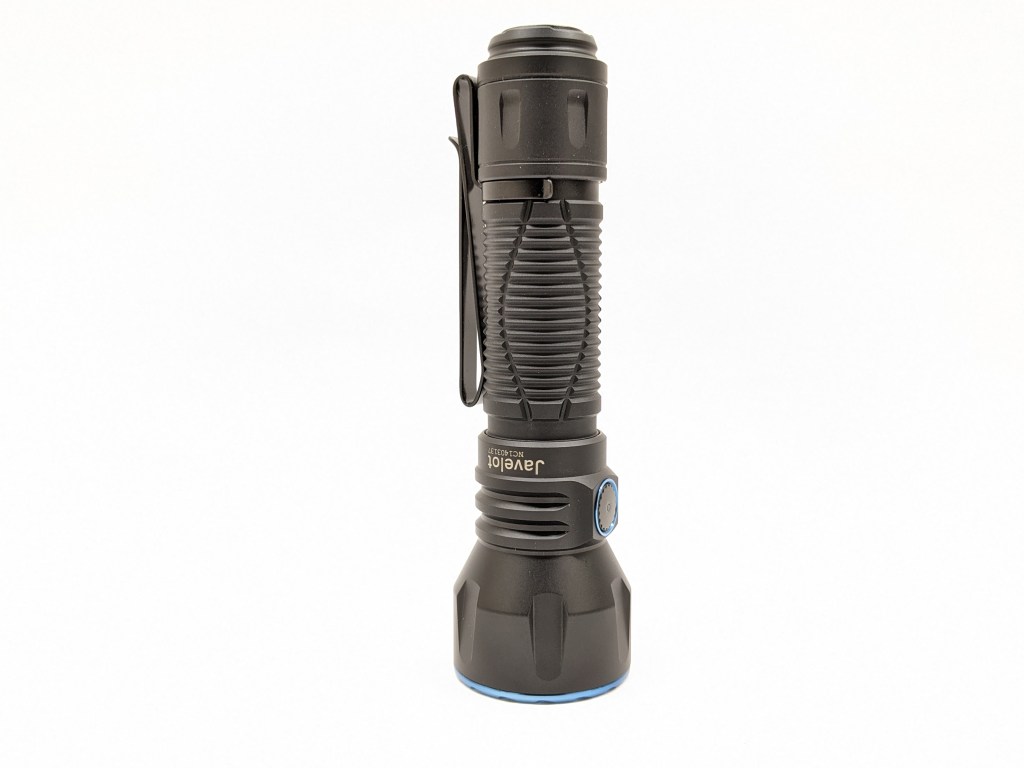


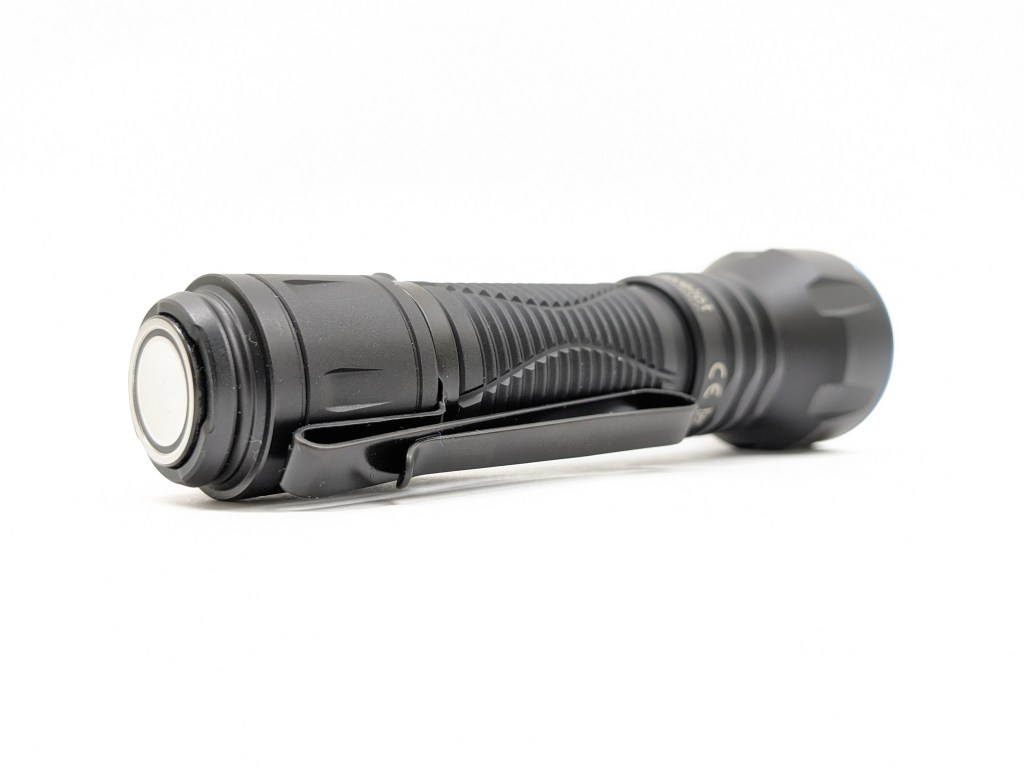


Build quality is top-notch. Olights always have a feeling of quality, fit, and finish that you can’t get from budget brands. It feels hefty and durable too, like you could throw it off a roof and it would keep on working. The finish is slightly chalky instead of the satin finish I’m used to from Olight.
I’m glad Olight decided to omit the gimmicky proximity sensor and haptic vibration motor they include in some other models. That helps keep the cost and complexity down (though it’s still expensive).
Size & Measurements
Mini Maglite | Wuben X1 | Olight Javelot | Olight Warrior 3S | Surefire G2X with Switchback

| Measurement | Measured (mm) |
|---|---|
| Bezel Diameter | 40.0 |
| Maximum Head Diameter | 40.0 |
| Length | 139.1 |
| Side Switch Diameter | 10 |
| Side Switch Proudness | 0 |
| Tail Switch Diameter | 17.7 |
| Tail Switch Proudness | 0.9-1.4 |
| Lens Thickness | 1.8 |
| Lens Diameter | 34.6 |
| Reflector Hole Diameter | 9.0 |
| Reflector Diameter | 34.5 |
| Reflector Height | 23.5 |
| MCPCB Size | ~20 |
| Body Tube Diameter | 25.9 |
| Pocket Clip Slot Width | 4.3 |
| Pocket Clip Slot Diameter | 24.2 |
| Tailcap Diameter | 27.6 |
| Tailcap Length | 30.9 |
| Driver Diameter | u/m |
| Included Battery Length | 75.0 |
Weight with included battery: 201g
Holster weight: 39g
Clip weight: 10g
User Interface
This is mostly the same user interface that I love so much on my Warrior 3S, but one change really bugs me.
| State | Action | Result (normal group | tactical group) |
|---|---|---|
| Off | Half-press and hold | momentary Low | momentary Medium |
| Off | Half-press and release | constant Low | momentary Medium |
| Off | Full press and hold | momentary Turbo | momentary Strobe |
| Off | Full press and release | constant Turbo | momentary Strobe |
| On (constant) | Press and release | Off |
| Off | Press and hold tail switch and click the side switch | Toggle between normal and tactical mode groups |
What I like (tail switch UI): I love the two-stage tail switch concept. Having access to constant or momentary for two separate brightness levels is awesome. I also like that there’s a tactical mode group option.
What I don’t like (tail switch UI): A half press goes to Low instead of Medium. On my Warrior 3S, Medium and Turbo are the modes I use the most and I can access them both easily from the tailswitch. Medium and Turbo are my most used modes on the Javelot too, but I can’t access both from the Tailswitch anymore. I have to use the side switch for Medium. Medium is just right for general utility illumination but Low mode is too low. For me, it effectively makes this a Turbo-only tailswitch. That’s still cool and useful, but not nearly as good as the Medium/Turbo tail switches on other Olight models. I desperately hope Olight reverses course and doesn’t make this mistake on future models. The Medium/Turbo tail switch was their best feature!
The following actions are # of presses followed by a hold (H) or a release (C). So, “1C” is one click and release. “2H” is two clicks but you hold down the last one.
| State | Action | Result |
|---|---|---|
| Off | 1C | On (mode memory, mostly*) |
| Off | 1H (short) | Moonlight (memorized) |
| Off | 1H (long) | Lockout |
| Moonlight | 1H | Low |
| Lockout | 1C | The battery indicator glows red |
| Lockout | 1H (long) | Unlock (to Moonlight) |
| Any | 3C | Strobe |
| Any | 2C | Turbo (memorized as High) |
| Turbo | 2C | Return to previous mode (mostly*) |
| On | 1H | Cycle mode (low-med-high) |
What they got right (side switch UI):
- 1C on/off and 1H to cycle modes (this is the basis of most good UIs)
- Dedicated shortcuts for Moonlight, Turbo, and Strobe that provide quick access. It’s great that they are shared with most other manufacturers so there’s no learning curve when switching lights.
- There are 3 brightness levels in the main rotation, plus Moonlight and Turbo. That’s the perfect amount for versatility without becoming cumbersome.
- 2C from Turbo returns to the previously used mode. That’s handy and it’s a good workaround for the silly Turbo/High memorization behavior I discuss below.
- It’s possible to go from Moonlight to Low mode. Some lights require you to turn them off, then back on to the memorized mode (which could be super bright), and then cycle down to low if needed.
What they got wrong (side switch UI):
- * High Mode Memory: If you turn it off High mode and then wait a few minutes it will forget the mode memory and go to Medium the next time you turn it on. I don’t like this because sometimes I want High mode memorized but it forgets and turns on in Medium instead. Medium & Low modes are memorized normally.
- Turbo & Moonlight are memorized. They shouldn’t be memorized because they each have a dedicated shortcut for quick access. Since they’re memorized, accessing them will override your memorized mode. Even worse, Turbo is memorized as High if you activate it from the side switch. Not only does accessing turbo overwrite your memorized mode, it doesn’t even memorize properly.
- Lockout: 1H to escape lockout is too easily done by accident when a light is in a bag or pocket. Lockout should require multiple clicks to unlock. A few other manufacturers are using 4 clicks to unlock and that works well. It’s worth noting that mechanical lockout (loosening the tailcap a bit) does not work.
- No timer function: This isn’t critical, but I find the timer function useful on other models from Olight and other makers. I wish it was included here too.
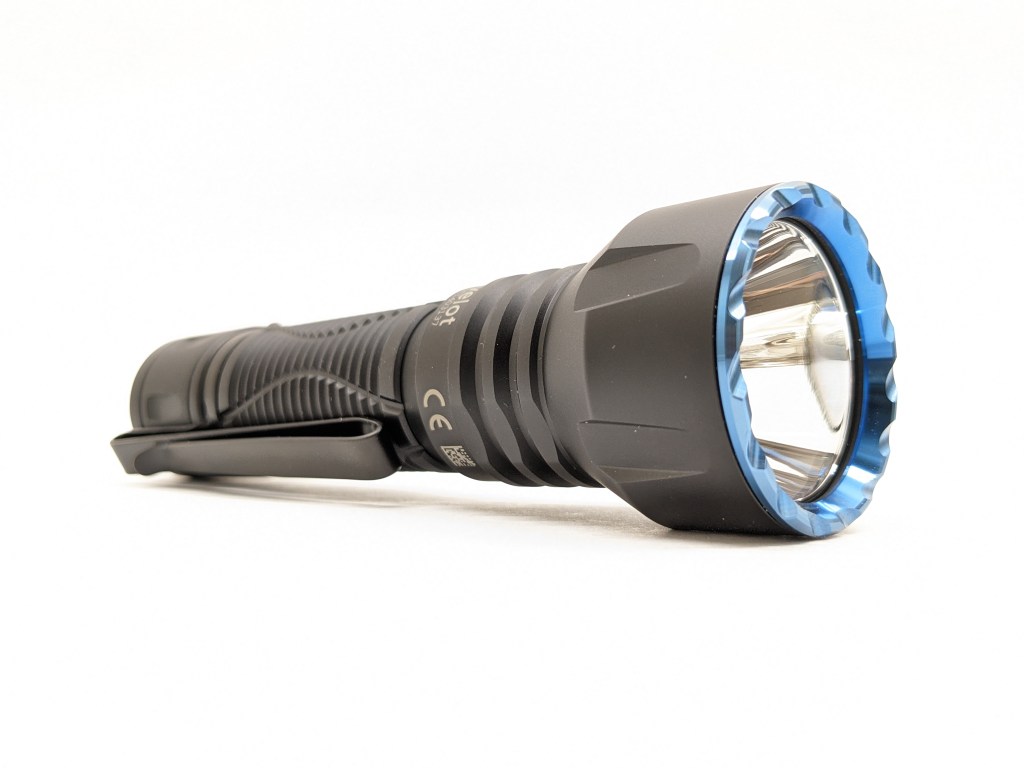
Emitter & Beam

I don’t know the exact model of this LED but I’ve seen it in several lights lately. It may be a Yinding model but I’m not certain. It’s got a unique round die and the package around it is clear instead of the usual opaque white. It’s driven at ~3 volts and looks like a 5050 size, but I’m not certain. The bezel can be unscrewed with some force and the MCPCB looks like a typical 20mm size.

Good tint isn’t necessary on throwers, but this LED has arguably the worst I’ve ever seen. It varies from mildly noticeable on Turbo to downright ugly at Moonlight. I suspect an SFT40 swap would be relatively simple here to get better tint and even high CRI, depending on the bin.

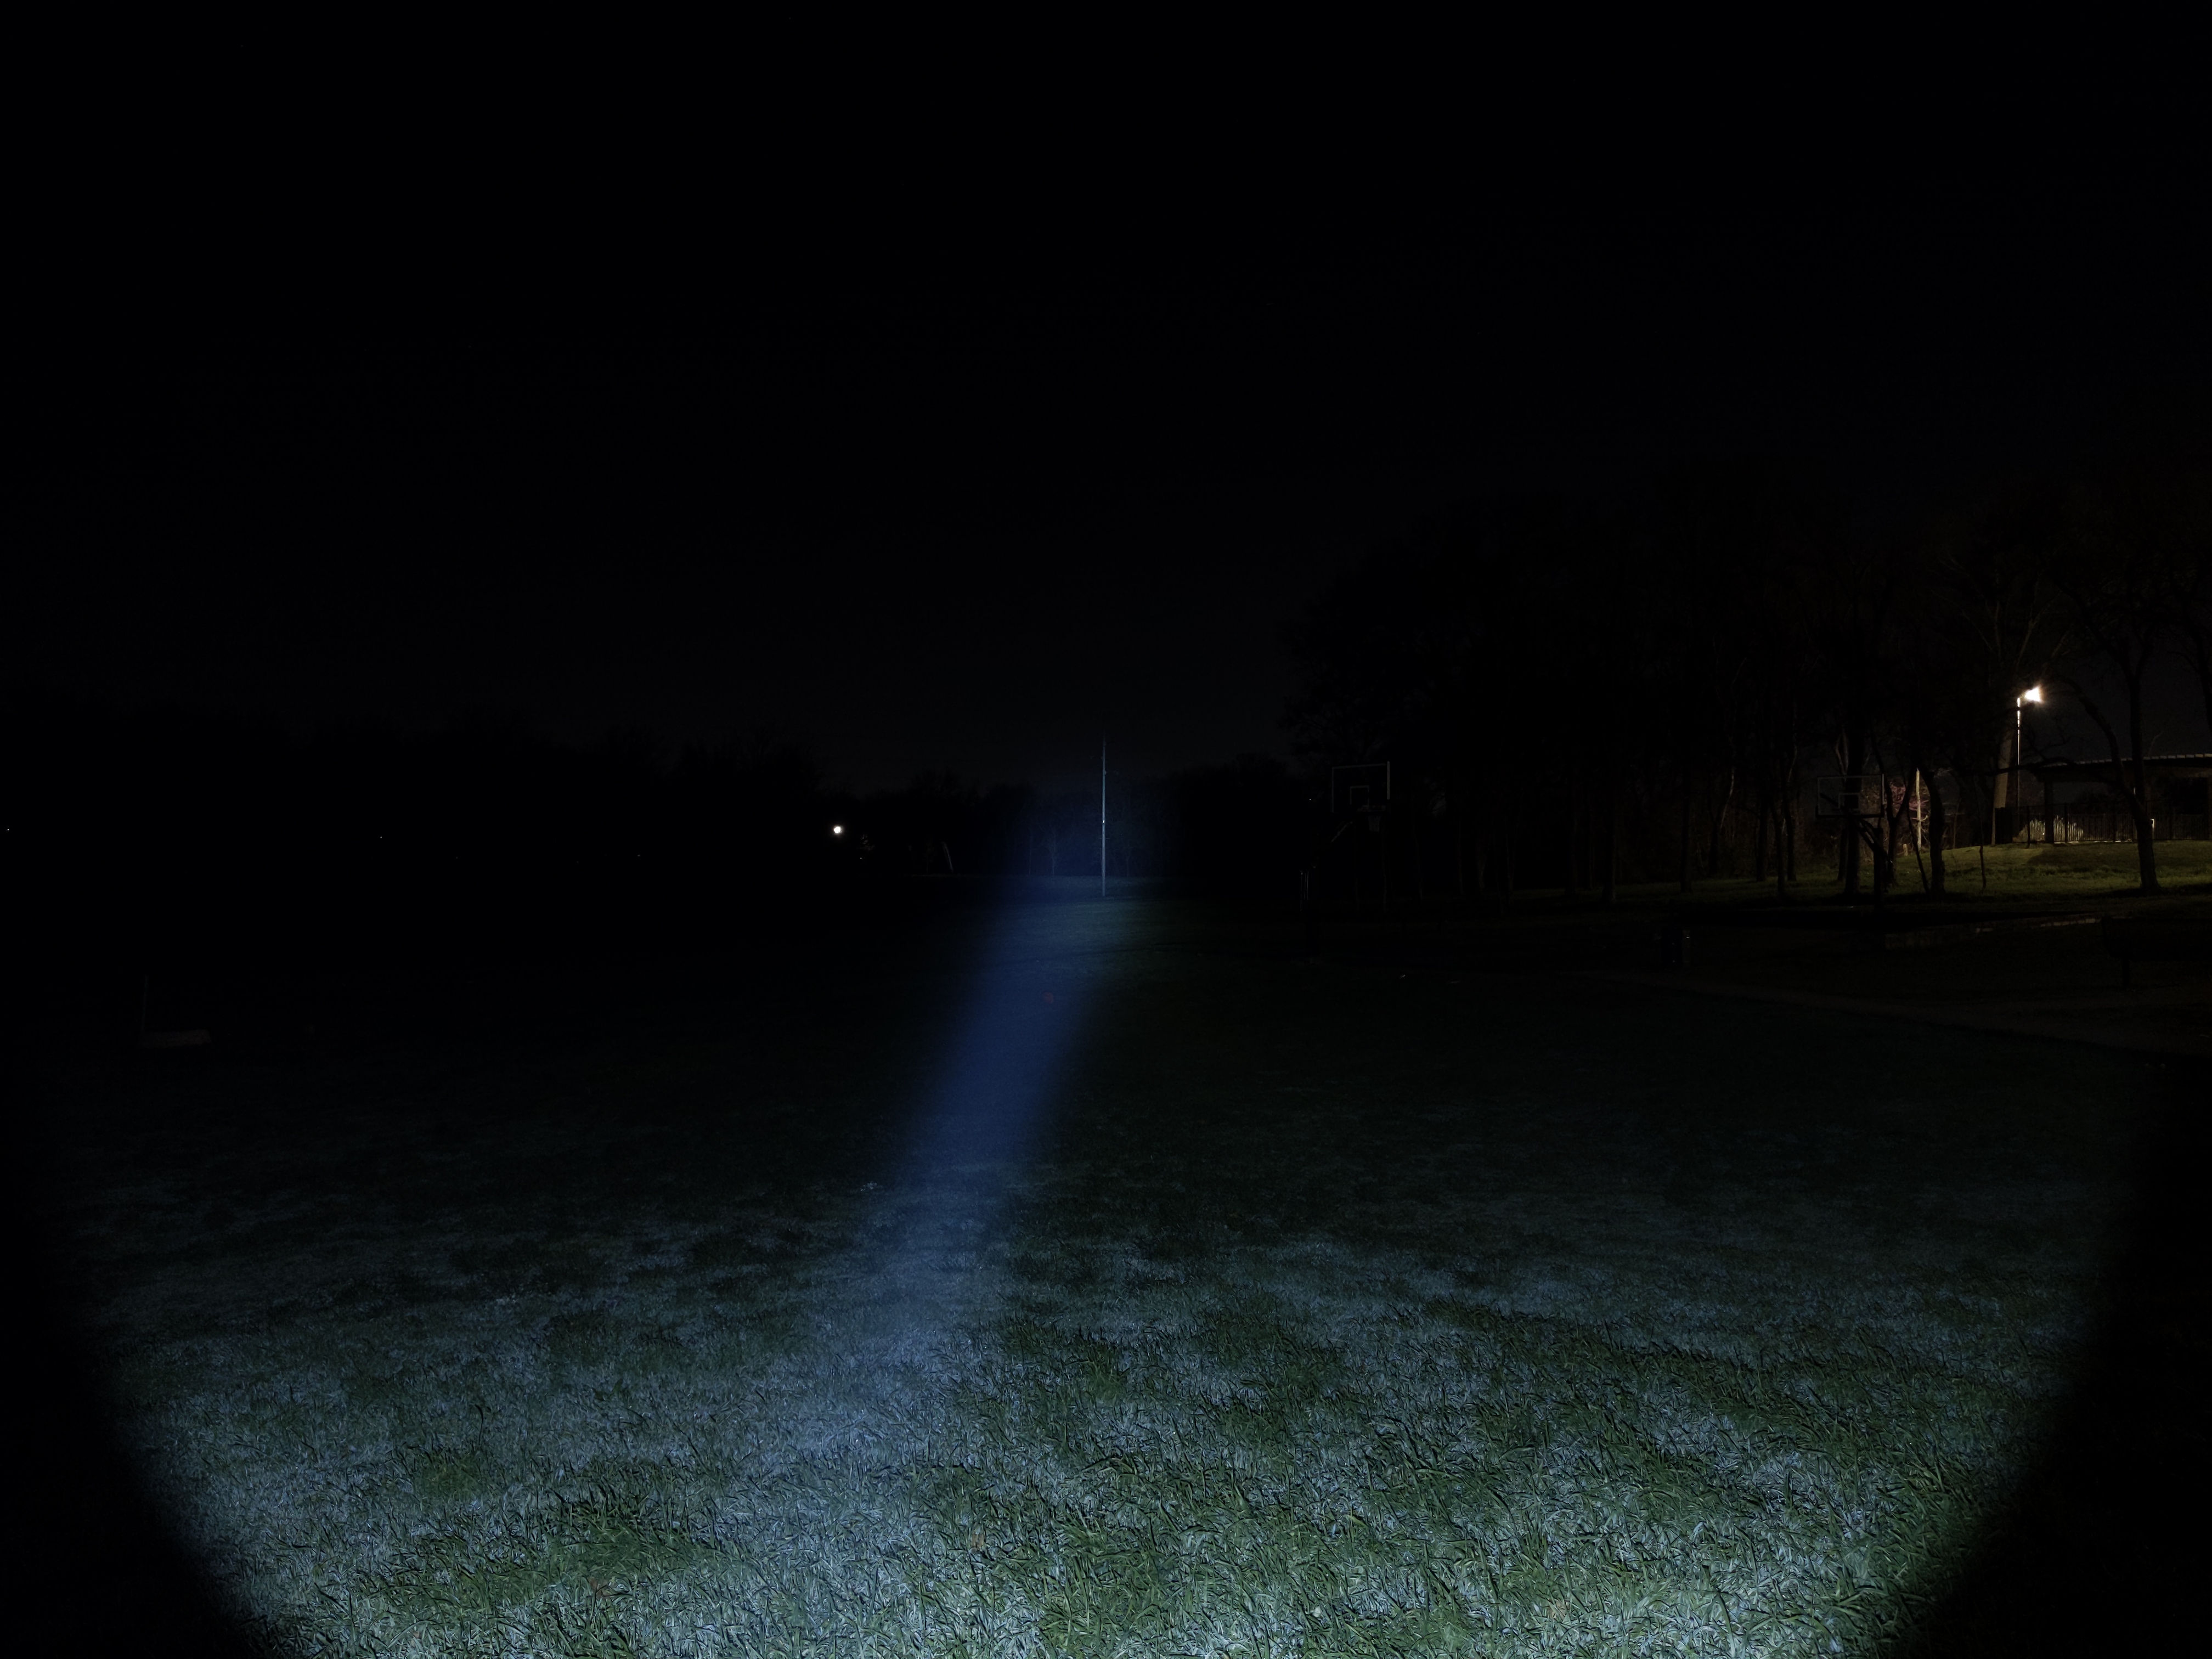
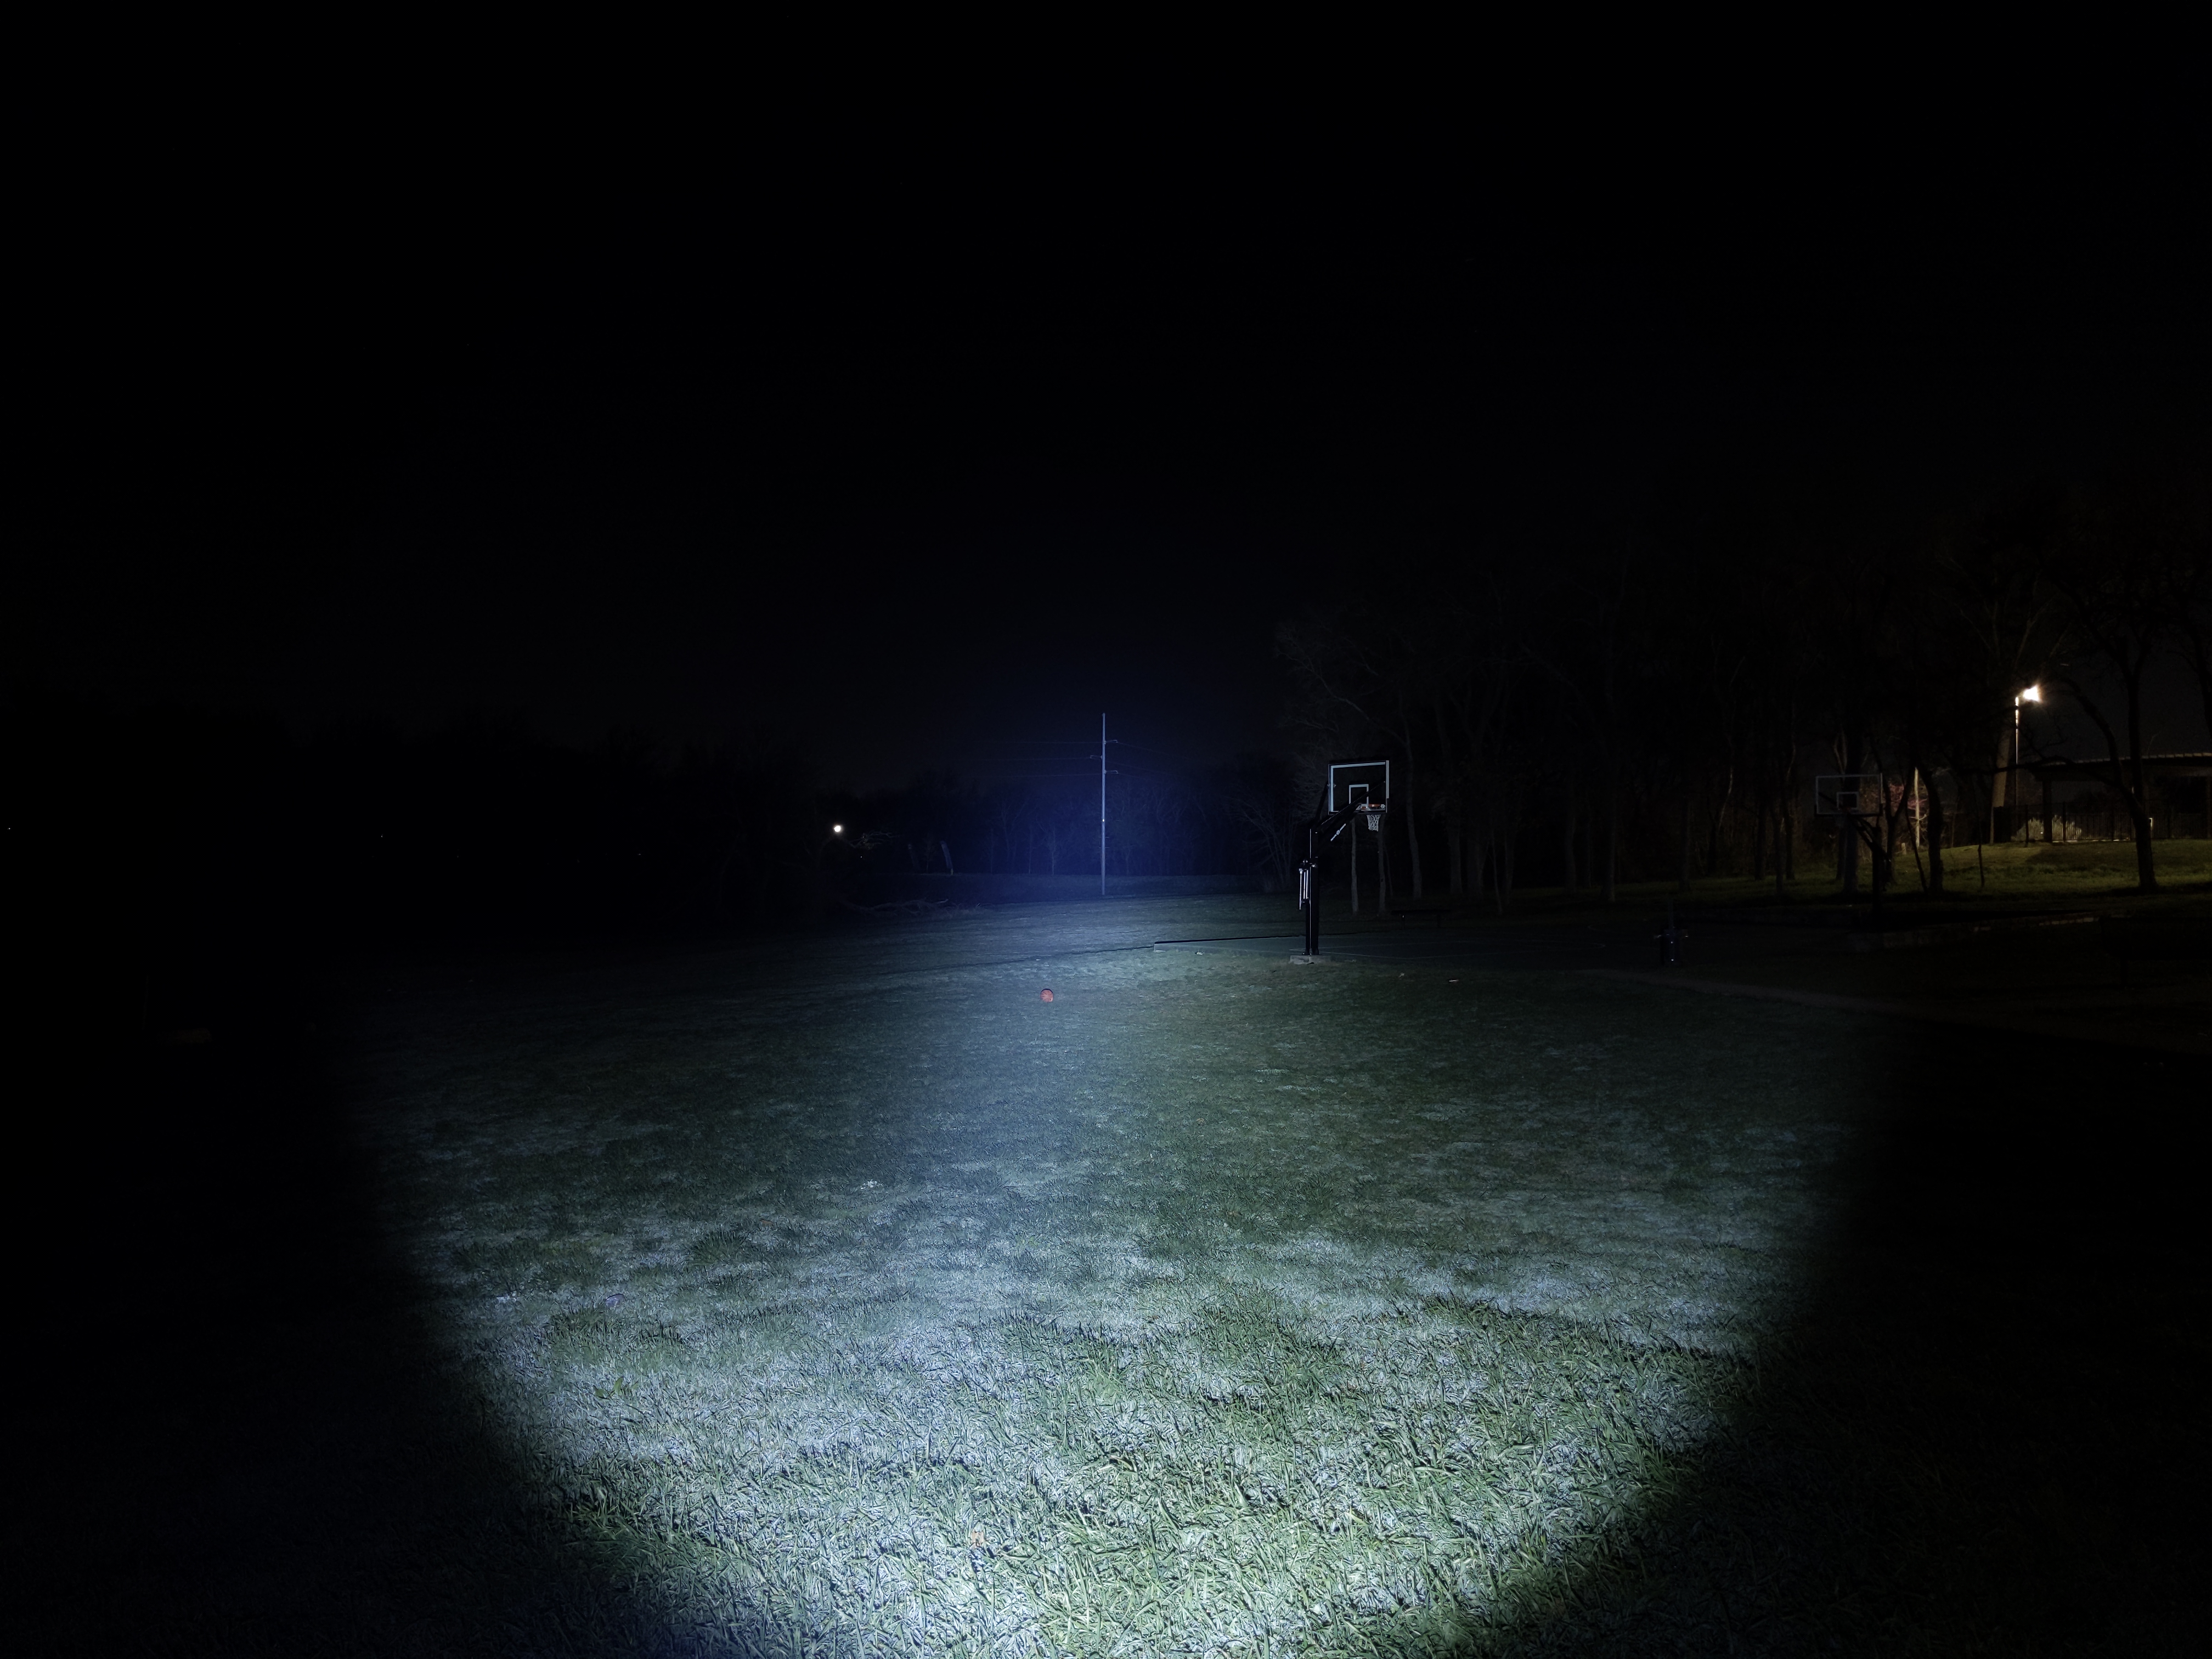
This beam shape is fabulous. The hotspot is a crisp, tight circle. There’s almost no corona to speak of. There is a weird eye-shaped artifact around the hotspot, but it’s only noticeable when white-wall-hunting. The spill is wide and even. It has a sharp edge with no weird shadows from the bezel milling. This beam is a delight to use and it feels like a lightsaber.
In the beamshots below, the basketball goal to the right of the hotspot is 39M away and the power pole in the center is 185M away.


Mode Chart
Disclaimer: All of my measurements are taken at turn-on. Lumen measurements were taken on a Texas Ace 3.5″ Lumen Tube. A candela measurement was taken at 10 meters with an Opple Light Master III on the highest brightness, and other candela figures were calculated relative to that. CRI, CCT, & DUV data were taken for each mode from a few feet away at the center of the hotspot with the Opple Light Master and Waveform DUV Calculator. Runtime tests were performed with the Ceilingbounce app on my smartphone. These tests were performed with a fully charged included battery unless otherwise specified. I cannot measure moonlight directly, so moonlight readings are calculated based on the brightness relative to the next-lowest mode. None of this is professional equipment, so take these measurements with a grain of salt.

Above are the official specs, followed by my own measurements below.
| Level | Lumens | Candela | Throw (Meters) | CRI (Ra) | Color Temp. (K) | DUV (Tint) |
| Turbo | 1200 | 155000 | 787 | 63 | 6050 | 0.0124 |
| High | 550 | 71042 | 533 | 60 | 5810 | 0.0157 |
| Medium | 130 | 16792 | 259 | 58 | 5630 | 0.0189 |
| Low | 11 | 1421 | 75 | 59 | 5510 | 0.0208 |
| Moonlight | 0.5 | 65 | 16 | 59 | 5510 | 0.0213 |
Mode Spacing: is good on the side switch. There are no weirdly small or large jumps. The tail switch mode spacing is poor though, as a half-press goes to low mode and that’s just too dim most of the time.
Runtime

Performance is fair. 3+ minutes of Turbo is great. Total runtime is also great. The sustained output of ~550 lumens is plenty bright, but it’s not as bright as I would have expected for a light this size with a low CRI LED.
Thermal regulation is present but it doesn’t work the way I’d expect. My Turbo Cooled test shows that active cooling dramatically affects the Turbo time before stepdown, but it does still eventually step down to the same ~550lm sustained brightness. I would have expected the sustained brightness to be higher when actively cooled, but this is still an improvement over most Olight models that just use timed stepdowns.
LVP (Low Voltage Protection): It’s present, but I found I could not reactivate the light after low voltage cutoff until I attached the charger. I’d prefer to be able to re-activate it at a low level in an emergency.
Driver & Regulation

I don’t have any information about this driver, but I think it’s a Buck circuit. Based on the LED voltage, battery voltage, and average regulation performance I don’t believe there’s any Boost circuitry here. Based on the brightness/runtime performance I think it’s relatively efficient so it’s probably a Buck circuit. Note how there are two springs on the board; one for the center positive terminal on the battery and one for the outer negative terminal. That’s why it can’t use standard batteries.

Regulation is a bit disappointing. I like it when lights can reach full Turbo brightness down to ~50% charge but this one can only do it when the battery is near full. I expected better from a large 21700 battery and a single LED “only” pushing ~1200 lumens. All the other modes are regulated well enough.
Note: All regulation measurements are taken at turn-on so they do not reflect any thermal or low voltage stepdowns that may occur. A value of 0 indicates low voltage shutoff immediately upon activation.
PWM: No PWM is visible to my eyes or camera, nor audible to my ears.
Parasitic Drain: The proprietary battery design prevents me from measuring the parasitic drain.
Switch
Javelot has two independent switches; one on the side and one on the tail.

There’s a side switch that works like most other Olights. You can use it to turn the light on and off and change modes. It has a hard boot that’s probably made of plastic or metal instead of the typical silicone. There’s an LED right in the center that glows to indicate battery status.
- Green (60-100%)
- Amber (10-60%)
- Red (5-10%)
- Blinking Red (0-5%)
I don’t like those steps very much. I’d much rather have steps in 25% increments. Even better would be a bank of dedicated battery indicator LEDs like the ones found on Warrior 3S and the Arkfeld series.

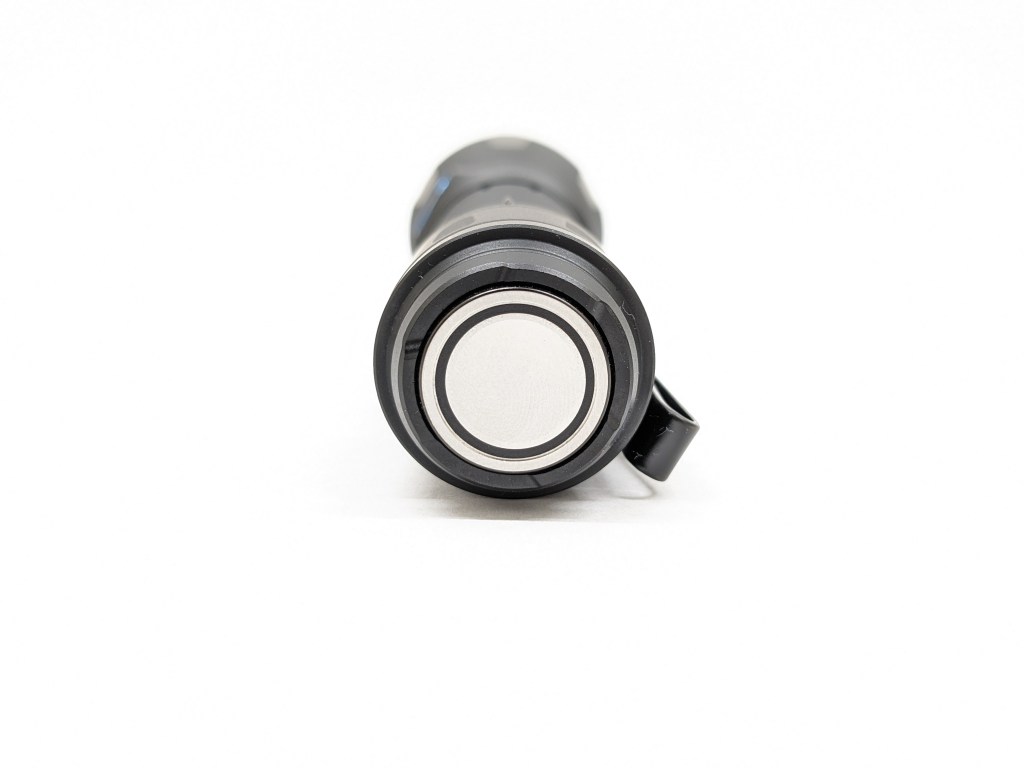
The tail switch is an updated design found on the latest Warrior-series lights. It’s got two stages with a detent in between, but it doesn’t click and latch in place like most tail switches. It’s made of metal with charging contacts on the moving part of the switch. The whole thing is smooth and slightly concave to make cleaning magnetic debris off the switch a breeze. Since it’s so wide and concave, it’s possible to tail-stand the light on the switch. This unique, two-stage, magnetic tailswitch is one of the things that’s made Olight’s Warrior series so compelling.
Carry & Ergonomics
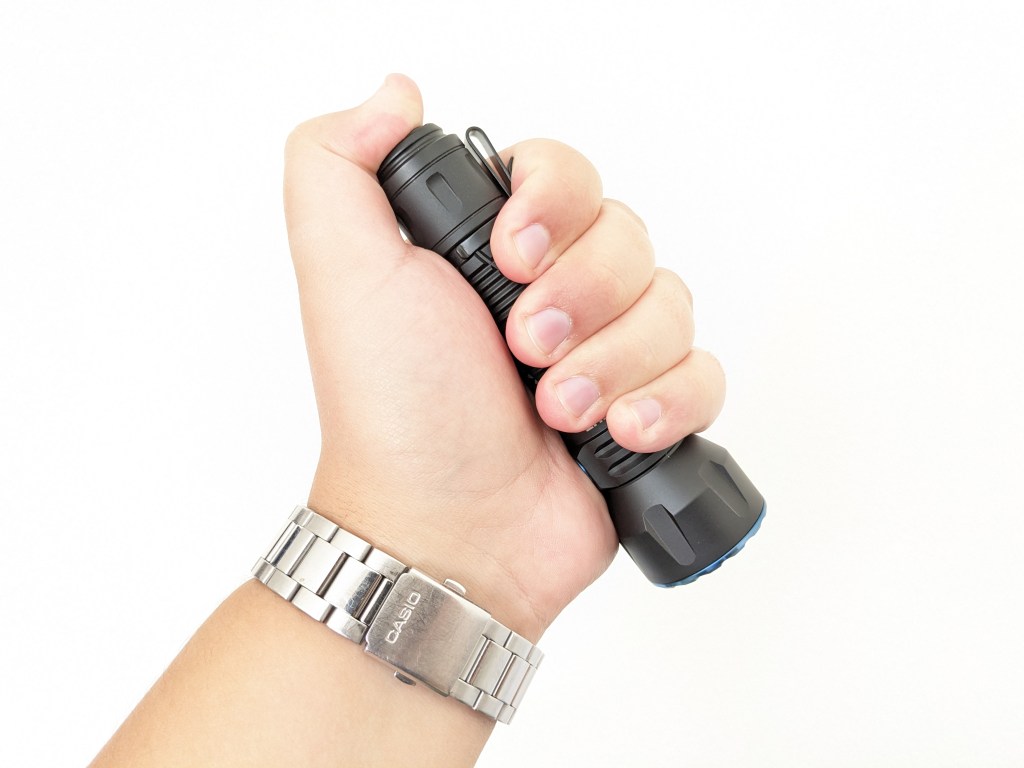
Ergonomics are excellent. I can get a full grip, even with large hands. Forward, reverse, and cigar grips all work great.

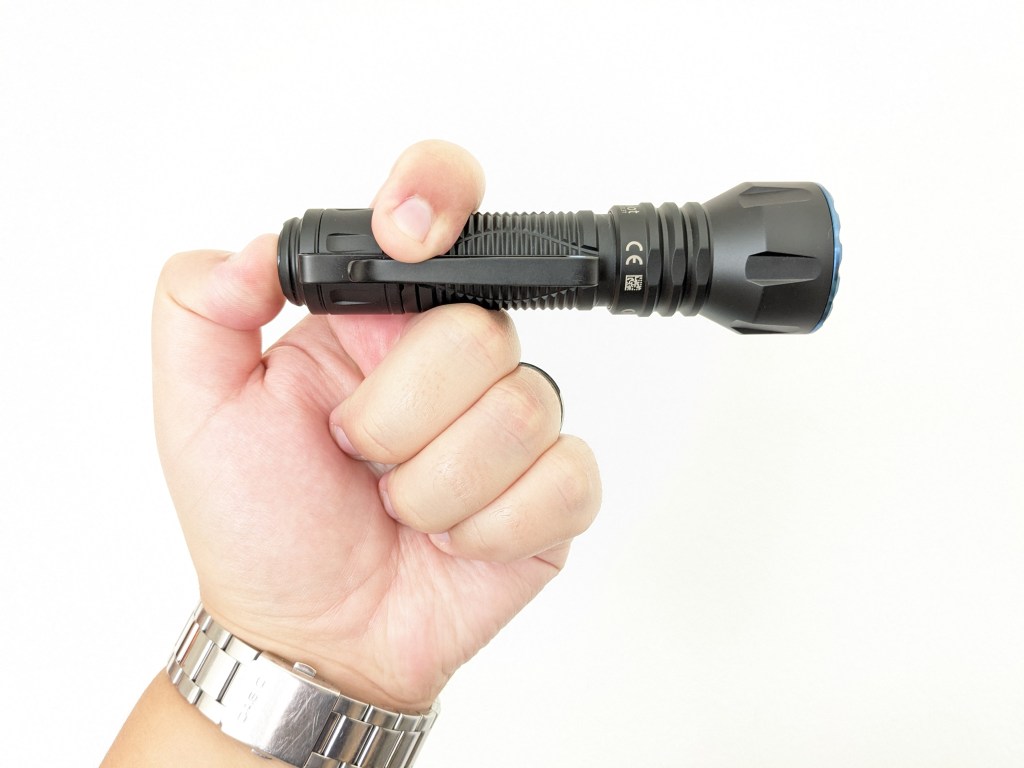
The clip is the same one Olight has been using on most of their 21700 models since M2R Pro, and it’s pretty great. I have a lot of experience carrying this clip on my Warrior 3S and I like it a lot. It carries deep and there’s plenty of ramp to slide over my pocket. My only gripe is that the looped-back section has gotten snagged on my seatbelt and bent out a couple of times. It does offer a lot more carry depth choices though since the clip can be reversed and mounted toward the head.

For anyone wondering, a Thyrm Switchback DF (not pictured) will fit on a Javelot, but it wobbles and can spin around easily. Warrior X4 is a much better Switchback DF host.
The holster is great. It’s a single piece of injection molded polymer. The light slides in/out easily enough but I don’t think it will fall out. The belt clip part is open and hooked on one end so you can install/remove it from your belt without needing to un-thread the belt. I don’t think it will come off by accident either. There’s a hole in the bottom so it won’t collect debris, and you can charge the light while it’s holstered. You can’t put the light in the holster if it has the pocket clip installed.


Magnet: There’s a magnet in the tailcap to facilitate charging. It’s strong enough to hold the light up on a horizontal surface, but not on a vertical surface.
Batteries & Charging
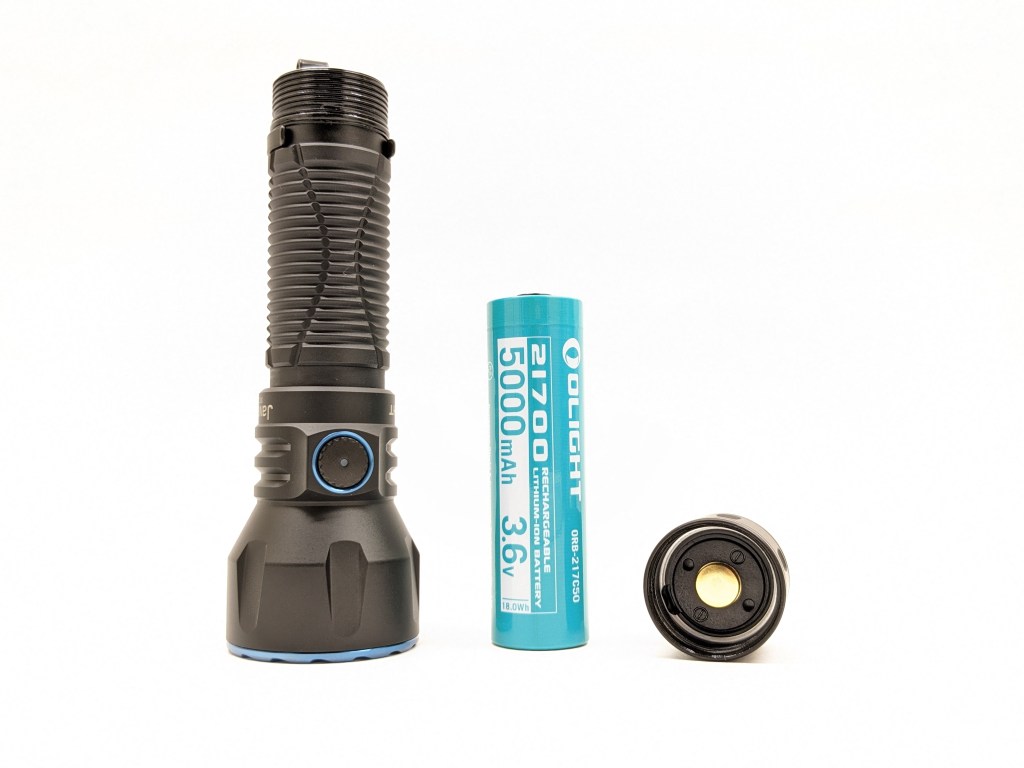
Battery: Javelot uses a proprietary 21700 battery with an extra negative terminal on the traditionally positive end of the cell. No other 21700 batteries will work at all and replacements are relatively expensive. Fortunately, this is a common cell for Olight so I expect they’ll be available for many years in the future.
I wish I could use standard batteries in my Olights, but their other features are usually worth the tradeoff for me. If you absolutely cannot stand proprietary batteries, read the competition section at the end.
This proprietary cell may or may not work with other lights or chargers. Its proprietary positive end with a raised plastic ring between the contacts makes it picky. It’s also longer than a standard 21700 cell. I found that it worked fine with my Convoy S12 and XTAR PB2S (V2), but not with my Emisar D4K nor SkyRC MC3000.


Charging is facilitated by Olight’s proprietary magnetic tailcap charging system. A USB-A charging cable is included that magnetically snaps onto the tailcap of the light. The puck has an LED indicator that glows red while charging and glows green when not charging. It’s easy to see but it’s a little too bright to have on your nightstand at night. The light will work while charging, but only up to medium mode and only with the battery inserted.
This magnetic charging system is tremendously convenient if you have a designated spot where you always charge your light because you can just wave the light near the charger and it will connect. When you’re finished, just grab the light and pull. It’s not very convenient if you like to charge in different locations or on the go because you have to have that proprietary charging cable.
Competition
Here are some lights in the same class and how they compare.
Nitecore MH25 Pro: the non-proprietary alternative
- similar price, size, shape, and layout
- significantly higher brightness but similar throw
- accepts standard batteries and USB-C charging
- tail switch on/off and side switch for mode changes
- multiple dedicated battery & brightness indicator LEDs on the side
- worse carry options (smaller clip and no holster)
Convoy M21A: the enthusiast alternative
- dramatically less expensive
- vast LED selection (more throw, more brightness, different color properties, etc)
- basic tail switch only
- no integrated charging and battery (usually) not included
Sofirn IF22A: the budget alternative
- less than half the price
- performance
This section is not comprehensive. If I didn’t include a particular light here, it doesn’t mean it’s bad or doesn’t deserve to be here. I simply cannot list every possible competitor.
Conclusion
I love the ergonomics, size, build quality, beam shape, switches, and pocket clip. I like the battery indicator, charging solution, holster, and most of the UI. I dislike the proprietary battery, bad green tint, mediocre regulation performance, and half-press-low on the tailswitch. Overall this is a good pocket-able thrower and it’s a lot of fun to use.
Thanks to Olight for sending me this light for review!