- Pricing & Availability
- What comes in the box?
- Design & Construction
- Size & Measurements
- User Interface
- Emitter & Beam
- Mode Chart
- Runtime
- Driver & Regulation
- Batteries & Charging
- Switch
- Carry & Ergonomics
- Competition
- Conclusion
Pricing & Availability
Flashlightgo sent me this light in exchange for an honest review. Here is the product page on their site where you can see current pricing. At the time of writing it’s $170 USD with the optional battery.
What comes in the box?
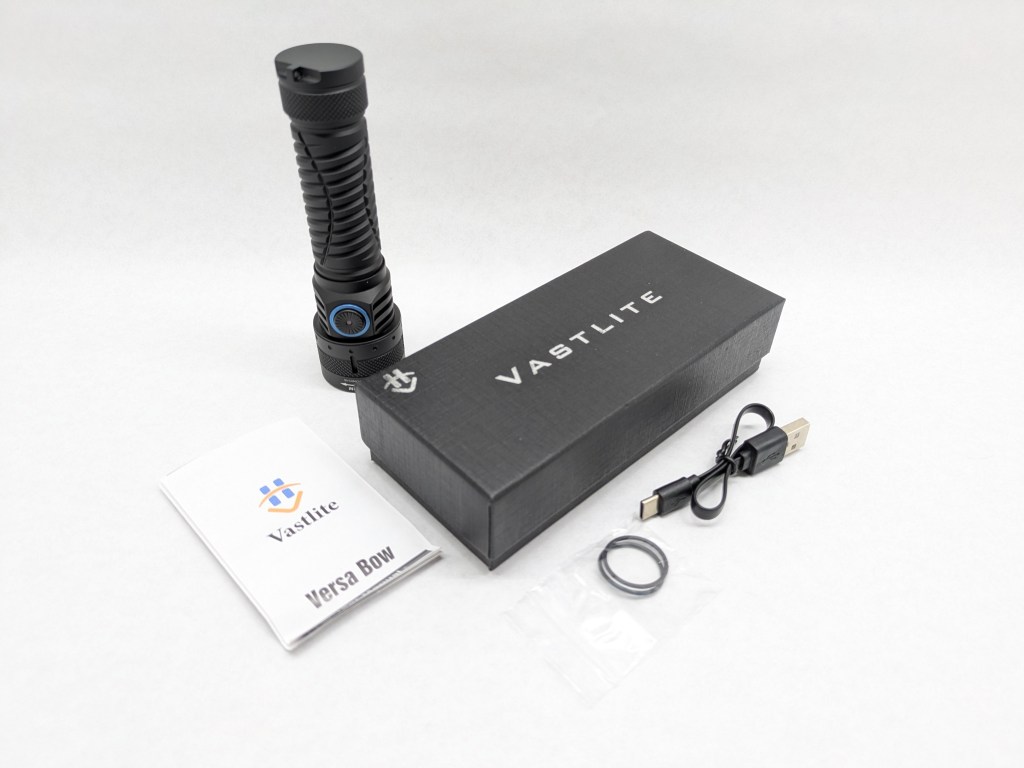
The box is nice, with two pieces that nest together. It’s made of cardstock wrapped in black, textured paper and has a foam insert inside to hold the light securely. Inside is:
- The light itself
- Battery (inside the light)
- User manual
- USB A-to-C charging cable
- Spare O-rings
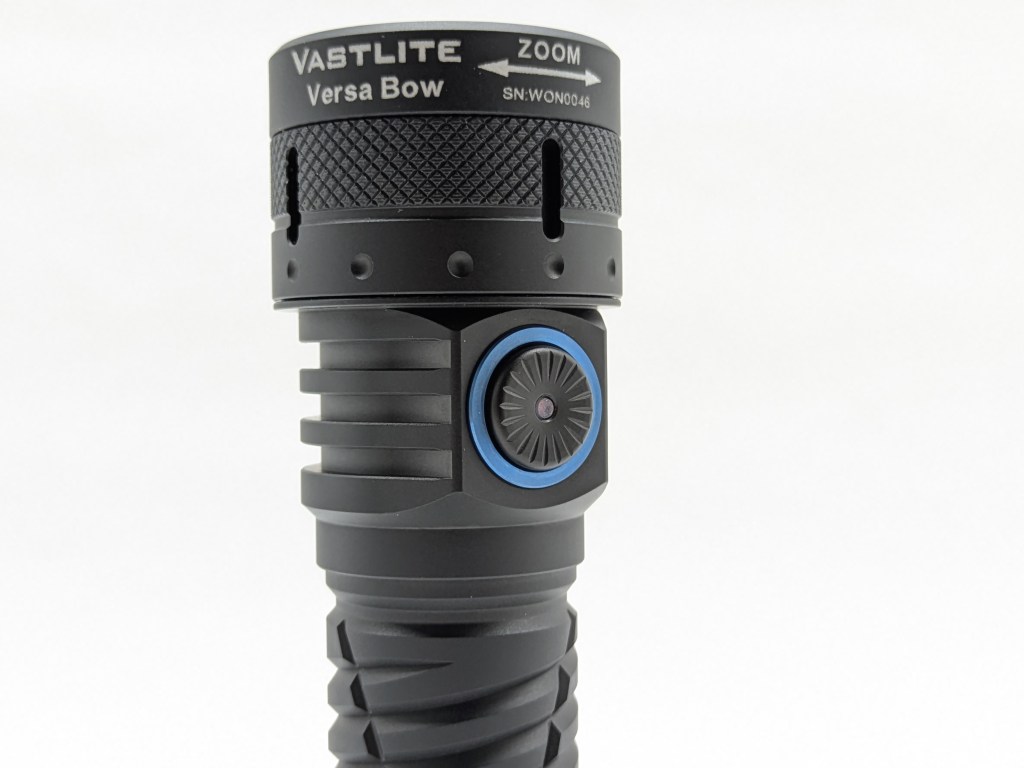
Design & Construction
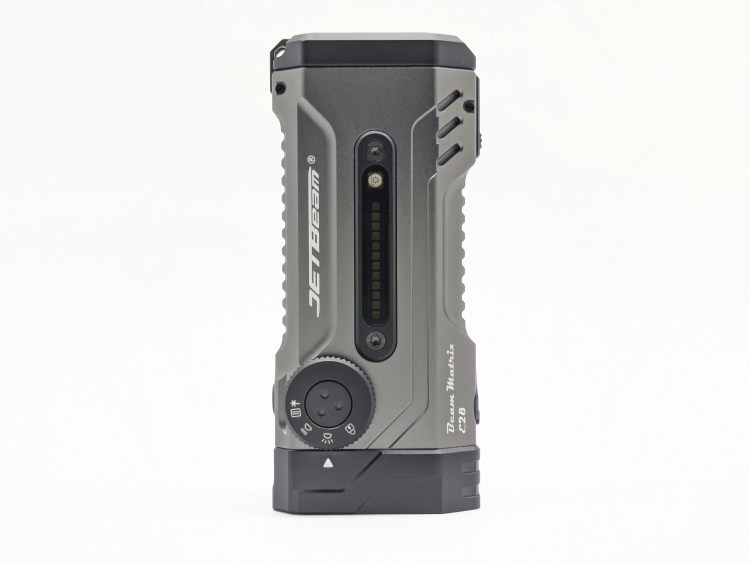
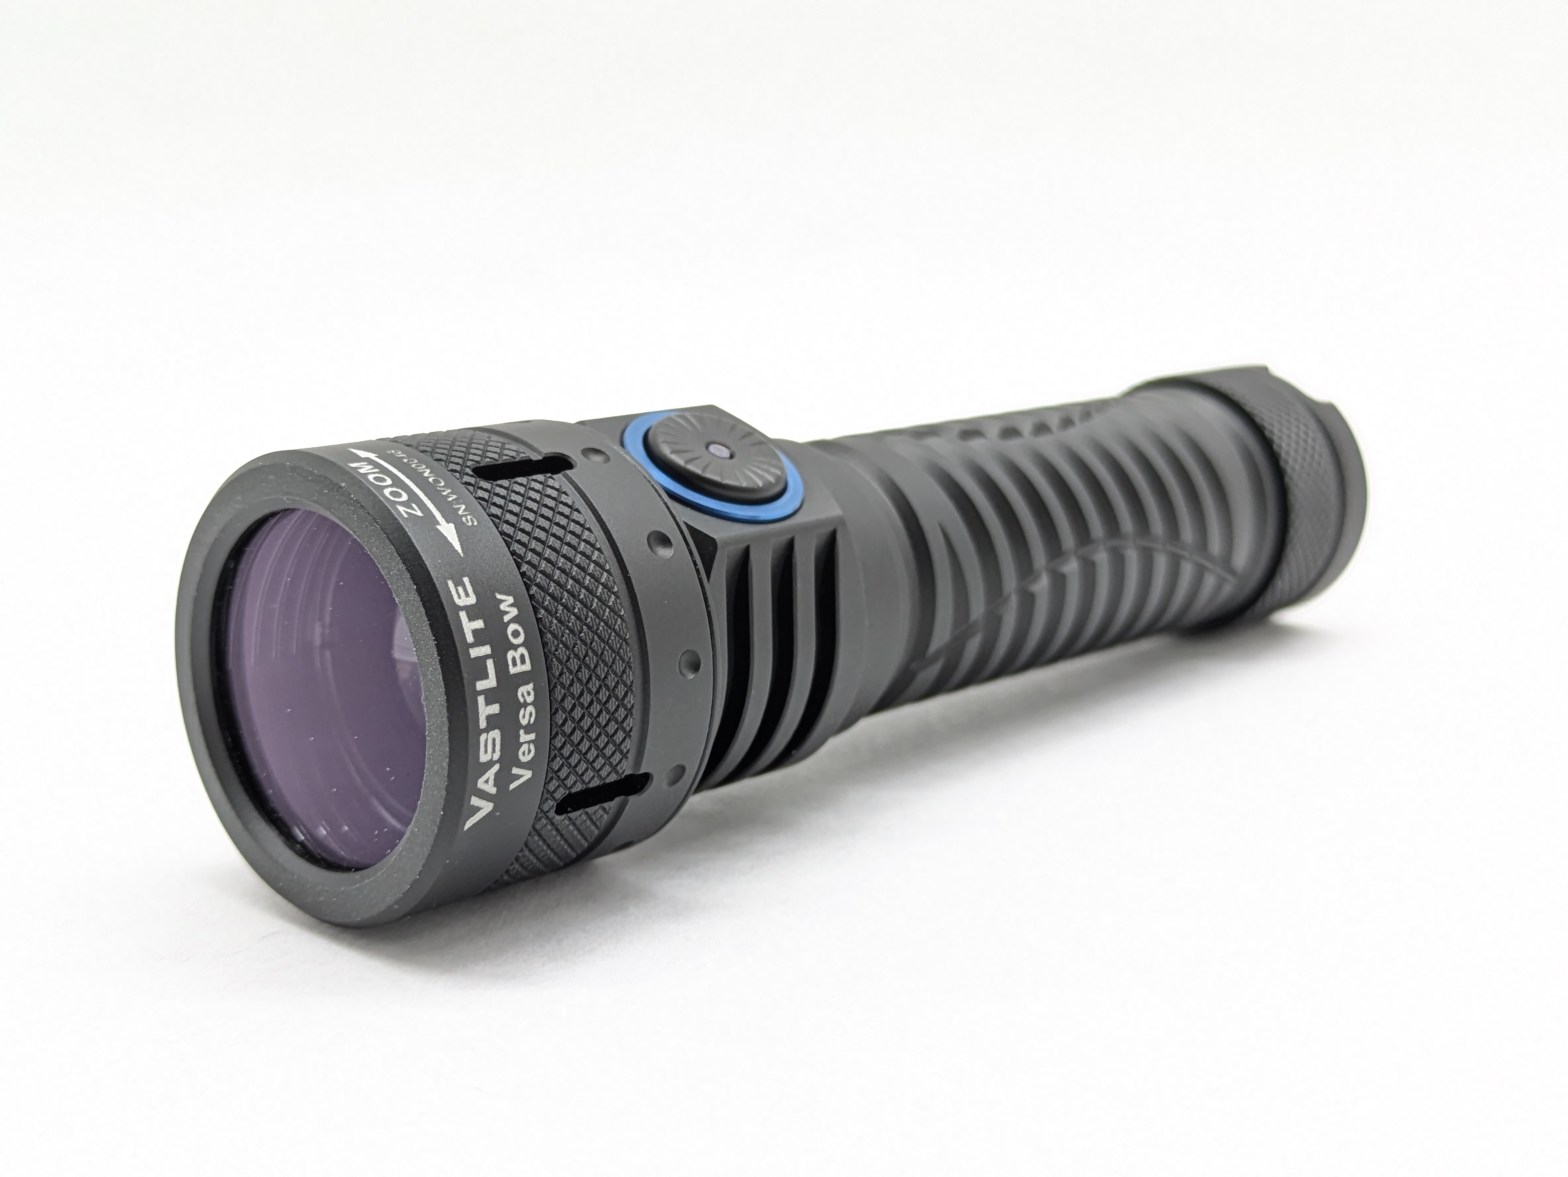
The design is a fairly standard side switch 21700-size layout. The key difference is the head twists and contains a zoom mechanism to adjust the beam shape.
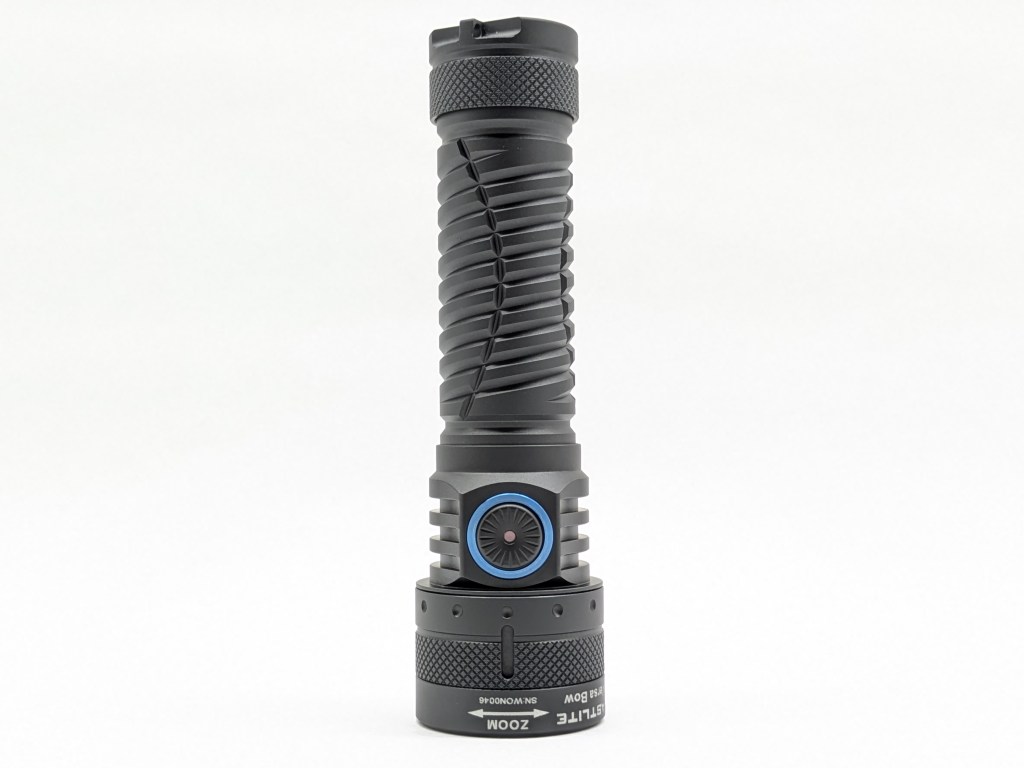
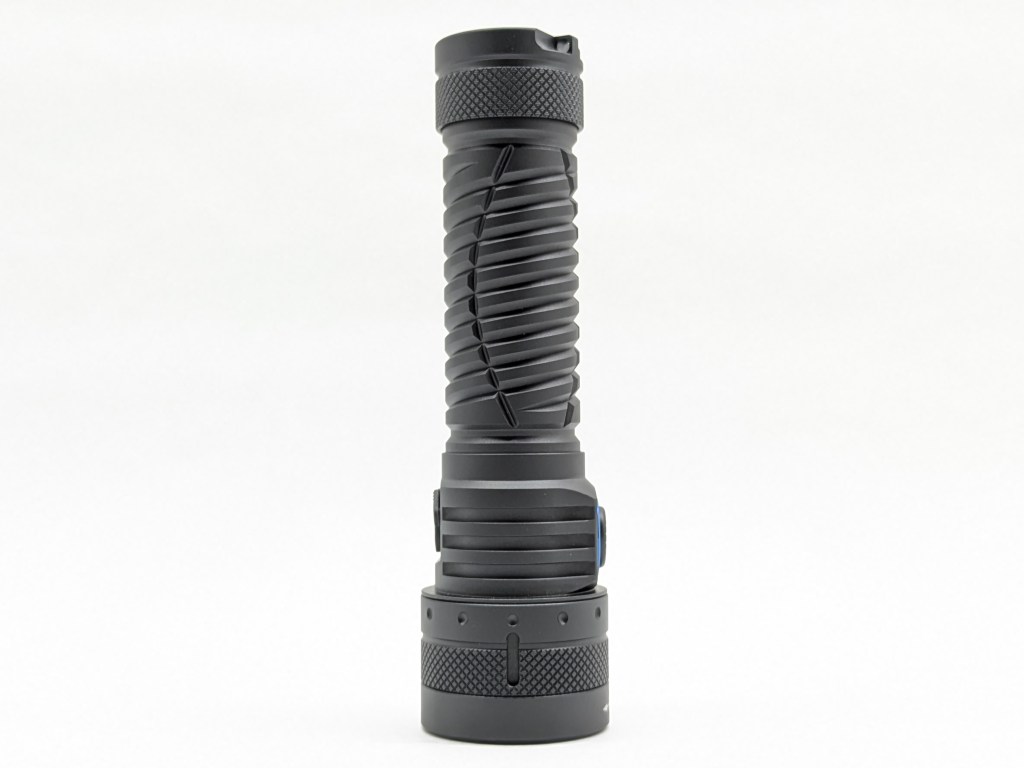

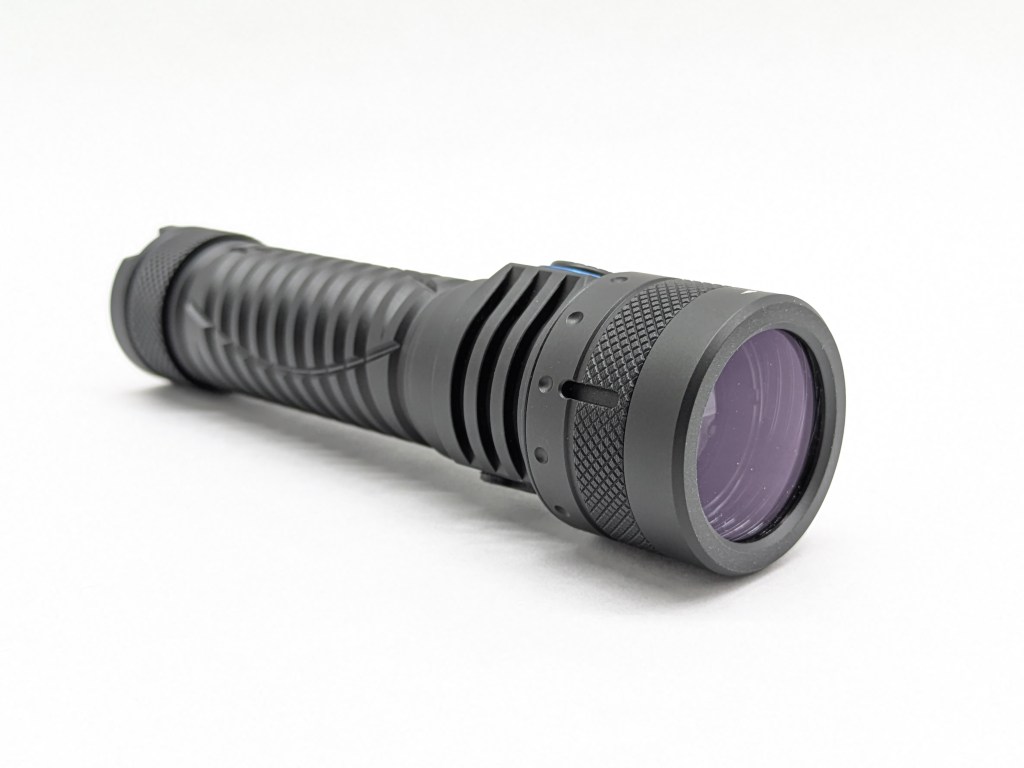
Build quality is good. It feels well made and I have no complaints. I appreciate that the zoom mechanism is contained inside the bezel so the size of the light does not change when you zoom.
Size & Measurements
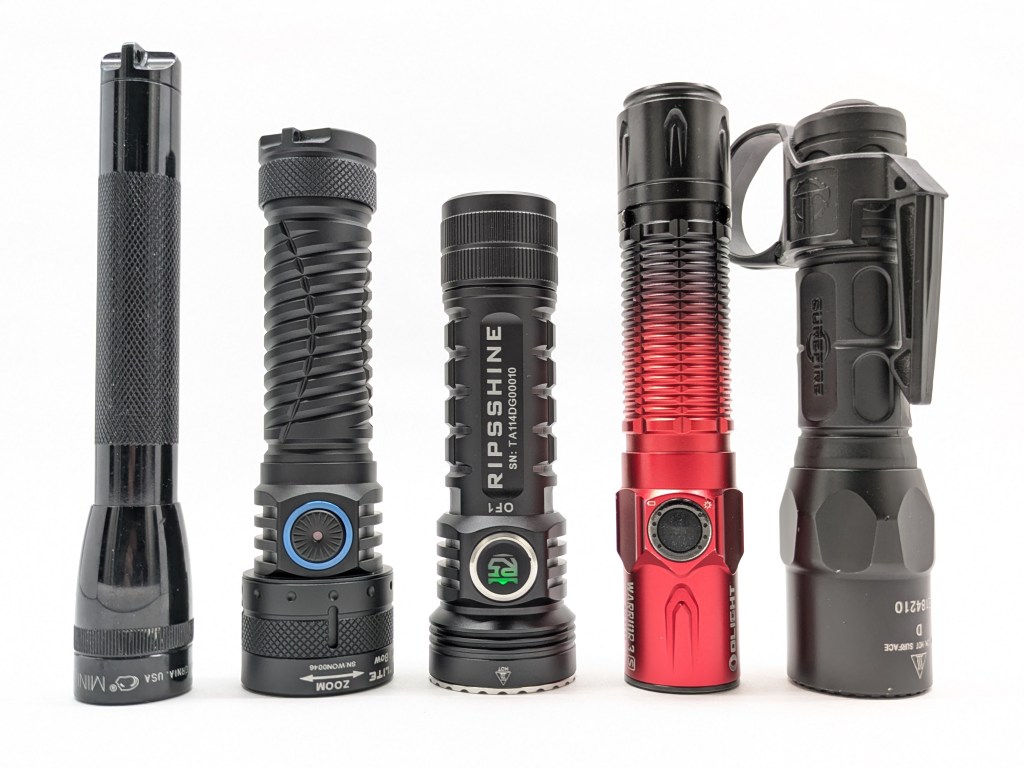
Mini Maglite | Vastlite Versa Bow | Ripsshine OF1 | Olight Warrior 3S | Surefire G2X Pro
| Measurement | Measured (mm) |
|---|---|
| Bezel Diameter | 35.4 |
| Length | 128.0 |
| Switch Diameter | 11.6 |
| Body Tube Diameter | 25.5 |
| Tailcap Diameter | 28.0 |
| Tailcap Length | 16.1 |
| Included Battery Length | 70.4 |
| Weight with included battery (g) | 177 |
User Interface
This is an excellent UI for an LEP. I’ve adjusted the UI checklist a bit because LEPs don’t need as many modes. In the list below “1C” means 1 click and release. “2H” means two clicks and hold the second click.
Basic E-switch UI Checklist: 10/10
- 1C on/off✅
- 1H to change brightness✅
- Stepped levels✅
- Reasonable number of brightness levels✅
- Normally I expect 5 brightness levels but LEPs have such a narrow useful brightness ranger that 2-3 levels is ideal. This light has 2 levels.
- Lowest-mode shortcut: 1H from off✅
- Brightnest-mode shortcut: 2C from anywhere✅
- Strobe shortcut: 3C from anywhere✅
- 3C from strobe activates SOS. 3C from SOS activates beacon.
- Mode memory for Low and High✅
- 4C or separate switch to lock/unlock✅
- Does something when you click the switch in Lockout mode✅
- It activates momentary low mode as long as you hold the switch. Cool! Mechanical lockout by loosening the tailcap works great too.
Notes:
- Switch backlight: can be turned off/on by clicking 5x. It’s so dim that you might never notice it exists.
Emitter & Beam
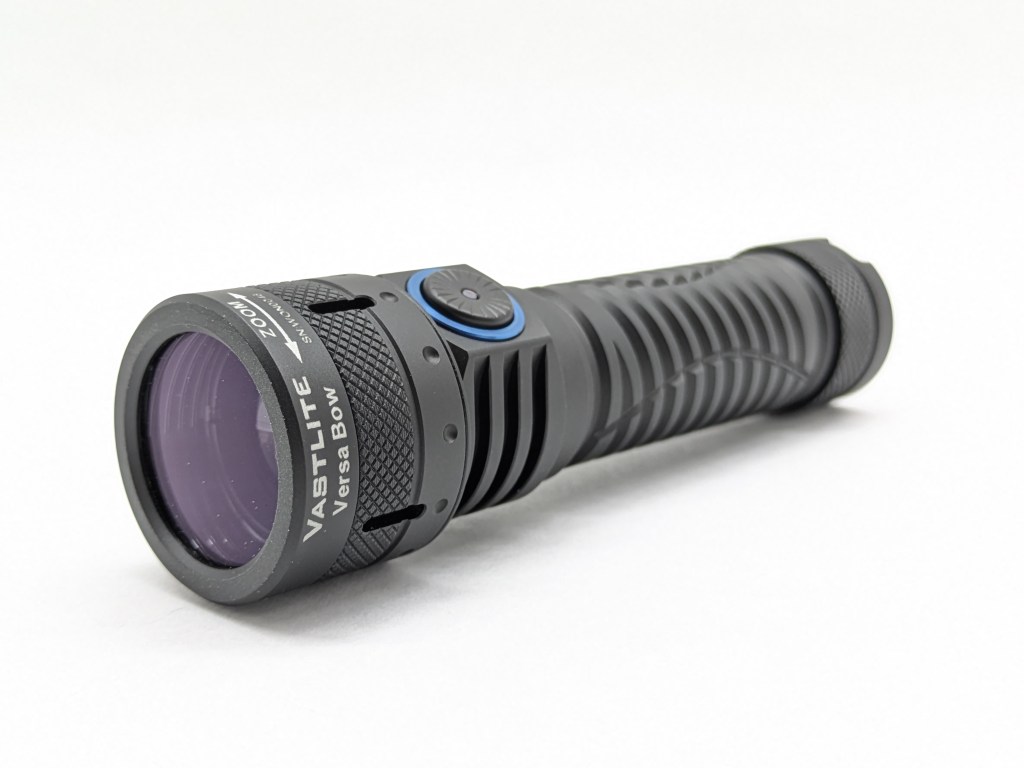
This is an LEP flashlight rather than an LED flashlight. In an LEP, a blue laser shines at a yellow phosphor to make an intense white light. Then that gets focused through a lens into a beam. In this case, that lens and therefore the beam are adjustable. Twisting the head zooms the beam in and out by moving the lens inside the light. The length of the light stays constant, which I haven’t seen on a zoomie before.
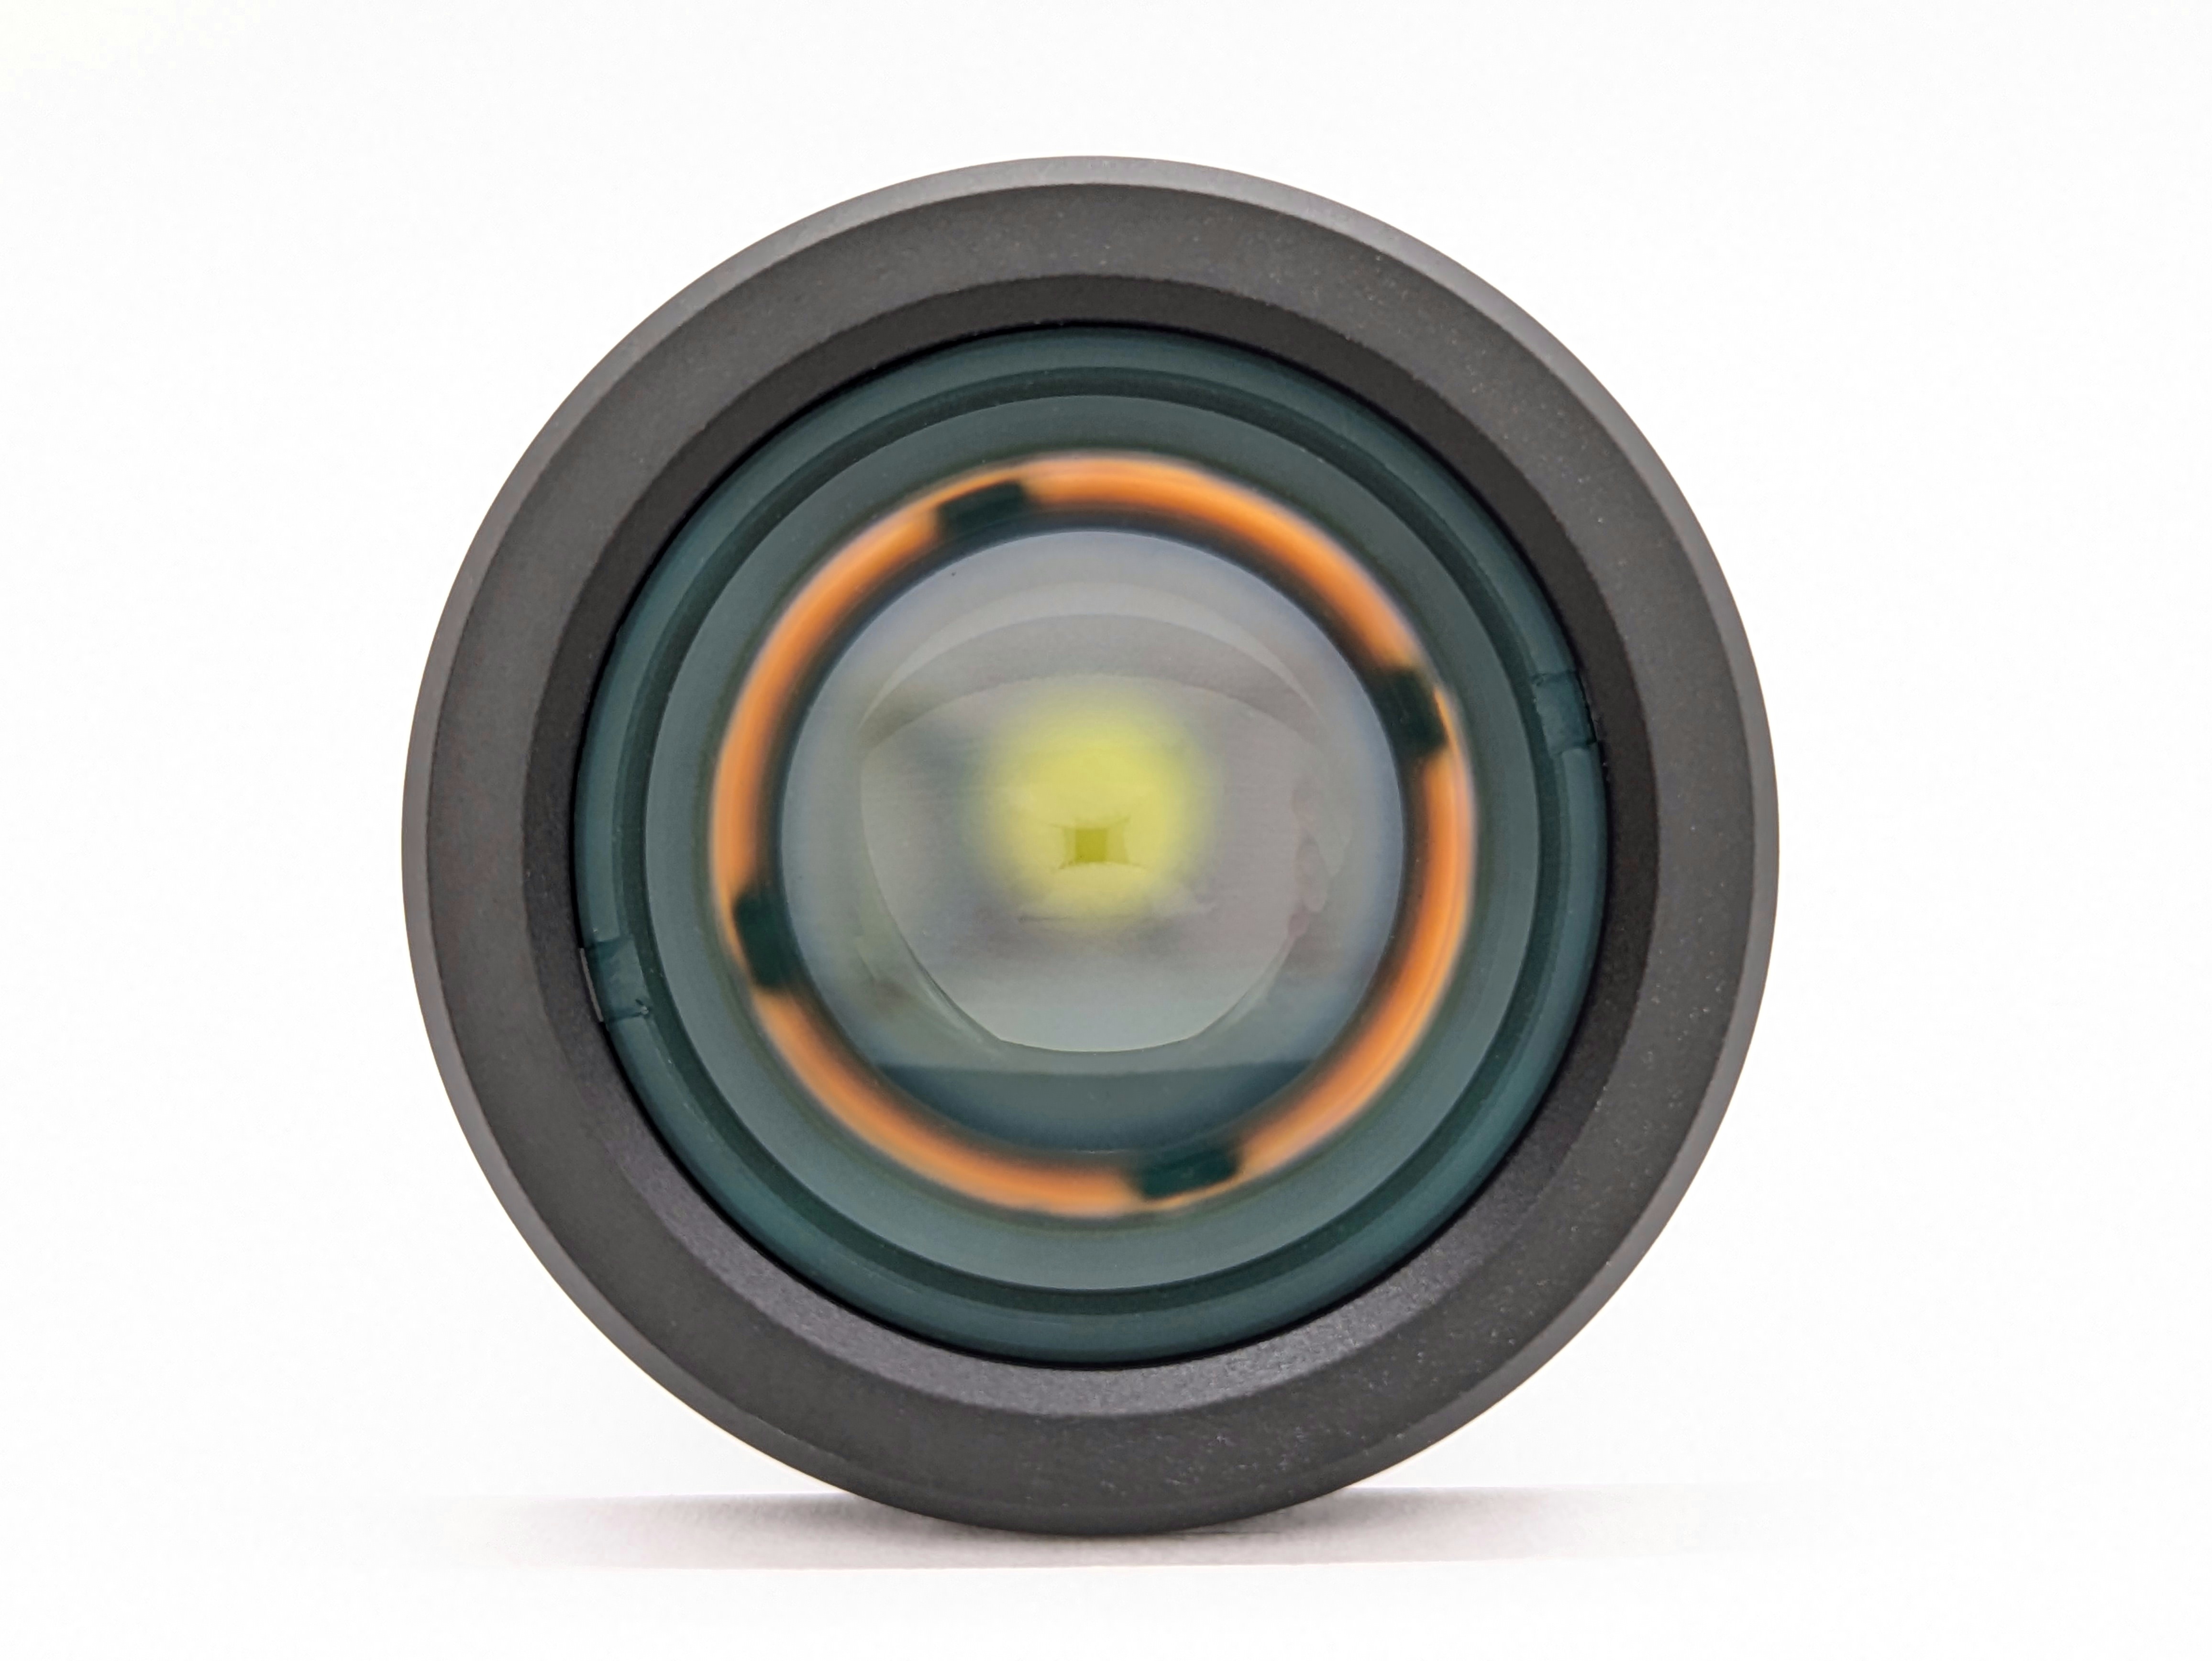

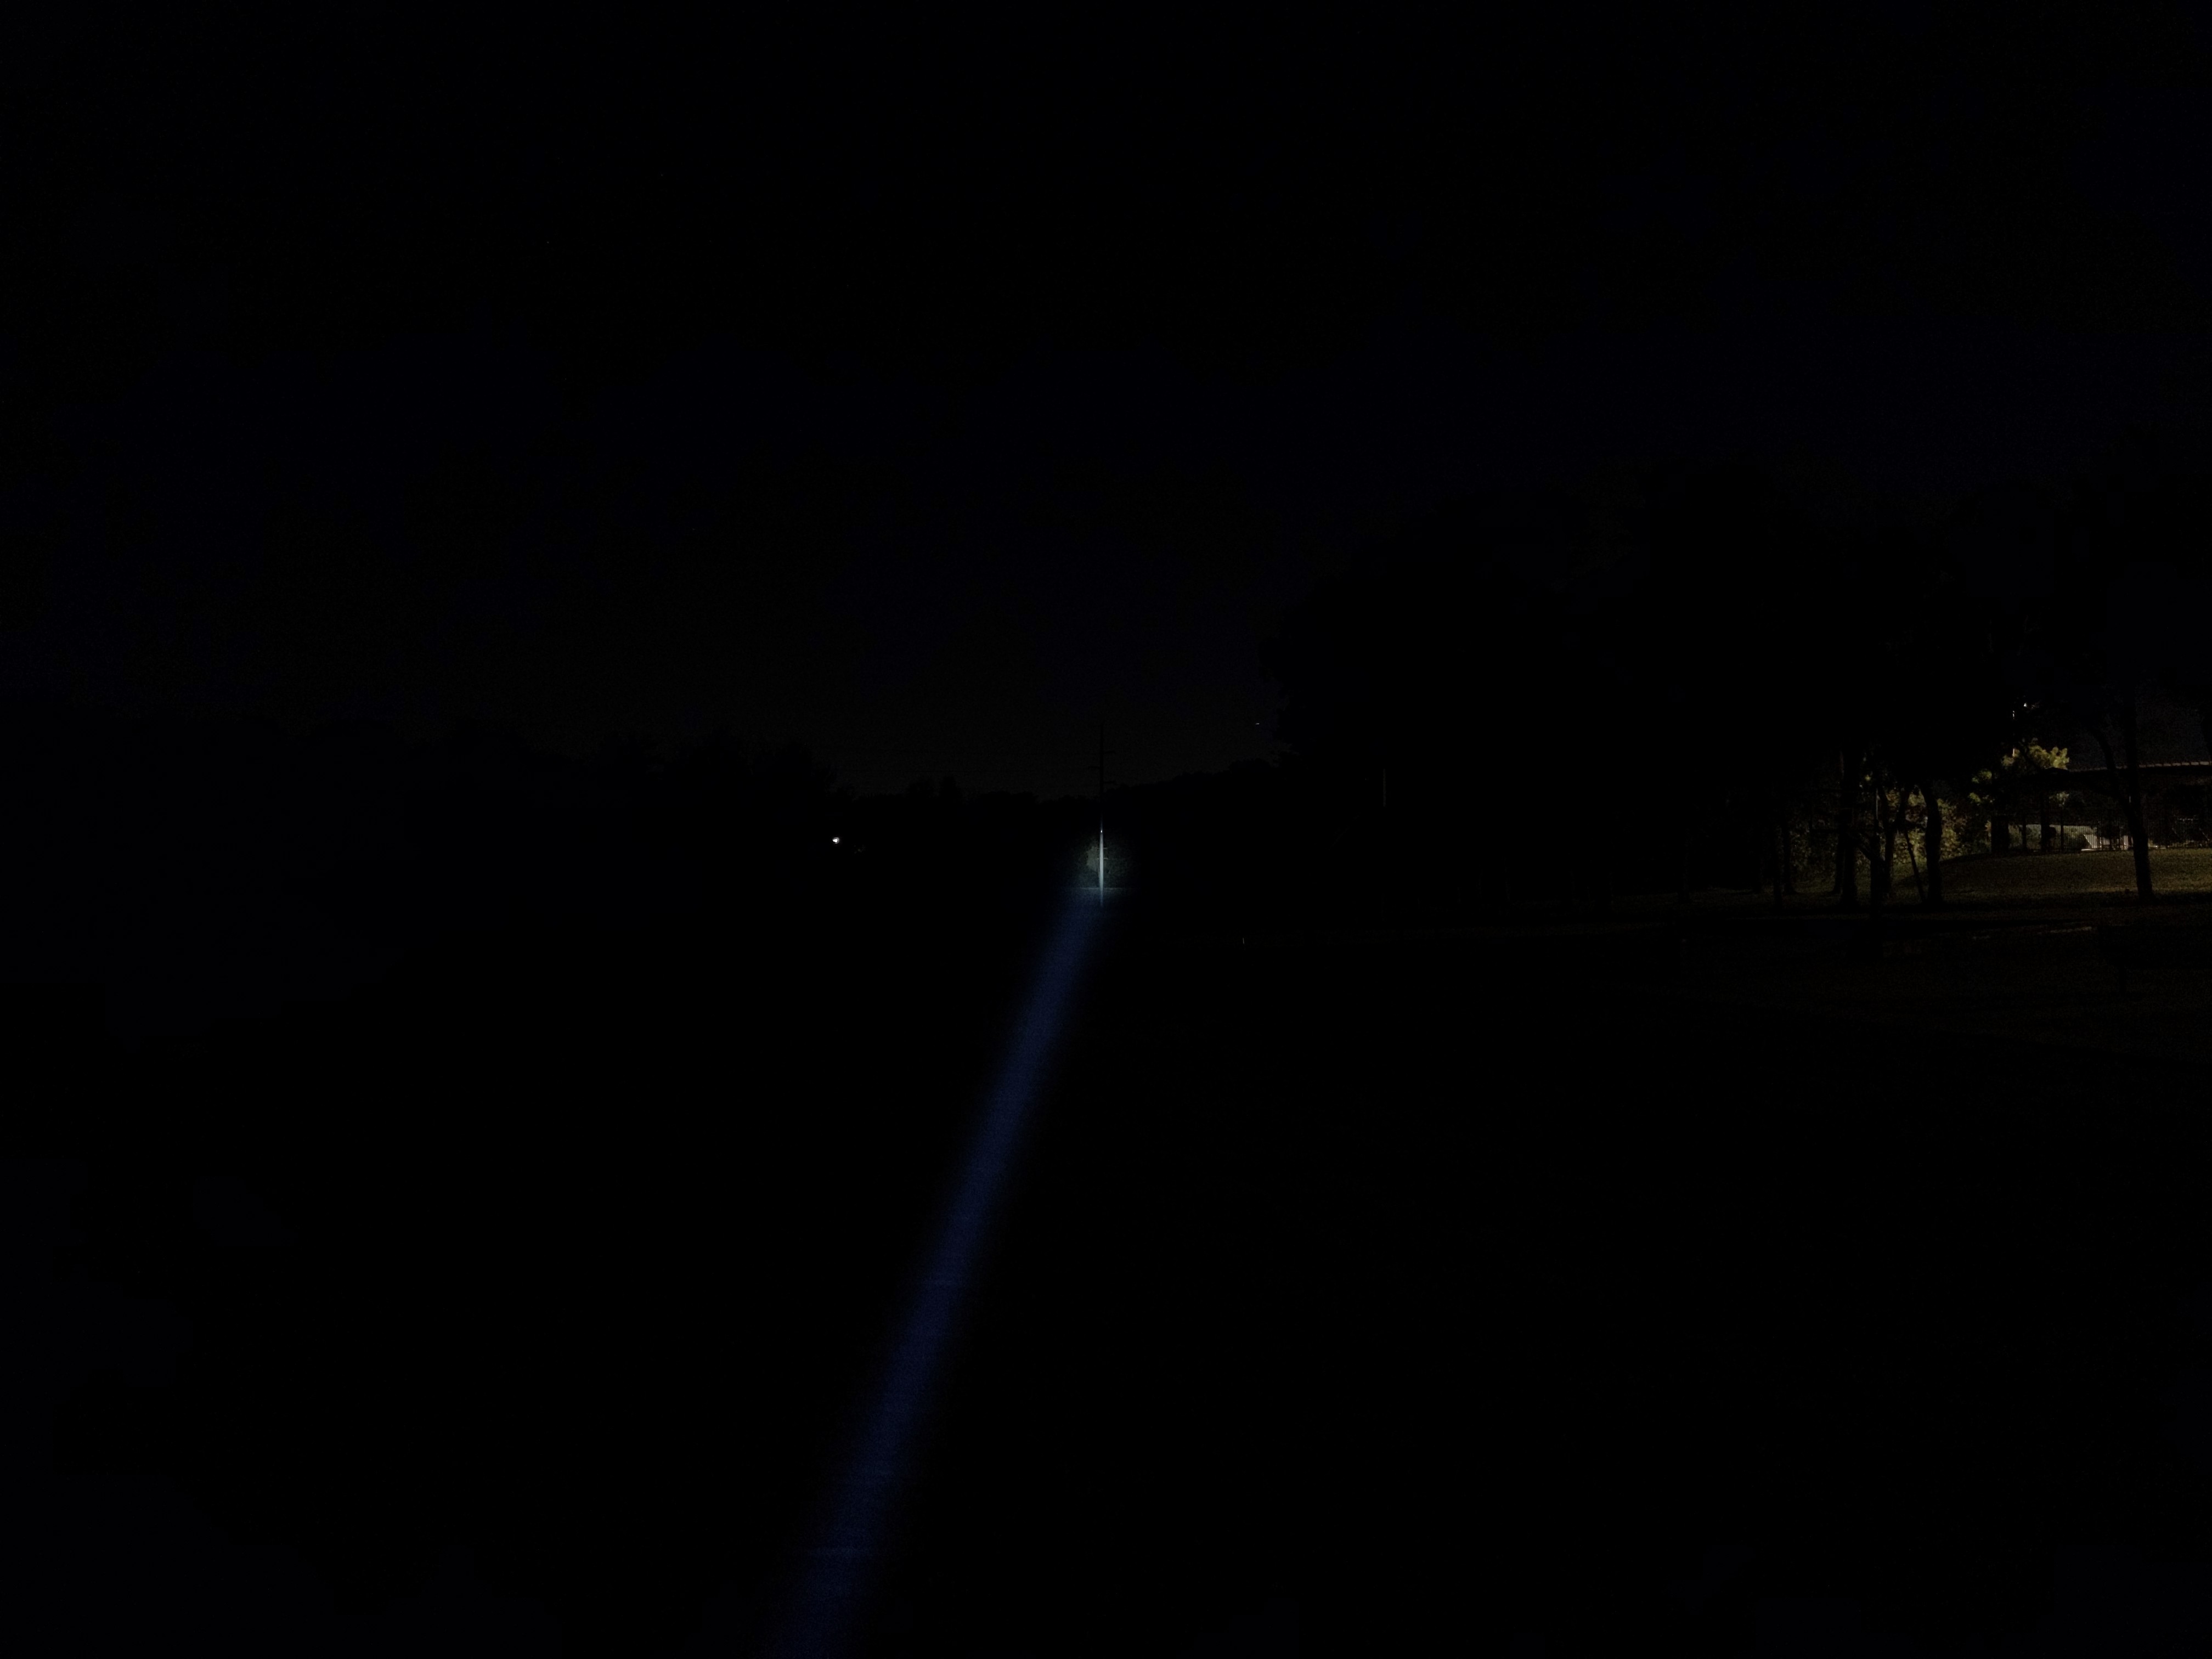
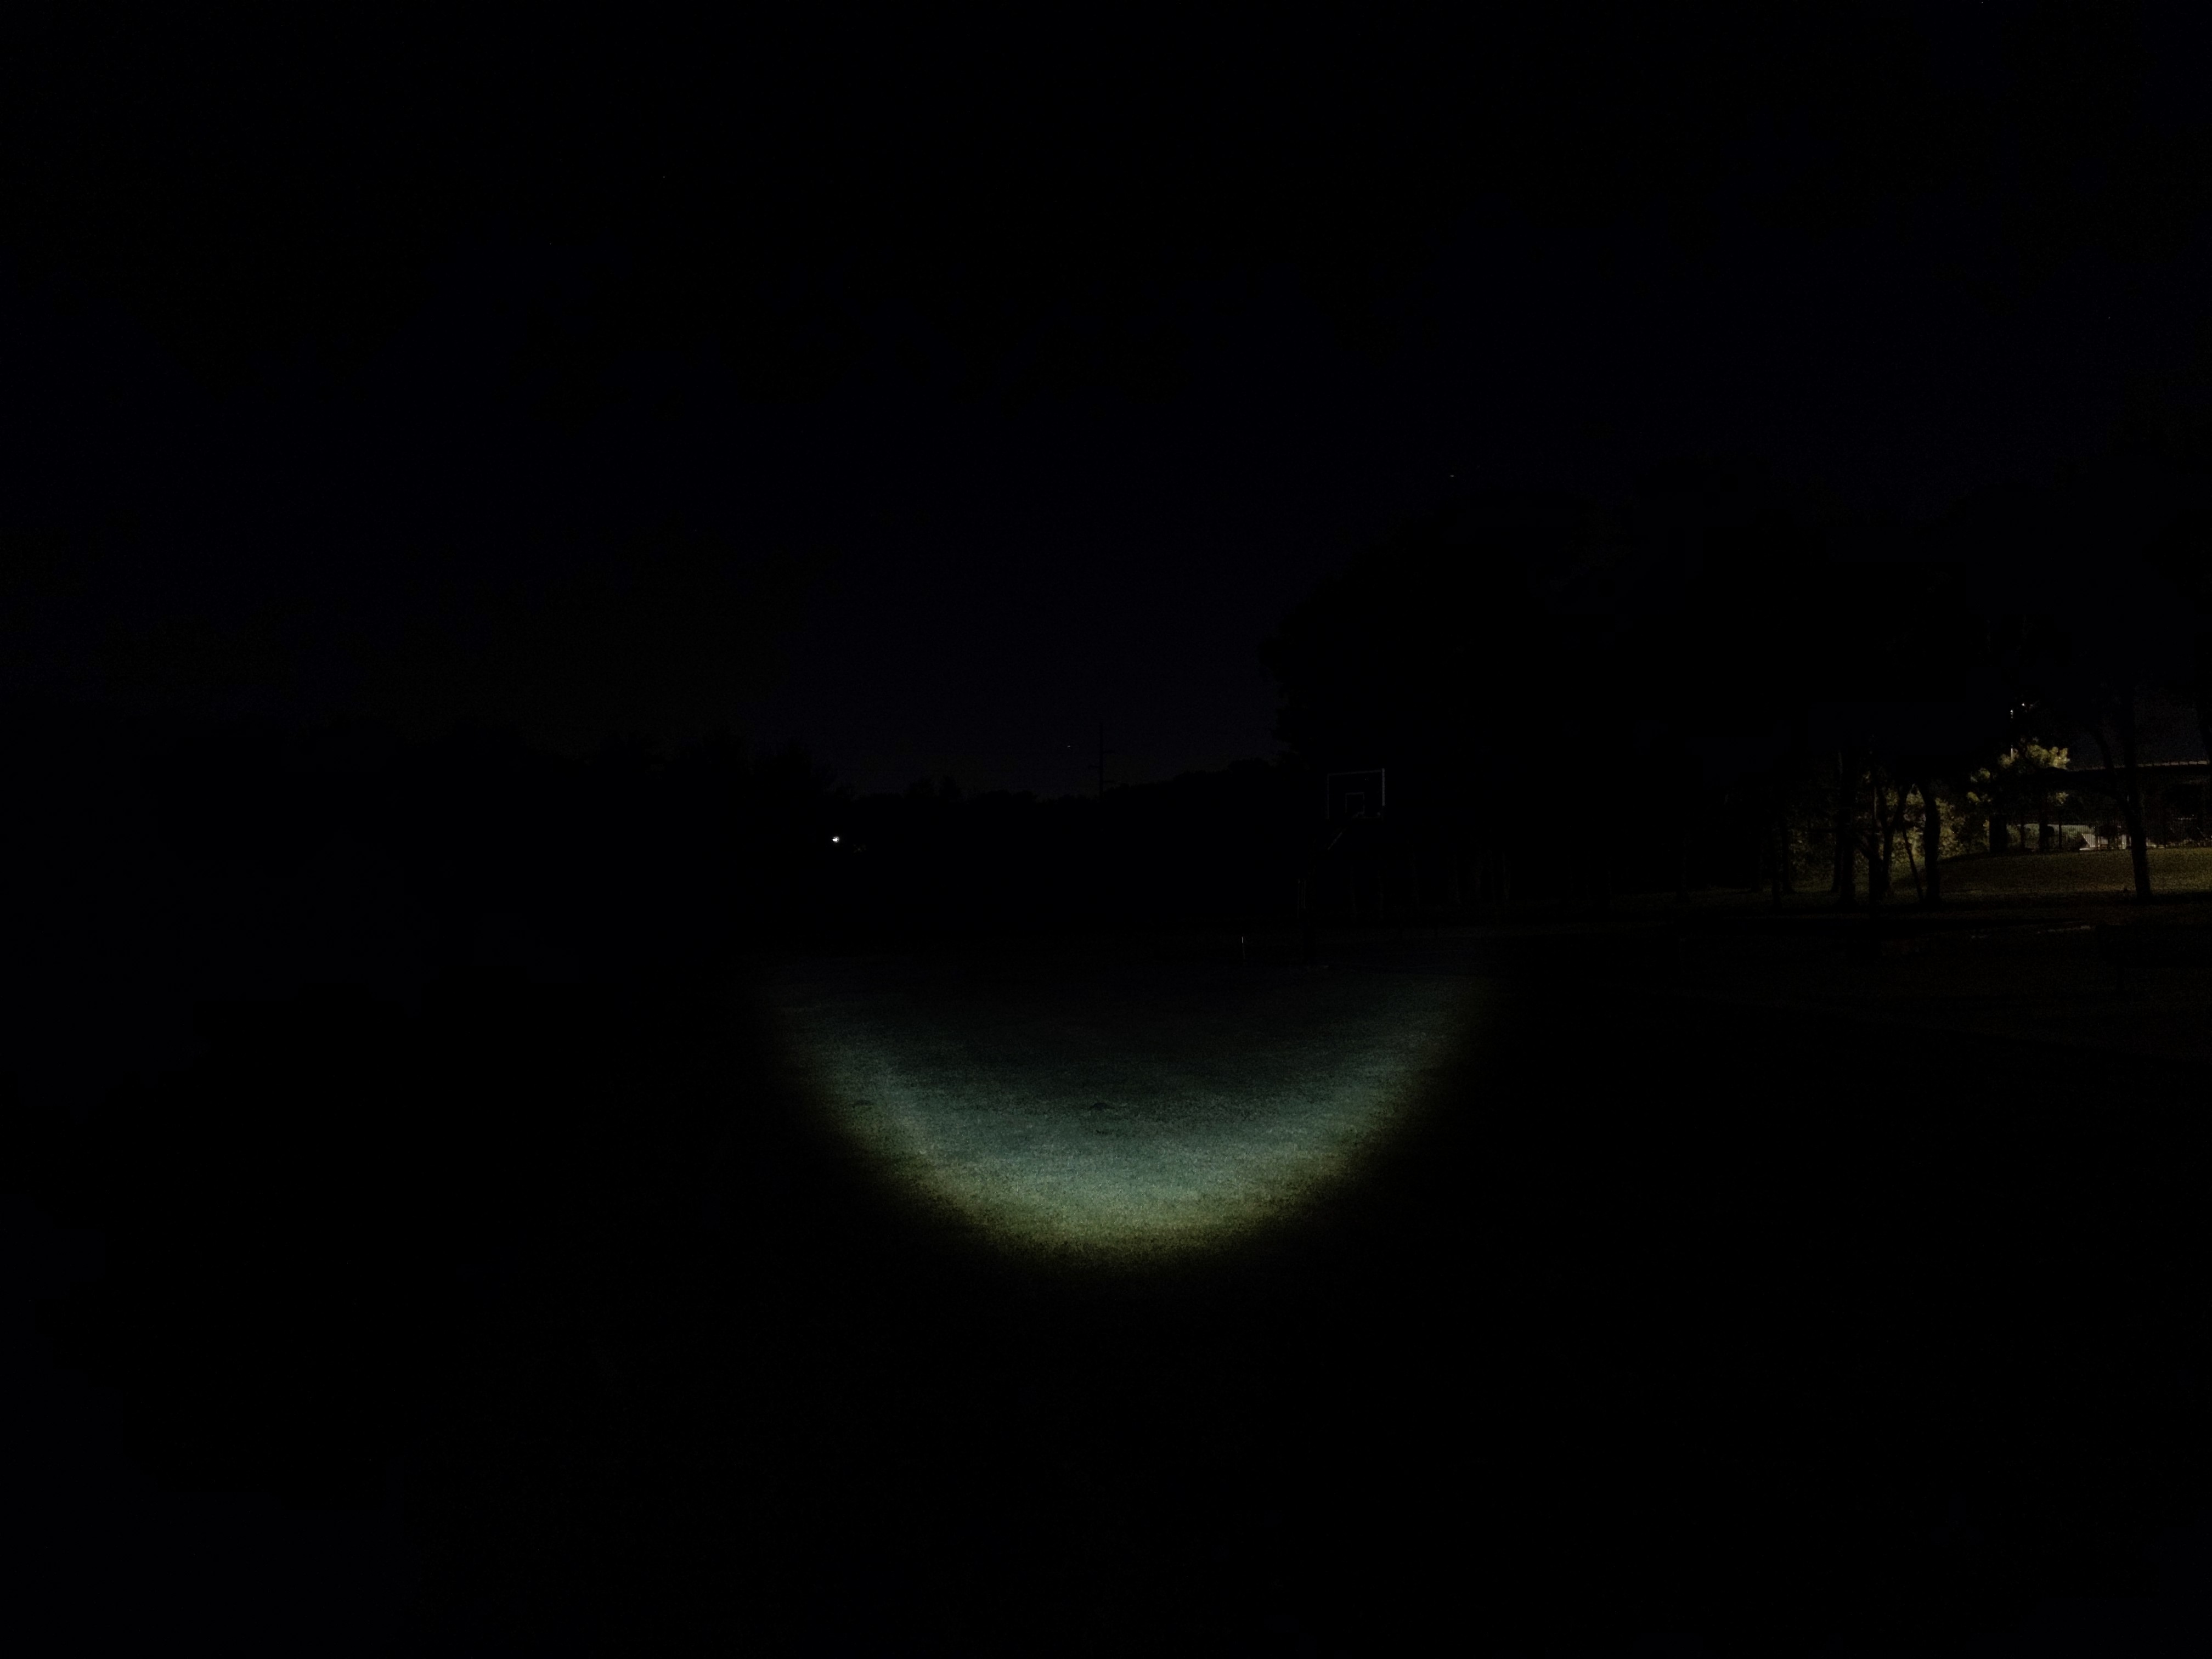
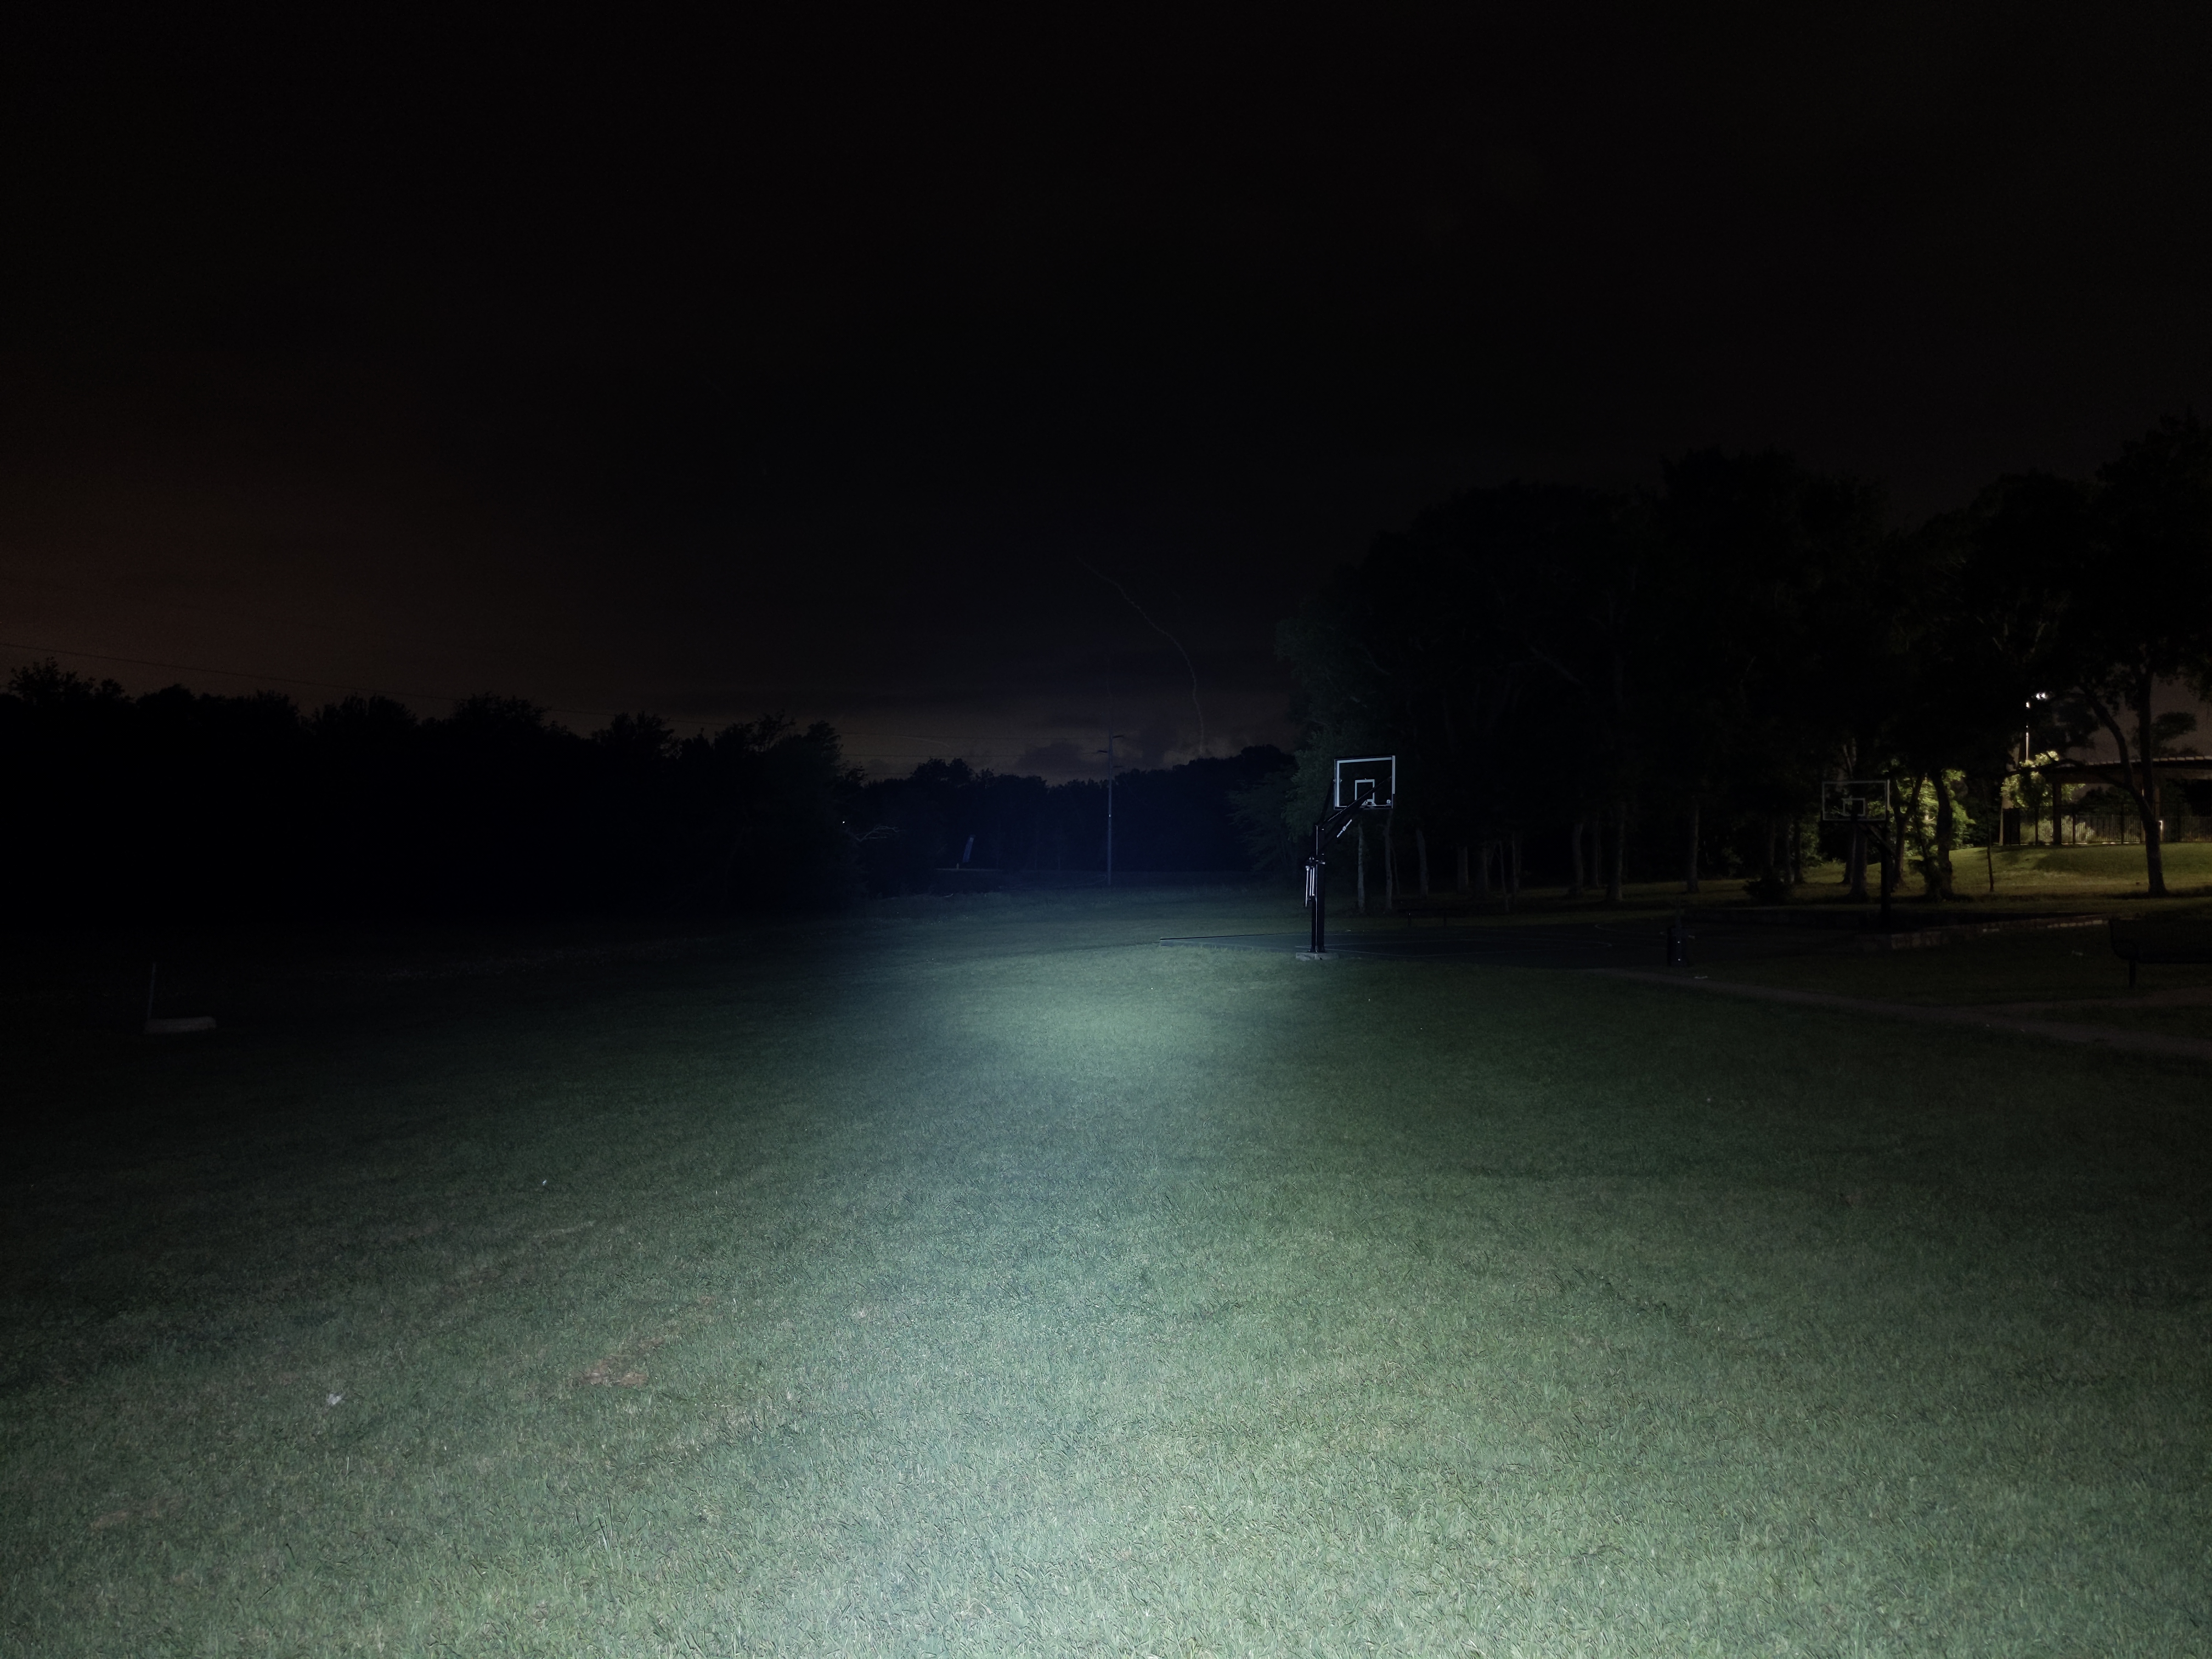
The zoomed-in beam is narrow and extremely intense, as you’d expect from an LEP. It’s good for reaching out extremely far and creating a visible beam in the air, but is not useful otherwise. Zoomed-out, the beam becomes a white circle with a dimmer center and brighter, yellow edges. It can illuminate wider area, but it still has no spill and it’s pretty dim overall. The flood beam is better than nothing, but it’s no substitute for a regular LED flashlight.
In the beamshots below, camera settings are fixed and the wall is 2.8M away.


In the beamshots below, camera settings are as similar as possible, the basketball goal to the right of the hotspot is 39M away, and the power pole in the center is 185M away.

Mode Chart
Disclaimer: All of my measurements are taken at turn-on. Lumen measurements were taken on a Texas Ace 3.5″ Lumen Tube. A candela measurement was taken at 25 meters with an Opple Light Master III on the highest brightness, and other candela figures were calculated relative to that. CRI, CCT, & DUV data were taken for each mode from a few feet away at the center of the hotspot with the Opple Light Master and Waveform DUV Calculator. Runtime tests were performed with the Ceilingbounce app on my smartphone. These tests were performed with a fully charged included battery unless otherwise specified. I cannot measure moonlight directly, so moonlight readings are calculated based on the brightness relative to the next-lowest mode. None of this is professional equipment, so take these measurements with a grain of salt.
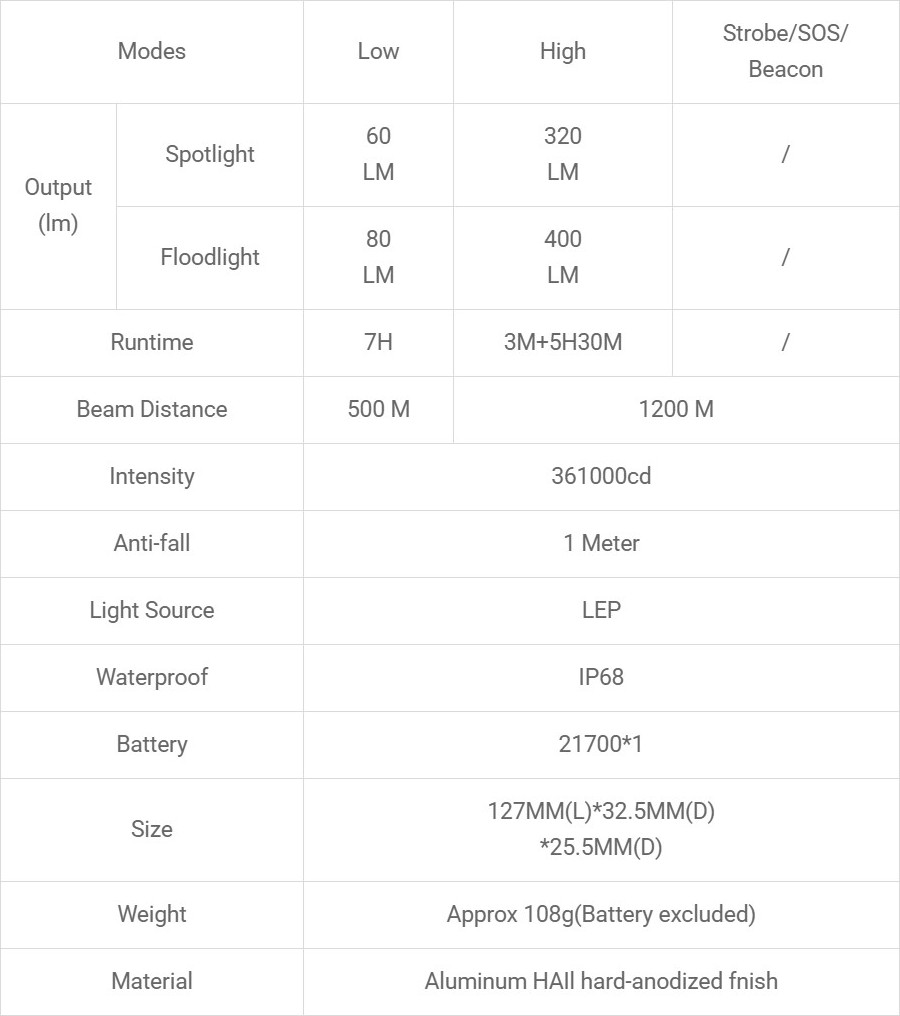
The official specs are above, followed by my own measurements below.
| Level | Lumens | Candela | Throw (Meters) | CRI (Ra) | Color Temp. (K) | DUV (Tint) |
| High Spot | 330 | 440000 | 1300 | 60 | 5830 | 0.0113 |
| High Flood | 340 | 1200 | 69 | 68 | 7880 | 0.0032 |
| Low Spot | 52 | 70000 | 530 | 55 | 5450 | 0.0160 |
| Low Flood | 57 | 200 | 28 | 65 | 6800 | 0.0071 |
Runtime
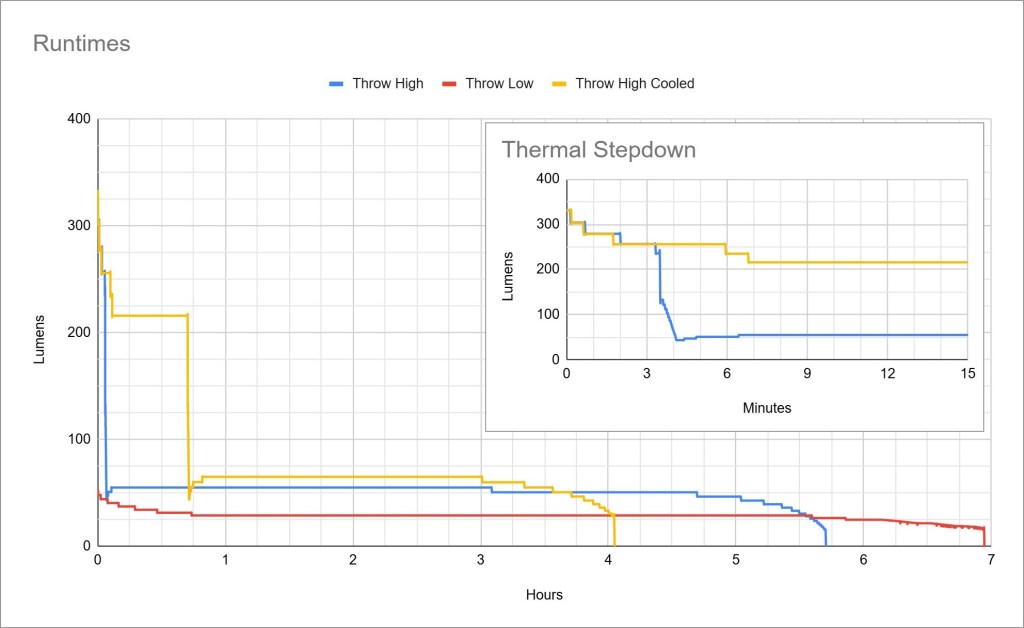
Performance: LEPs are all about candela, so their lumen figures don’t look very impressive. This one maintains High mode for over 3 minutes before stepdown, which is great. After stepdown it hovers a bit above 50 lumens, which is less impressive. The Low mode slowly dims to about 60% of turn-on brightness over the course of ~45 minutes, and that’s not great. Based on the High mode sustained brightness, Low mode should not have to step down at all.
Thermal regulation: My Turbo Cooled test shows a significant increase in sustained brightness. This light has active thermal regulation that will adjust brightness to give you maximum performance without overheating, at least to a point. After 45 minutes the light steps down anyway but you still get a lot more brightness for that initial 45 minutes with active cooling or cold conditions.
Low Voltage Warning/Bug? On High mode when the battery is at ~3.8V resting or lower, and it has been on for more than ~10 seconds or so, the light will flicker off 2-3x per second. It seems more like a bug than a low voltage warning, because it also has a proper low voltage warning that happens when the battery is near empty on either mode. The switch LED blinks red and the main LED blinks off a few times right after you turn on the light.
LVP (Low Voltage Protection/Shutoff): is present and works well. It doesn’t rely on the battery having a protection circuit. The light will shut off when the battery is practically empty, but it can be temporarily re-activated in an emergency.
Driver & Regulation
The driver: I don’t have any details about the driver.
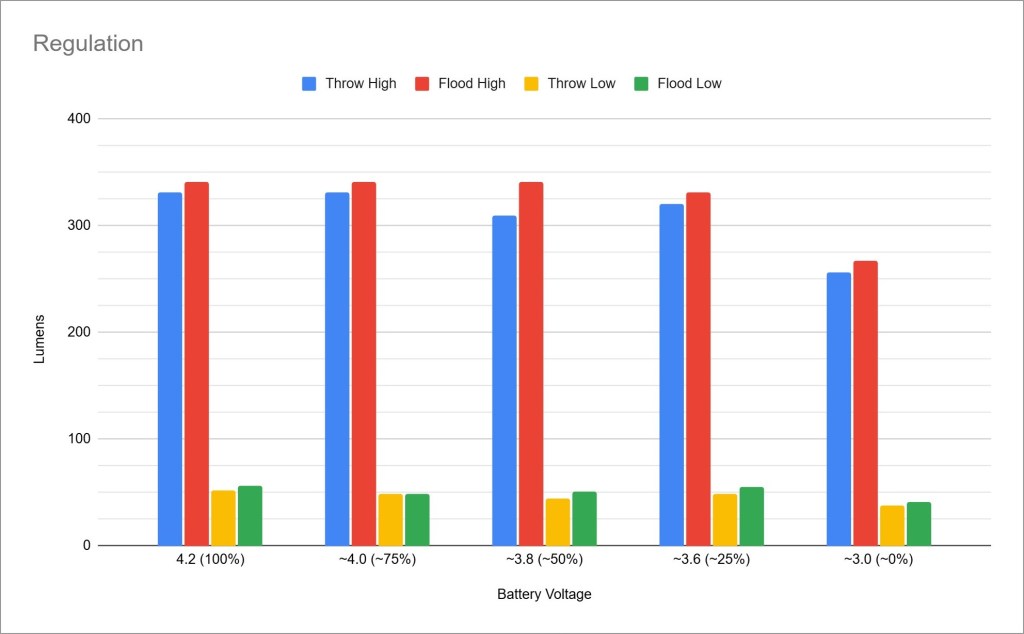
Regulation performance is great. It maintains most of the Turbo brightness down to ~0% charge.
PWM: No PWM is detectable by my eyes, ears, phone camera, nor Opple.
Parasitic Drain: 29 microamps with the switch LED off, or 52 microamps with it on. That will take almost 20 years or a little over 10 years to drain the included battery.
Batteries & Charging

The battery included is a Vastlite-branded, unprotected, flat-topped, 5000mAh, 21700 cell. It does the trick.
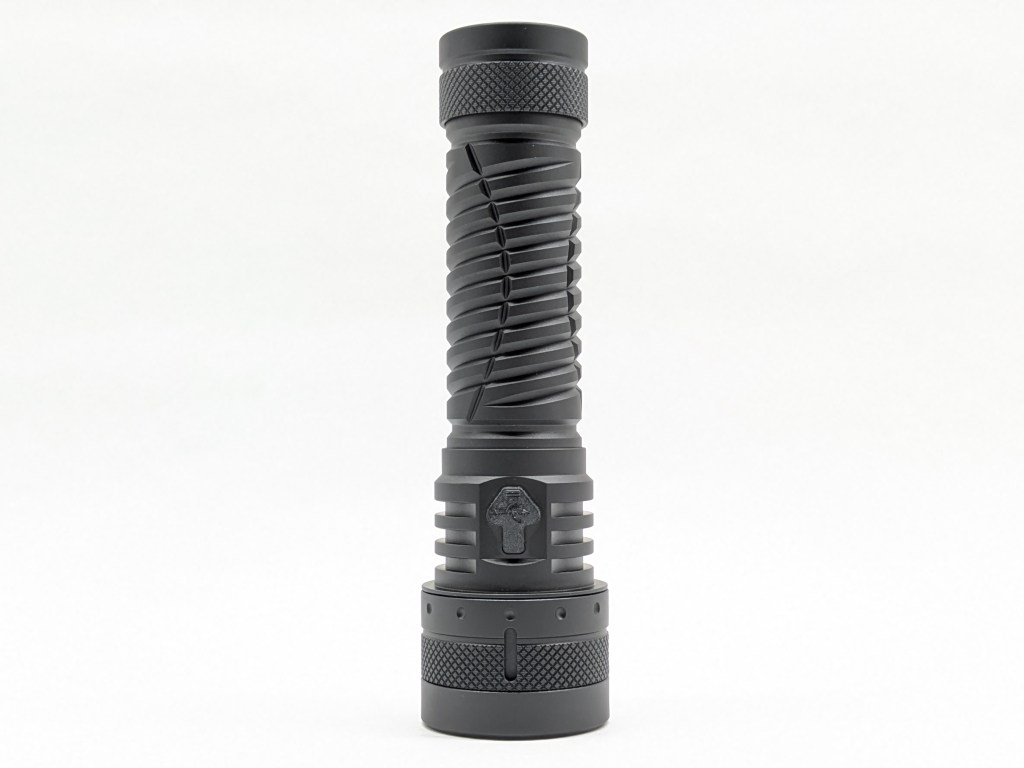
Charging is facilitated by a USB-C port on the head directly opposite the button. Charging takes just under three hours. When charging, the switch indicator blinks red. It turns solid green when charging is complete. While charging it gets very warm. It works while charging. There is no powerbank function, which is something I expect from a light this size.
There battery indicator under the switch only indicates charging status or critically low battery. I wish it had more granularity than just “off” or “battery is critically low”.
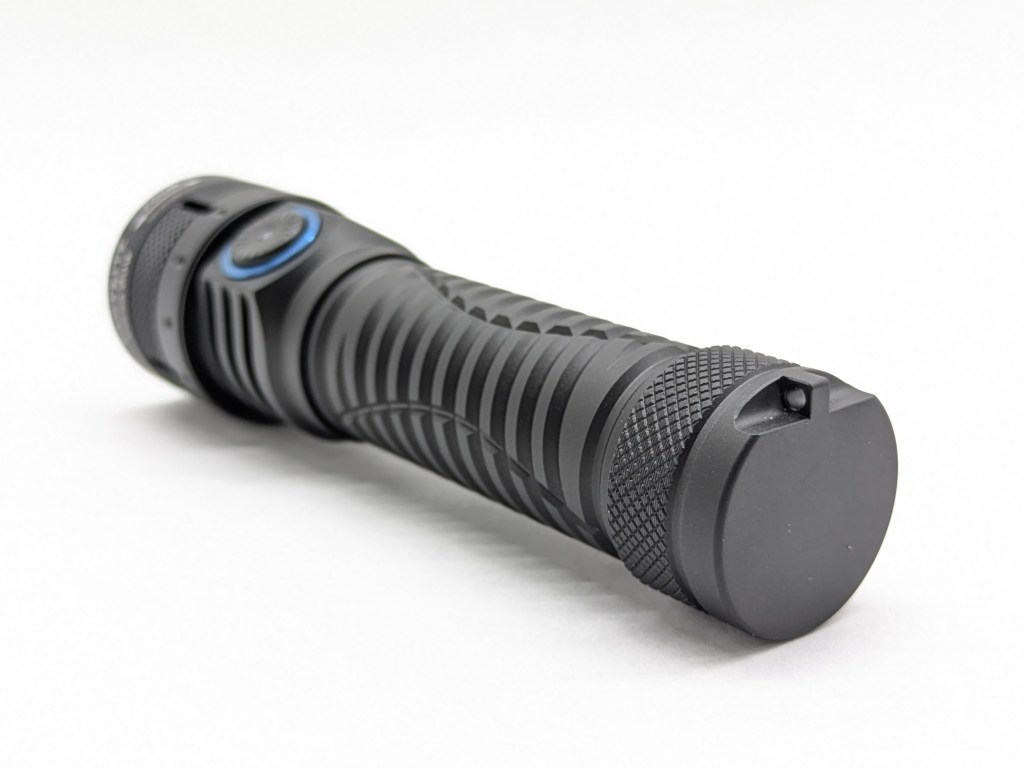
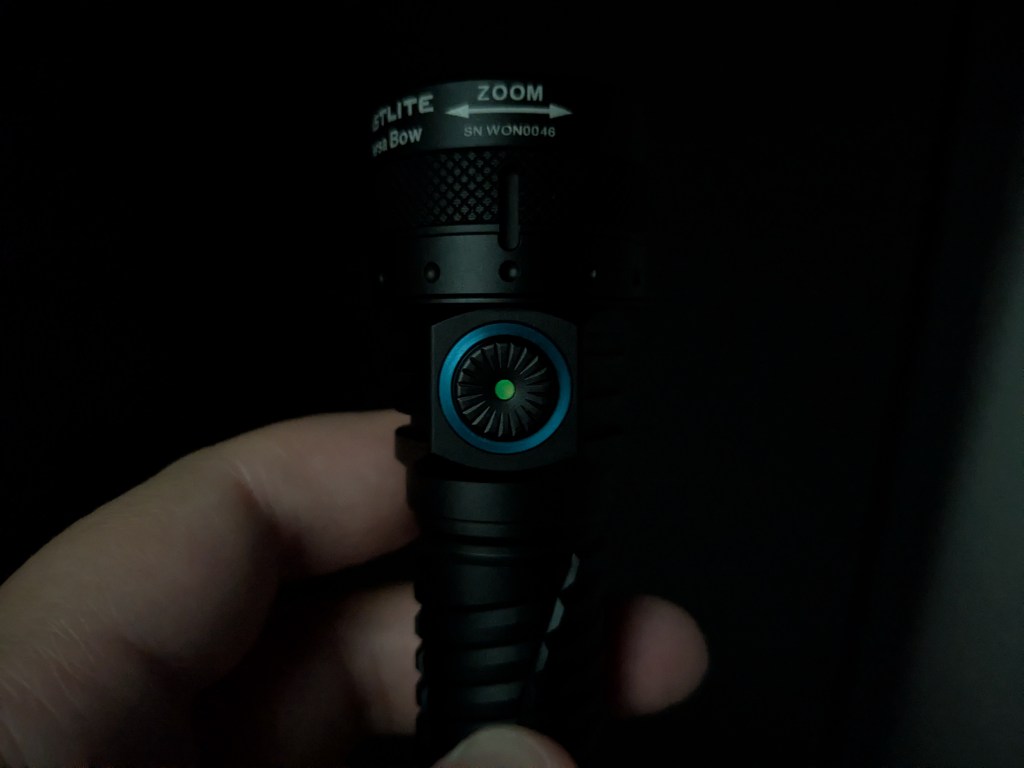
Switch
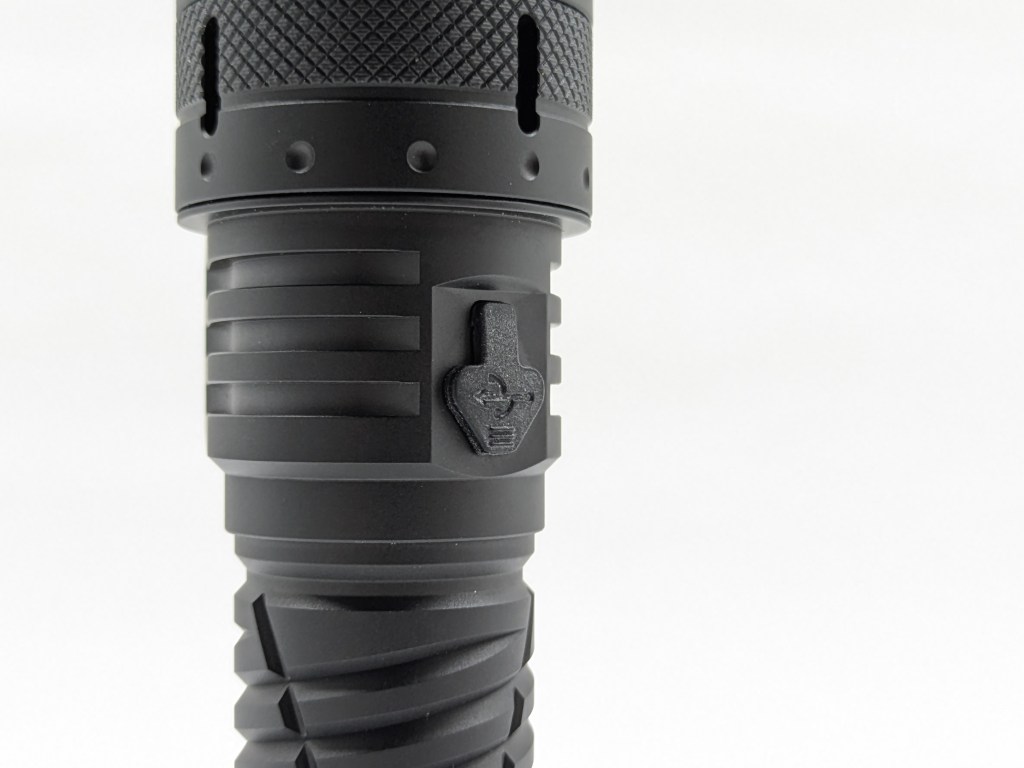
There’s a plastic e-switch on the side of the head. It’s a bit rattly but is tactile and audible. It sticks up so be sure to lock the light out in a pocket or bag. The center of the switch has an LED that glows bright during charging to indicate charging status, and it glows dimly the rest of the time. It’s so dim you can only see it glowing in near pitch black. The photo below makes it look brighter than it really is. You can turn it off by clicking 5x.
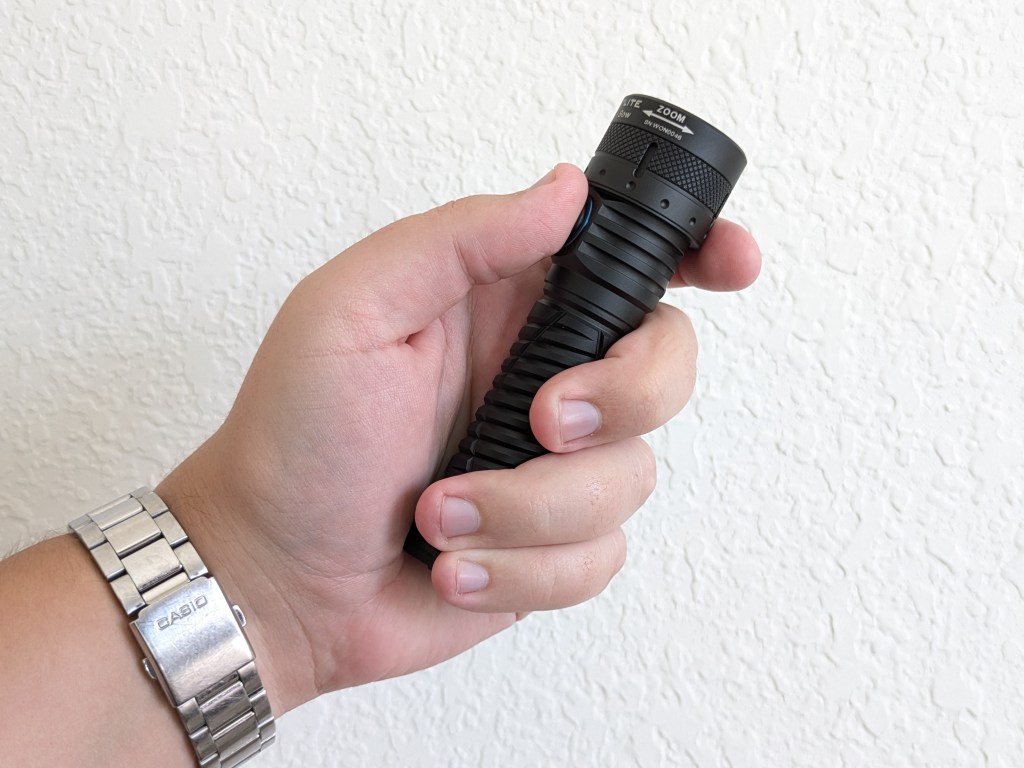
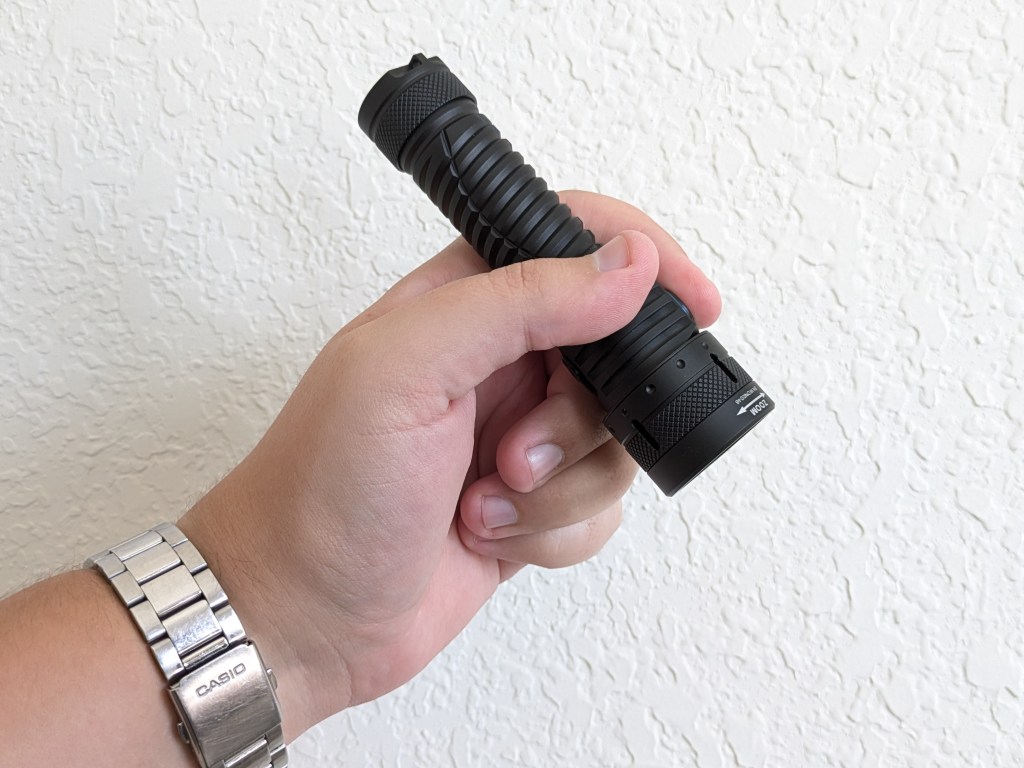
Carry & Ergonomics
Ergonomics are good. It’s comfortable to hold and use in a forward or pencil grip. Even a reverse grip works if you press the switch with your pinky. Zooming with one hand is doable but not fast nor ergonomic.
Pocket clip: No pocket clip is included and there’s no obvious place to attach one. The light is too big for EDC, but is certainly pocketable and a clip would be welcome.
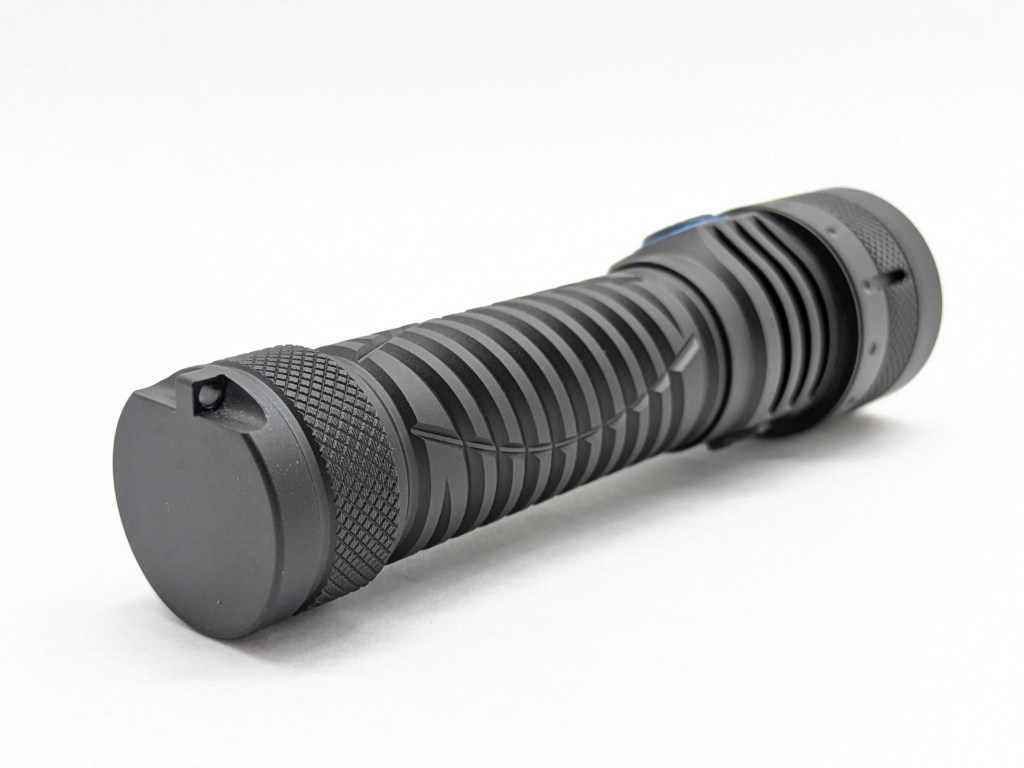
Magnet: There’s a strong magnet in the tailcap. It’s strong enough to hold the light up on a vertical surface. I can see that being useful if you need to use the light as a beacon or downlight a specific area.
Competition
Here are some lights in the same class and how they compare.
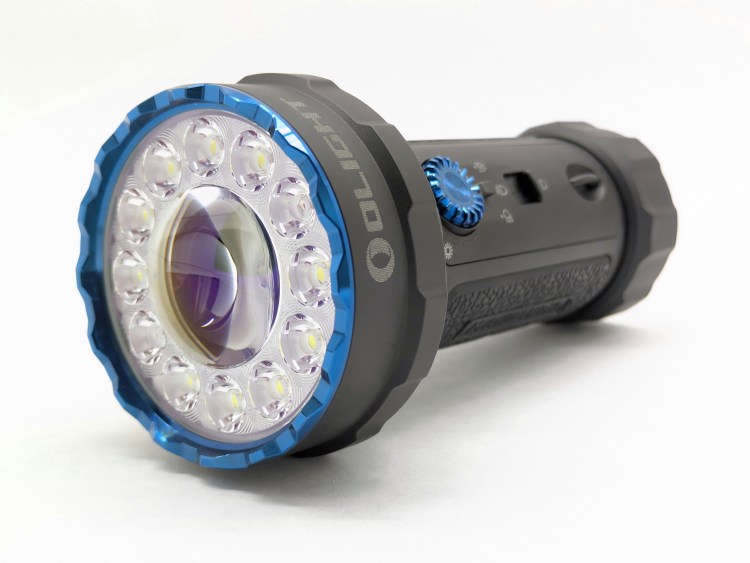
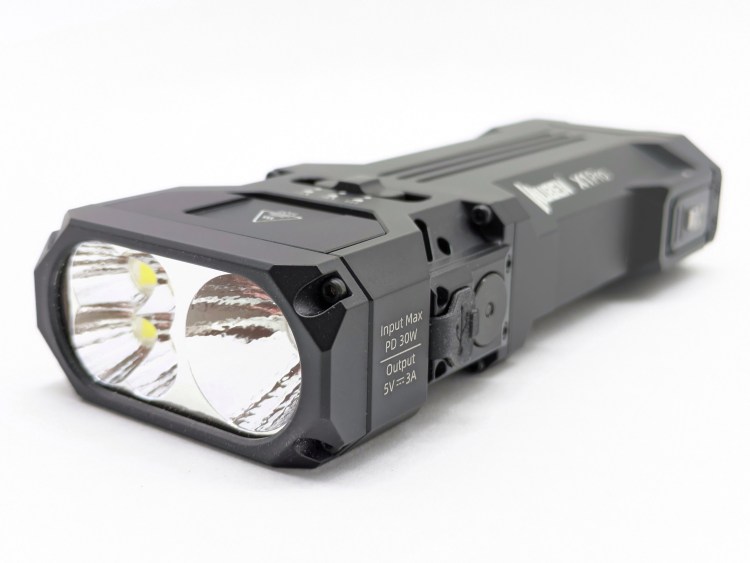
Mateminco X1 Pro: alternative with an LED flood channel
- less expensive
- larger size (using 21700 tube)
- dual switches
- 18350 & 21700 battery tube options
- much brighter and floodier LED flood channel
Acebeam Terminator M1: zoomable LEP and an LED flood channel
- significantly more expensive
- separate LED flood channel with two LED options
- shorter, wider side-by-side configuration
- 21700 battery with USB-C charging on the battery
- dual side switches
This section is not comprehensive. If I didn’t include a particular light here, it doesn’t mean it’s bad or doesn’t deserve to be here. I simply cannot list every possible competitor.
Conclusion
The spot beam, UI, magnetic tail, and convenient USB-C charging are great. The ergonomics, switch, thermal regulation, and build quality are good. LEP pricing still seems very expensive to me, but this one is reasonably priced within the LEP niche. The beam adjustment mechanism is cool in theory, but the zoomed-out beam is pretty dim and ugly. It’s better than nothing, but is no substitute for a traditional LED flashlight with a reflector/optic. There’s no pocket clip nor powerbank function. The battery indicator leaves a lot to be desired and the early low voltage bug is weird. Overall, this is a decent compact LEP with a questionably useful zoom function.
Thanks to FlashlightGo for sending me this light for review!