Contents
- Pricing & Availability
- What comes in the box?
- Design & Construction
- Size & Measurements
- User Interface
- Emitter & Beam
- Mode Chart
- Runtime
- Driver & Regulation
- Switch
- Carry & Ergonomics
- Batteries & Charging
- Competition
- Conclusion
Pricing & Availability
Skilhunt sent me this light in exchange for an honest review. Here is the official product page where you can see current pricing. There’s also a mini version if you are willing to give up 2/3 of your runtime for a shorter, lighter light. Skilhunt is transitioning over to “ESKTE” as their brand name so you may see ESKTE branding in this review.
What comes in the box?
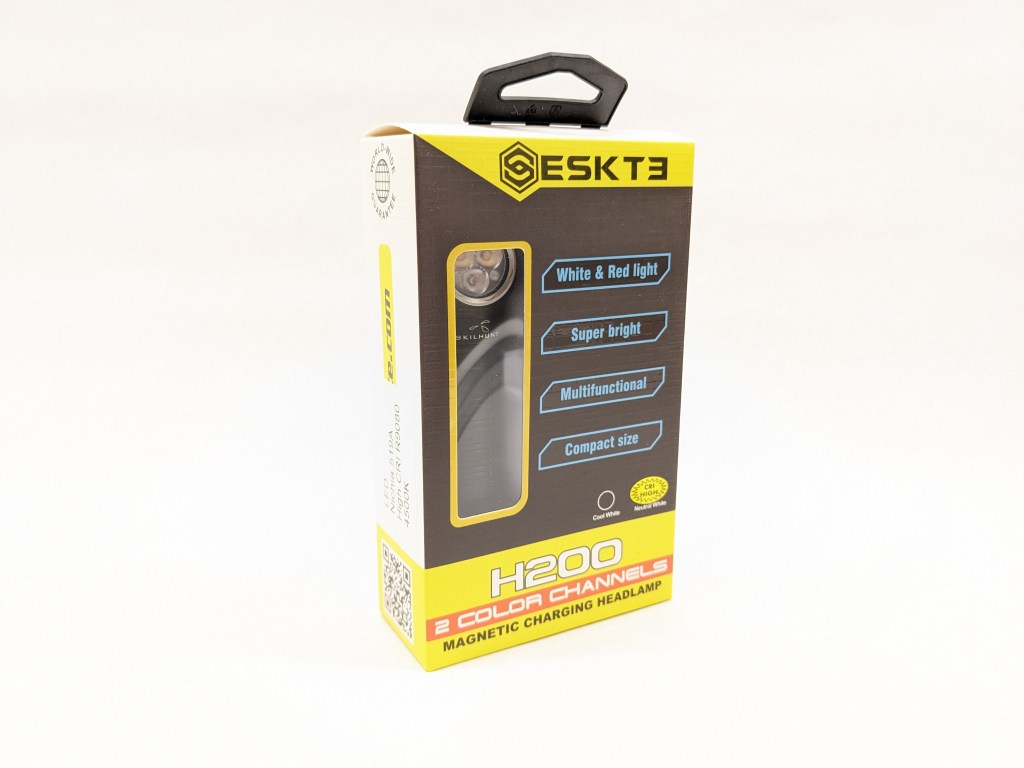
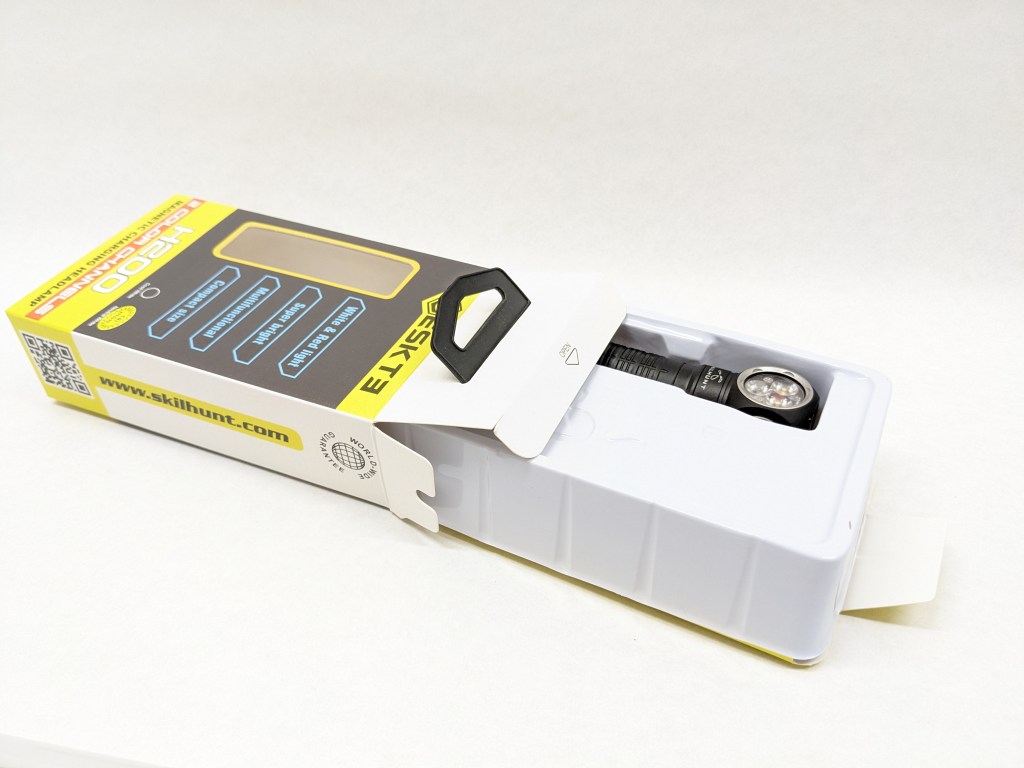
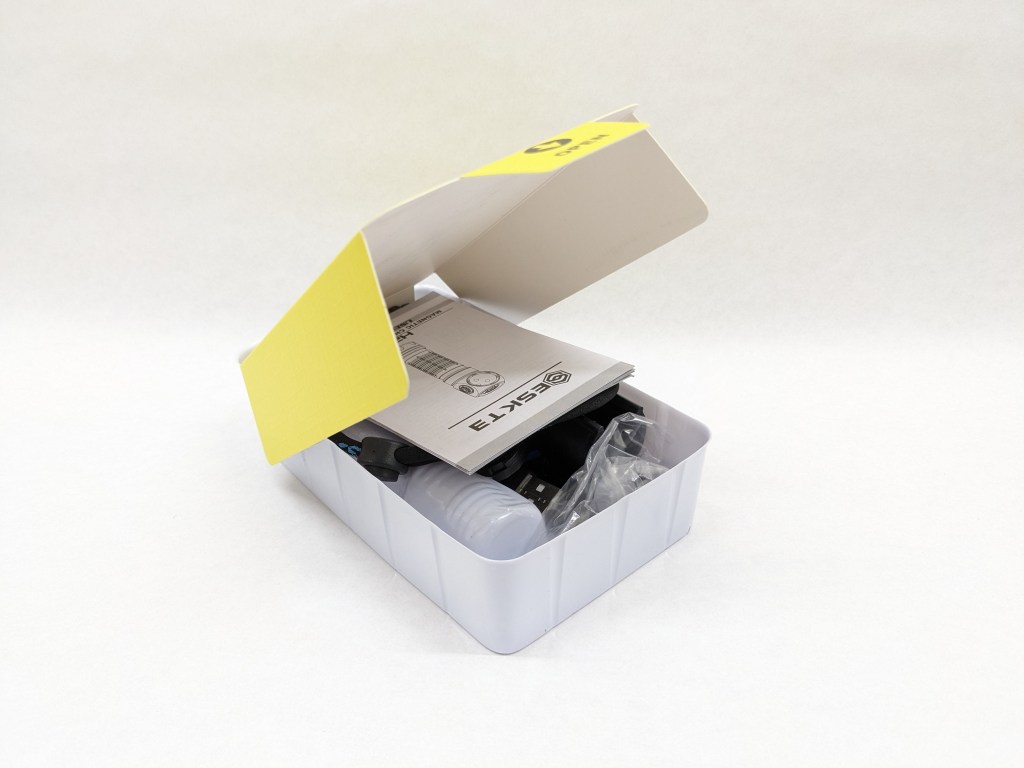
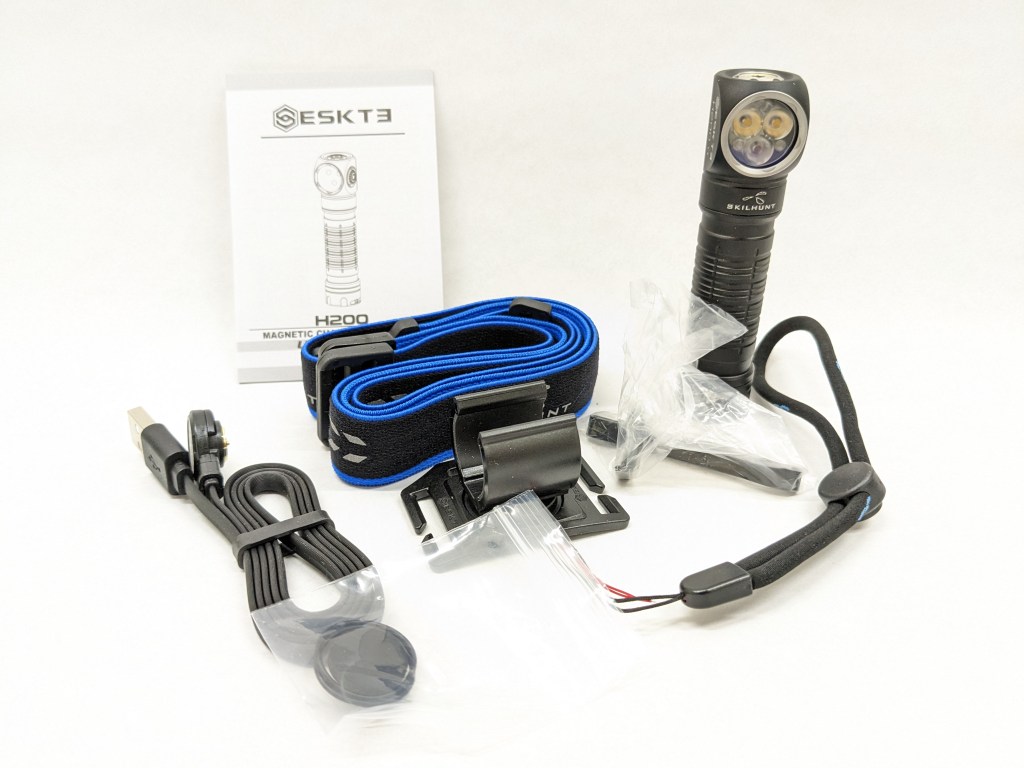
H200 comes in Skilhunt’s typical box. It’s a retail-ready box with cardstock construction, a clear window, a pegboard hanger, and a thin vacuum-molded insert inside to hold the light in place. The following items are included in the box:
- The light itself
- Battery (inside the light)
- Headband (unassembled)
- USB-A to magnetic charging cable
- Pocket clip
- Wrist lanyard
- Plastic tailcap insert
- Spare O-rings
- User manual
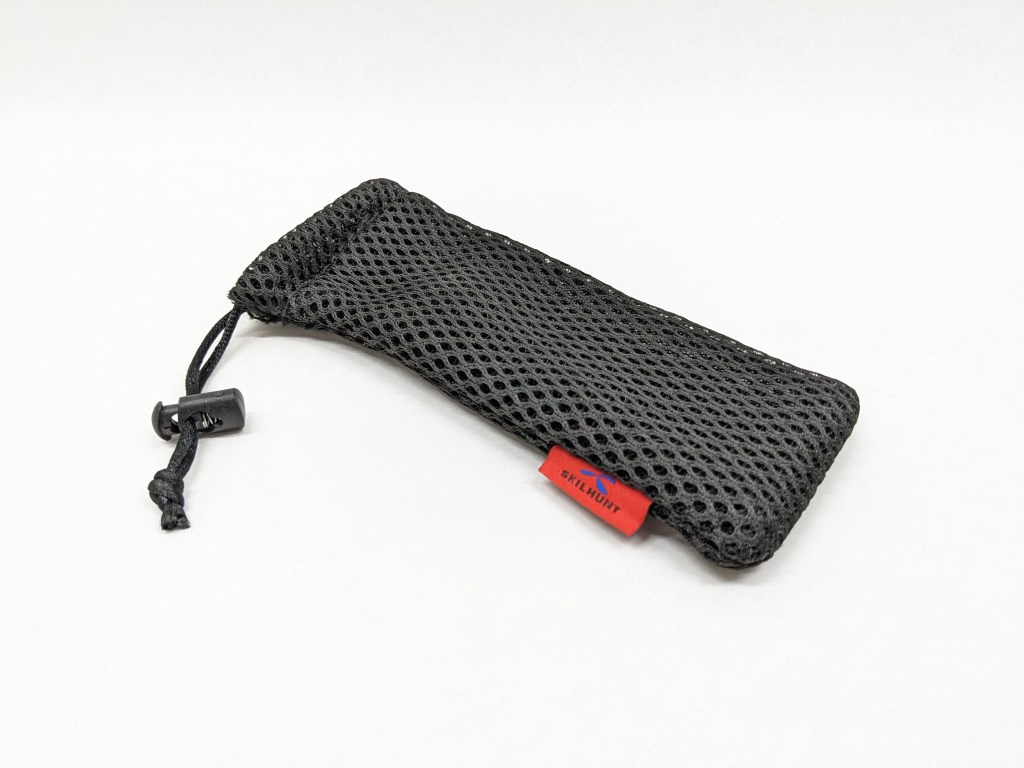
A drawstring pouch is always included in the shipping box when I get Skilhunt lights, but it’s never inside the product packaging. Depending on where you buy, it may or may not be included.
Design & Construction
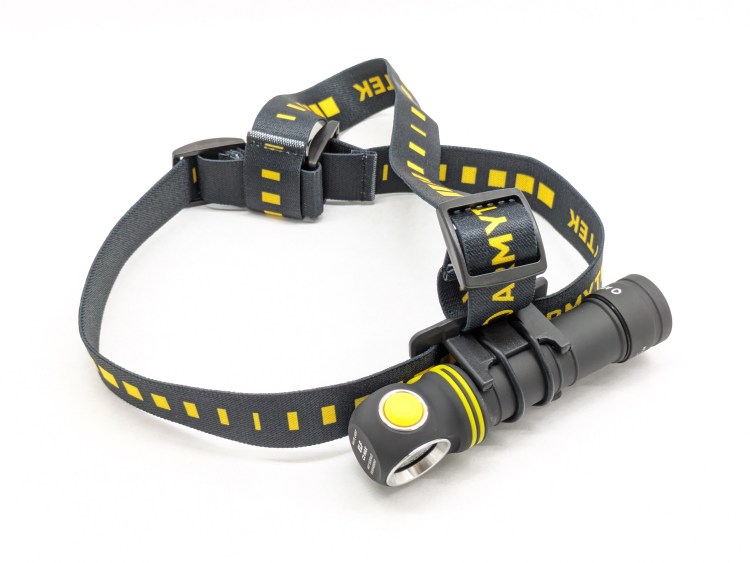
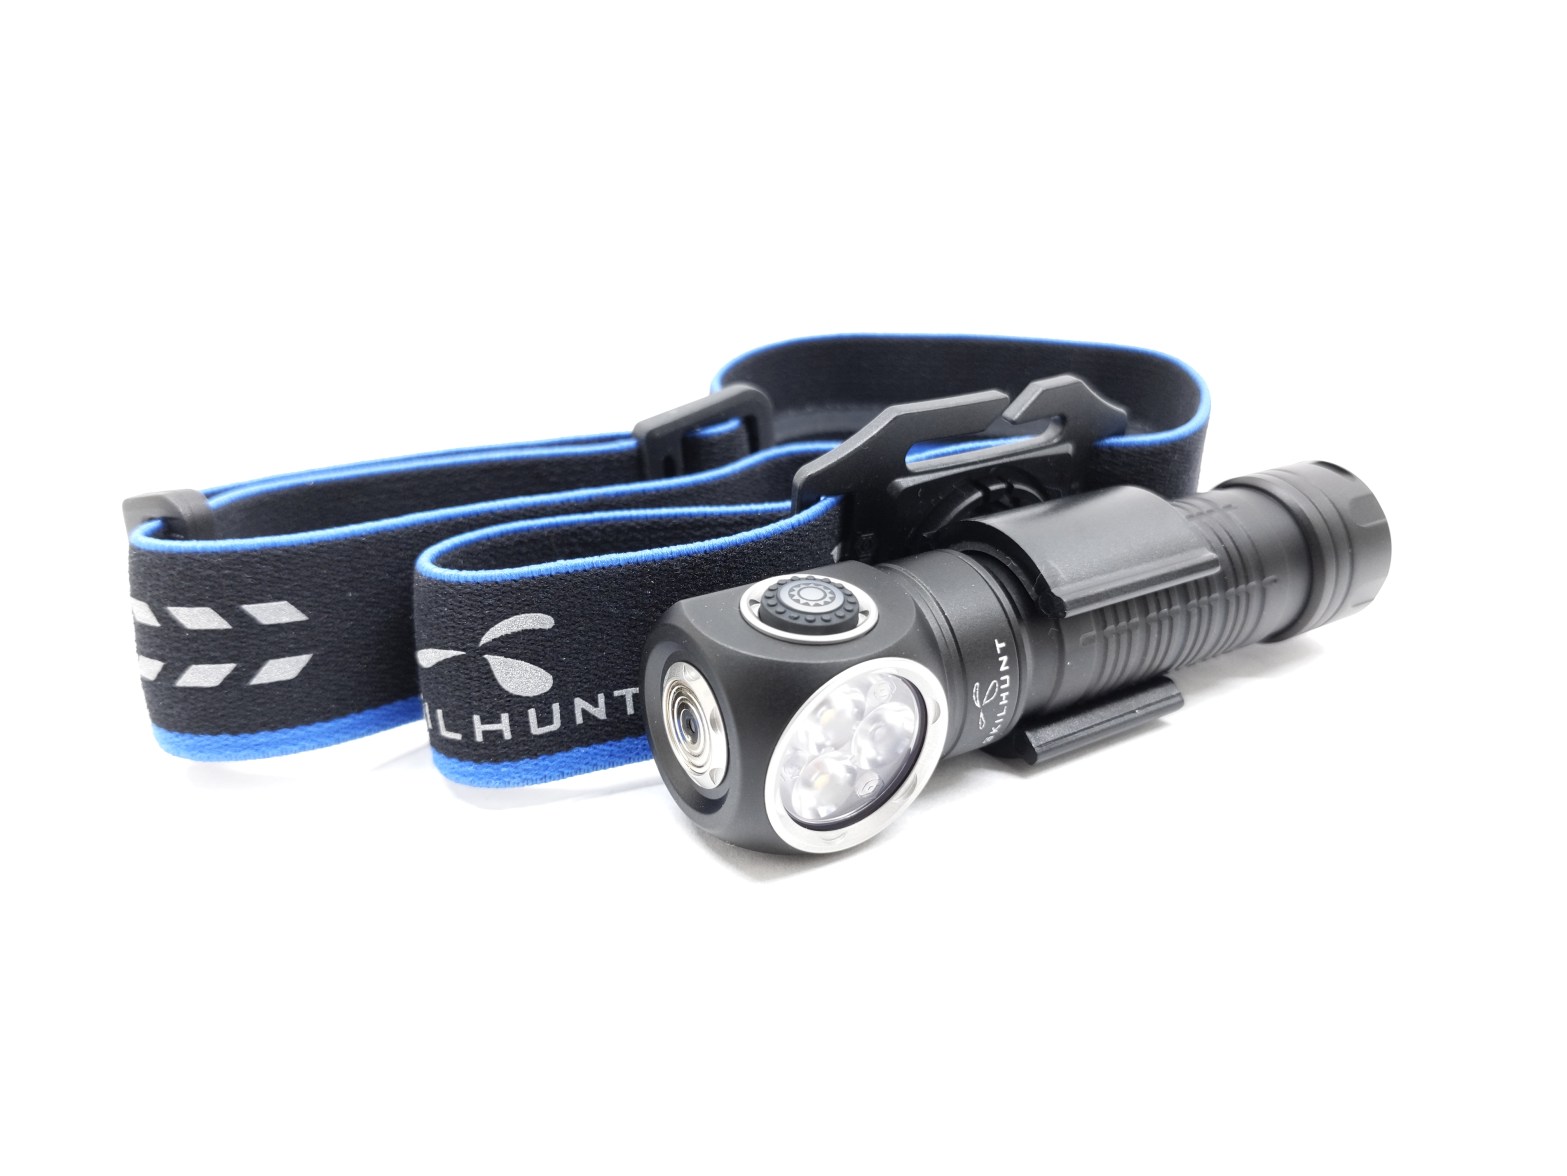
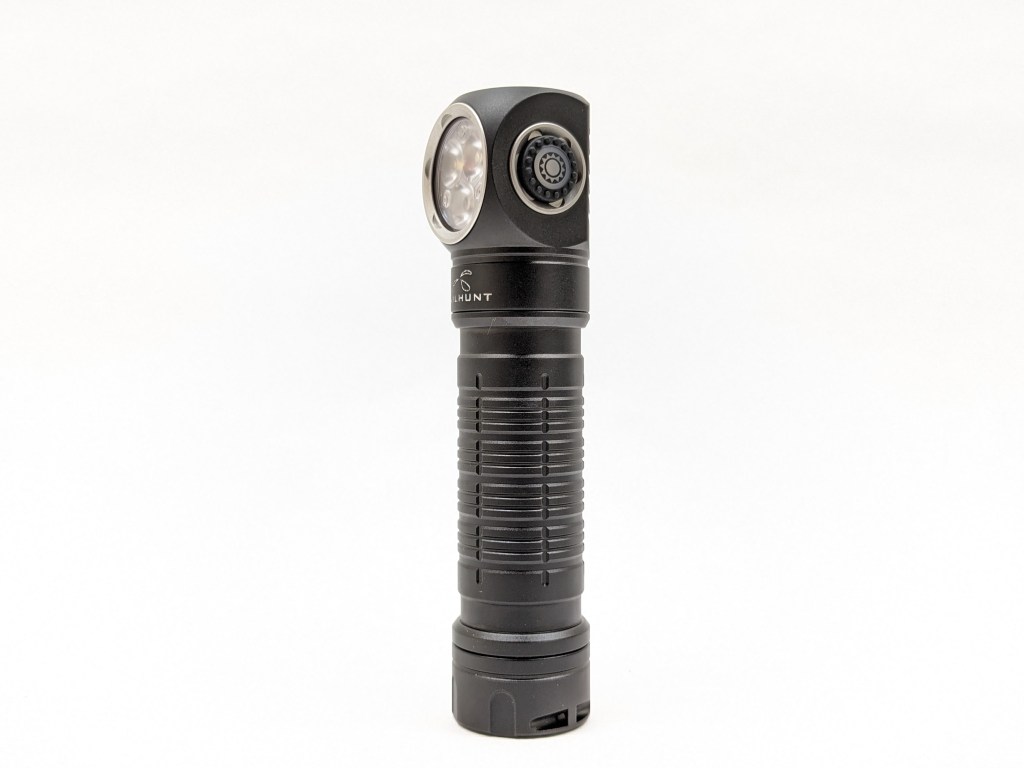
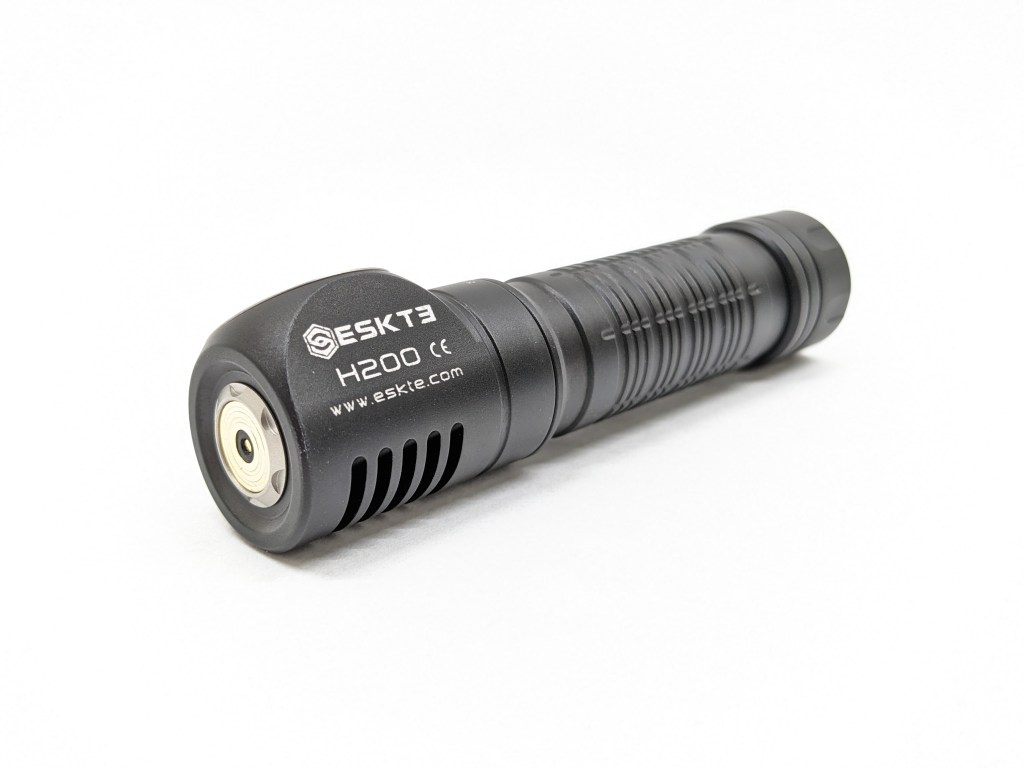
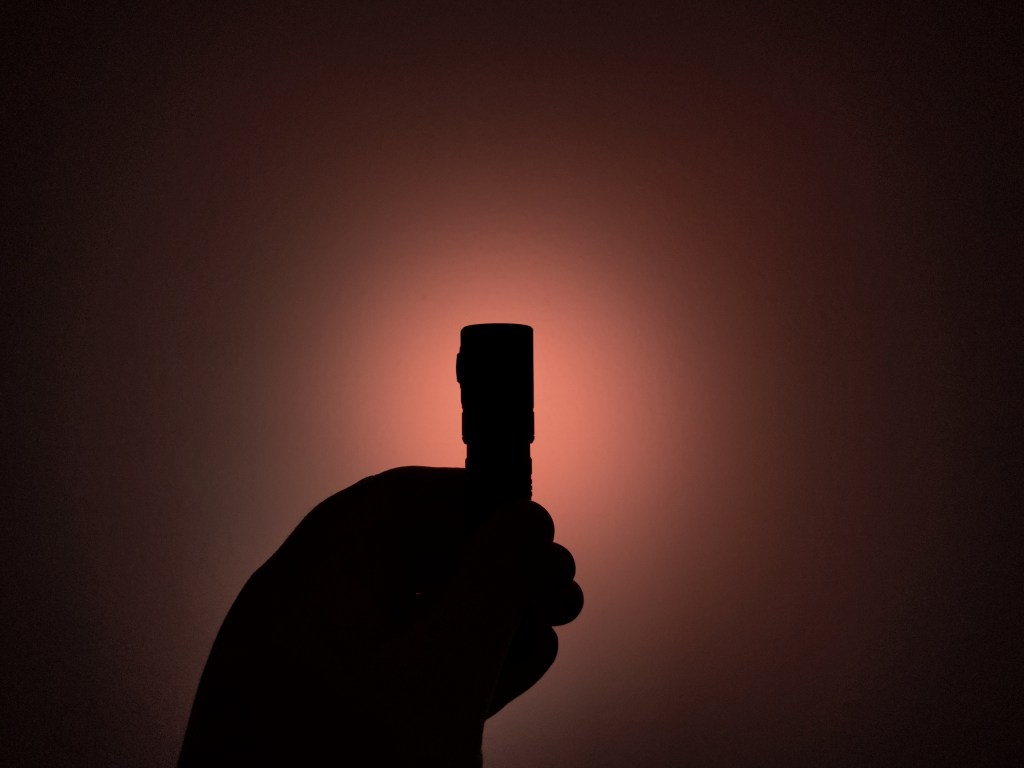
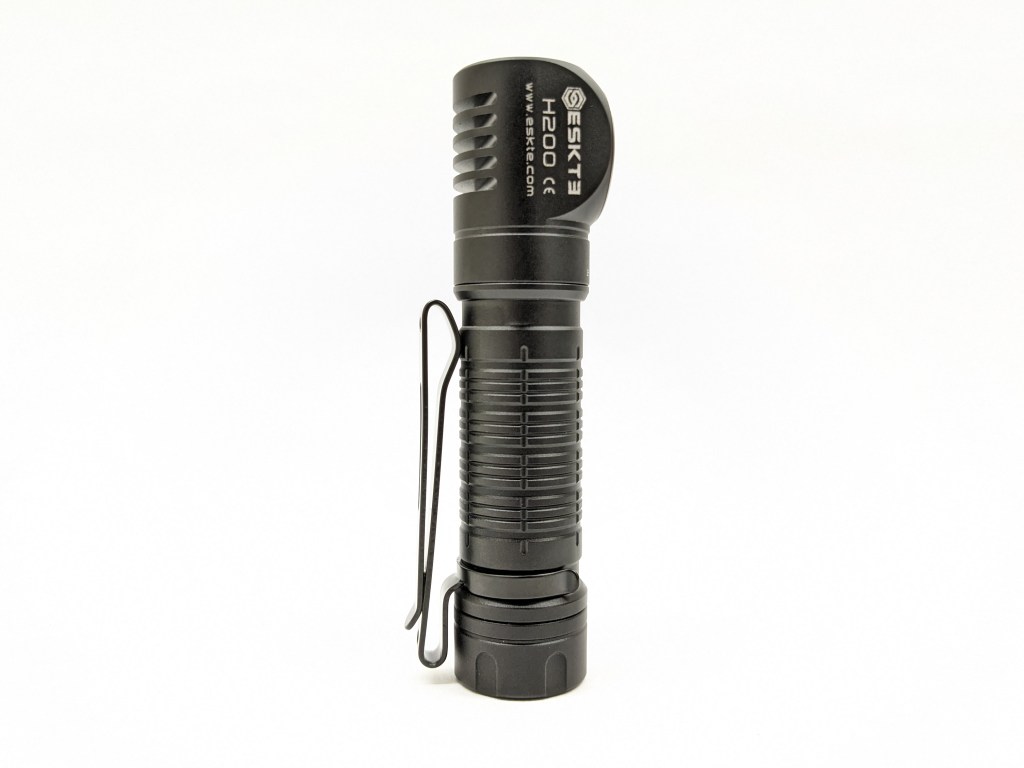
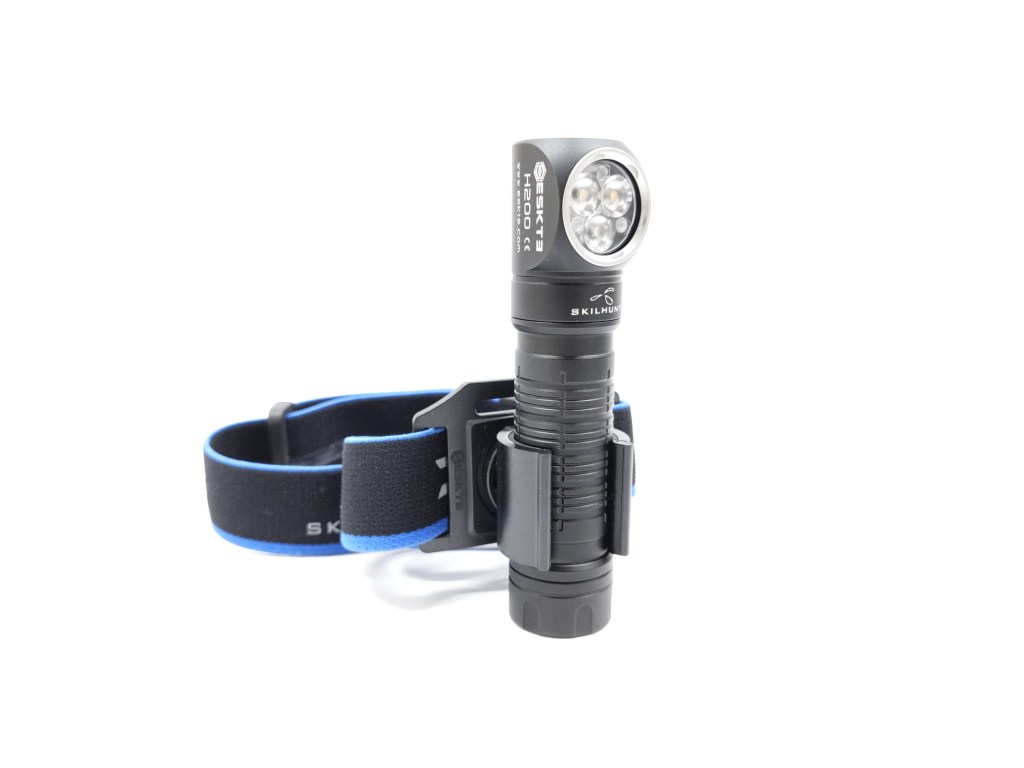
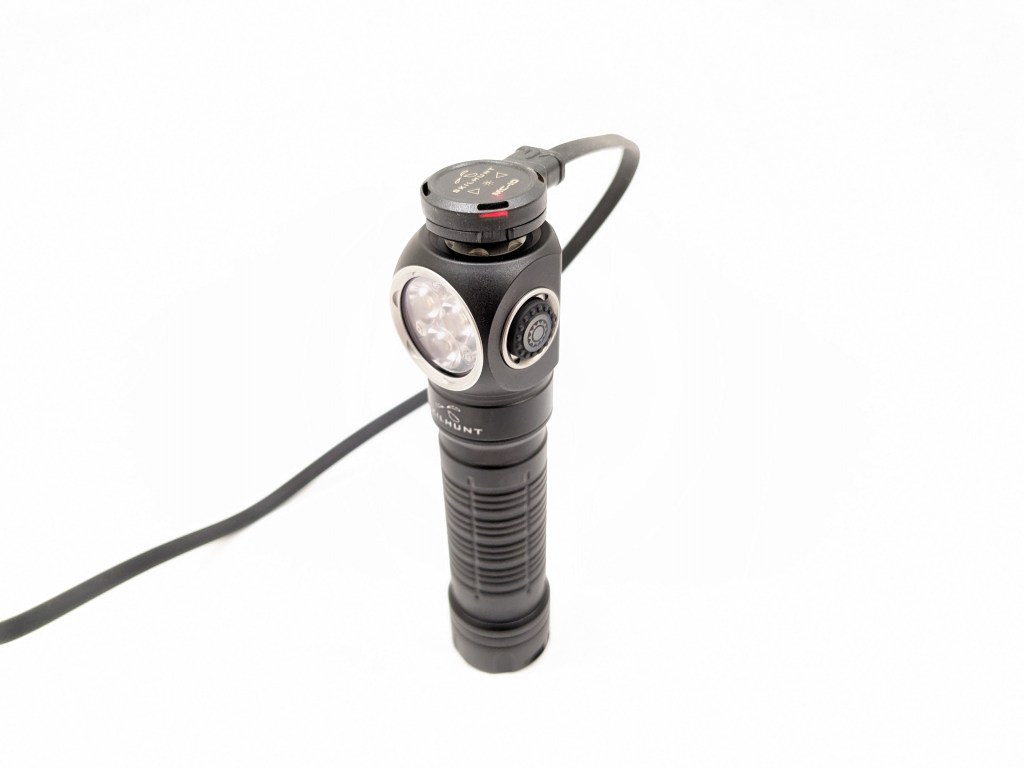
The design is in line with Skilhunt’s other headlamps. It’s a narrow body tube with a slightly flared tailcap and right-angle head. The button is on the side and a magnetic charging contact is on top. It’s a bit funny-looking but very functional. I like the silver accents from the retaining rings and I’m glad they’re not anodized blue like Skilhunt’s handheld lights.
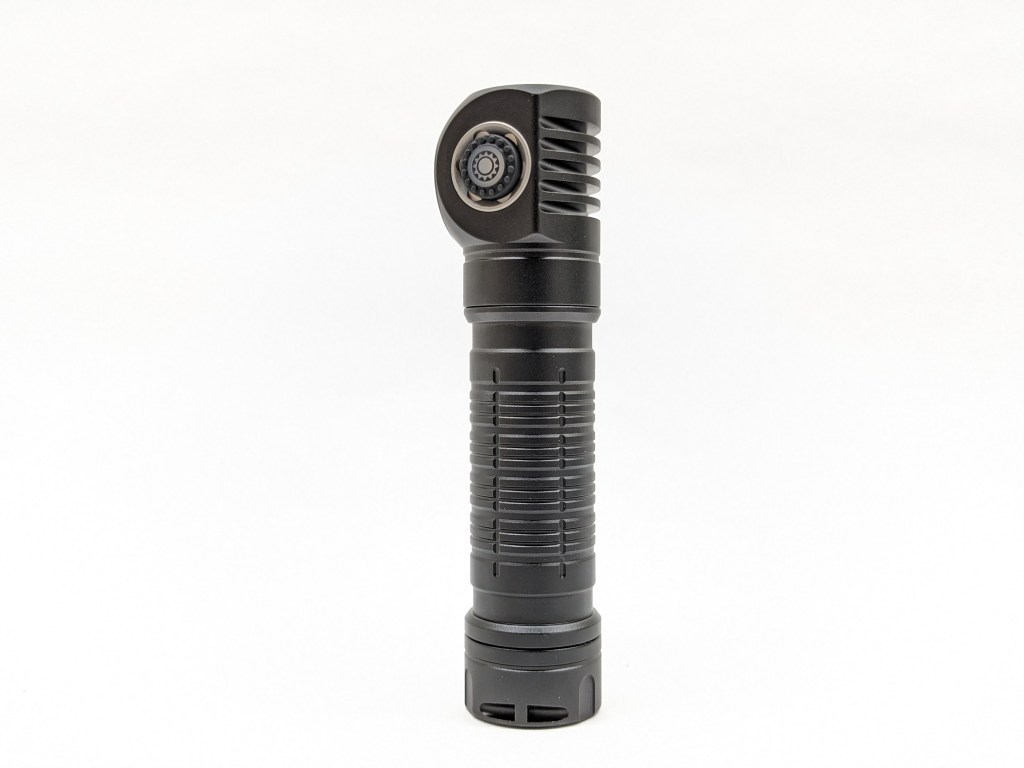
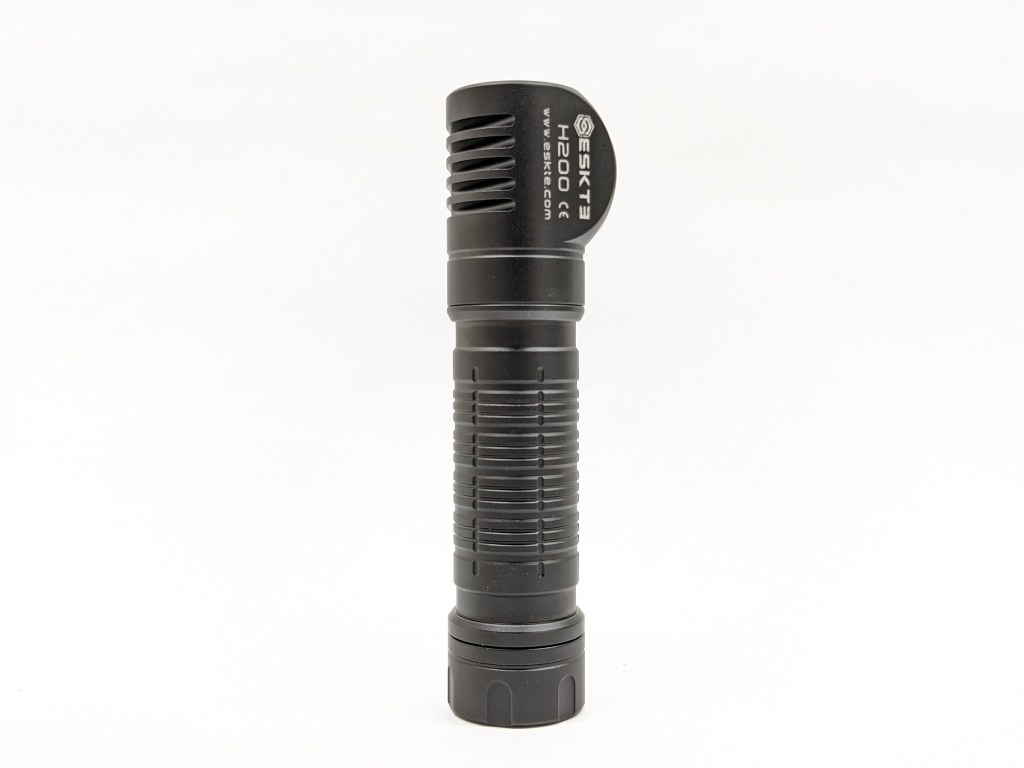
The build quality feels nice and is satisfactory overall. The anodizing is satin, with a little more gloss and less chalk than H300. The threads are small and shallow but they’re anodized and lubricated. Be careful not to cross-thread them when installing the tailcap. It’s very lightweight so it doesn’t have a dense feeling of quality like some other lights do. Unfortunately, I was unable unscrew the bezel or the head, even with grippy gloves, so they may be glued on.
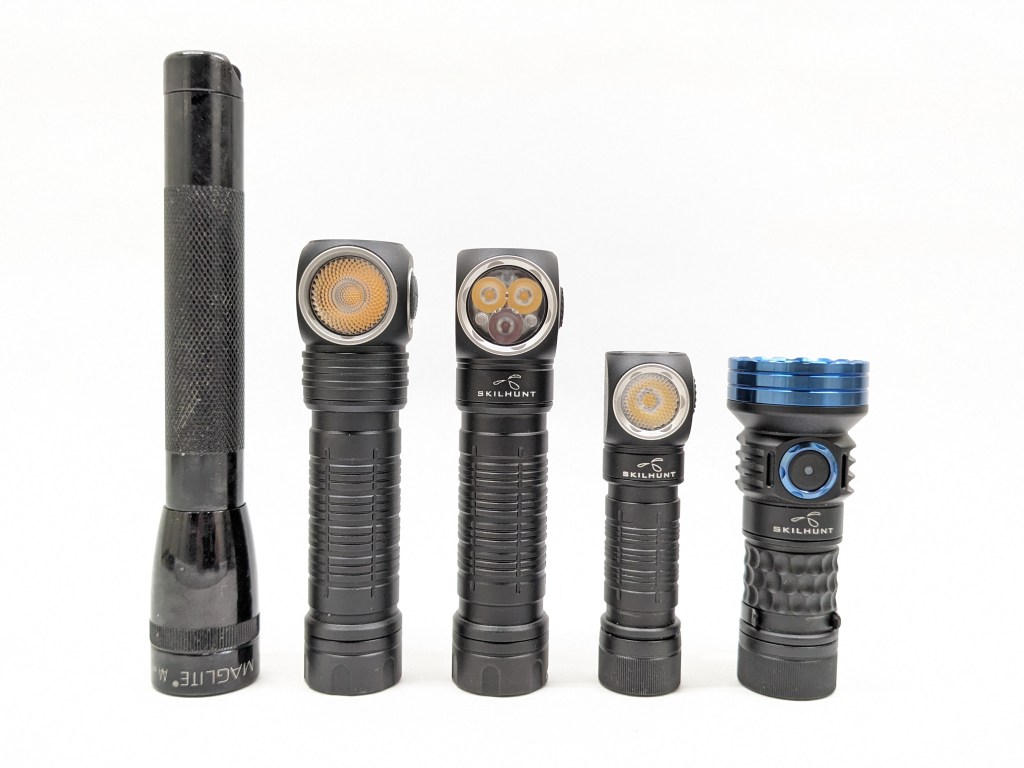
Size & Measurements
Mini Maglite | Skilhunt H300 | Skilhunt H200 | Skilhunt H150 | Skilhunt MiX-7
| Measurement | Measured (mm) |
|---|---|
| Bezel Diameter | 22.6 |
| Maximum Head Diameter | 29.6 |
| Length | 103.7 |
| Switch Diameter | 10 |
| Switch Proudness | 1.4 |
| Lens Thickness | U/M |
| Lens Diameter | U/M |
| Optic Diameter | U/M |
| Optic Height | U/M |
| MCPCB Size | U/M |
| Body Tube Diameter | 21.6 |
| Pocket Clip Slot Width | 4.2 |
| Pocket Clip Slot Diameter | 20.6 |
| Tailcap Diameter | 23.5 |
| Tailcap Length | 12.8 |
| Driver Diameter | U/M |
| Included Battery Length | 69.2 |
Weight with included battery: 100g
Headband weight: 47g
User Interface
This UI is good overall. I’ve got several minor gripes that bug me while I use it, but nothing deal-breaking.
Main modes: 1C turns the light on/off in the main white mode group. 1H while on cycles the brightness level (low-med-high). When you turn the light off and back on again via 1C, it will return to the same main level you used previously. I love the way this part of the UI works. It’s the same as most other e-switch lights so there’s no learning curve.
Turbo: 2C from anywhere (except moon/colors) activates Turbo. 2C in Turbo will return you to the memorized mode, which is great. 1C from Turbo turns the light off. All of that is great. 1H from Turbo will switch between the two different Turbo levels. The next time you activate Turbo, it’ll return to the Turbo level you last used. I don’t find the dimmer Turbo level useful. It should be removed and High mode should be brightened to compensate.
Blinkies: 3C from anywhere (except moon/red) activates the last blinky mode you used. That’s the same shortcut that most lights use, so there shouldn’t be a learning curve. 1C will turn it off. 2C will cycle to the next blinky mode. There are three blinky modes: white strobe, red SOS, and red beacon. That’s all good. The “beacon” mode blinks on/off every second and that’s way too fast. Most other beacon modes flash on for a split second every ~10 seconds or so to conserve battery and be less distracting.
Lockout: 4 clicks from off enter lockout mode and enable the blinking red switch beacon. 2 clicks while in lockout disables/enables the switch beacon. 4 clicks from lockout will exit lockout and put you in Moonlight mode. I like 4 clicks to enter/exit lockout and I like that it unlocks to moonlight. I don’t like that entering lockout activates the indicator. It should remember whether the user left it on or turned it off previously.
Moonlight/Red: 1H from off will activate the moonlight or red modes. 1C will turn it off. 2C will cycle between red and white. 1H will cycle the brightness between low and high. Weirdly, the “high” white mode also activates the red LED. The red beam is narrower and the white is fairly bright for a moonlight mode, so you end up with a weirdly bright and weirdly colored mode. This “WR” mode isn’t useful and it should be eliminated from the UI. That would open up 1H from Moonlight to go to Low, which is much more useful.
Red modes should have been grouped behind 2H from off instead of lumped in with the white Moonlight modes. That would provide direct access to red without sacrificing direct access to Moonlight. The 2H from off shortcut isn’t even used for anything else in this UI.
Emitter & Beam
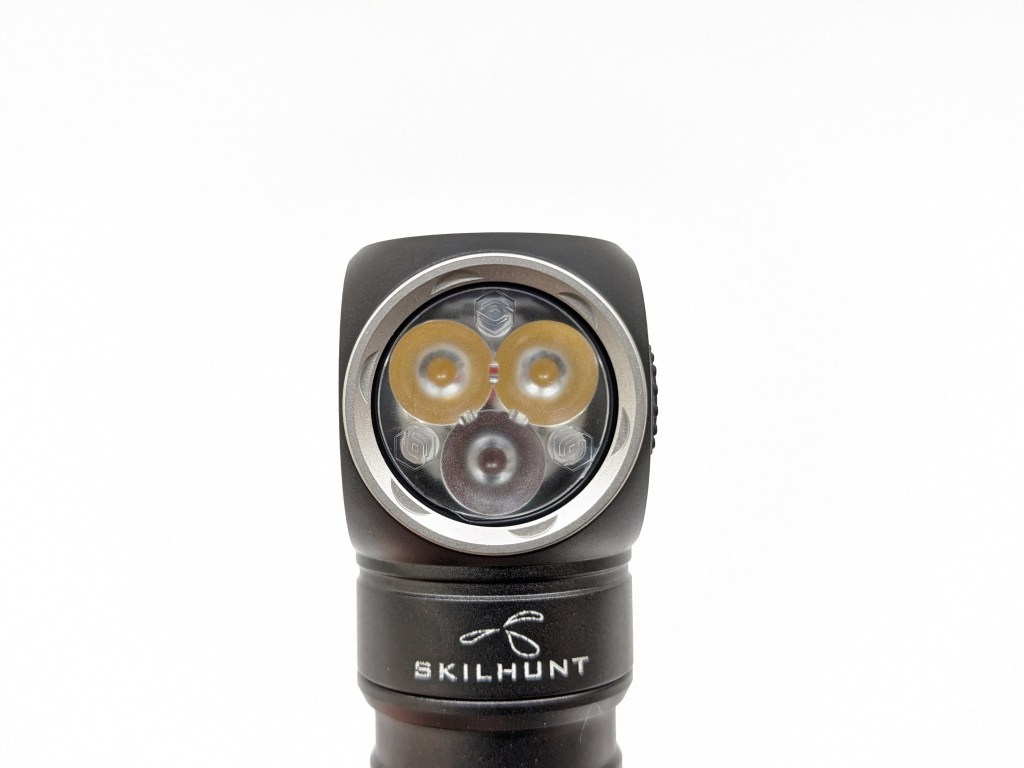
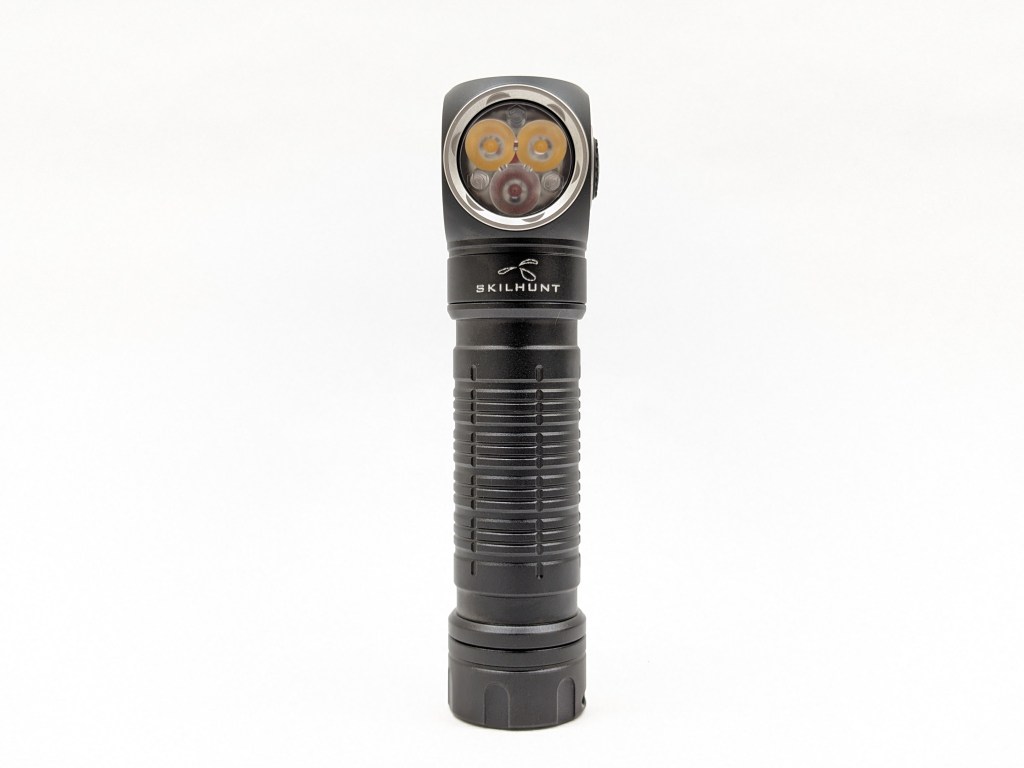
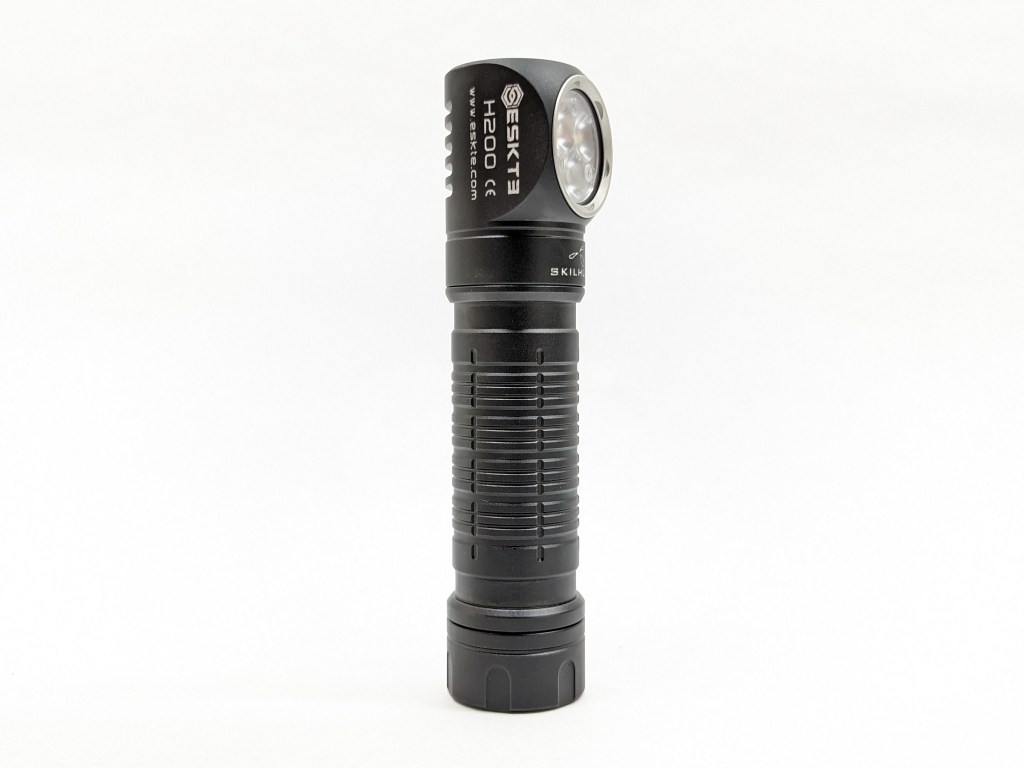
H200 has three LEDs: one red Cree XP-E2 620-630nm, and two main white LEDs. Those white LEDs can be one of several options. The brightest is XP-G4 cool with the best brightness and efficiency. The other two are Nichia 519As in 4500K or 2700K and they have really nice color properties. I chose 519A 4500K.
The LEDs sit behind a triple TIR optic, which I assume is custom because it has the ESKTE “S” logo molded in. I couldn’t remove the bezel even with grippy gloves, so I suspect you’d need a purpose-made 3D-printed tool to unscrew it for emitter swaps.
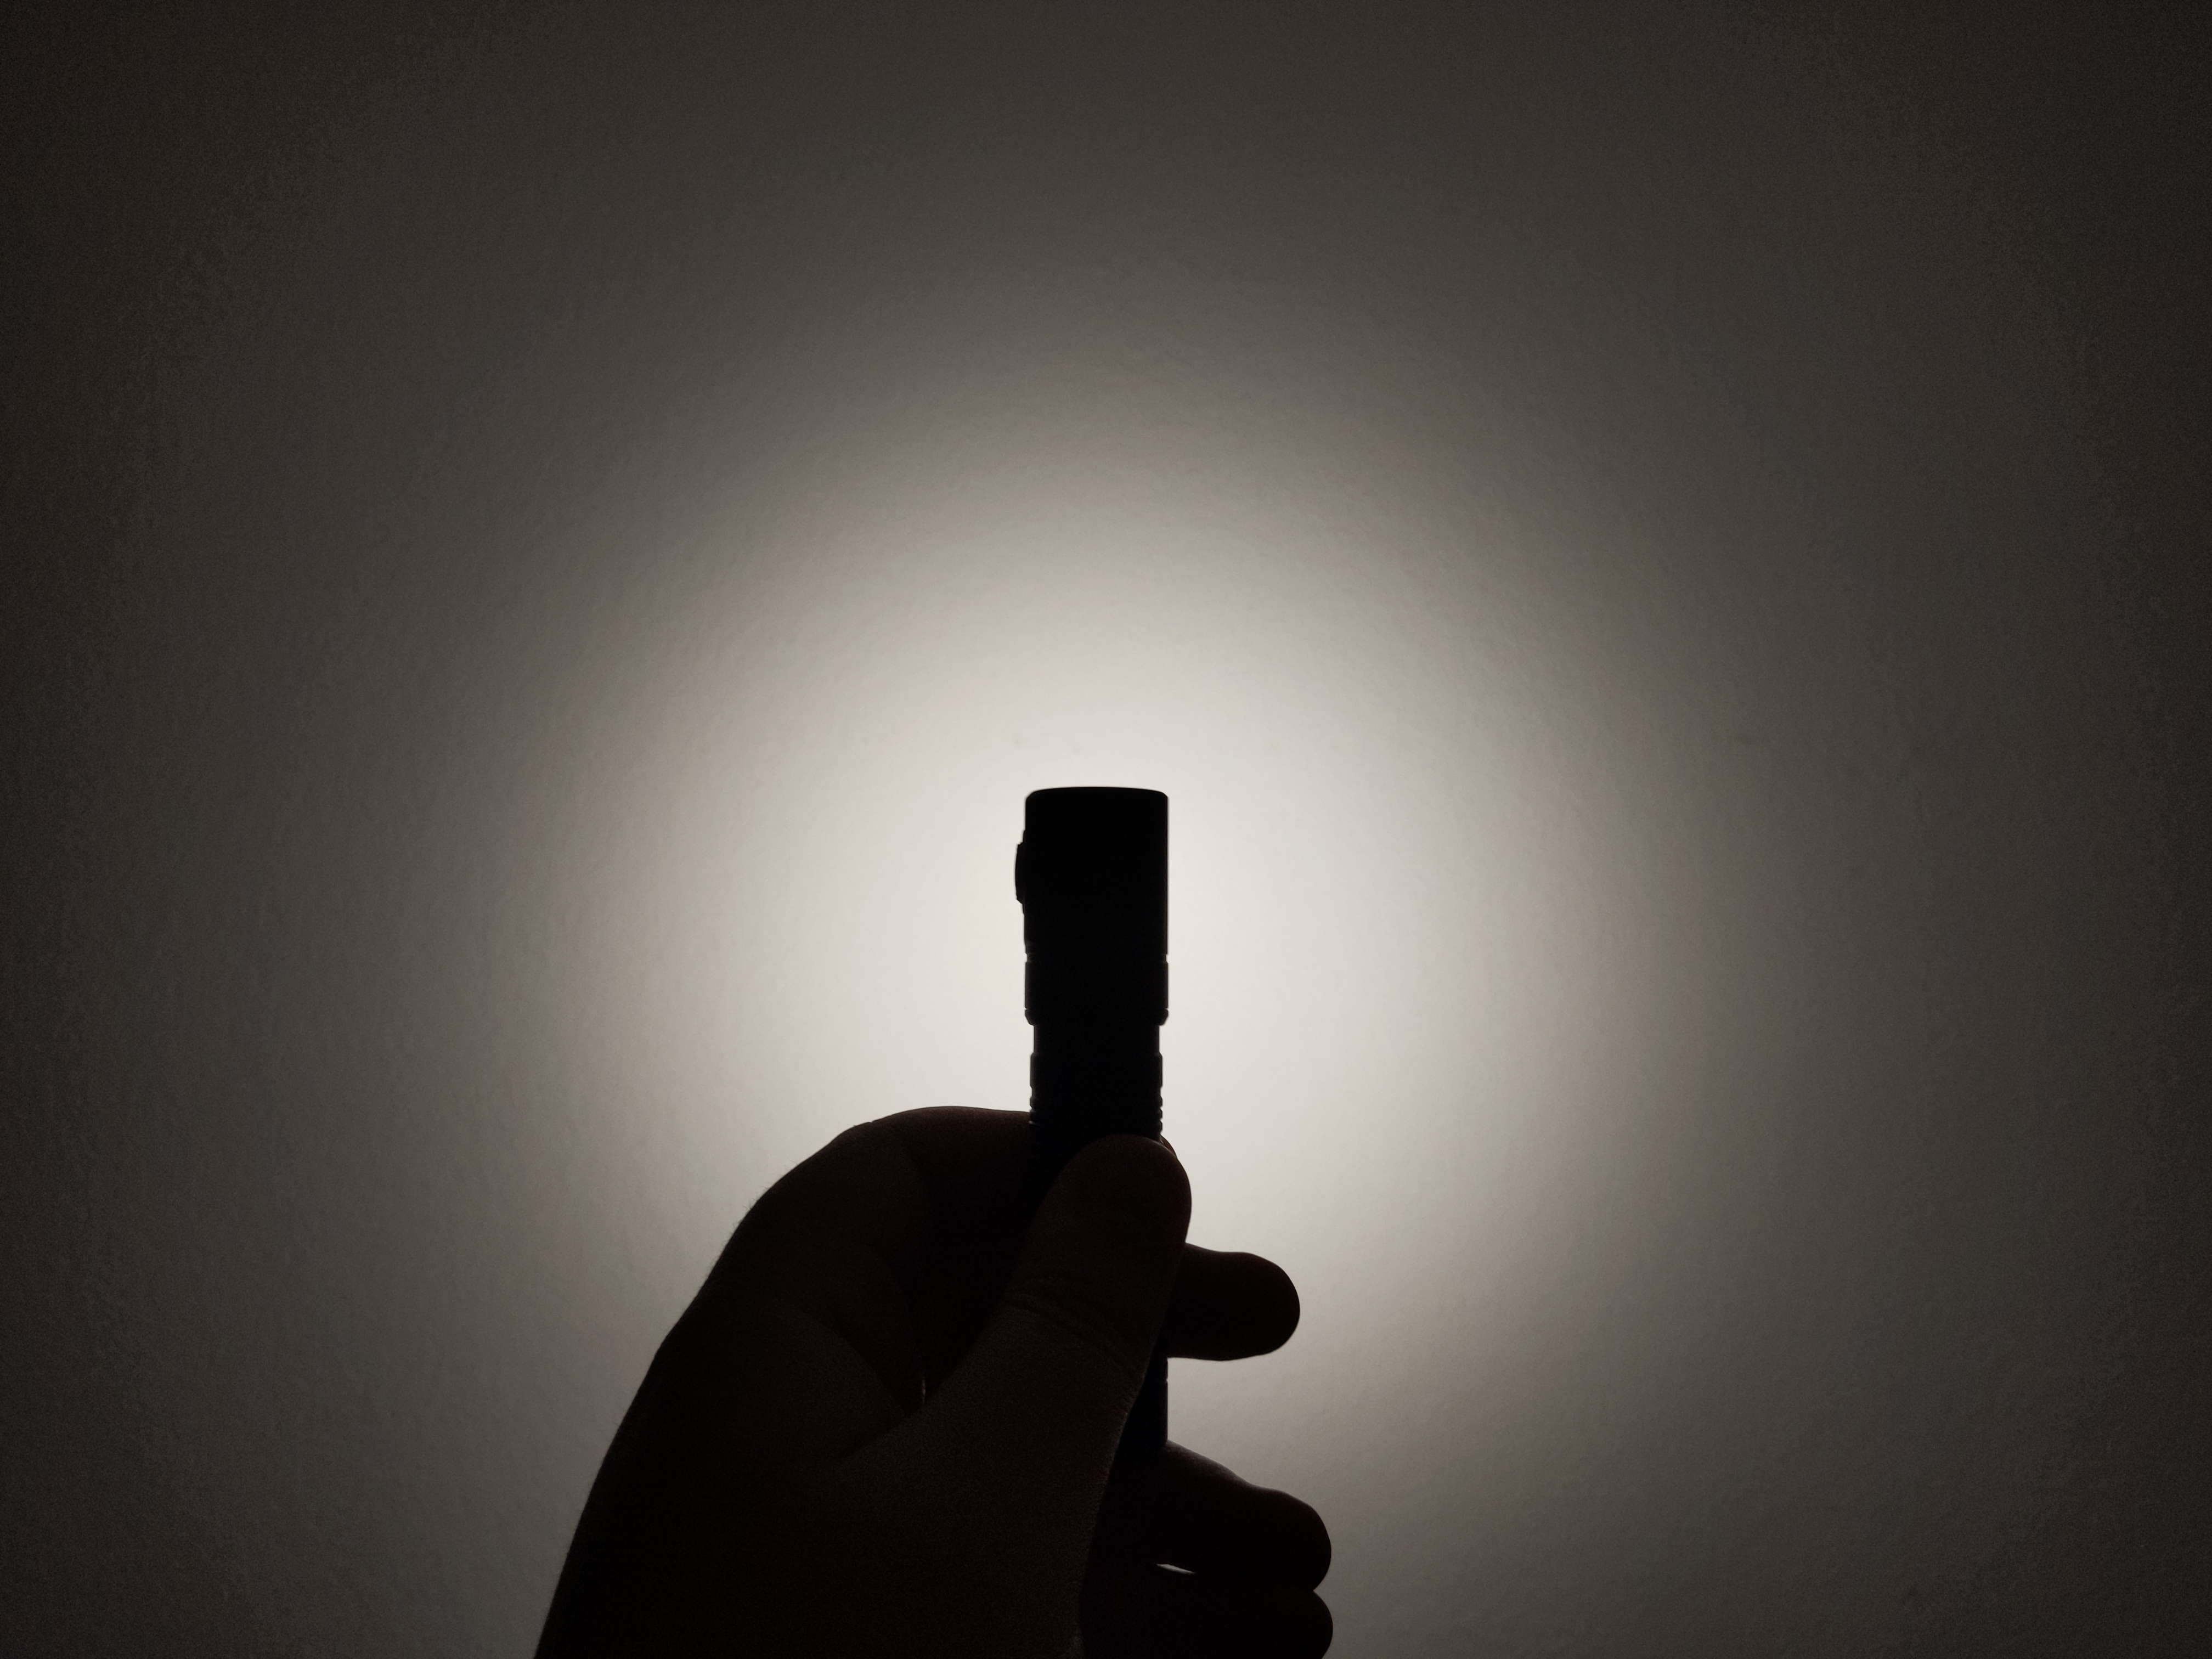
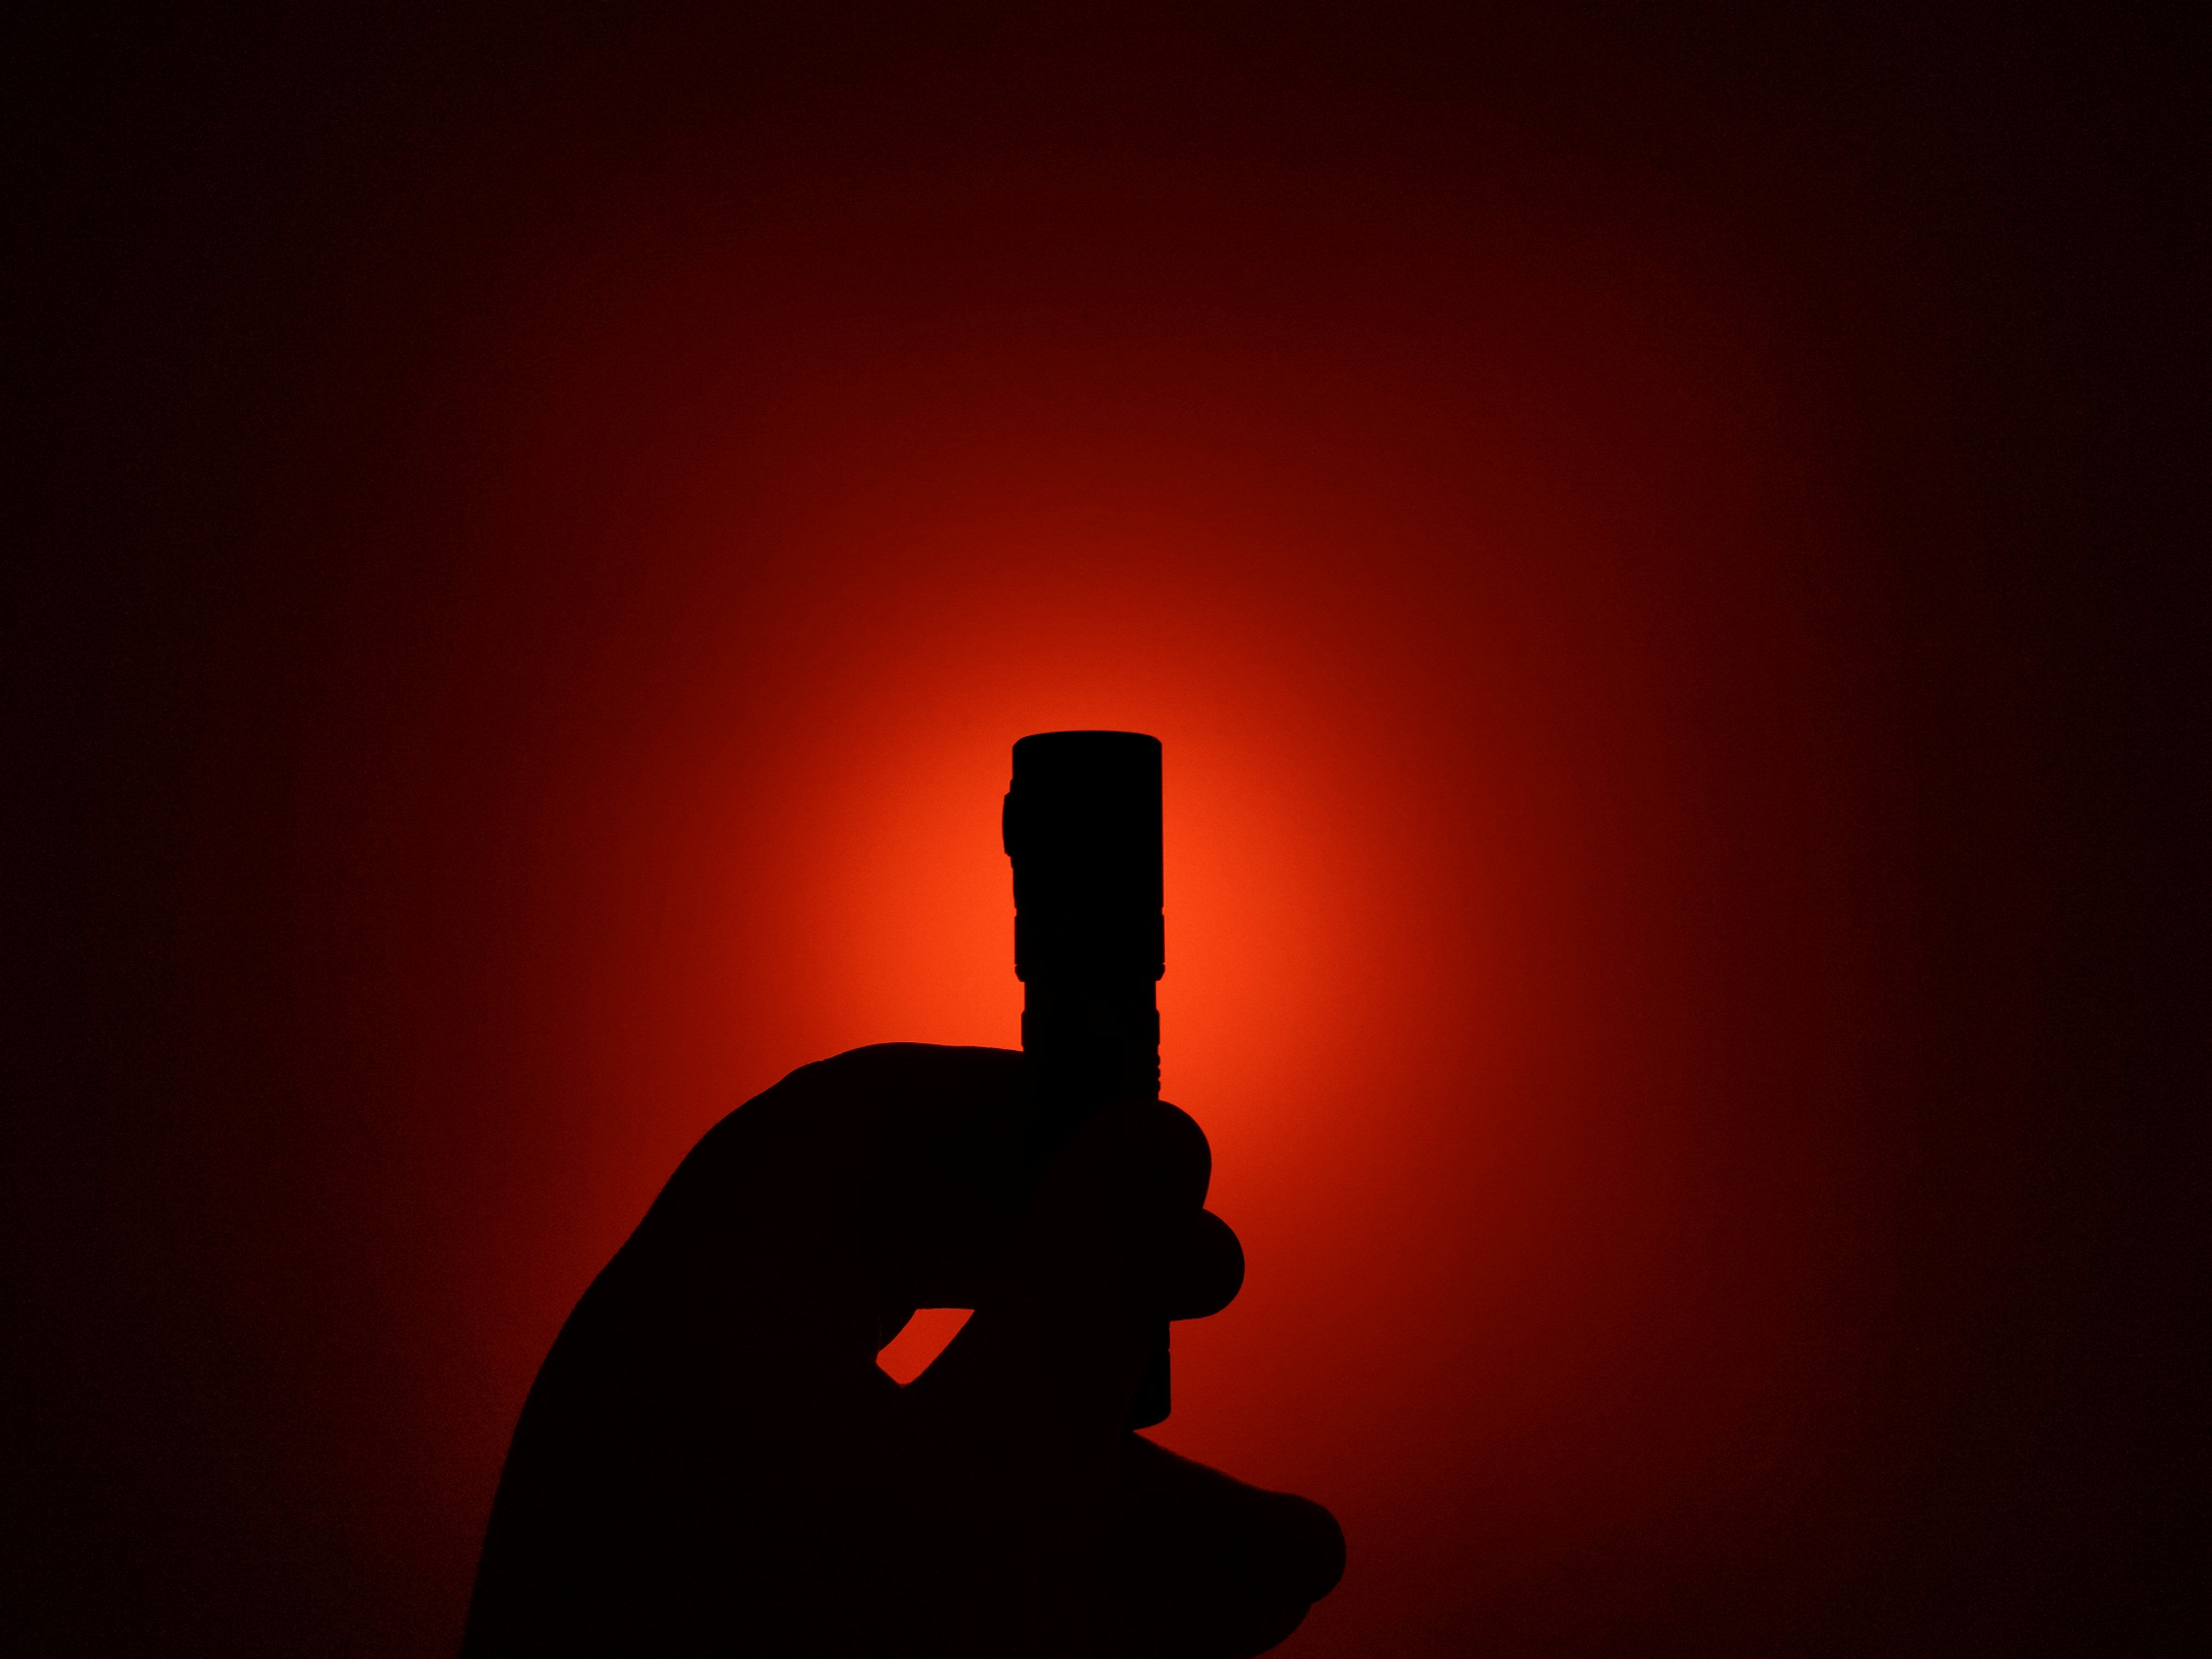
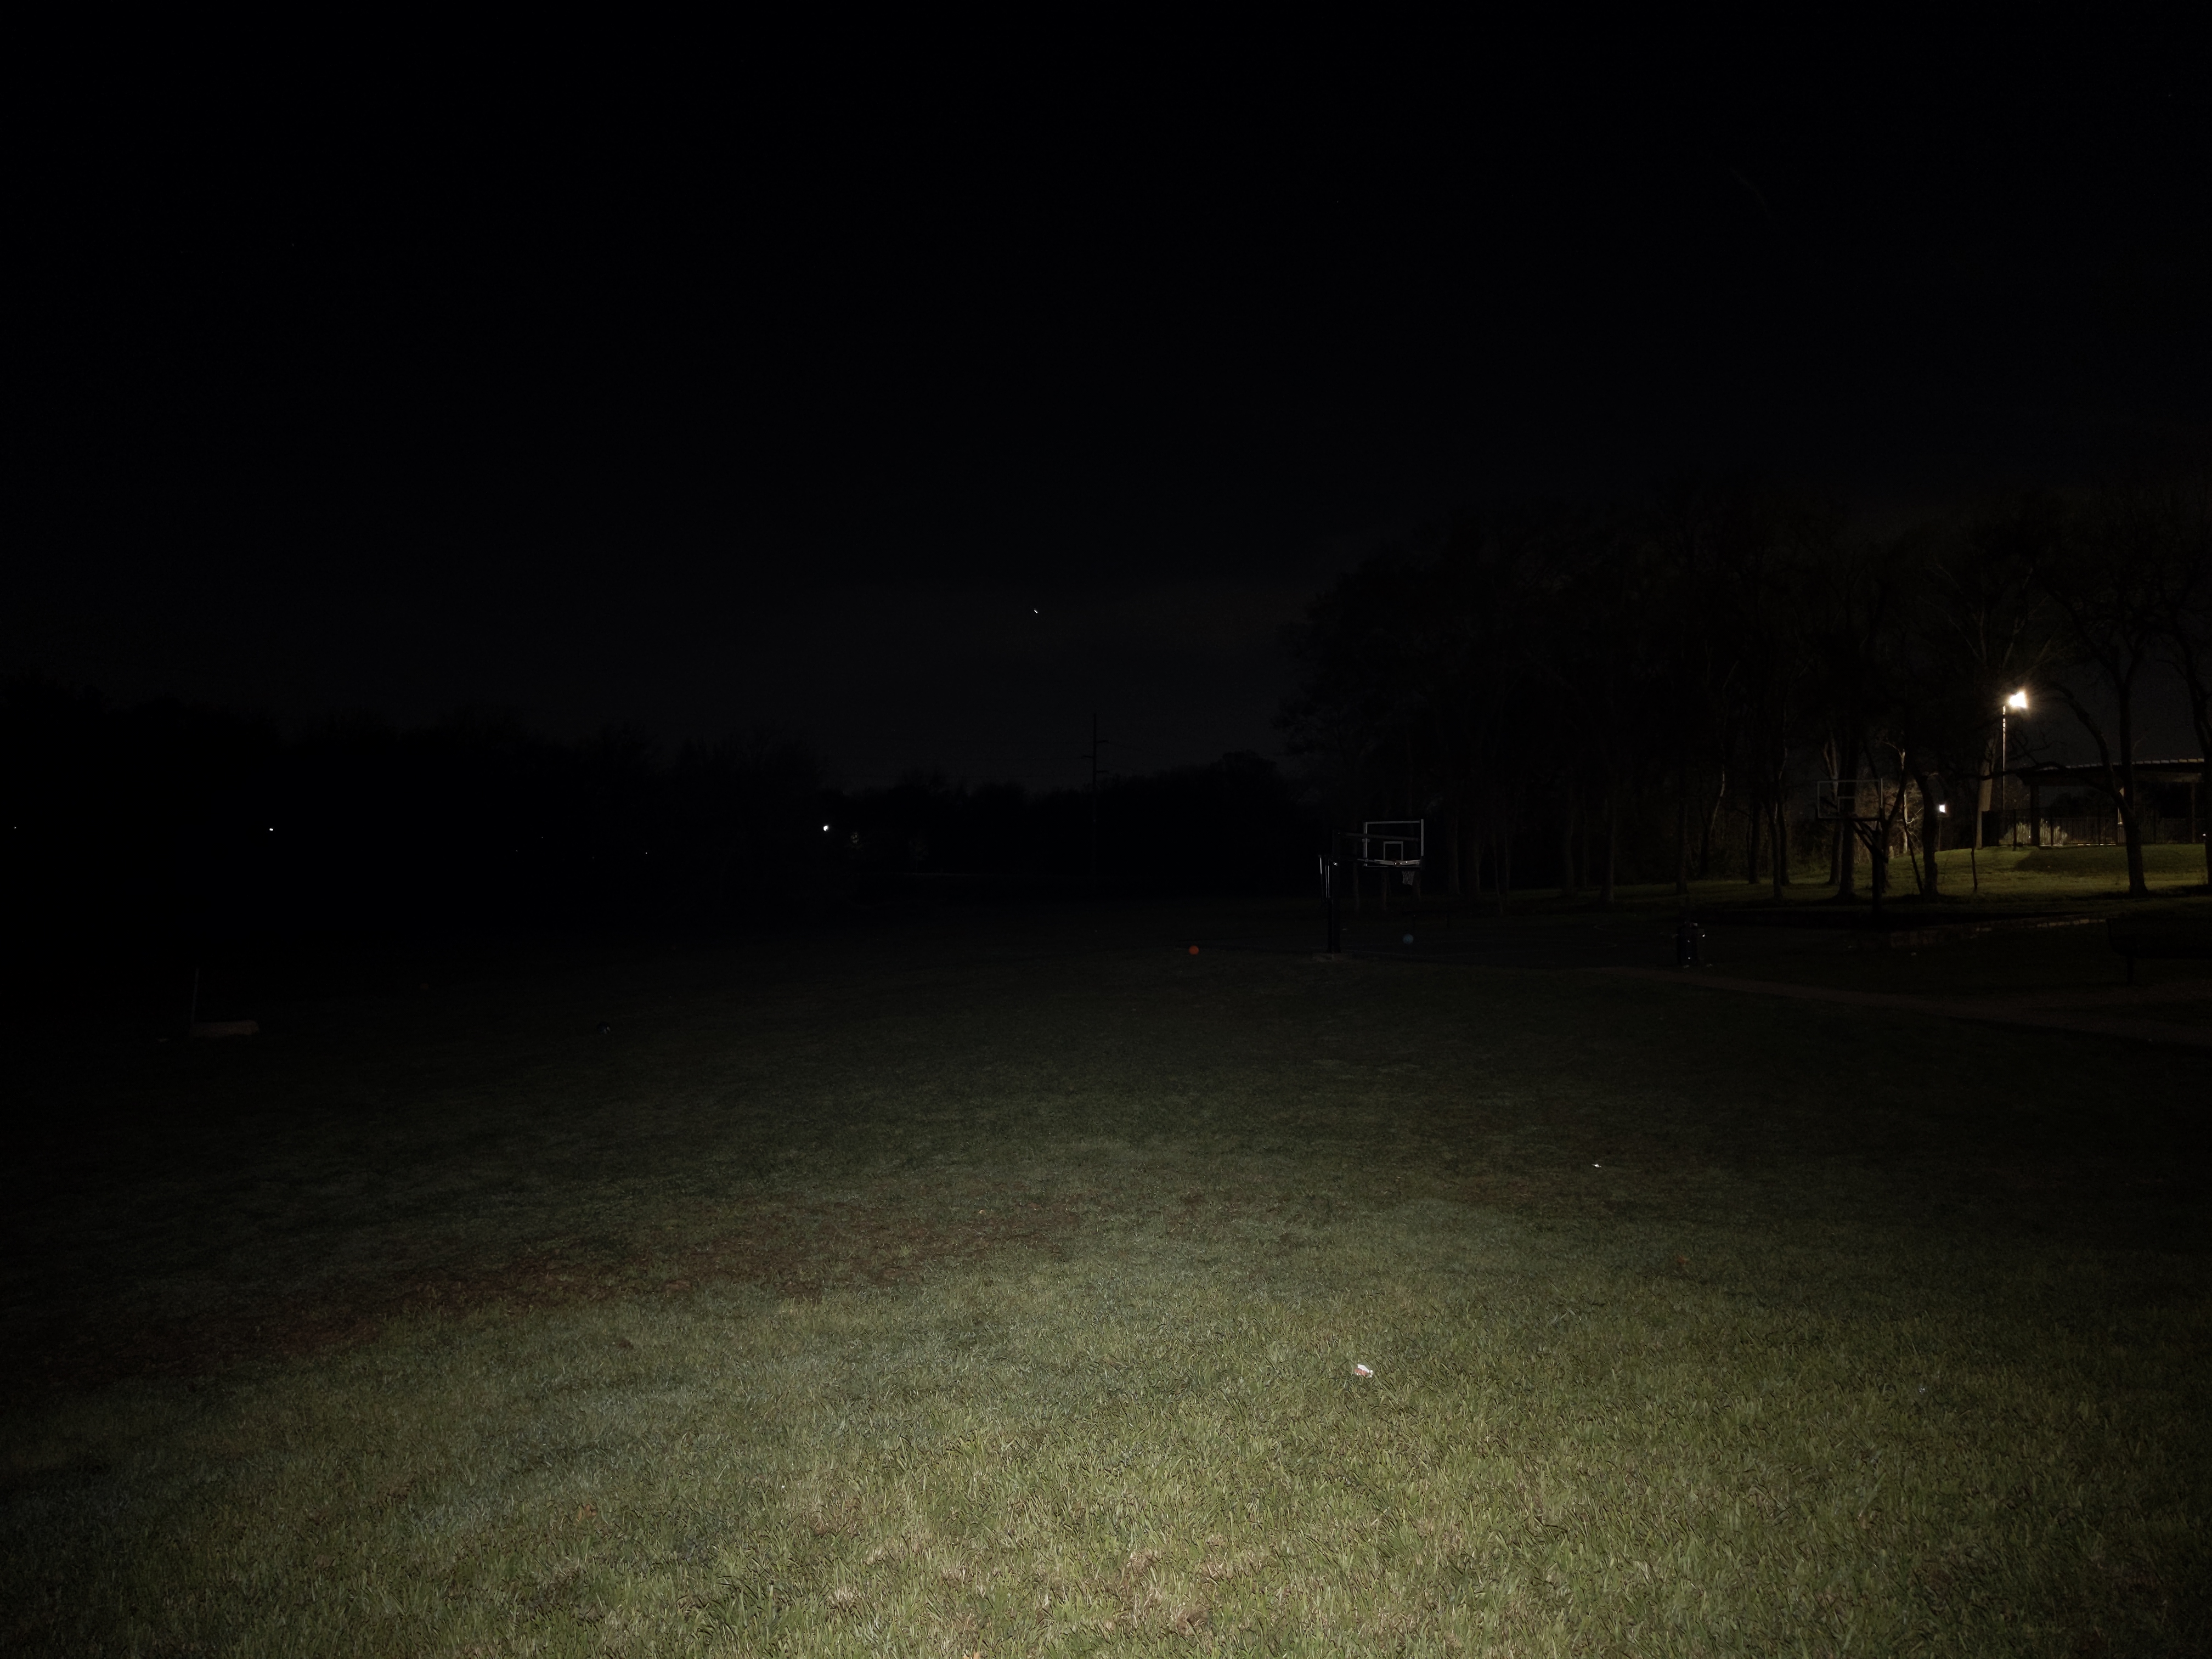
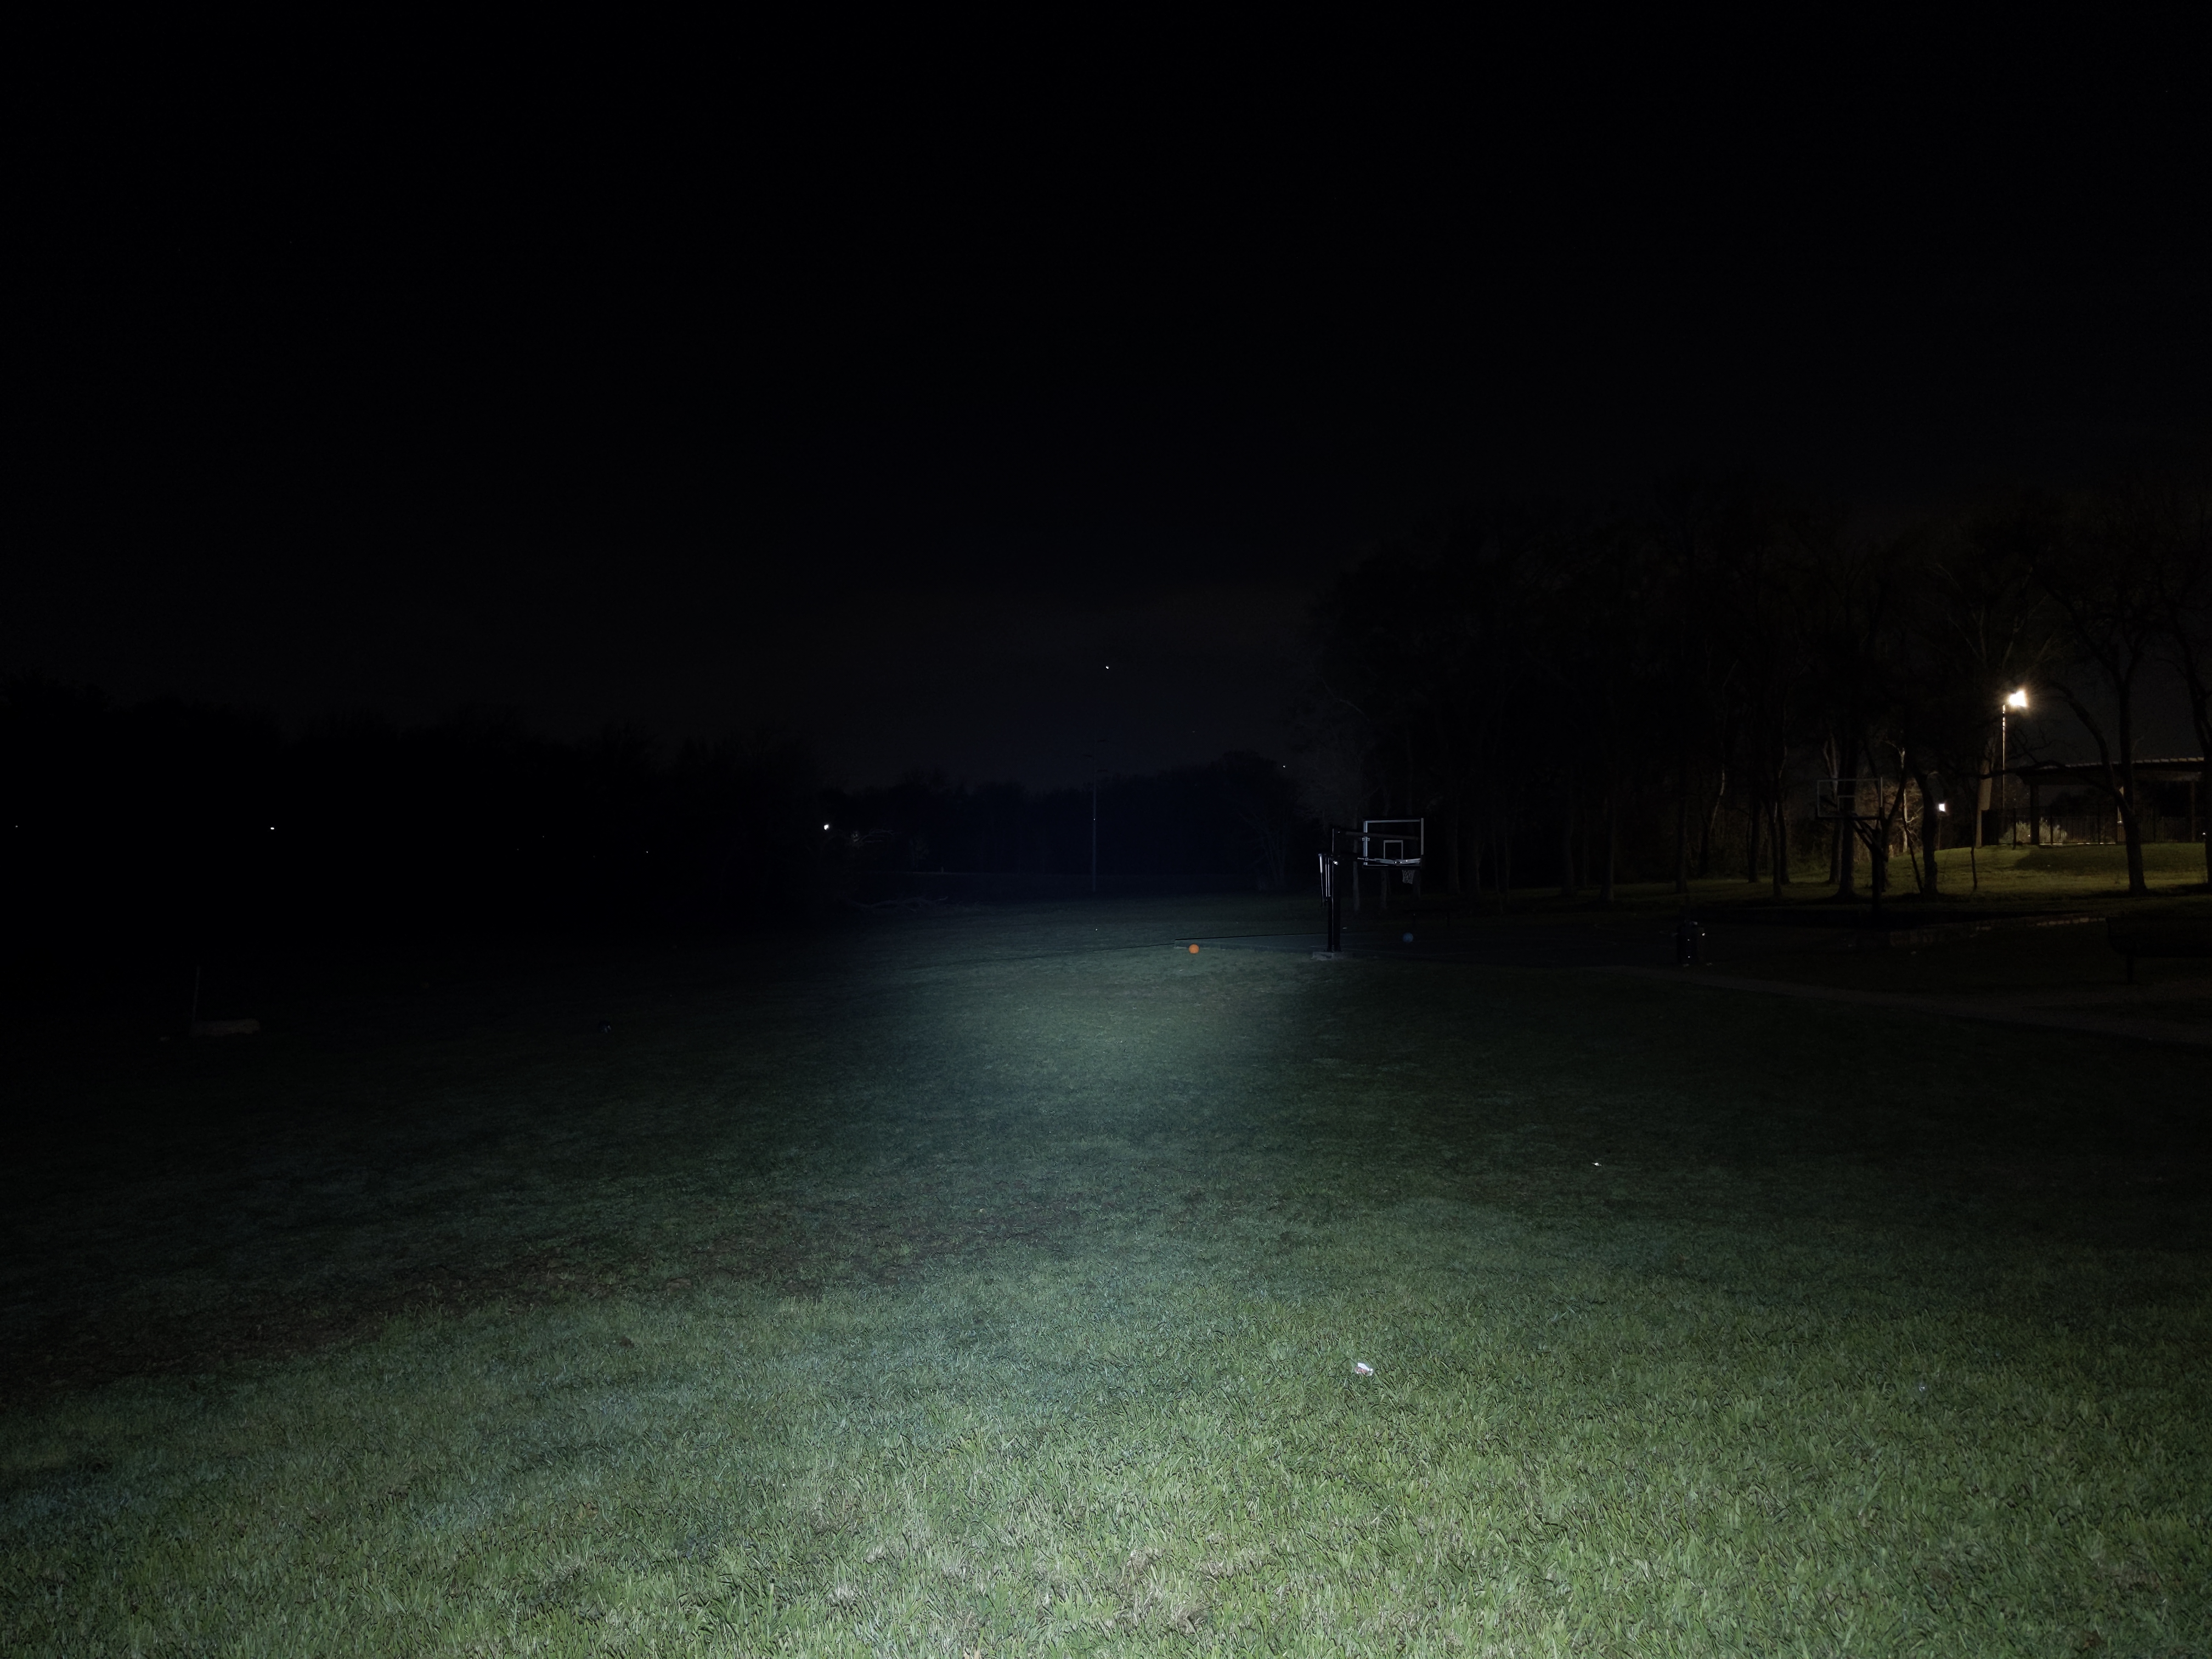
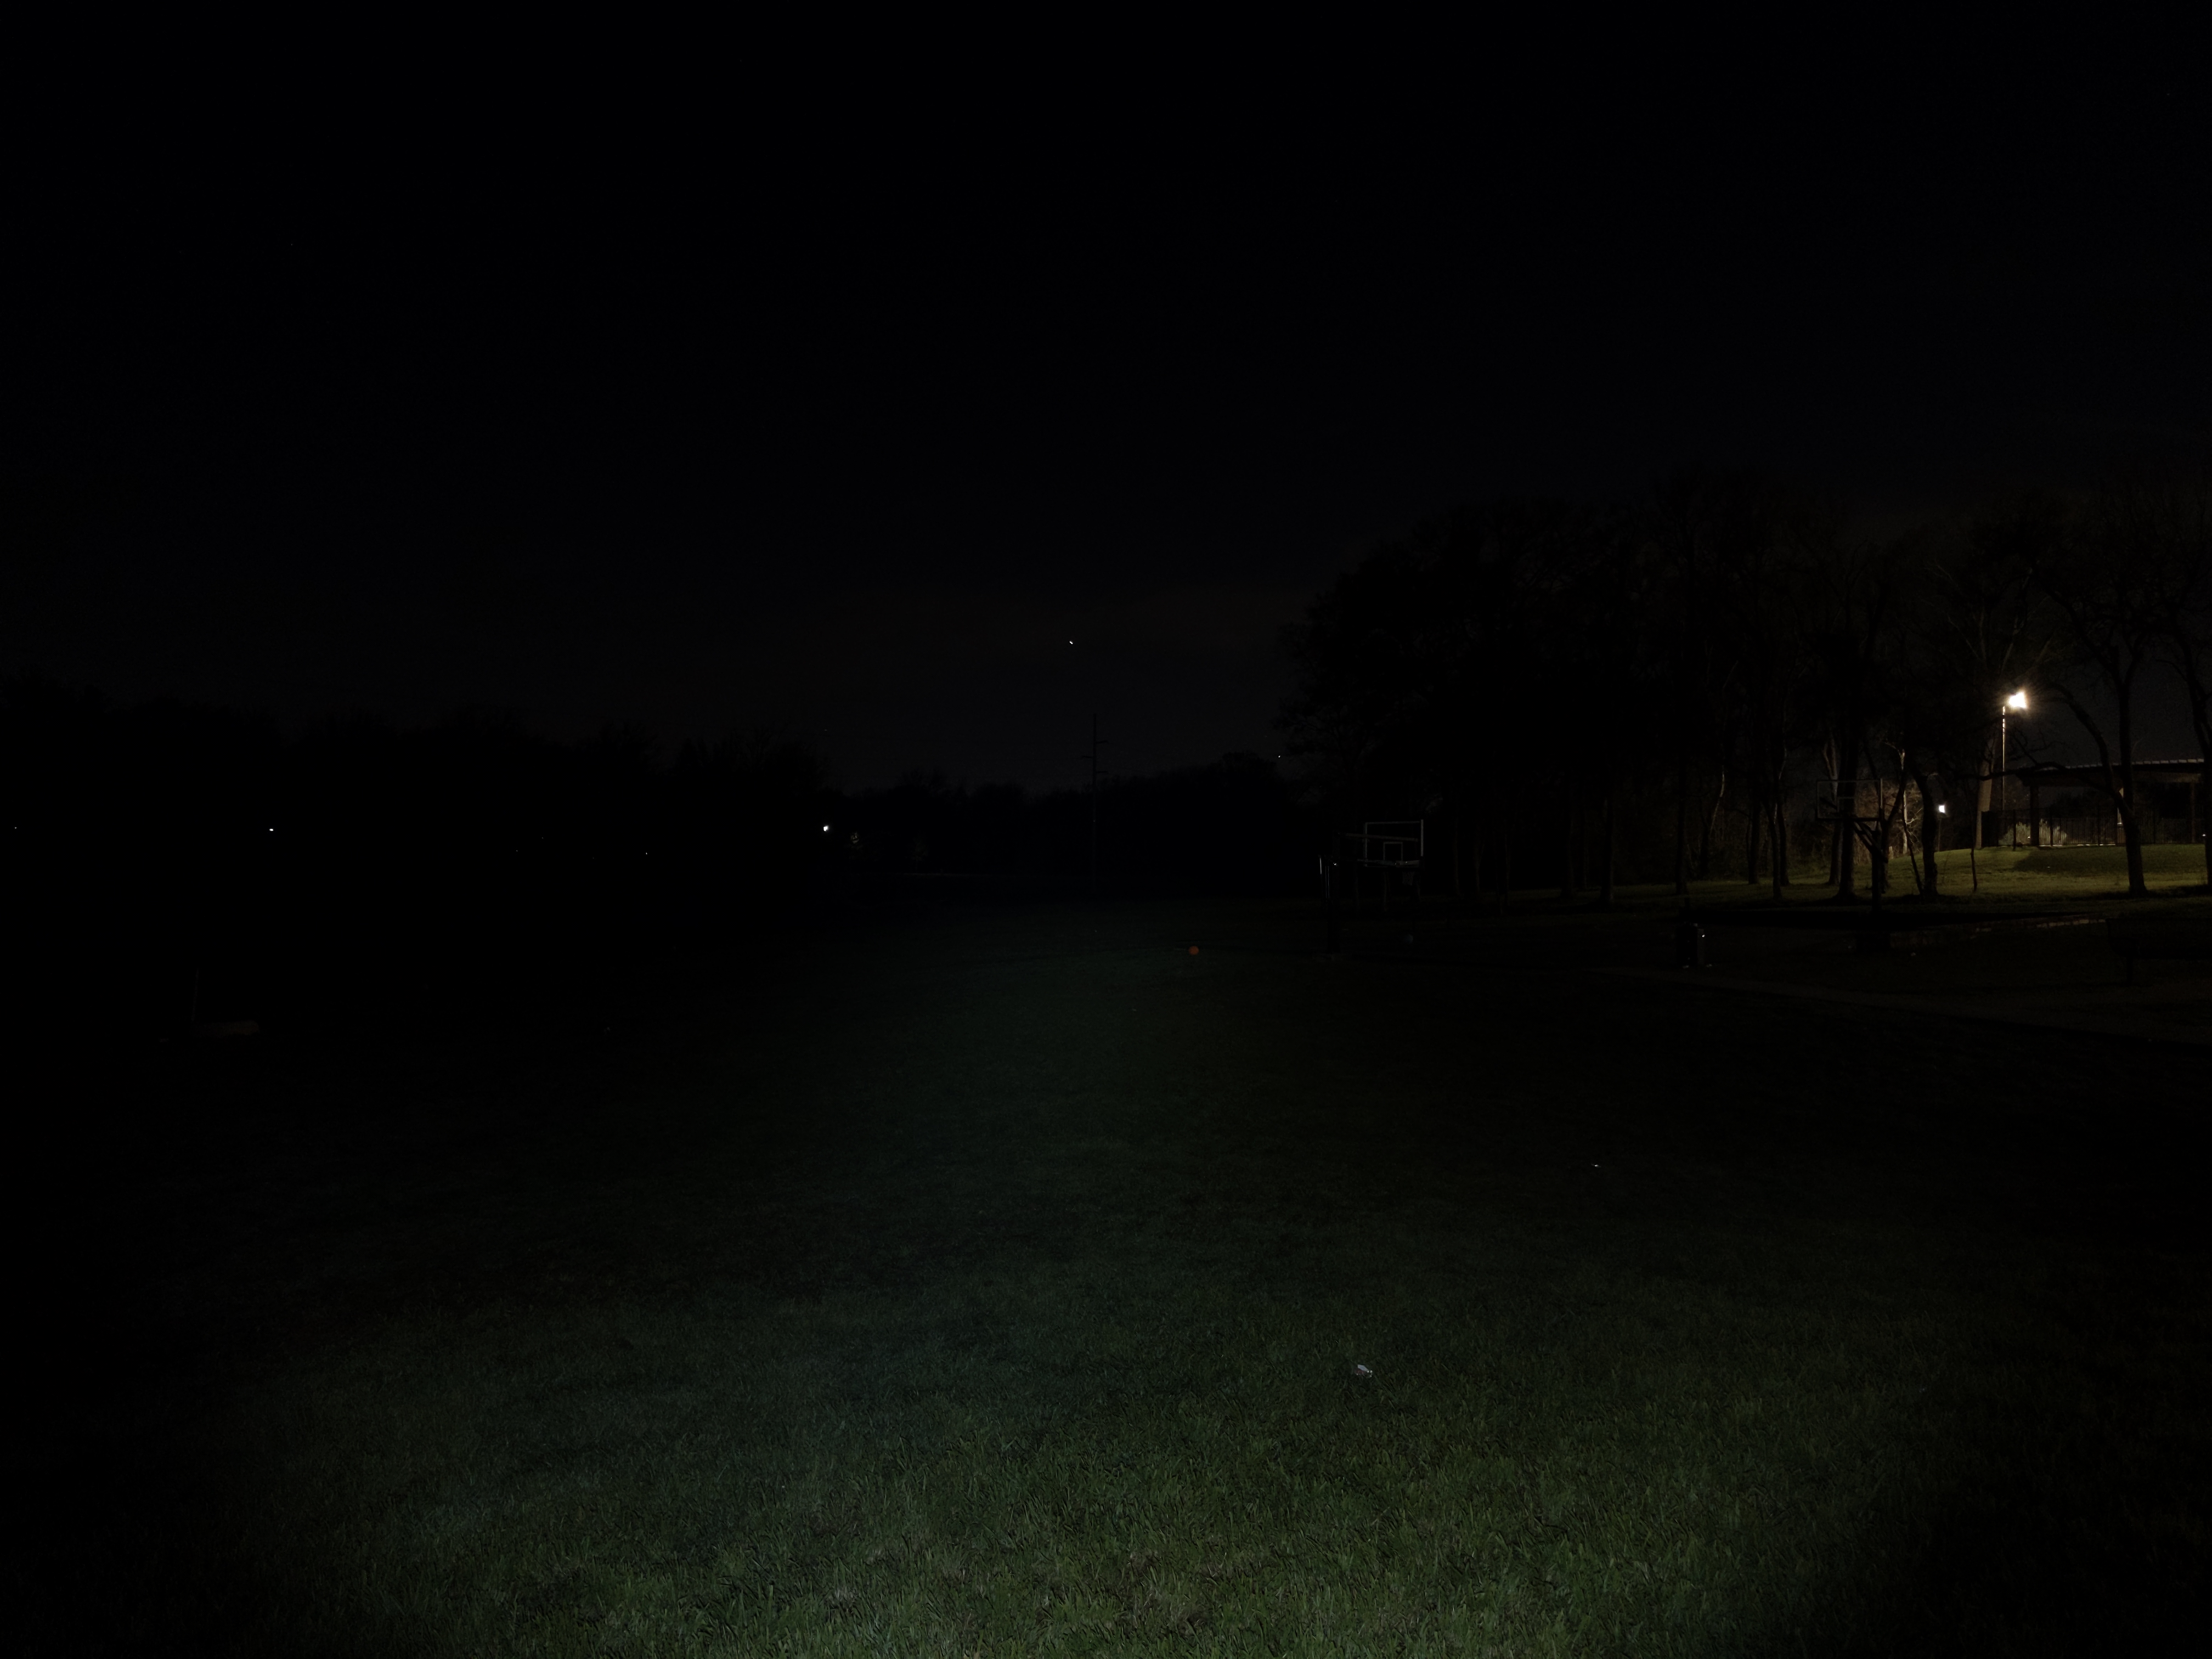
The beam is floody and diffused. There’s a wide, vague hotspot but no distinct transitions between the hotspot, spill, and the edge of the beam. The red beam is a little narrower than the white, but not by much. You can tell in the “WR” mode because the middle of the beam is redder than the rest. Overall, the beam is perfect for a headlamp or work light like this. It’s a little bit wider, a little bit warmer, and a little bit rosier than my H300 144A.
In the beamshots below, the basketball goal to the right of the hotspot is 39M away and the power pole in the center is 185M away.


Mode Chart
Disclaimer: All of my measurements are taken at turn-on. Lumen measurements were taken on a Texas Ace 3.5″ Lumen Tube. A candela measurement was taken at 10 meters with an Opple Light Master III on the highest brightness, and other candela figures were calculated relative to that. CRI, CCT, & DUV data were taken for each mode from a few feet away at the center of the hotspot with the Opple Light Master and Waveform DUV Calculator. Runtime tests were performed with the Ceilingbounce app on my smartphone. These tests were performed with a fully charged included battery unless otherwise specified. I cannot measure moonlight directly, so moonlight readings are calculated based on the brightness relative to the next-lowest mode. None of this is professional equipment, so take these measurements with a grain of salt.

Above are the official specs, followed by my own measurements below.
| Level | Lumens | Candela | Throw (Meters) | CRI (Ra) | Color Temp. (K) | DUV (Tint) |
| Turbo (T2) | 1200 | 2500 | 100 | 97 | 4350 | -0.0013 |
| T2 | 590 | 1229 | 70 | 98 | 4320 | 0.0004 |
| High (H1) | 310 | 646 | 51 | 98 | 4280 | 0.0016 |
| Med (M1) | 110 | 229 | 30 | 98 | 4190 | 0.0006 |
| Low (M2) | 30 | 63 | 16 | 98 | 4160 | 0.0005 |
| WR | 34 | N/M | N/M | N/A | N/A | N/A |
| Moon (l2) | 0.3 | N/M | N/M | 98 | 4110 | 0.0005 |
| Red High | 250 | N/M | N/M | N/A | N/A | N/A |
| Red Low | 22 | N/M | N/M | N/A | N/A | N/A |
Mode Spacing is not great. The T2 and WR modes are superfluous and should be removed from the UI. Then the remaining middle 3 modes can be adjusted for better spacing. The red mode spacing is good.
Runtime
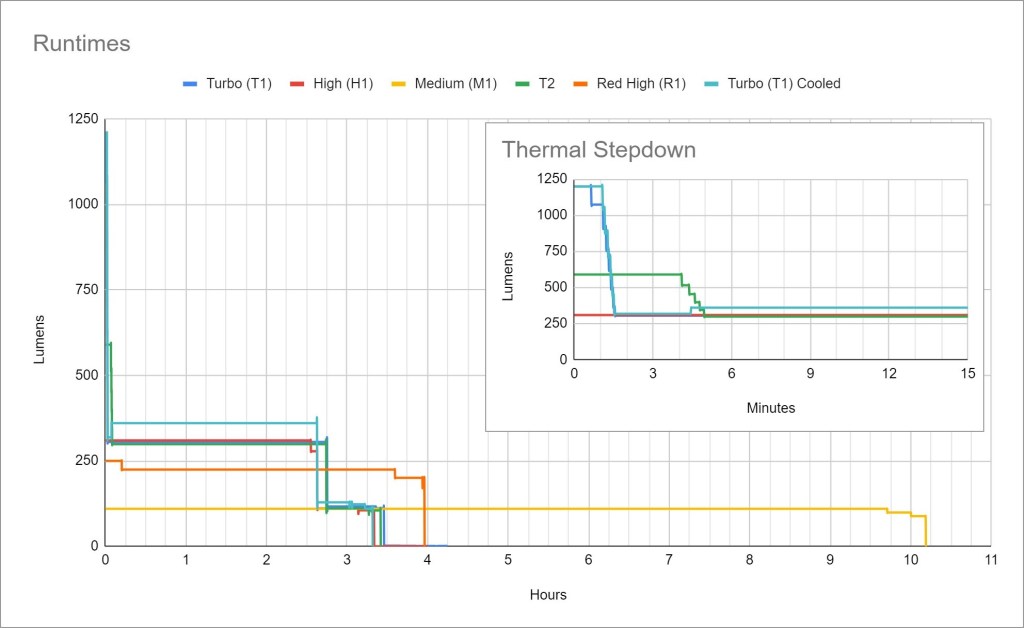
Performance is decent. Sustained output is sufficient but unimpressive at 300 lumens. The total runtime is pretty good.
Thermal regulation: The Turbo and Turbo Cooled test results are very close. They’re close enough that I’m confident there is only a timed step-down from Turbo, no active thermal regulation. That means the light will perform consistently but may also overheat in hot weather or leave some performance on the table in cold weather.
LVP (Low Voltage Protection) is present and the light will shut itself off when the battery gets low. It should be safe to use unprotected batteries. The light can be re-activated for a short time in an emergency even after low voltage cutoff.
Driver & Regulation
Skilhunt tends to use Buck or Boost drivers that provide good efficiency and regulation. In this case, I believe it’s a Buck driver but I haven’t been able to confirm that. The body tube is glued to the head so I wasn’t able to access the driver or get any detailed photos. It does have a spring for the positive contact.

Regulation for the white channel is good. The Turbo modes are affected by battery voltage, but brightness is respectable until the battery is nearly empty. Other modes are unaffected by battery voltage.
Note: All regulation measurements are taken at turn-on so they do not reflect any thermal or low voltage stepdowns that may occur. A value of 0 indicates low voltage shutoff immediately upon activation.
PWM: No PWM is visible to my eyes or camera, nor audible to my ears.
Parasitic Drain: 57 microamps when the lockout indicator is not active. That will take 7 years to drain the included battery. If the lockout indicator is active, the parasitic drain oscillates between ~100 microamps and ~1500 microamps which will take approximately 6 months to drain the battery.
Switch
H200 uses an electronic switch mounted on the side of the head, rather than at the top of the head like many right-angle lights. This switch placement isn’t as good for handheld use but it’s much better for headlamp use. It positions the switch to be pinched between the user’s index finger and thumb, the most ergonomic switch position for a headlamp.
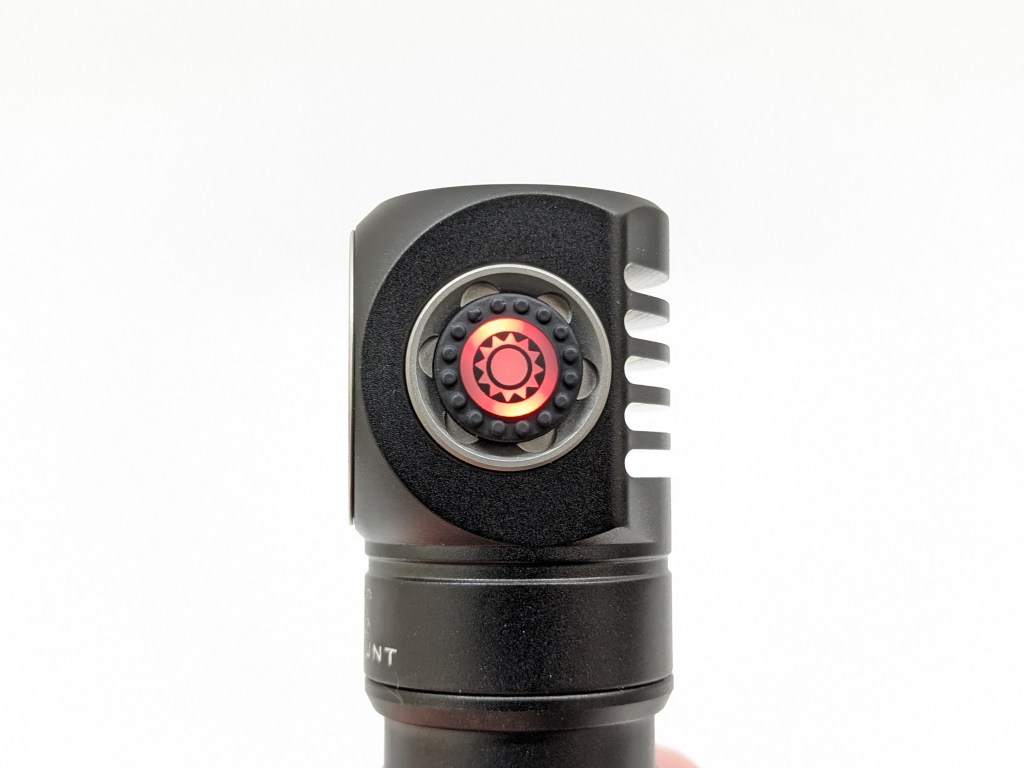
The switch is covered by a translucent rubber boot, and a backlight underneath serves as a battery indicator. It lights up for 5 seconds after the light is activated. Constant blue means the light is 80-100% charged. Blinking blue means the light is 50-80% charged. Constant red means 20-50% charge. Blinking red means 0-25% charge and will continue blinking until the light is turned off. This battery indicator system requires a little memorization but does work.
Carry & Ergonomics
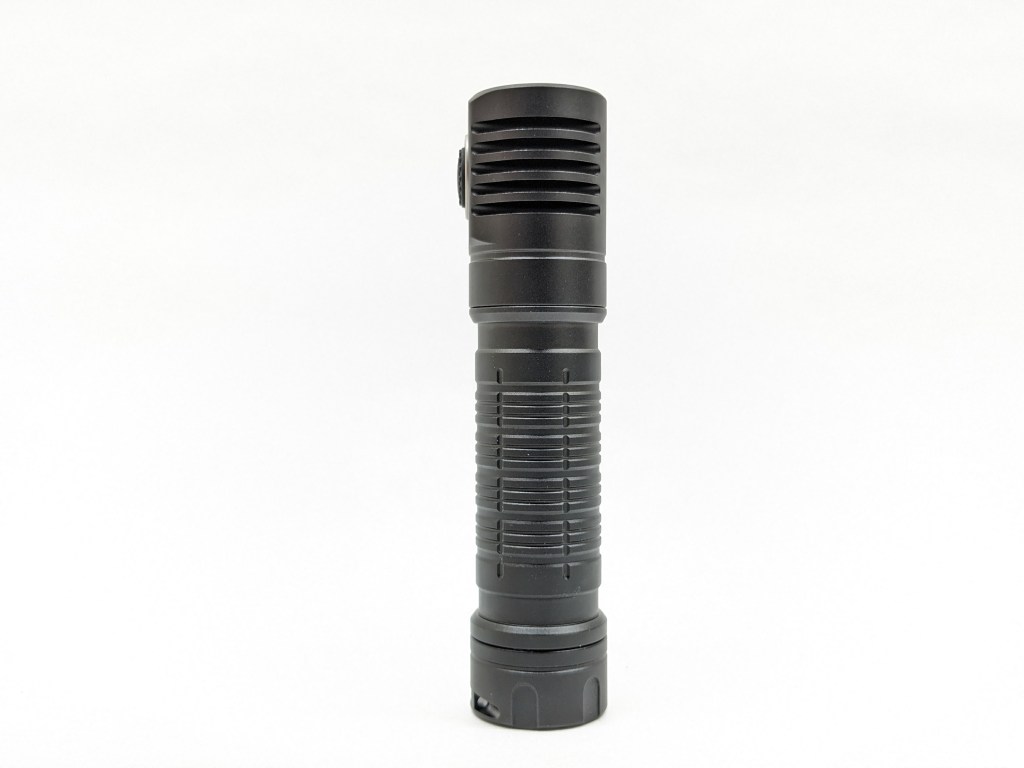
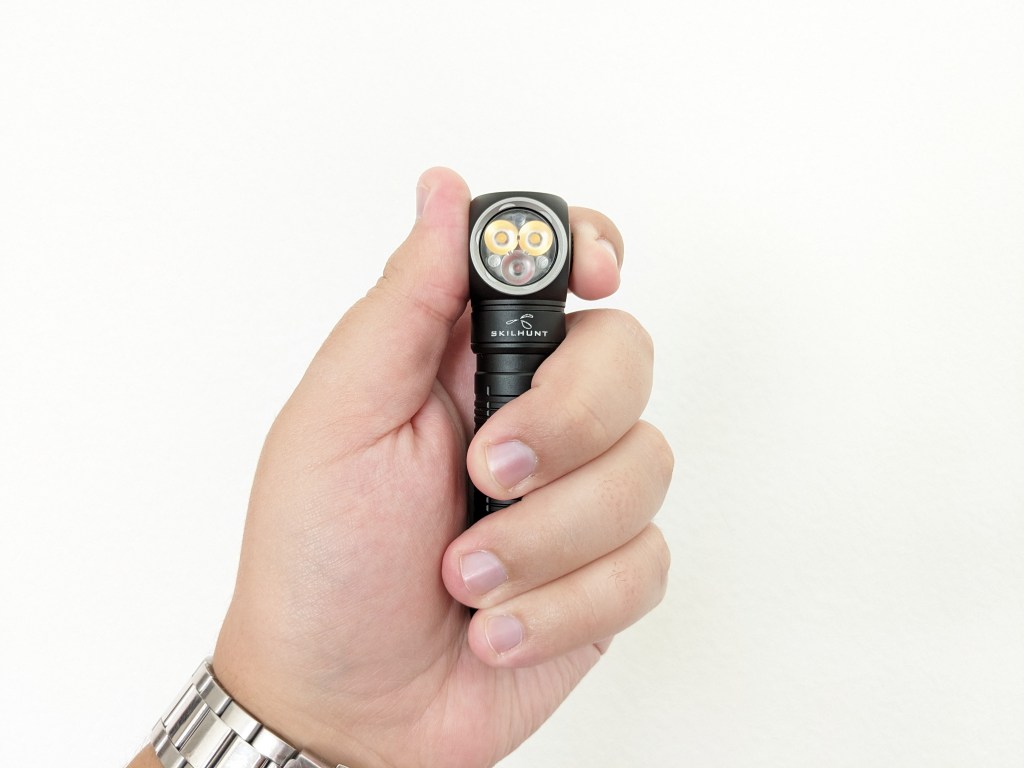
Ergonomics: H300(R) is primarily designed as a headlamp, and the handheld ergonomics suffer somewhat. It’s a bit small for a comfortable grip and the button is on the side of the head, which is a weird spot when the light points sideways in a different direction. The image above shows the best handheld grip I’ve found.
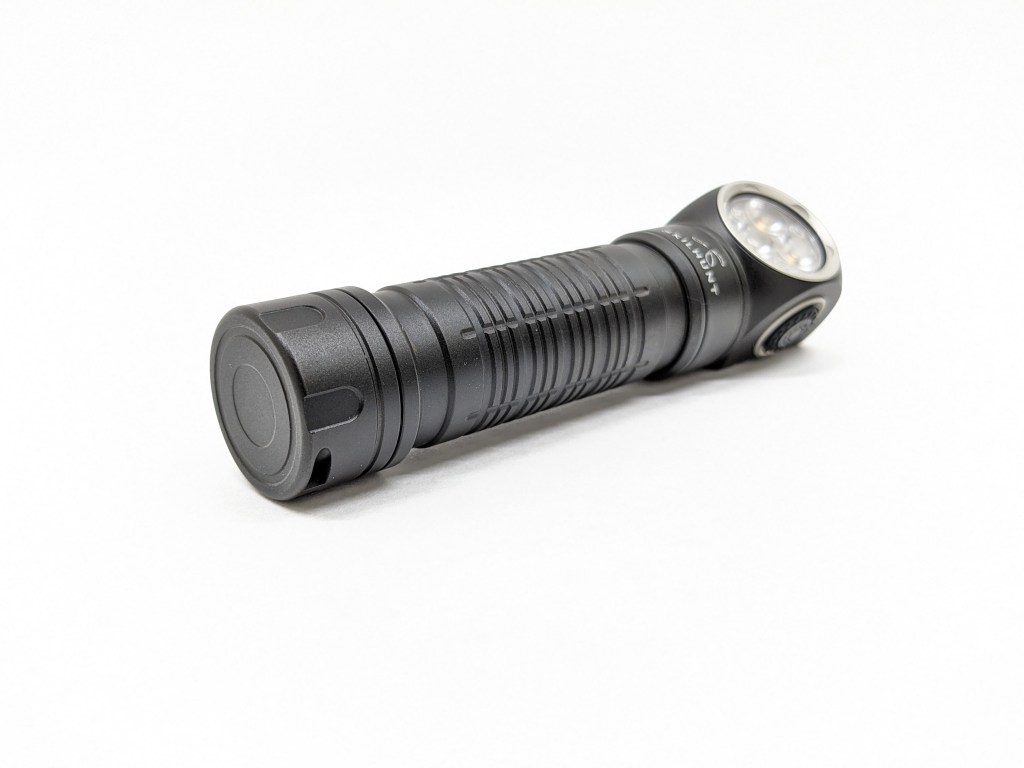
Clip: H200’s pocket clip has been updated from previous H-series 18650 headlamps like H300. It’s the same clip used on their MiX-7 model which I also reviewed. This new clip doesn’t snag halfway nor partially cover the optic like the old clip did. Plus, there’s a new clip slot near the tail for head-down carry.

Headband: The headband is an evolution of the Skilhunt HB3 headband they’ve included with their 18650/18350 headlamps for a few years. It’s modular so you can remove the top strap. You can even add a second light if you have another clamp piece. There’s a bead of silicone inside the band for grip, and the outside has reflective text for safety. The clamp is very secure so the light won’t pop out by accident even if forcefully bumped.
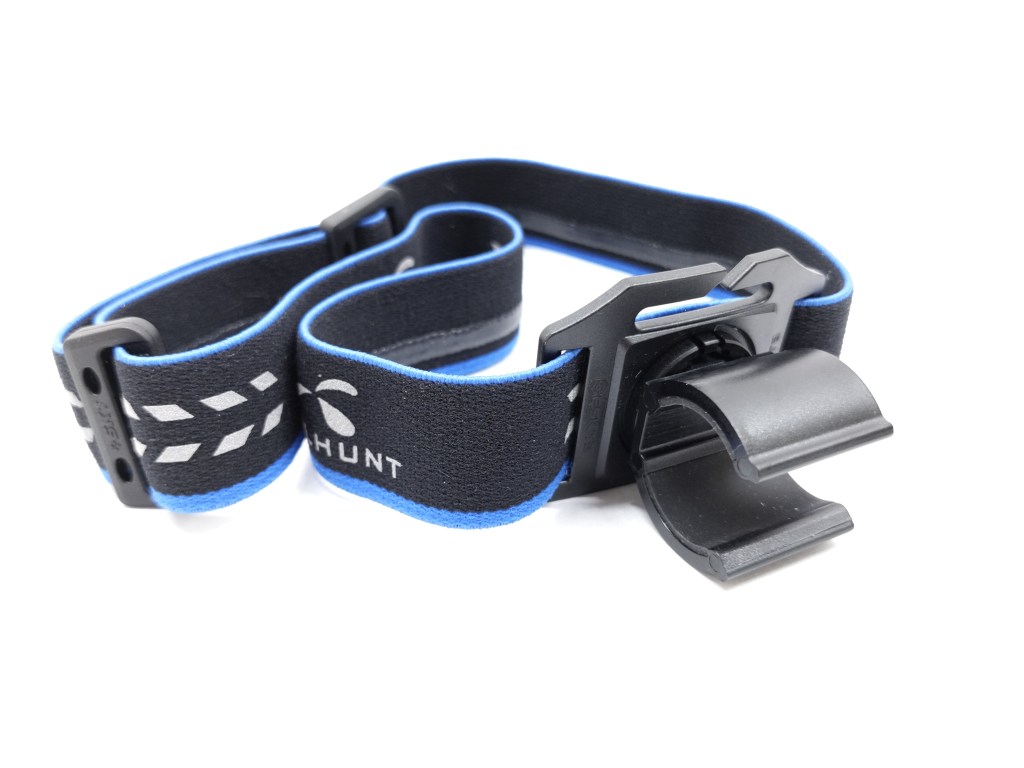

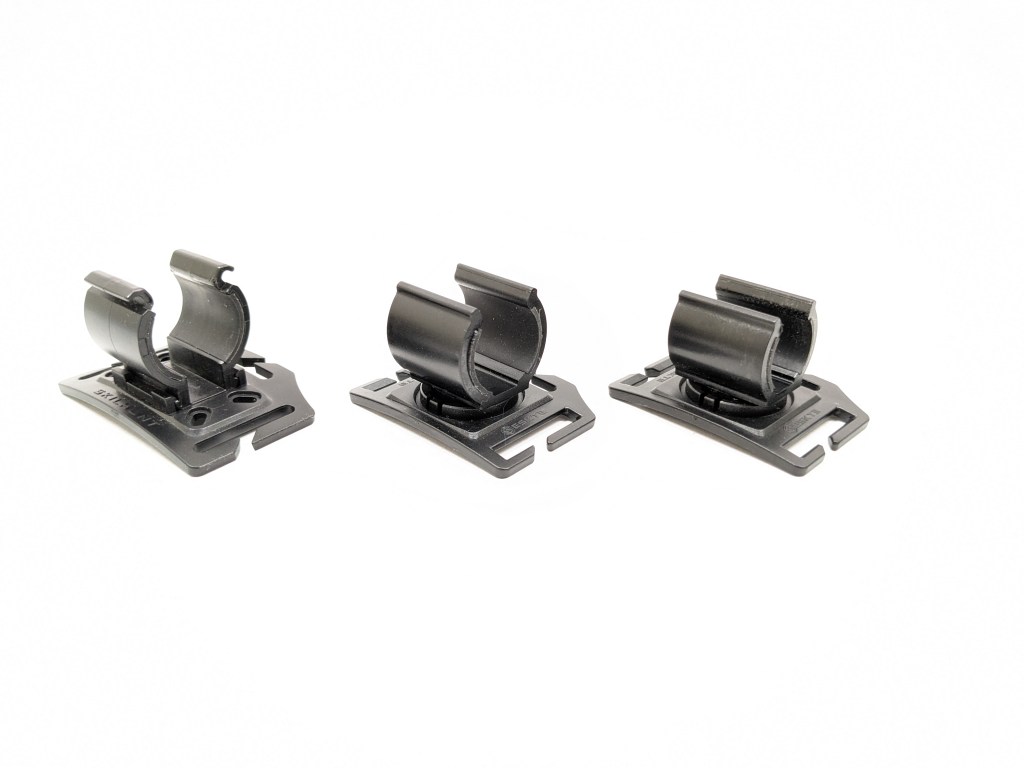
This band differs from HB3 in two key areas: the clamp rotates 360 degrees and the clip slot has been removed. The clamp rotates so you can attach it to a backpack strap or MOLLE webbing and still be able to point the light in the direction you need. It also can position the light source between your eyes to look into pipes without casting shadows. The clip slot removal is not a big deal because you can just rotate the clip to the front or the side. Here’s a comparison with other Skilhunt headband clips.
Magnet: A magnet inside the tailcap is strong enough to hold the light up on a vertical surface. If you carefully remove the spring from the tailcap with some pliers, you can remove the magnet and replace it with the included plastic insert if you don’t want a magnetic tailcap. There’s also a magnet on the head for the magnetic charging connector that cannot be removed.
Batteries & Charging
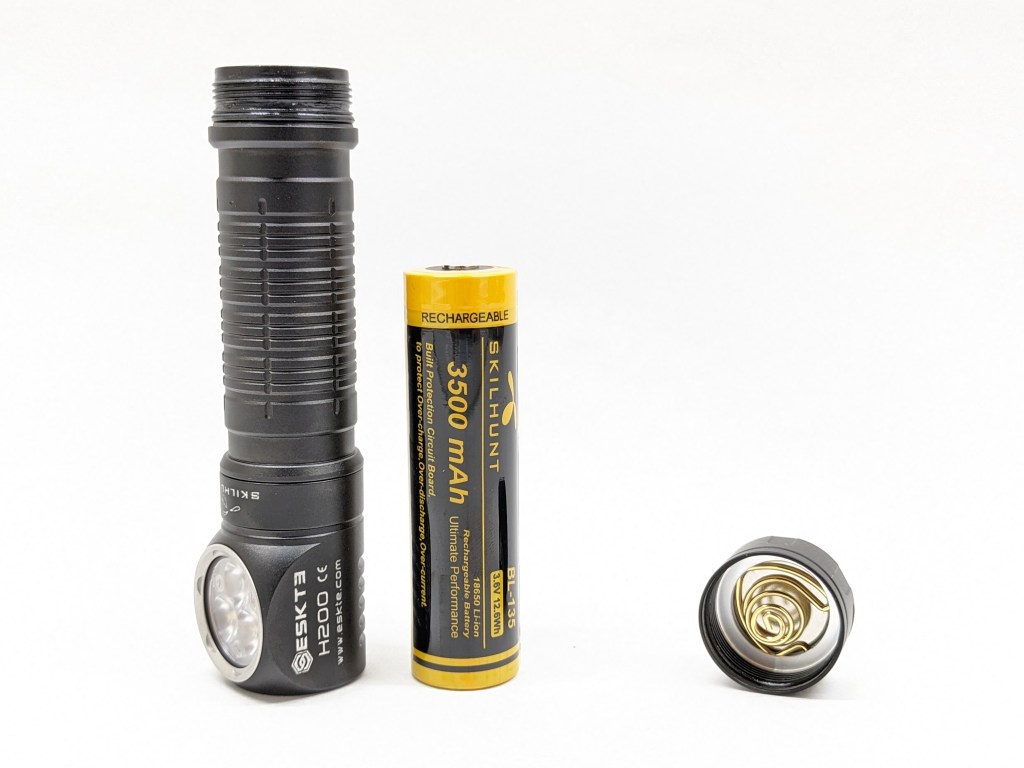
Battery: A single 18650 battery is optionally included. It’s protected, button-topped, Skilhunt-branded, rated at 3500mAh, and well-suited to this light. I also tried an unprotected button top cell, but the light would shut off when jostled due to the shorter battery. Most previous Skilhunt headlamps had a wide operating voltage range. They could take one or two Li-ion cells or two CR123As. H200 only supports one Li-ion cell.
Charging is facilitated by the included magnetic puck USB charging cable. The magnet end snaps onto the contacts on the head of the light for easy charging. The magnetic connection is pretty weak and finicky though. A slight jostle can cause it to lose connection. The light is fully functional while charging. Since the contacts are exposed and magnetized, this may be a poor choice if you work around ferrous metal shavings. Charging terminated at 4.15V.
I’m delighted that Skilhunt used a standard battery here so you can still recharge your light with a normal charger if you need to, unlike another popular brand with magnetic charging (Olight).
Competition
Here are some lights in the same class and how they compare.
- more expensive
- more brightness
- only white, no red
- supports more battery types
- headband doesn’t swivel
- much less expensive
- not as bright nor as well-regulated
- Micro-USB charging instead of magnetic
- simpler UI
- dedicated headlamp (not an L-shape with a pocket clip like H200
This section is not comprehensive. If I didn’t include a particular light here, it doesn’t mean it’s bad or doesn’t deserve to be here. I simply cannot list every possible competitor.
Conclusion
This is a solid headlamp. It’s largely the same as Skilhunt’s previous 18650 headlamps but with red and a pivoting headband. To me, this is a successor to their venerable H04 RC model. H200 is brighter and more capable while retaining almost all the same great features. I have some gripes about the UI, but this is the most compelling white+red headlamp I’m aware of right now.
Thanks to Skilhunt for sending me this light for review!