Contents
- Pricing & Availability
- What comes in the box?
- Design & Construction
- Size & Measurements
- User Interface
- Emitter & Beam
- Mode Chart
- Runtime
- Driver & Regulation
- Switch
- Carry & Ergonomics
- Batteries & Charging
- Competition
- Conclusion
Pricing & Availability
I recently reviewed another version of this light, H300 with Nichia 144A, and I was so impressed that it became my favorite headlamp. As a result, I asked Skilhunt to send me this version (H300R with XHP50.3-HI) as well in exchange for an honest review. Here is the official product page where you can see current pricing and purchase this exact configuration. There’s also an Amazon listing but it’s a different LED.
Except for the LED and reflector, this light is exactly the same as the H300 I reviewed previously, so much of this review will be copied from that review. If you see photos of H300 144A in this review, that’s why.
What comes in the box?
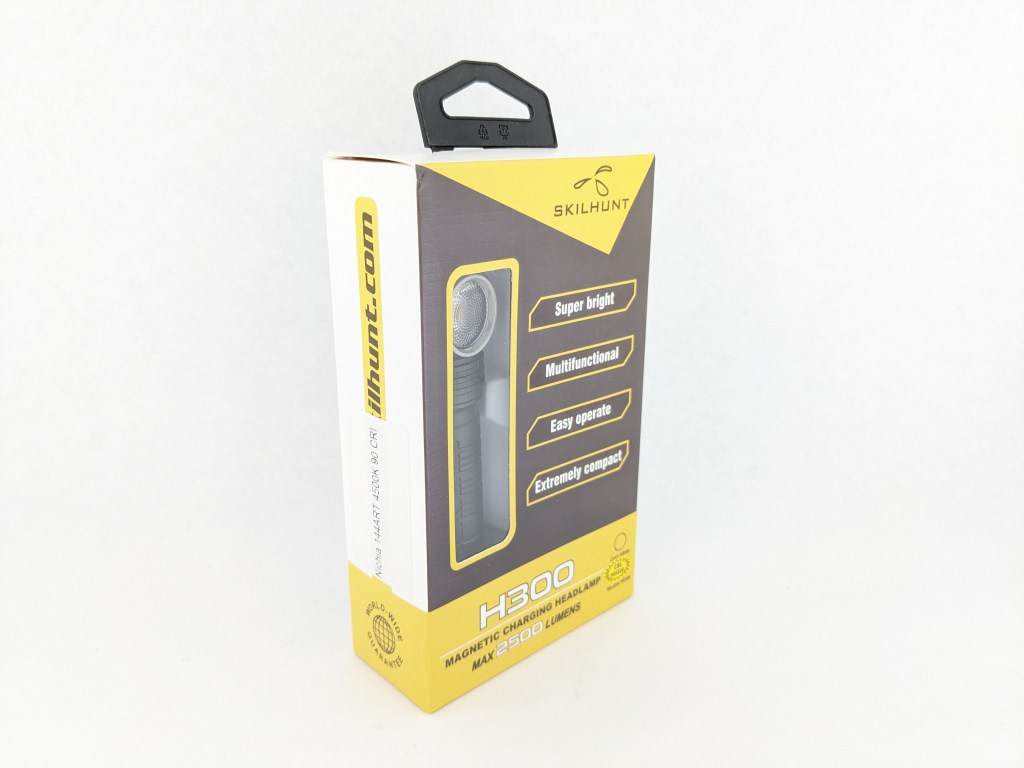
H300(R) comes in a retail-ready box with a clear window and a pegboard hanger. It’s made of printed cardboard and has a thin vacuum-molded insert inside to hold the light in place. The following items are included in the box:
- The light itself
- Battery (inside the light)
- Headband (unassembled)
- USB-A to magnetic charging cable
- Pocket clip
- Wrist lanyard
- Plastic tailcap insert
- Spare O-rings
- User manual

Design & Construction
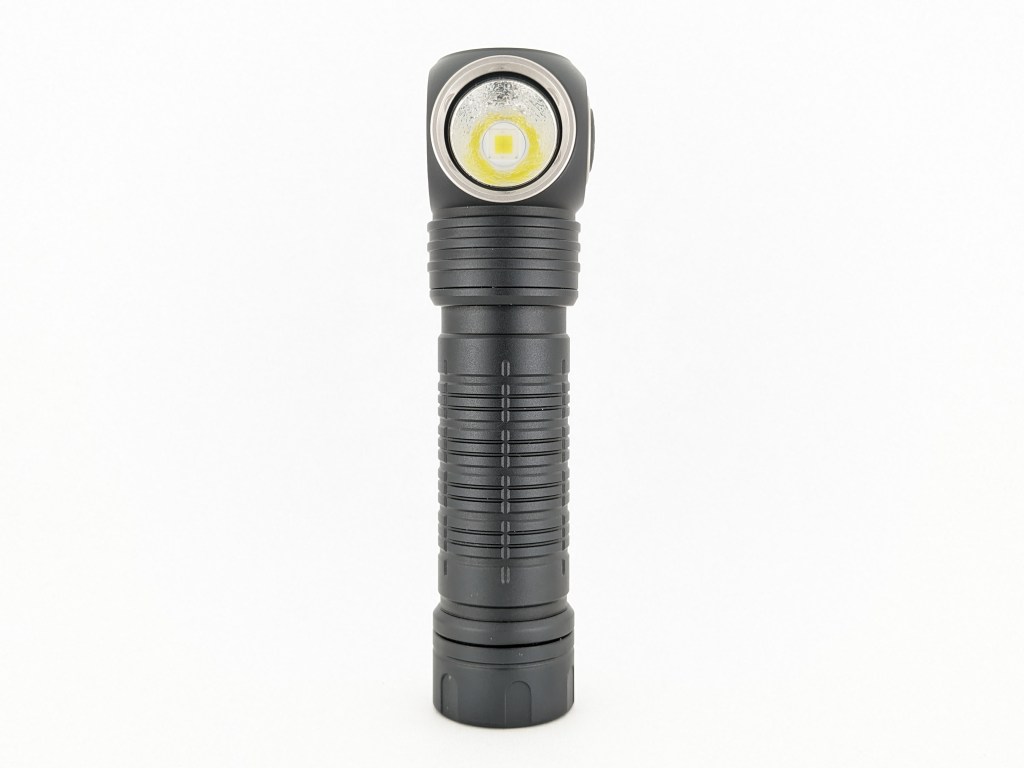
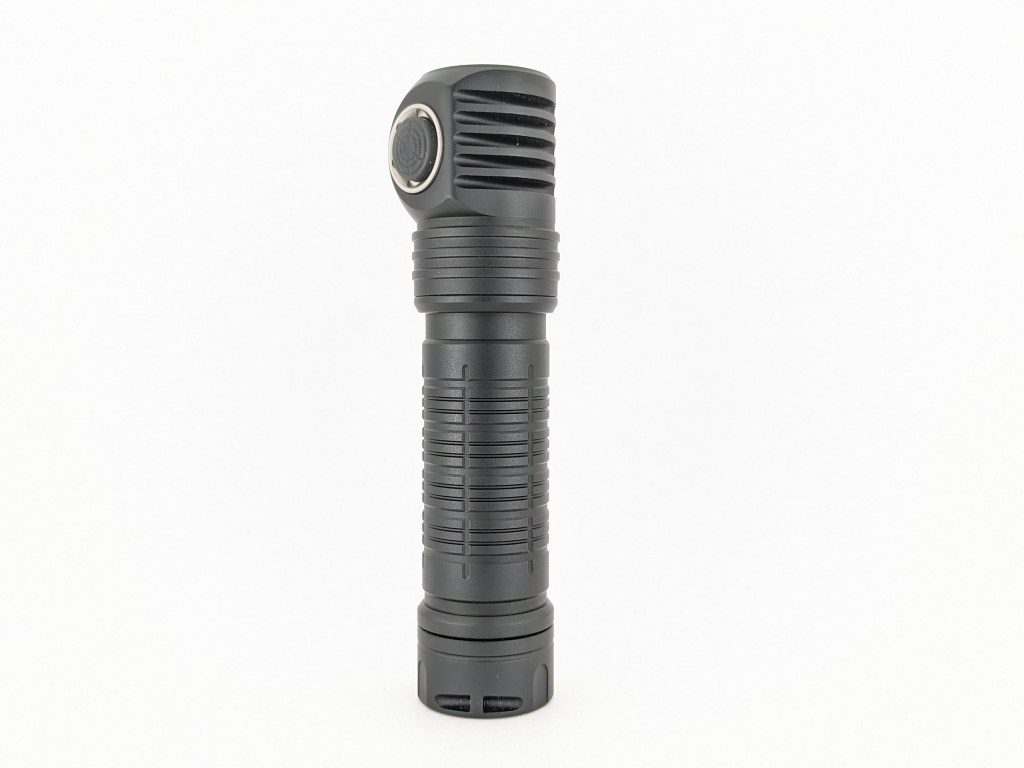
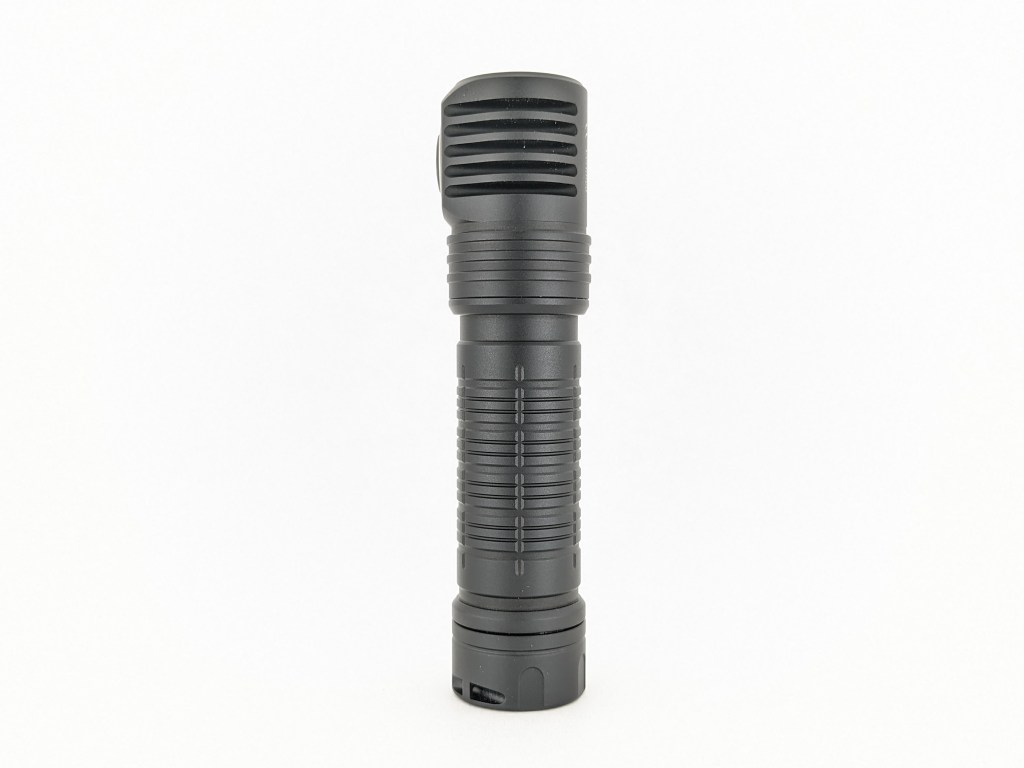
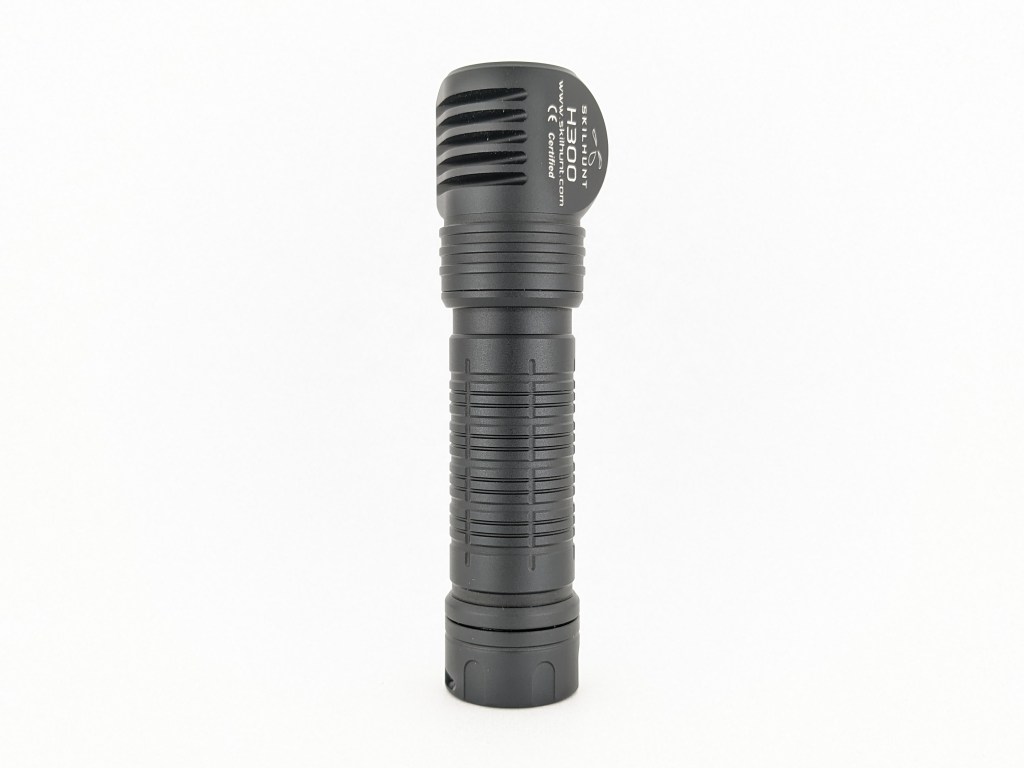
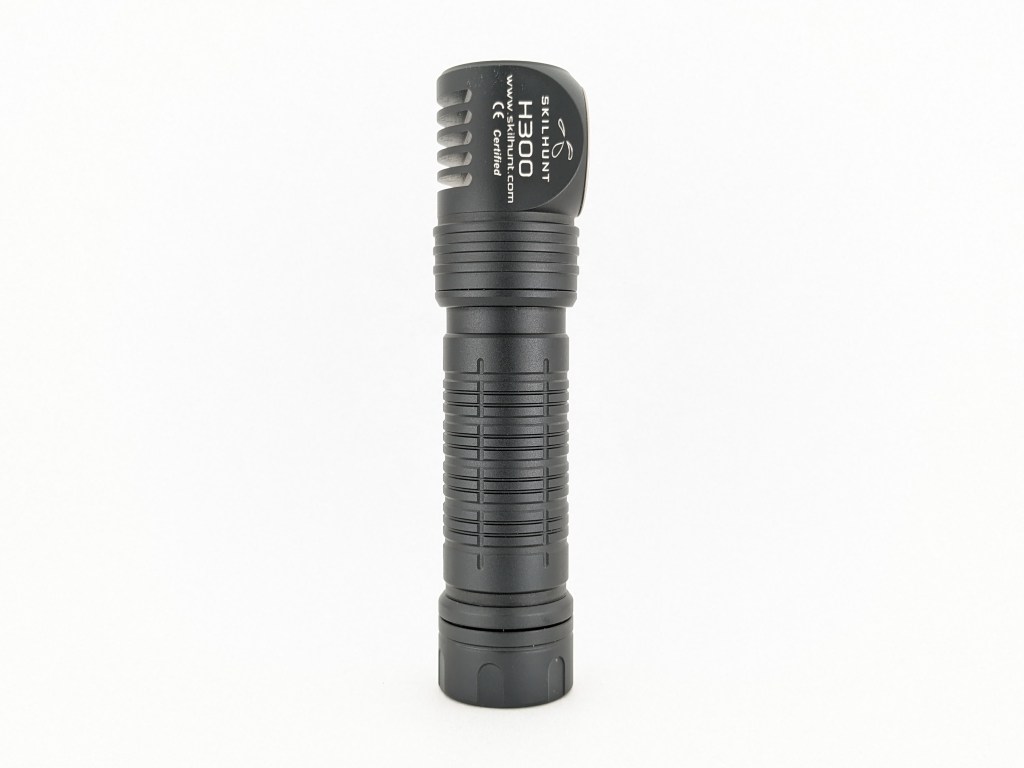
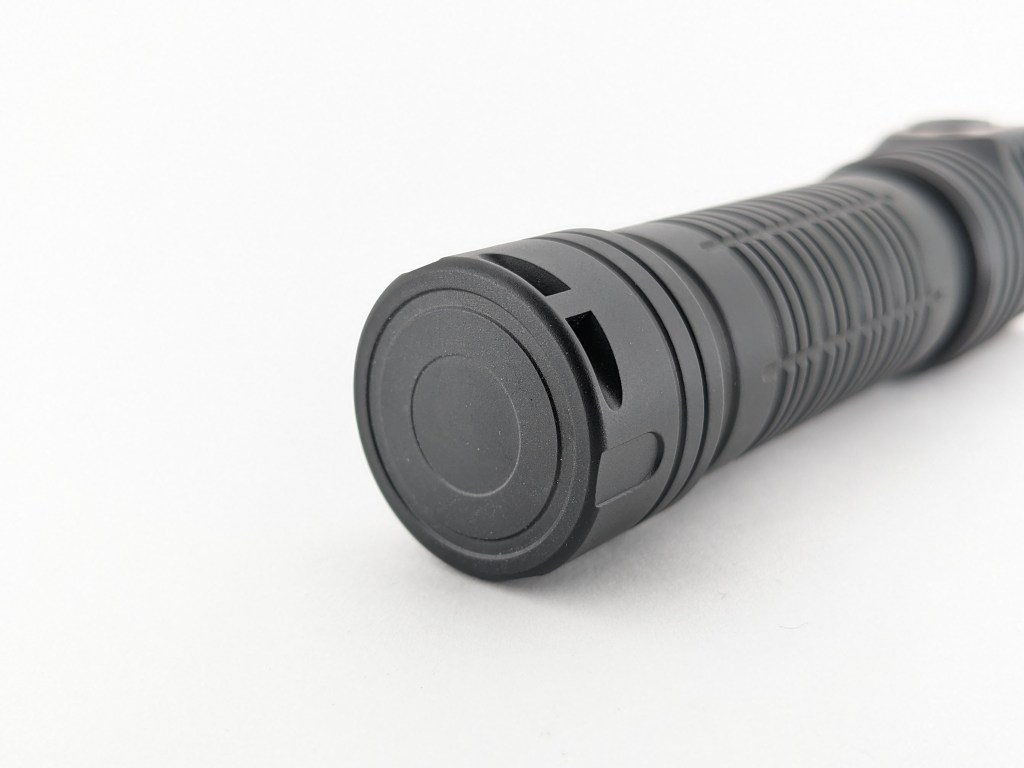
The design is in line with Skilhunt’s other headlamps. It’s a narrow body tube with a slightly flared tailcap and right-angle head. The button is on the side and a magnetic charging contact is on top. It’s a bit funny looking but very functional. I like the silver accents from the retaining rings.
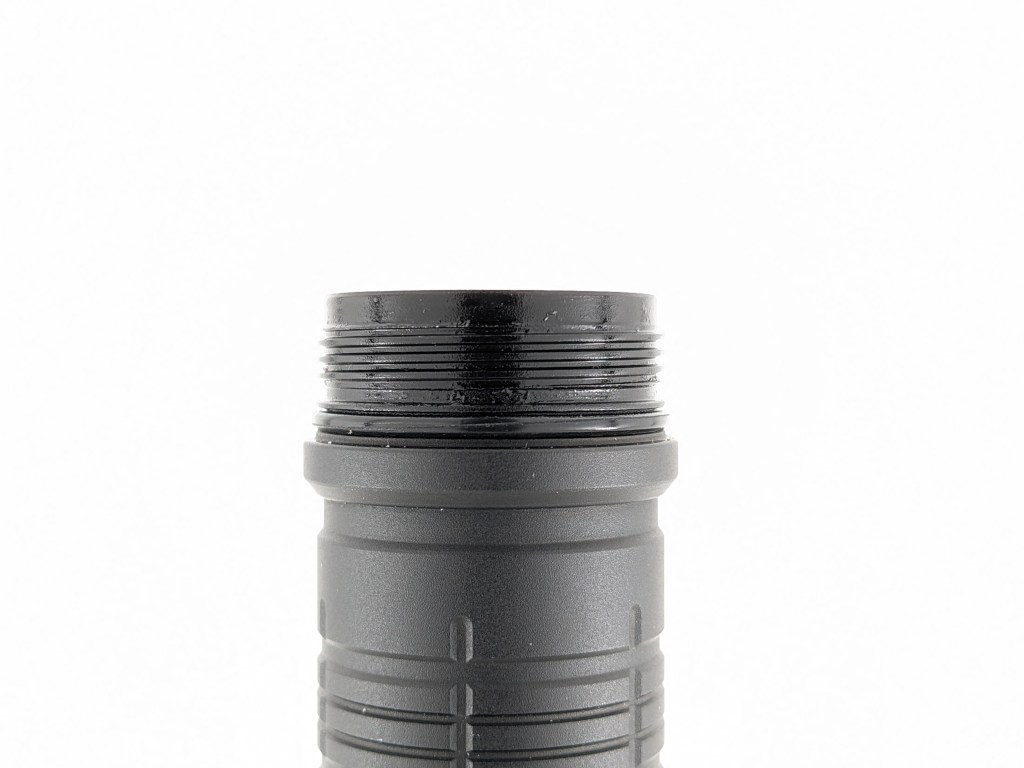
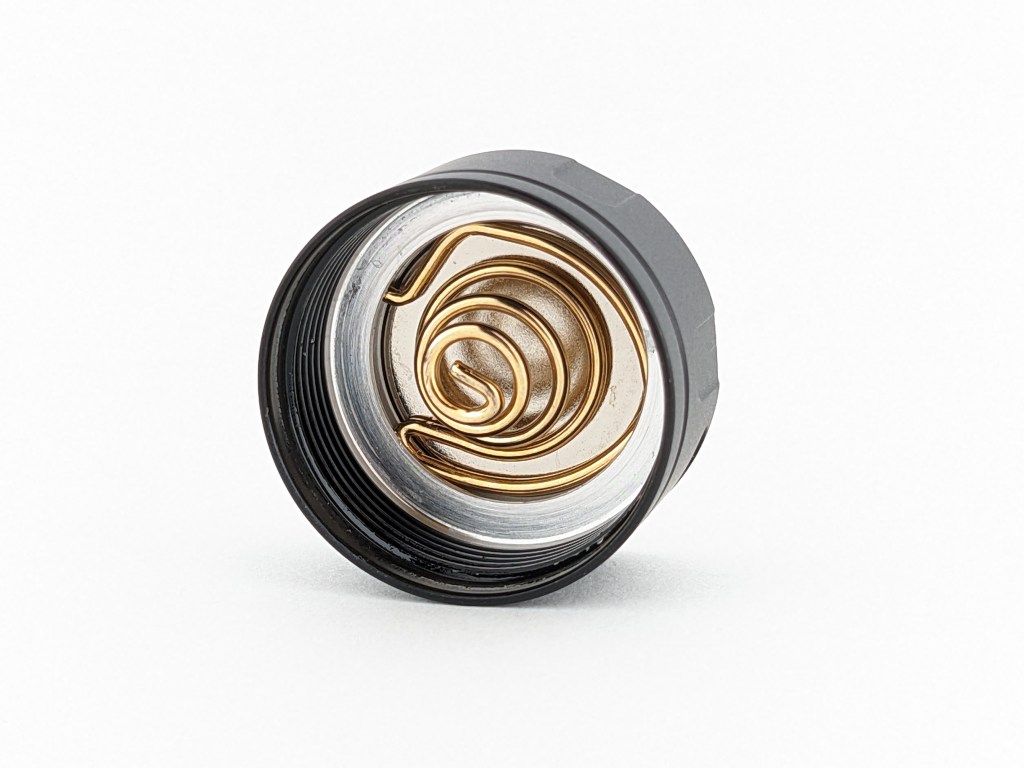
The build quality feels nice and is satisfactory overall. The anodizing is matte and just a bit chalky. The threads are small and shallow but they’re anodized and lubricated. Be careful not to cross-thread them when installing the tailcap. It’s very lightweight so it doesn’t have a dense feeling of quality like some other lights do. Unfortunately, I wasn’t able to unscrew the bezel or the head, even with grippy gloves, so they may be glued on.
Size & Measurements
Cyansky HS6R | Skilhunt H300(R) | Cyansky HS7R | Olight Perun 2 | Mini Maglite

| Measurement | Measured (mm) |
|---|---|
| Bezel Diameter | 22.0 |
| Maximum Head Diameter | 30.1 |
| Length | 104.9 |
| Switch Diameter | 10 |
| Switch Proudness | 1.6 |
| Lens Diameter | 20.0 |
| Lens Thickness | 1.5 |
| Reflector Diameter | 17.0 |
| Reflector Height | 9.8 |
| Reflector Hole Diameter | 7.0 |
| MCPCB Size | U/M |
| Body Tube Diameter (internal) | 19.0 |
| Body Tube Diameter (mode) | 21.8 |
| Body Tube Length | U/M |
| Ride Height (sticking out of pocket) | 16 |
| Pocket Clip Space (for pants material) | 3.4 |
| Pocket Clip Space (at mouth) | 2.6 |
| Pocket Clip Width | 7.0 |
| Pocket Clip Thickness | 1.0 |
| Pocket Clip Slot Width | 4.2 |
| Pocket Clip Slot Diameter | 20.6 |
| Slot Width (near tailcap) | 2.1 |
| Tailcap Diameter | 23.6 |
| Tailcap Length | 12.9 |
| Driver Diameter | U/M |
| Included Battery Length | 18.6 |
| Included Battery Diameter | 69.2 |
Weight without battery: 54g
Battery weight: 51g
Headband weight (no top strap): 35g
Headband top strap weight: 13g
Pocket clip weight: 6g
User Interface
This is a near-perfect UI with all the functions you need and few complicated extras.
The actions are # of presses followed by a hold (H) or a release (C). So, “1C” is one click and release. “2H” is two clicks but you hold down the last one.
| State | Action | Result |
|---|---|---|
| Off | 1C | On (mode memory) |
| Off | 1H | Moonlight |
| Off | 4C | Lockout |
| Moonlight | 1H | toggle the Moonlight setting |
| Any | 2C | Turbo |
| Turbo | 1H | toggle the Turbo setting |
| On | 1C | Off |
| On | 1H | Cycle mode |
| Any | 3C | Blinkies (mode memory) |
| Blinkies | 2C | Cycle mode (strobe, SOS, beacon) |
| Lockout | 1H | Momentary Moonlight |
| Lockout | 2C | Toggle lockout switch beacon on/off |
| Lockout | 4C | Unlock to Moonlight |
What they got right:
- Clicking turns the light on/off and holding the button changes modes. That’s the way almost all e-switch flashlights should work. It’s intuitive and quick.
- The common shortcuts work. Moonlight, Turbo, and blinkies all have shortcuts that work the same way as most other lights. They work very well and there’s no learning curve for these when switching lights.
- Shortcuts don’t memorize modes. Moonlight, Turbo, and blinkies all have their own direct shortcut, so you can access them quickly without overriding your memorized mode.
- There are 3 middle brightness levels plus Moonlight and Turbo, which is the right amount. Enough to have options but not so many that it’s cumbersome to use.
- Lockout is 4 clicks. That’s complex enough not to be done or un-done by accident, but is still easy and quick.
What they got wrong:
- The secondary Turbo and Moonlight are superfluous and prevent going from Moonlight to Low mode. When I want Turbo, I want the brightest mode. When I want Moonlight, I want the dimmest mode. Having a slightly dimmer Turbo and a slightly brighter Moonlight is not useful to me. Sometimes I want to go from Moonlight to Low mode, but here I can’t because 1H just goes to the slightly brighter moonlight mode. This isn’t a huge deal, but it’s annoying.
- Beacon blinks too fast. It’s a 50% on, 50% off duty cycle every 1 second. Most beacon modes blink the LED on for 1-200 milliseconds every 3-5 seconds and that makes them last much longer and be less bothersome to others.
Emitter & Beam
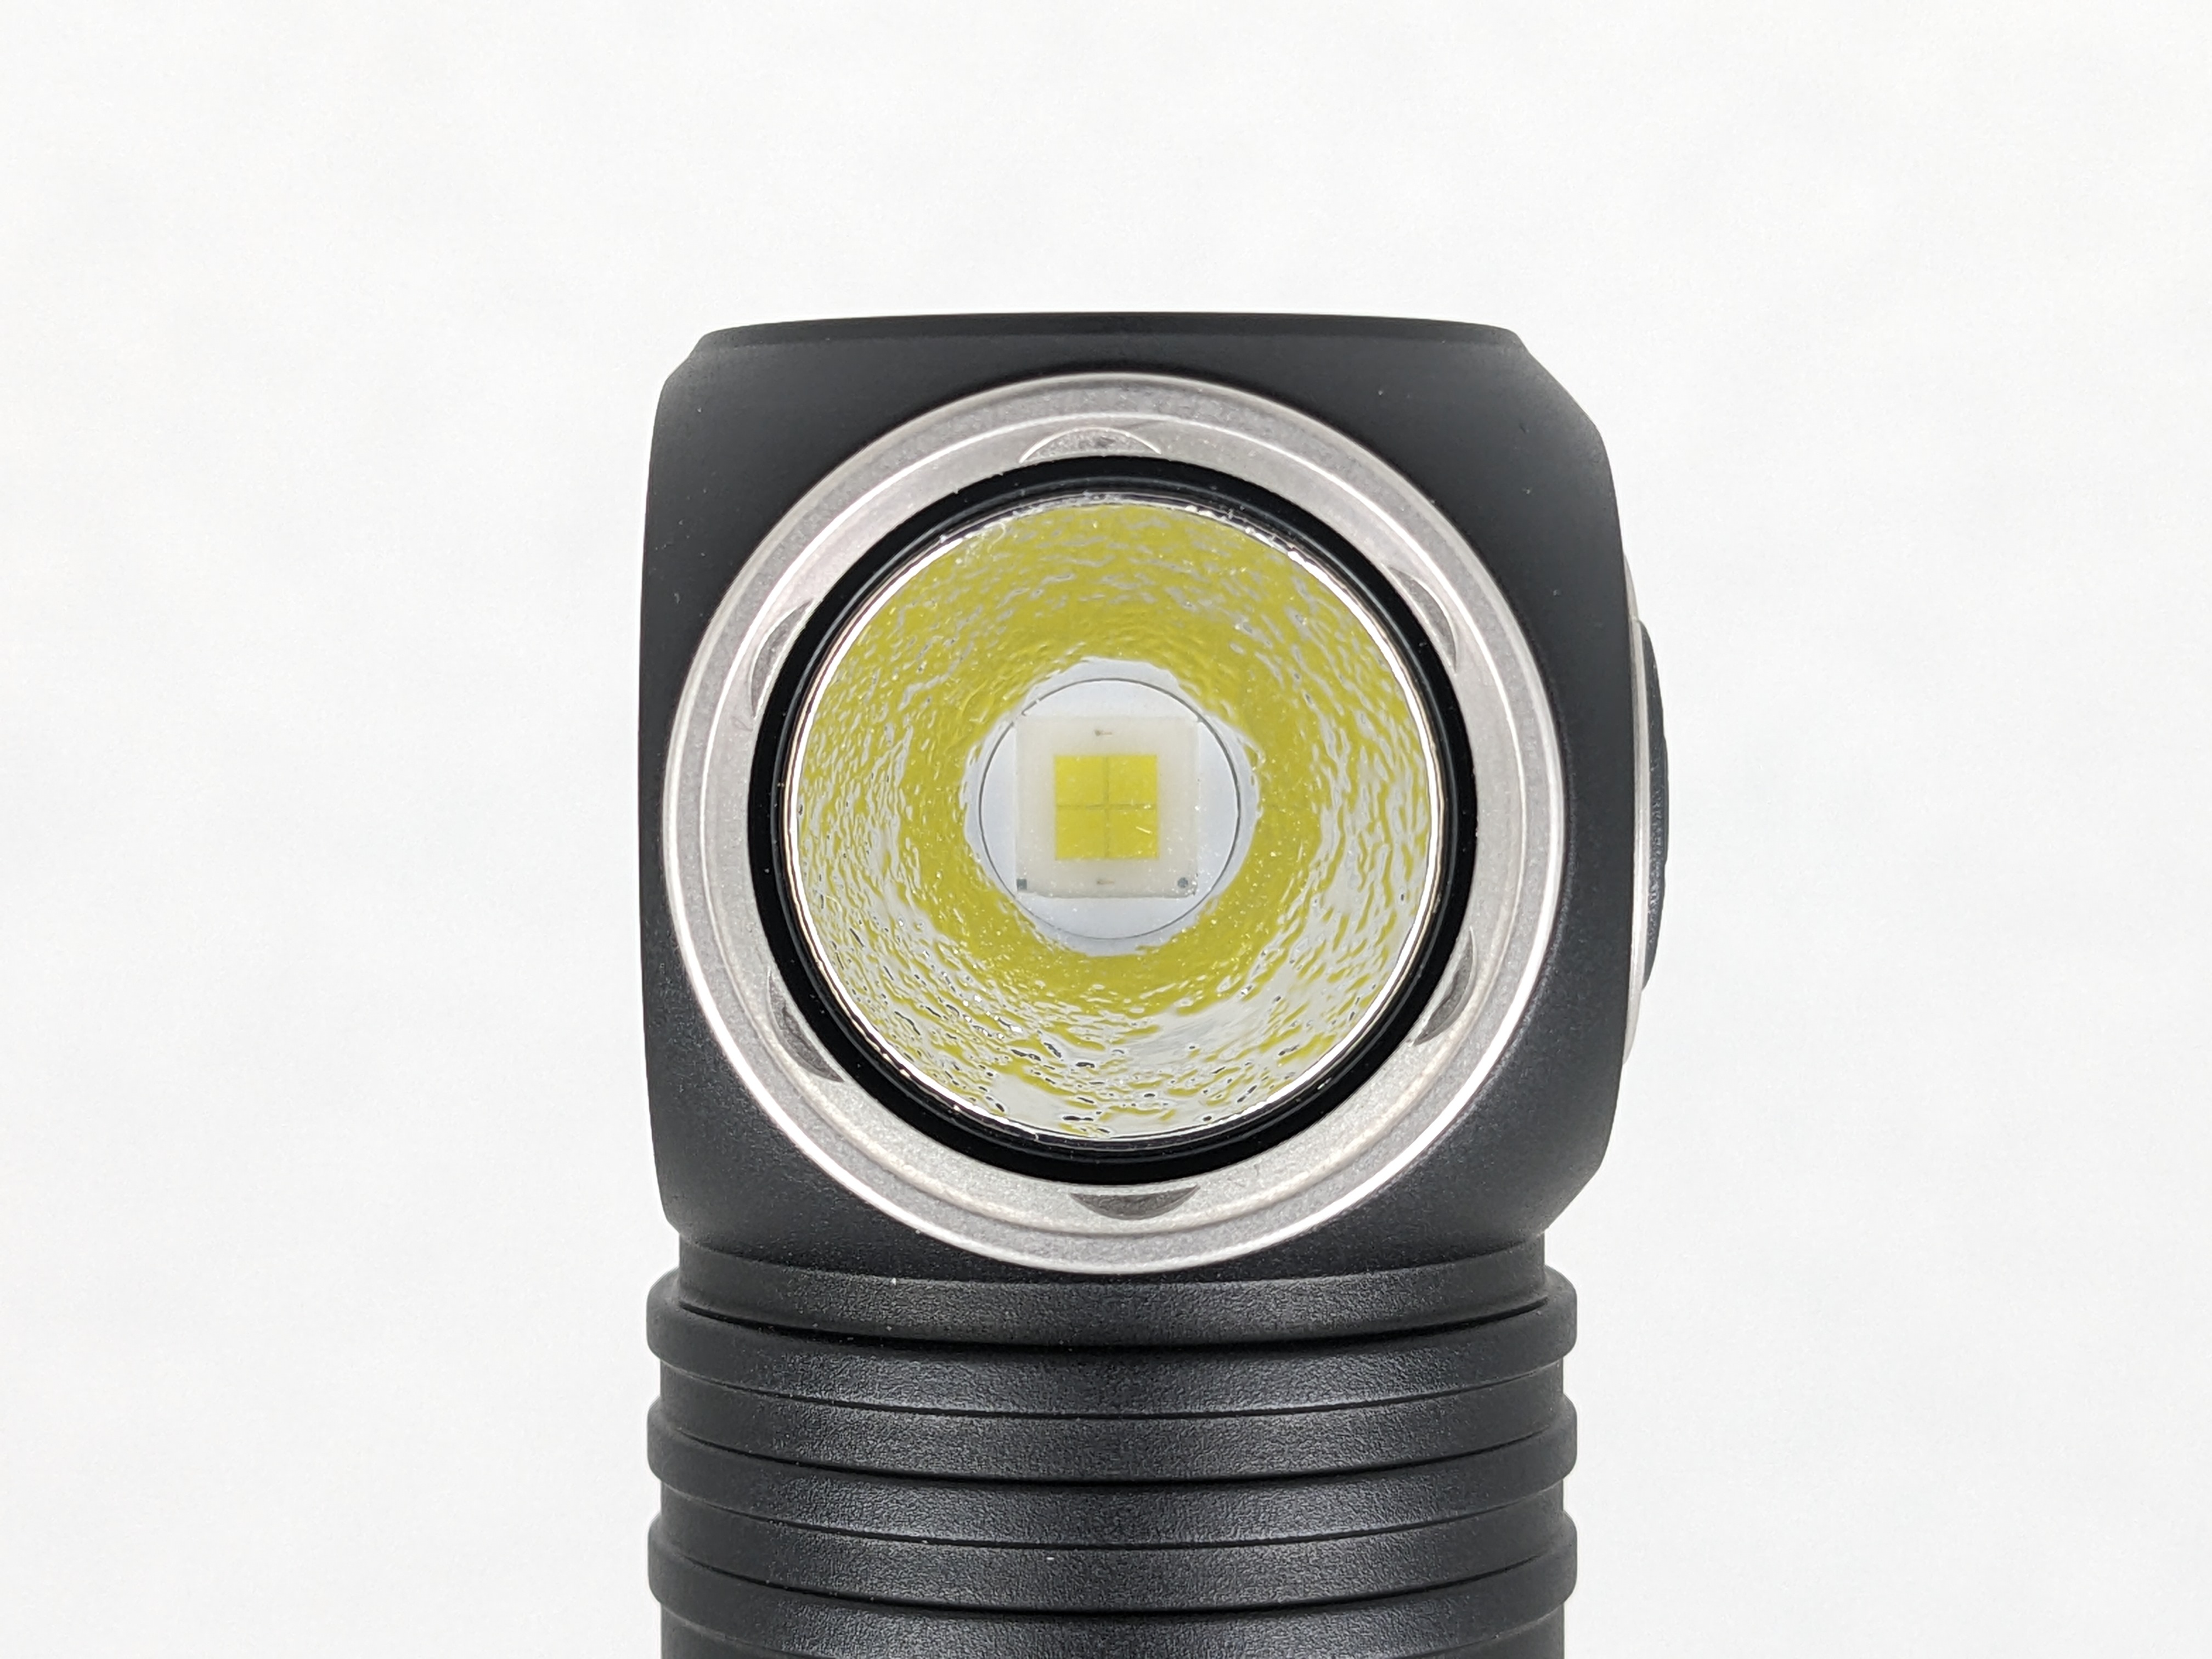
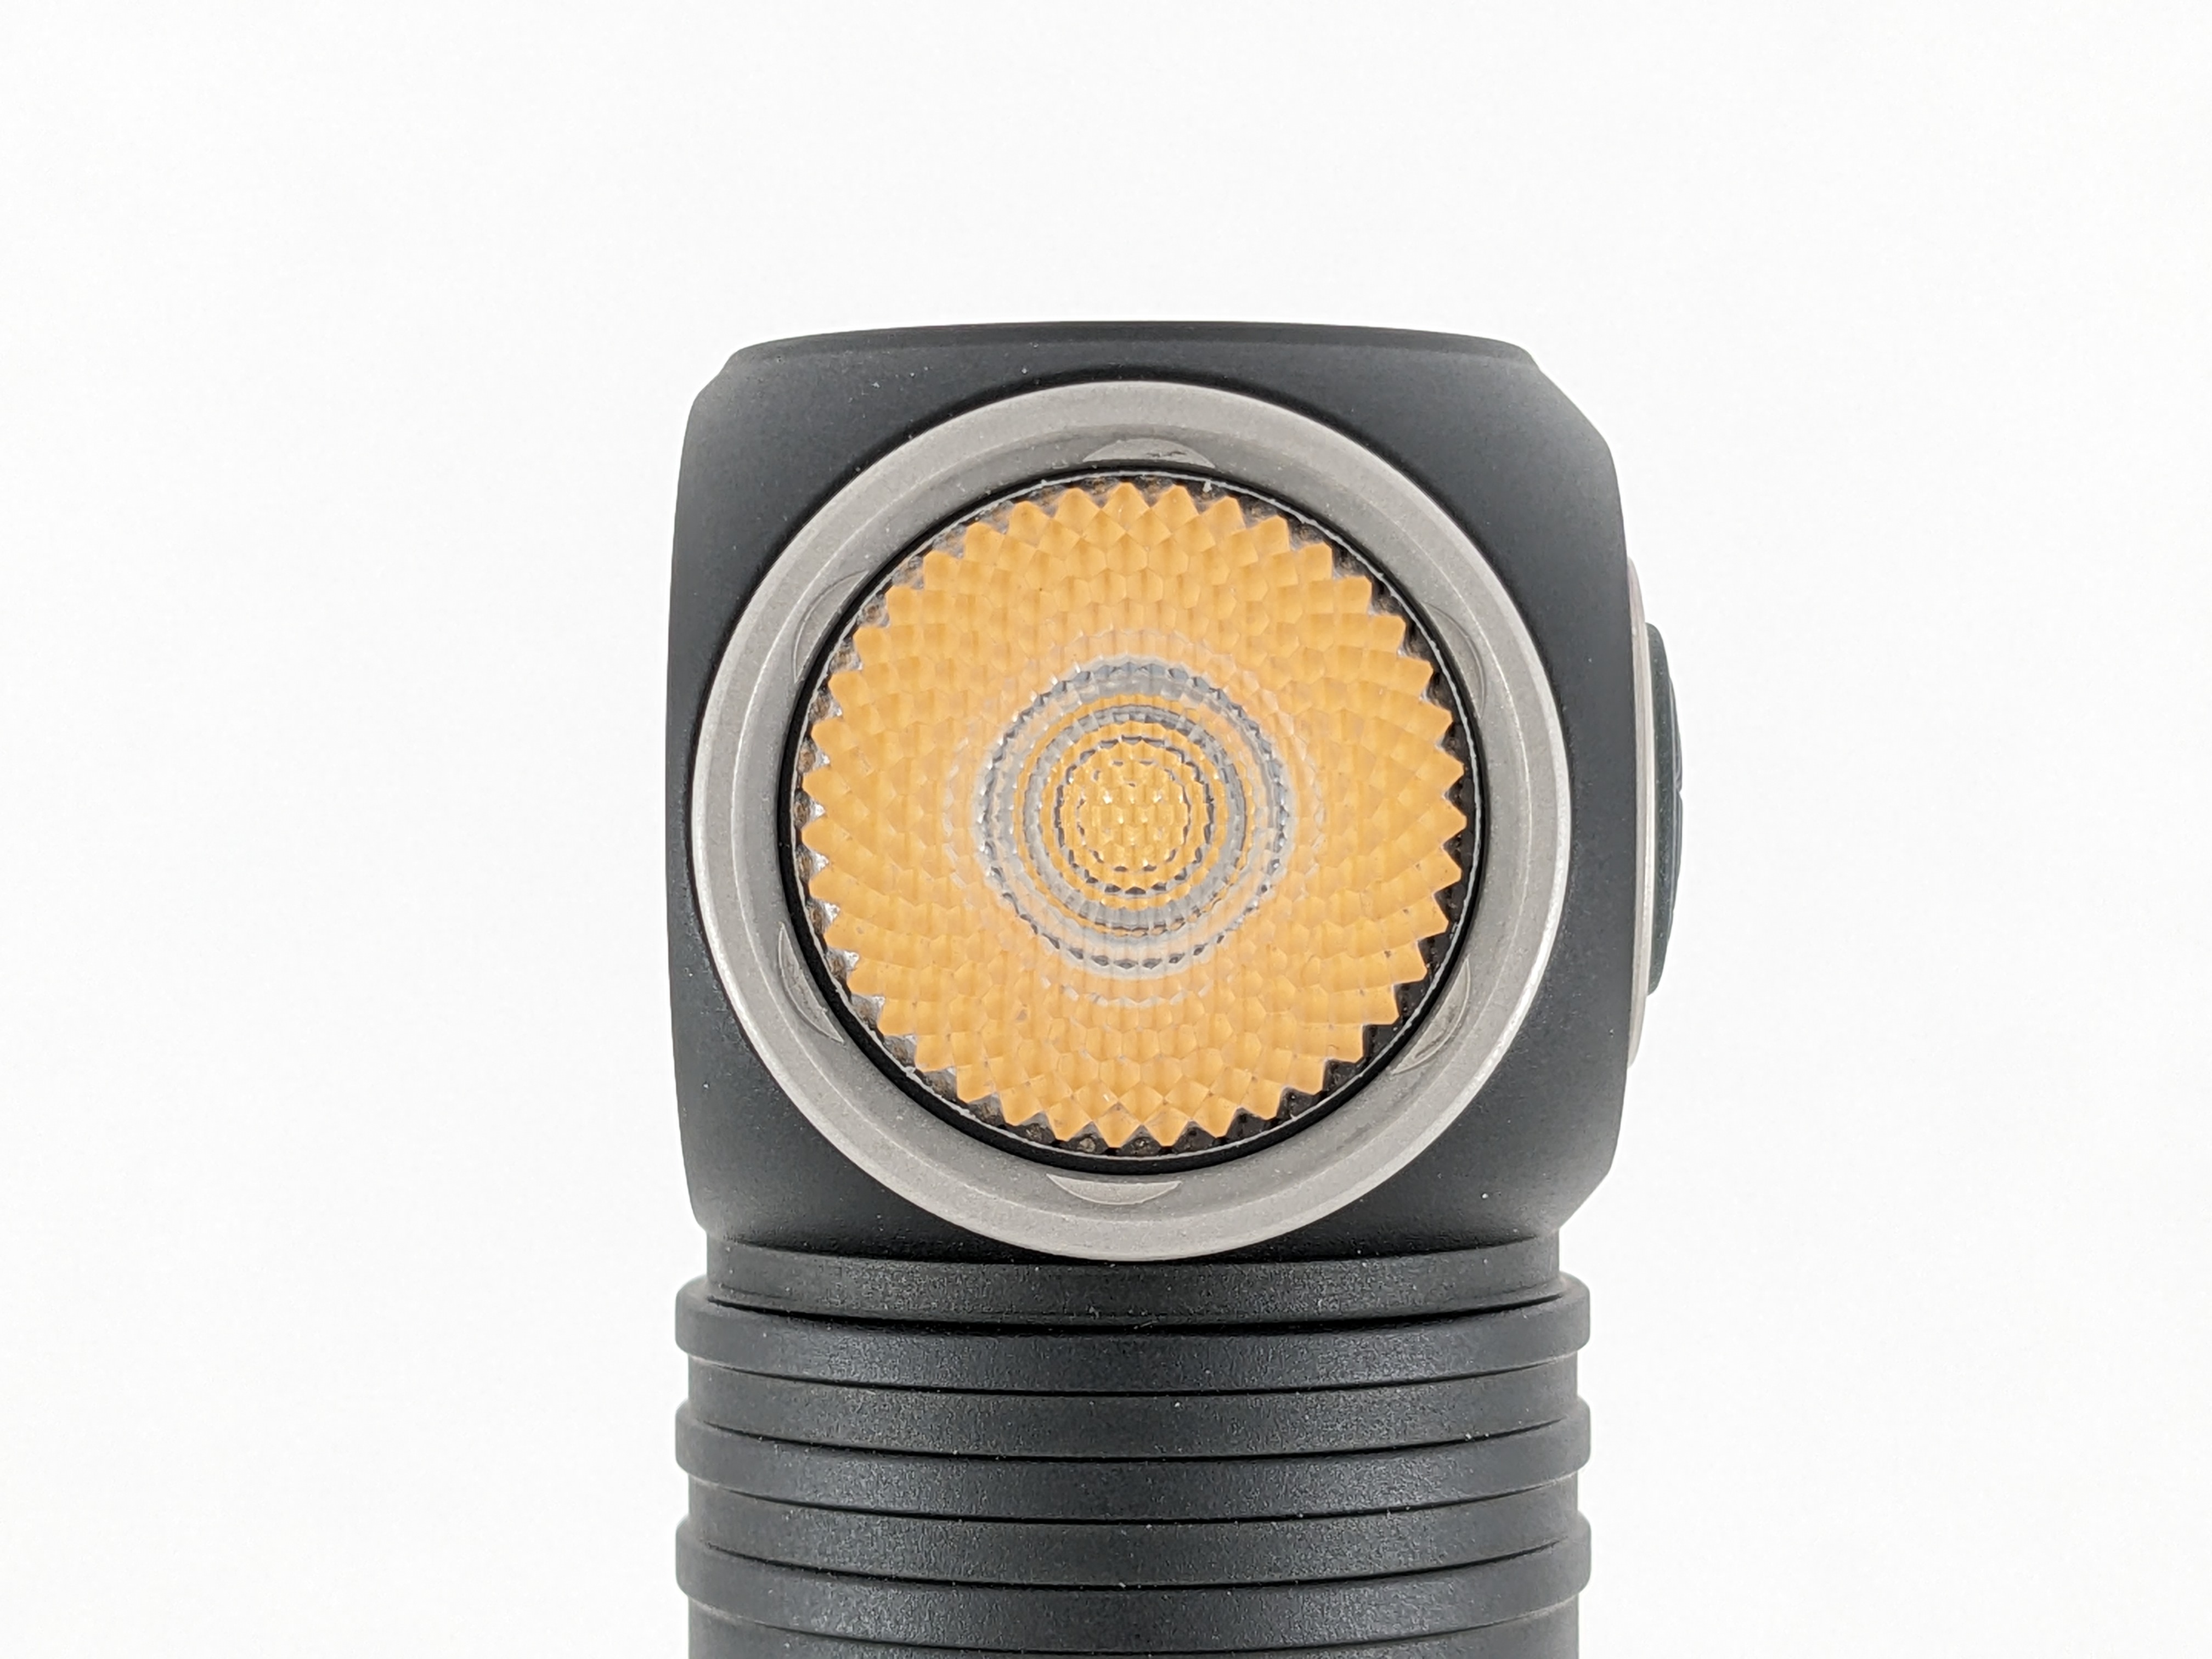
H300 is available in two optical flavors, H300 (a beaded plastic TIR optic) and H300R (a reflector, shown here). It’s also available with a few different emitter options. My other sample is an H300 with Nichia 144A, but for this sample, I chose H300R with XHP50.3-HI cool white for more brightness and throw.
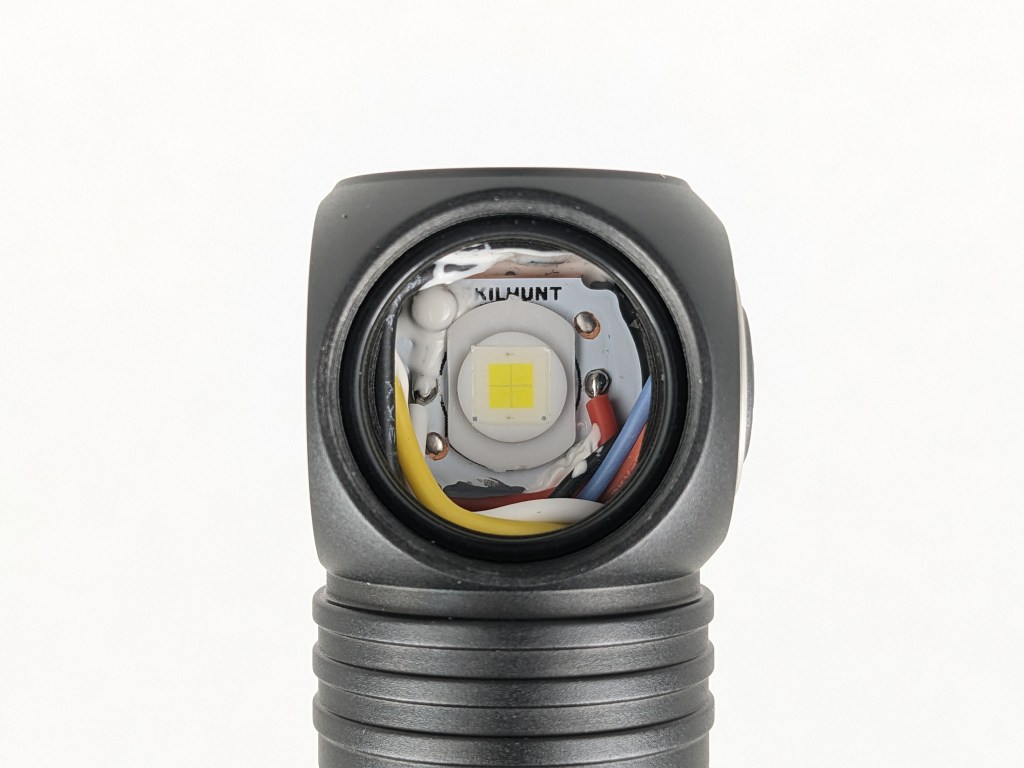
I was able to remove the bezel using a grippy glove. There are a lot of wires going on inside and I wasn’t able to get a good MCPCB measurement.
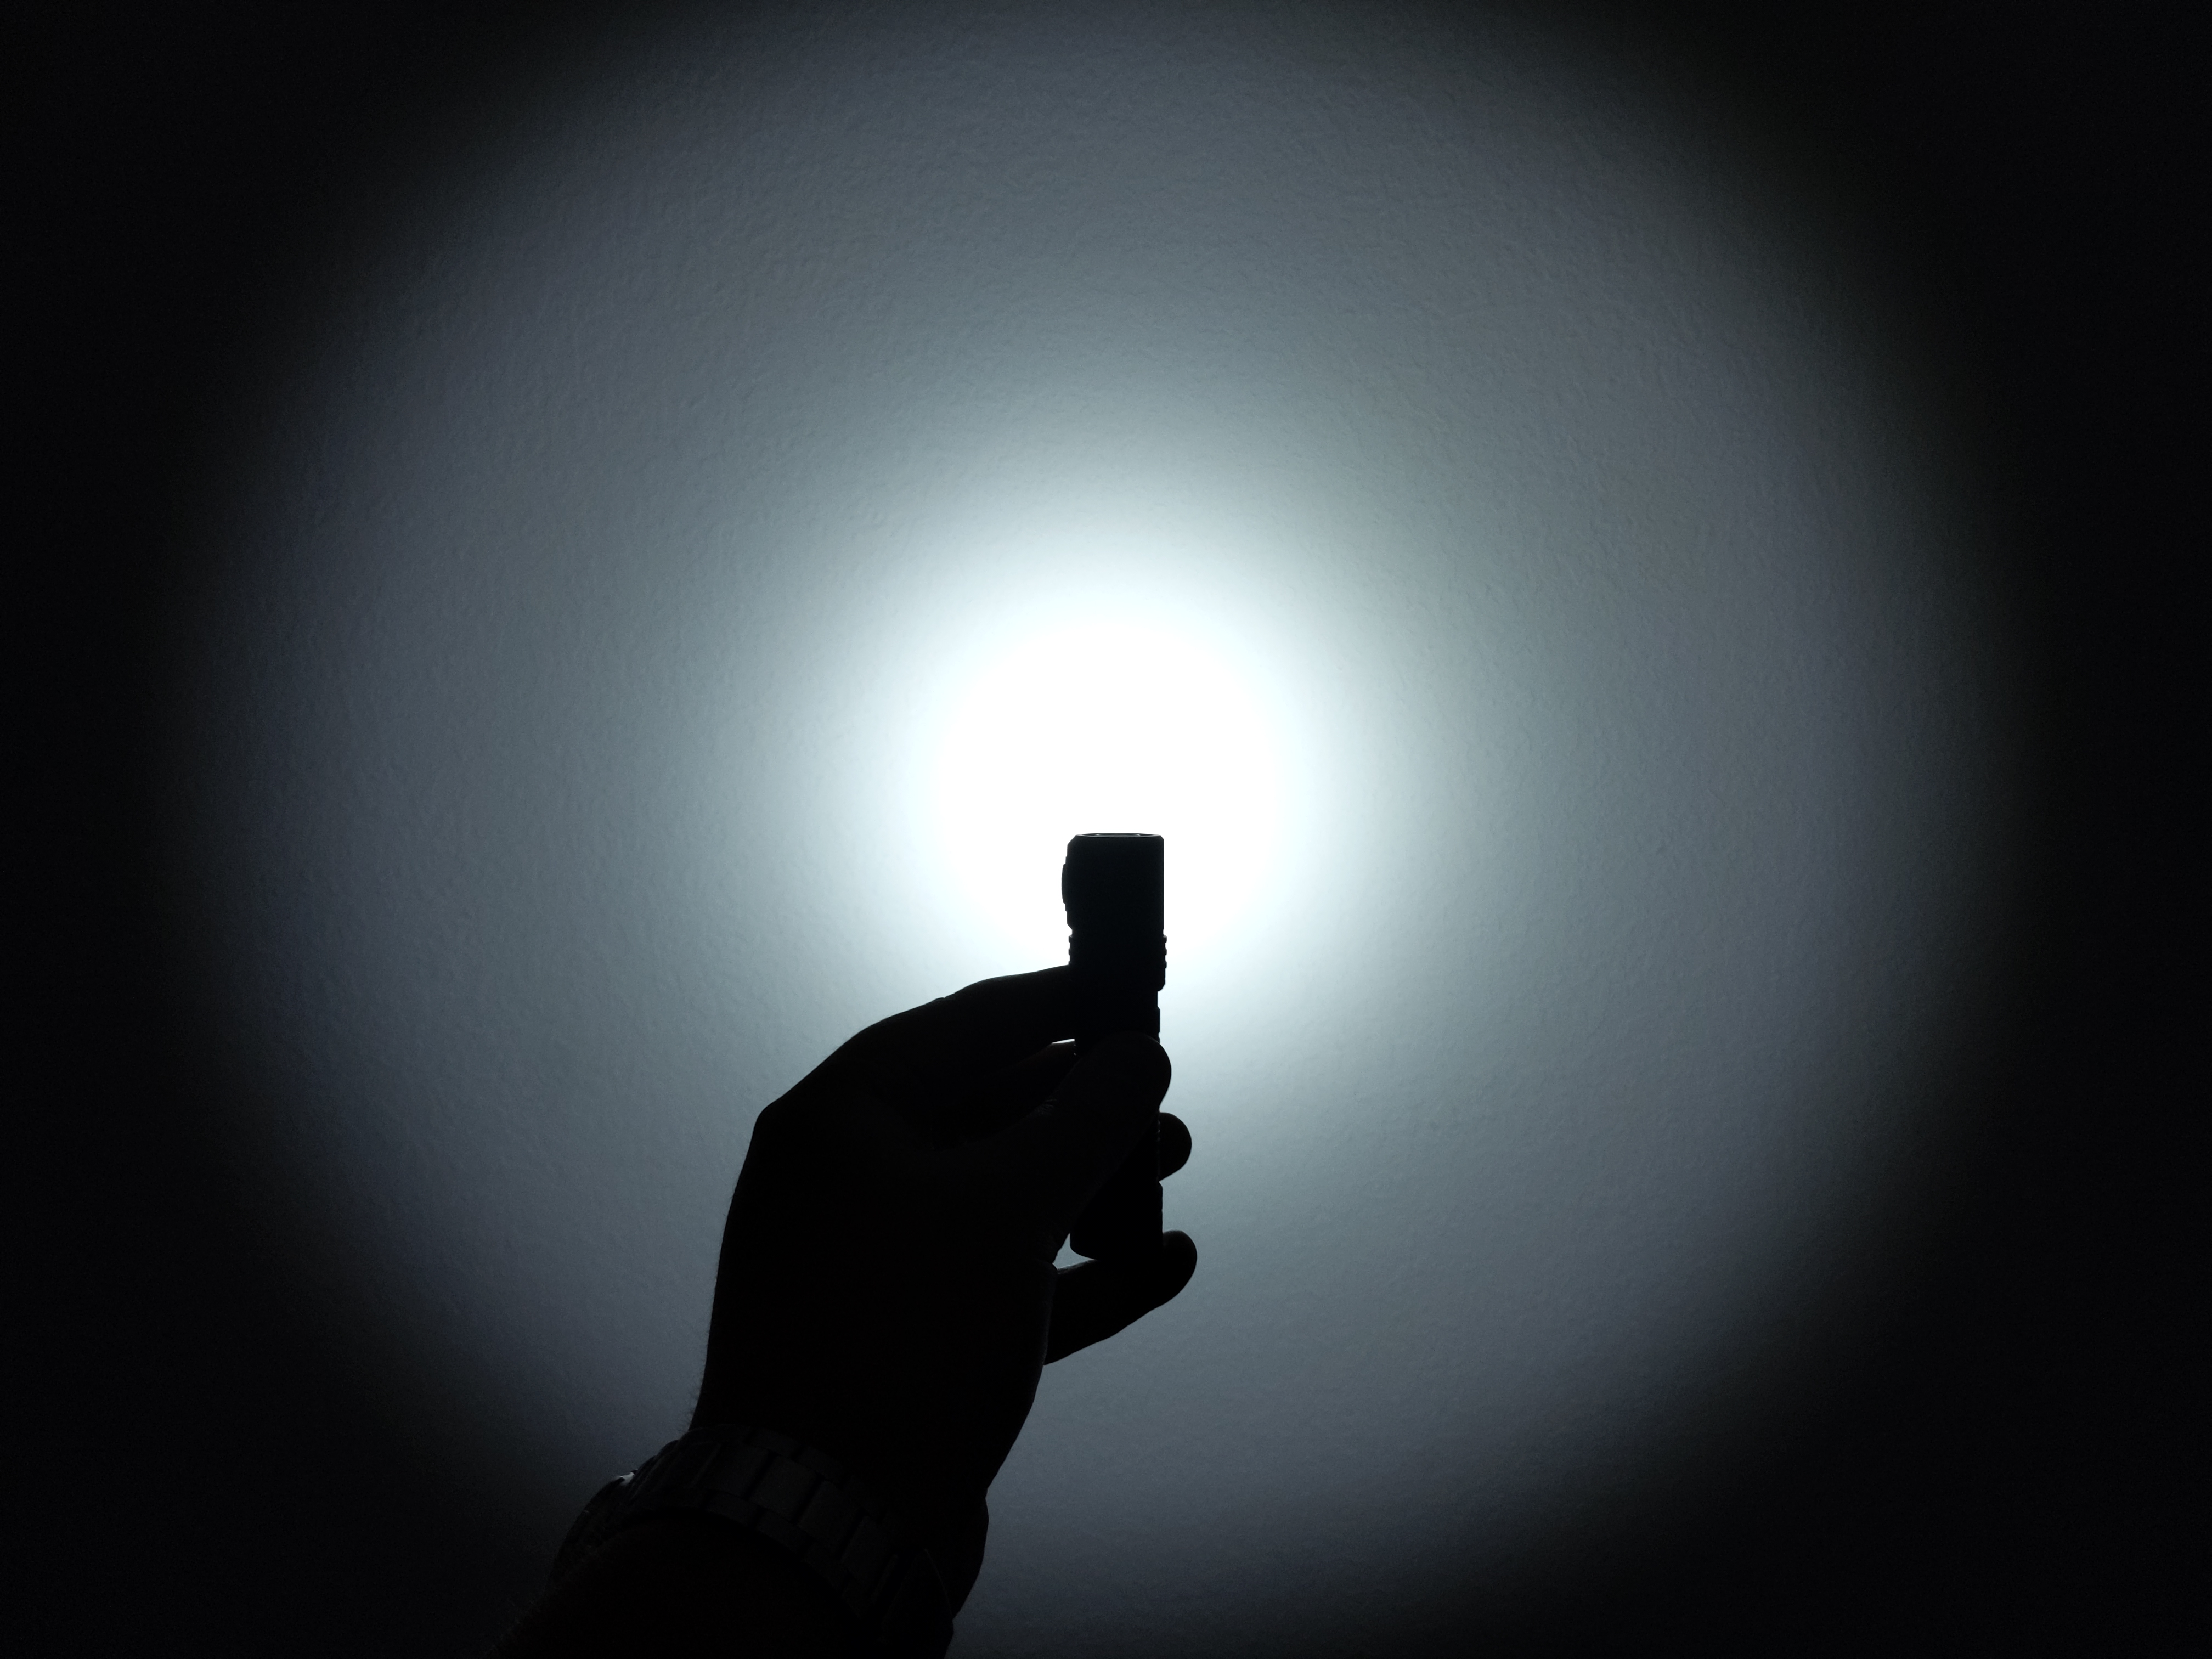

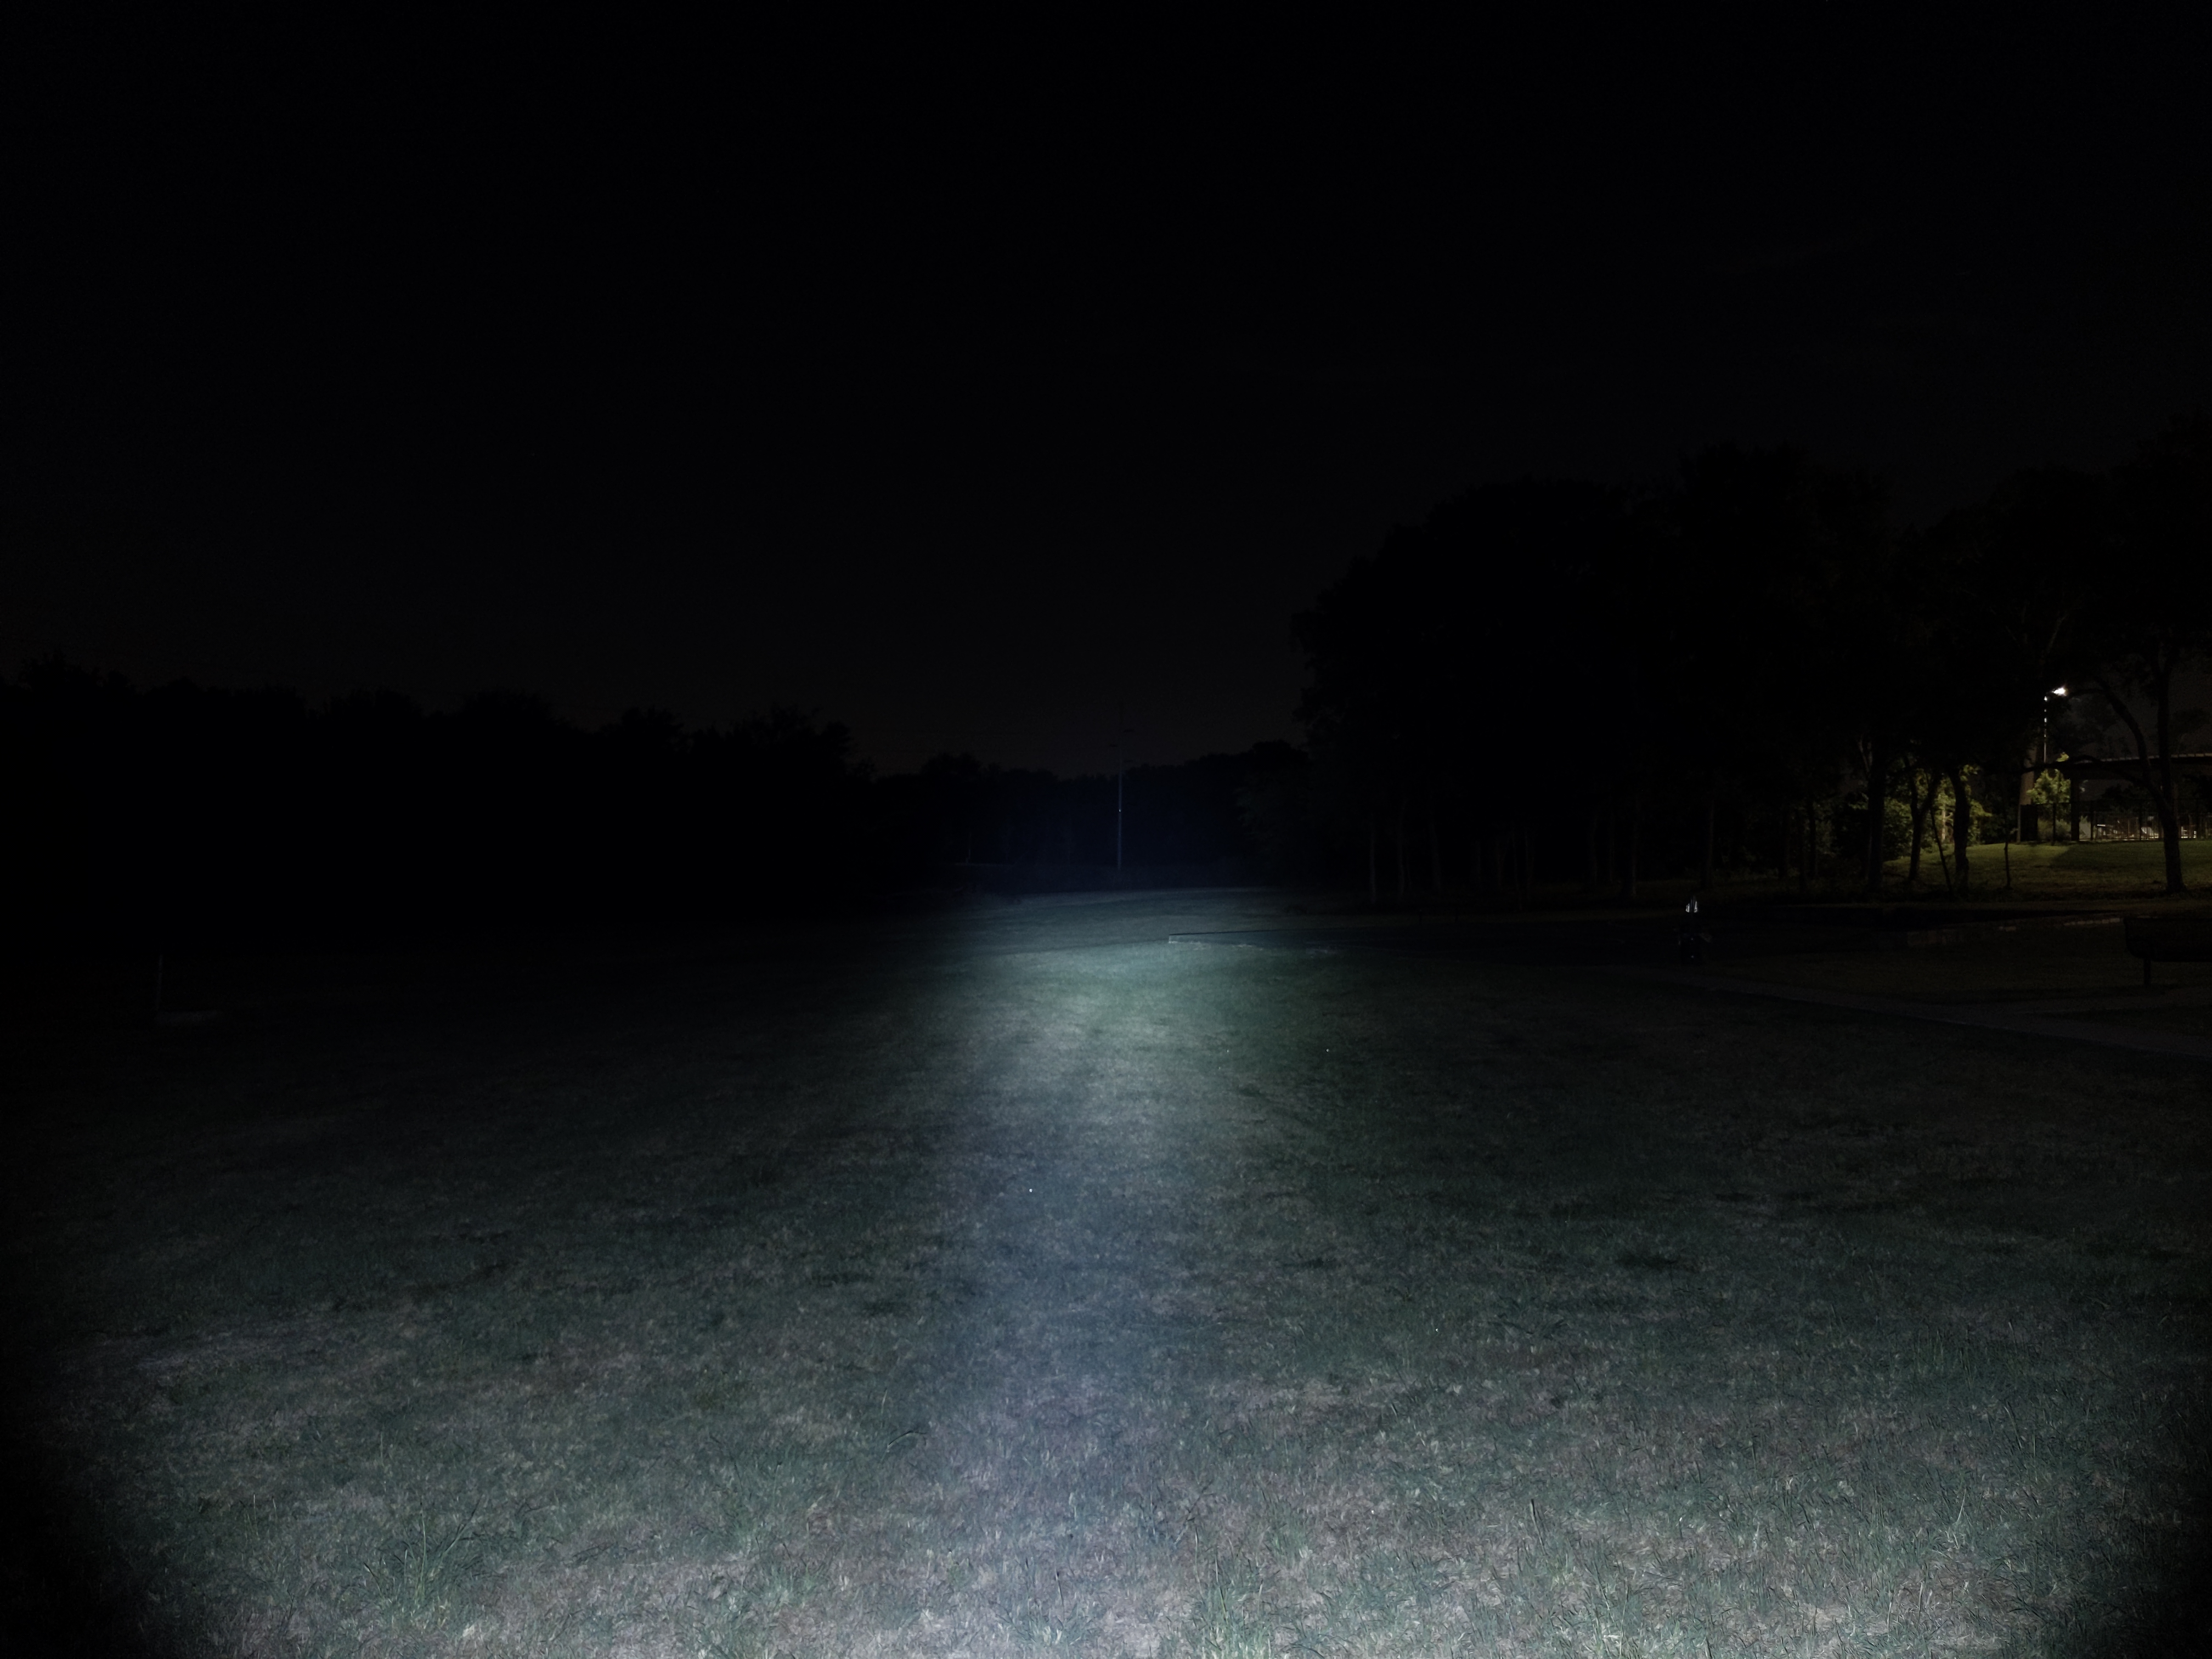
This H300R with it’s reflector and domeless LED produces a significantly narrower beam than most headlamps. It’s better for seeing things at distance or while using a lower mode. It’s also great for keeping light OUT of other people’s eyes, because you can see exactly where the edge of the beam is.
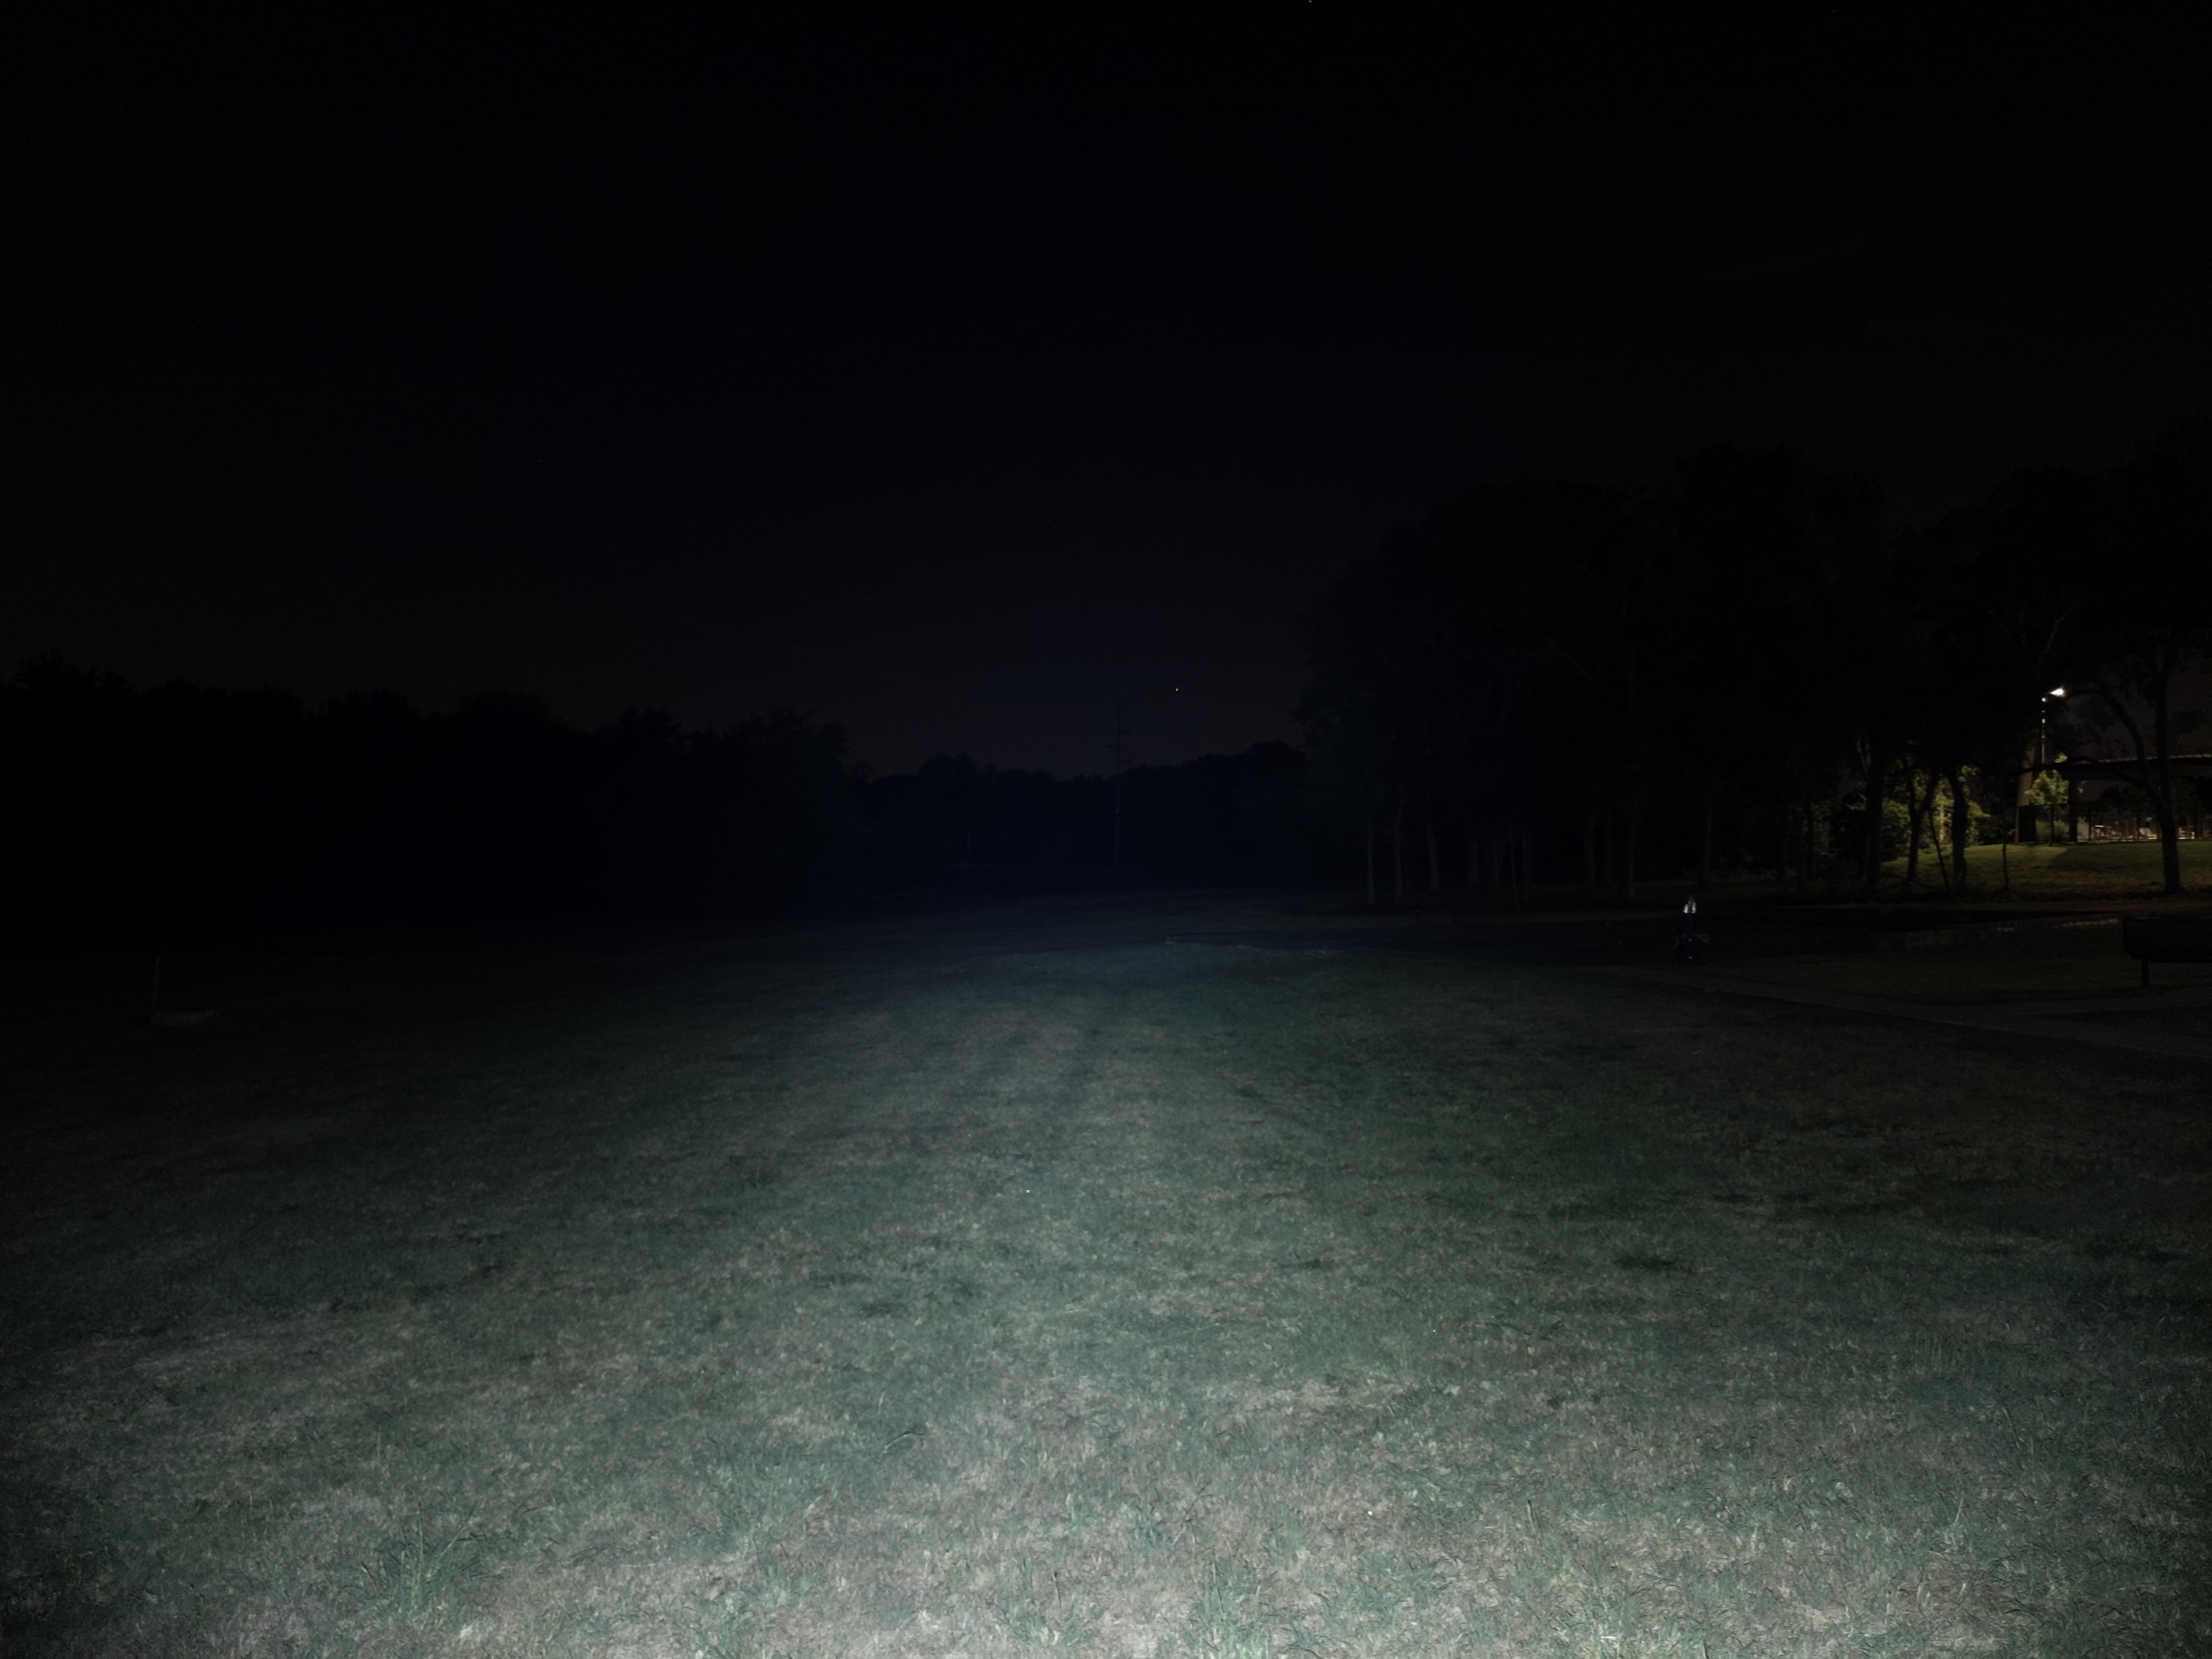
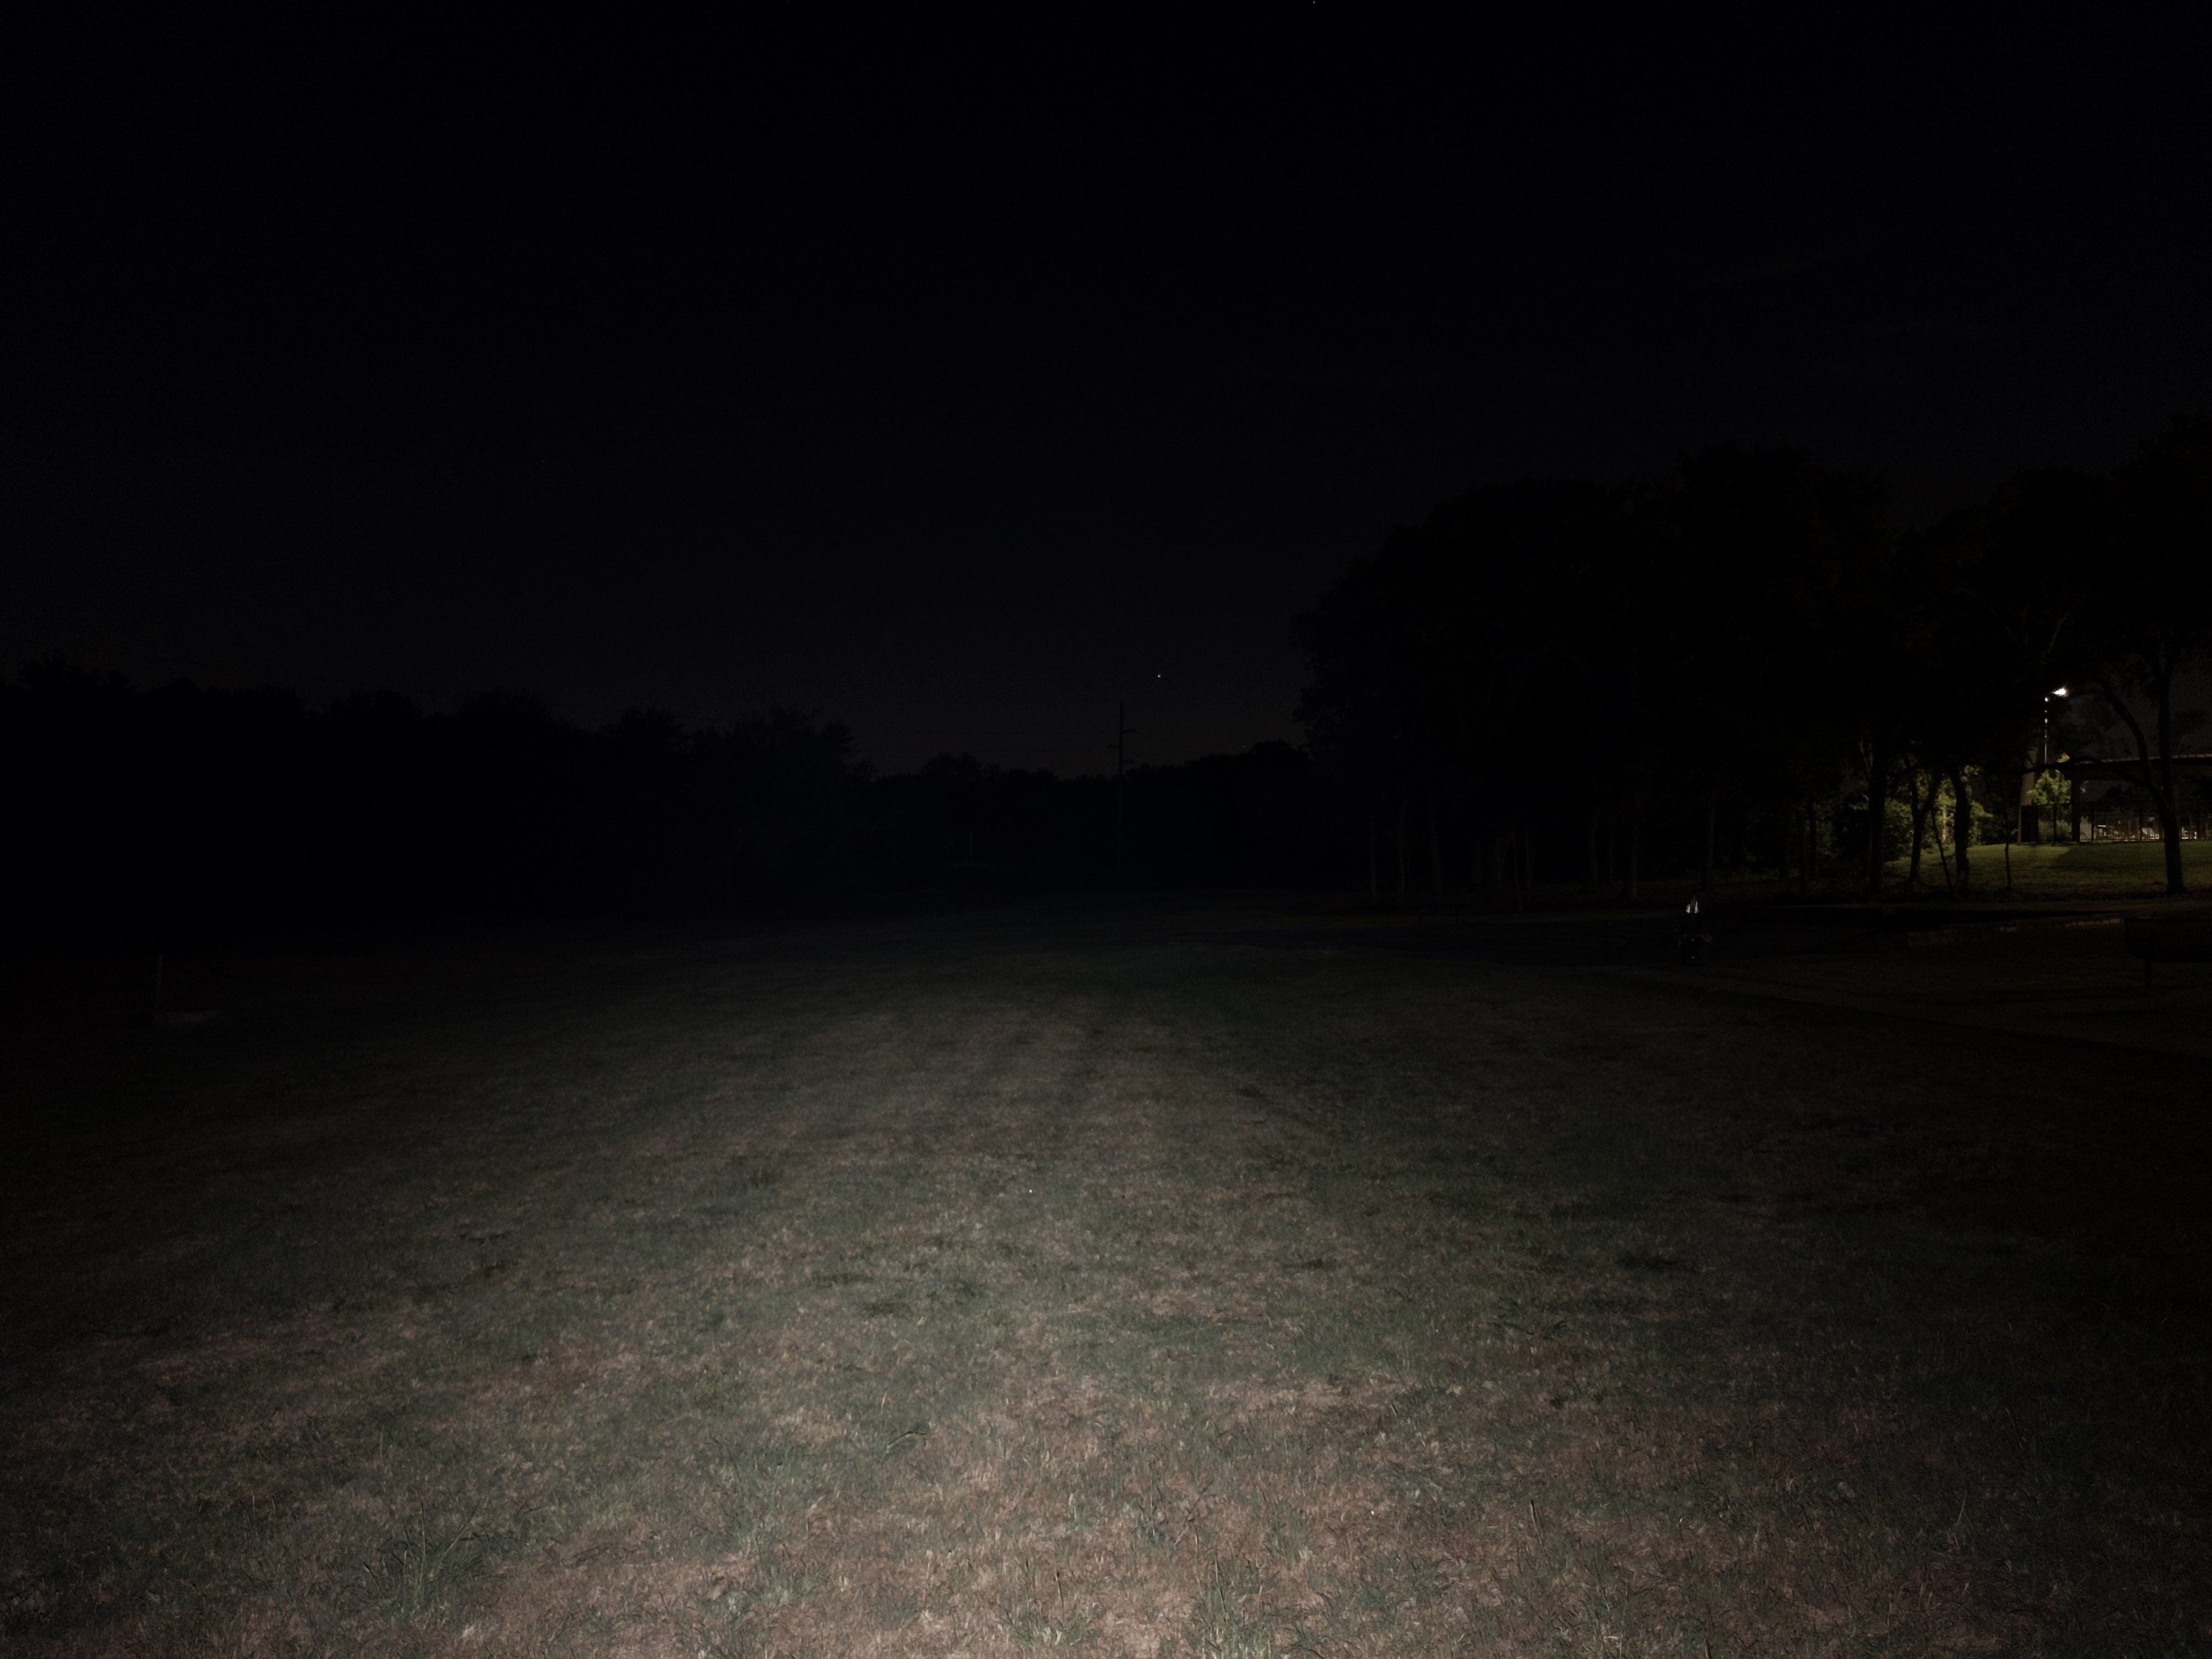
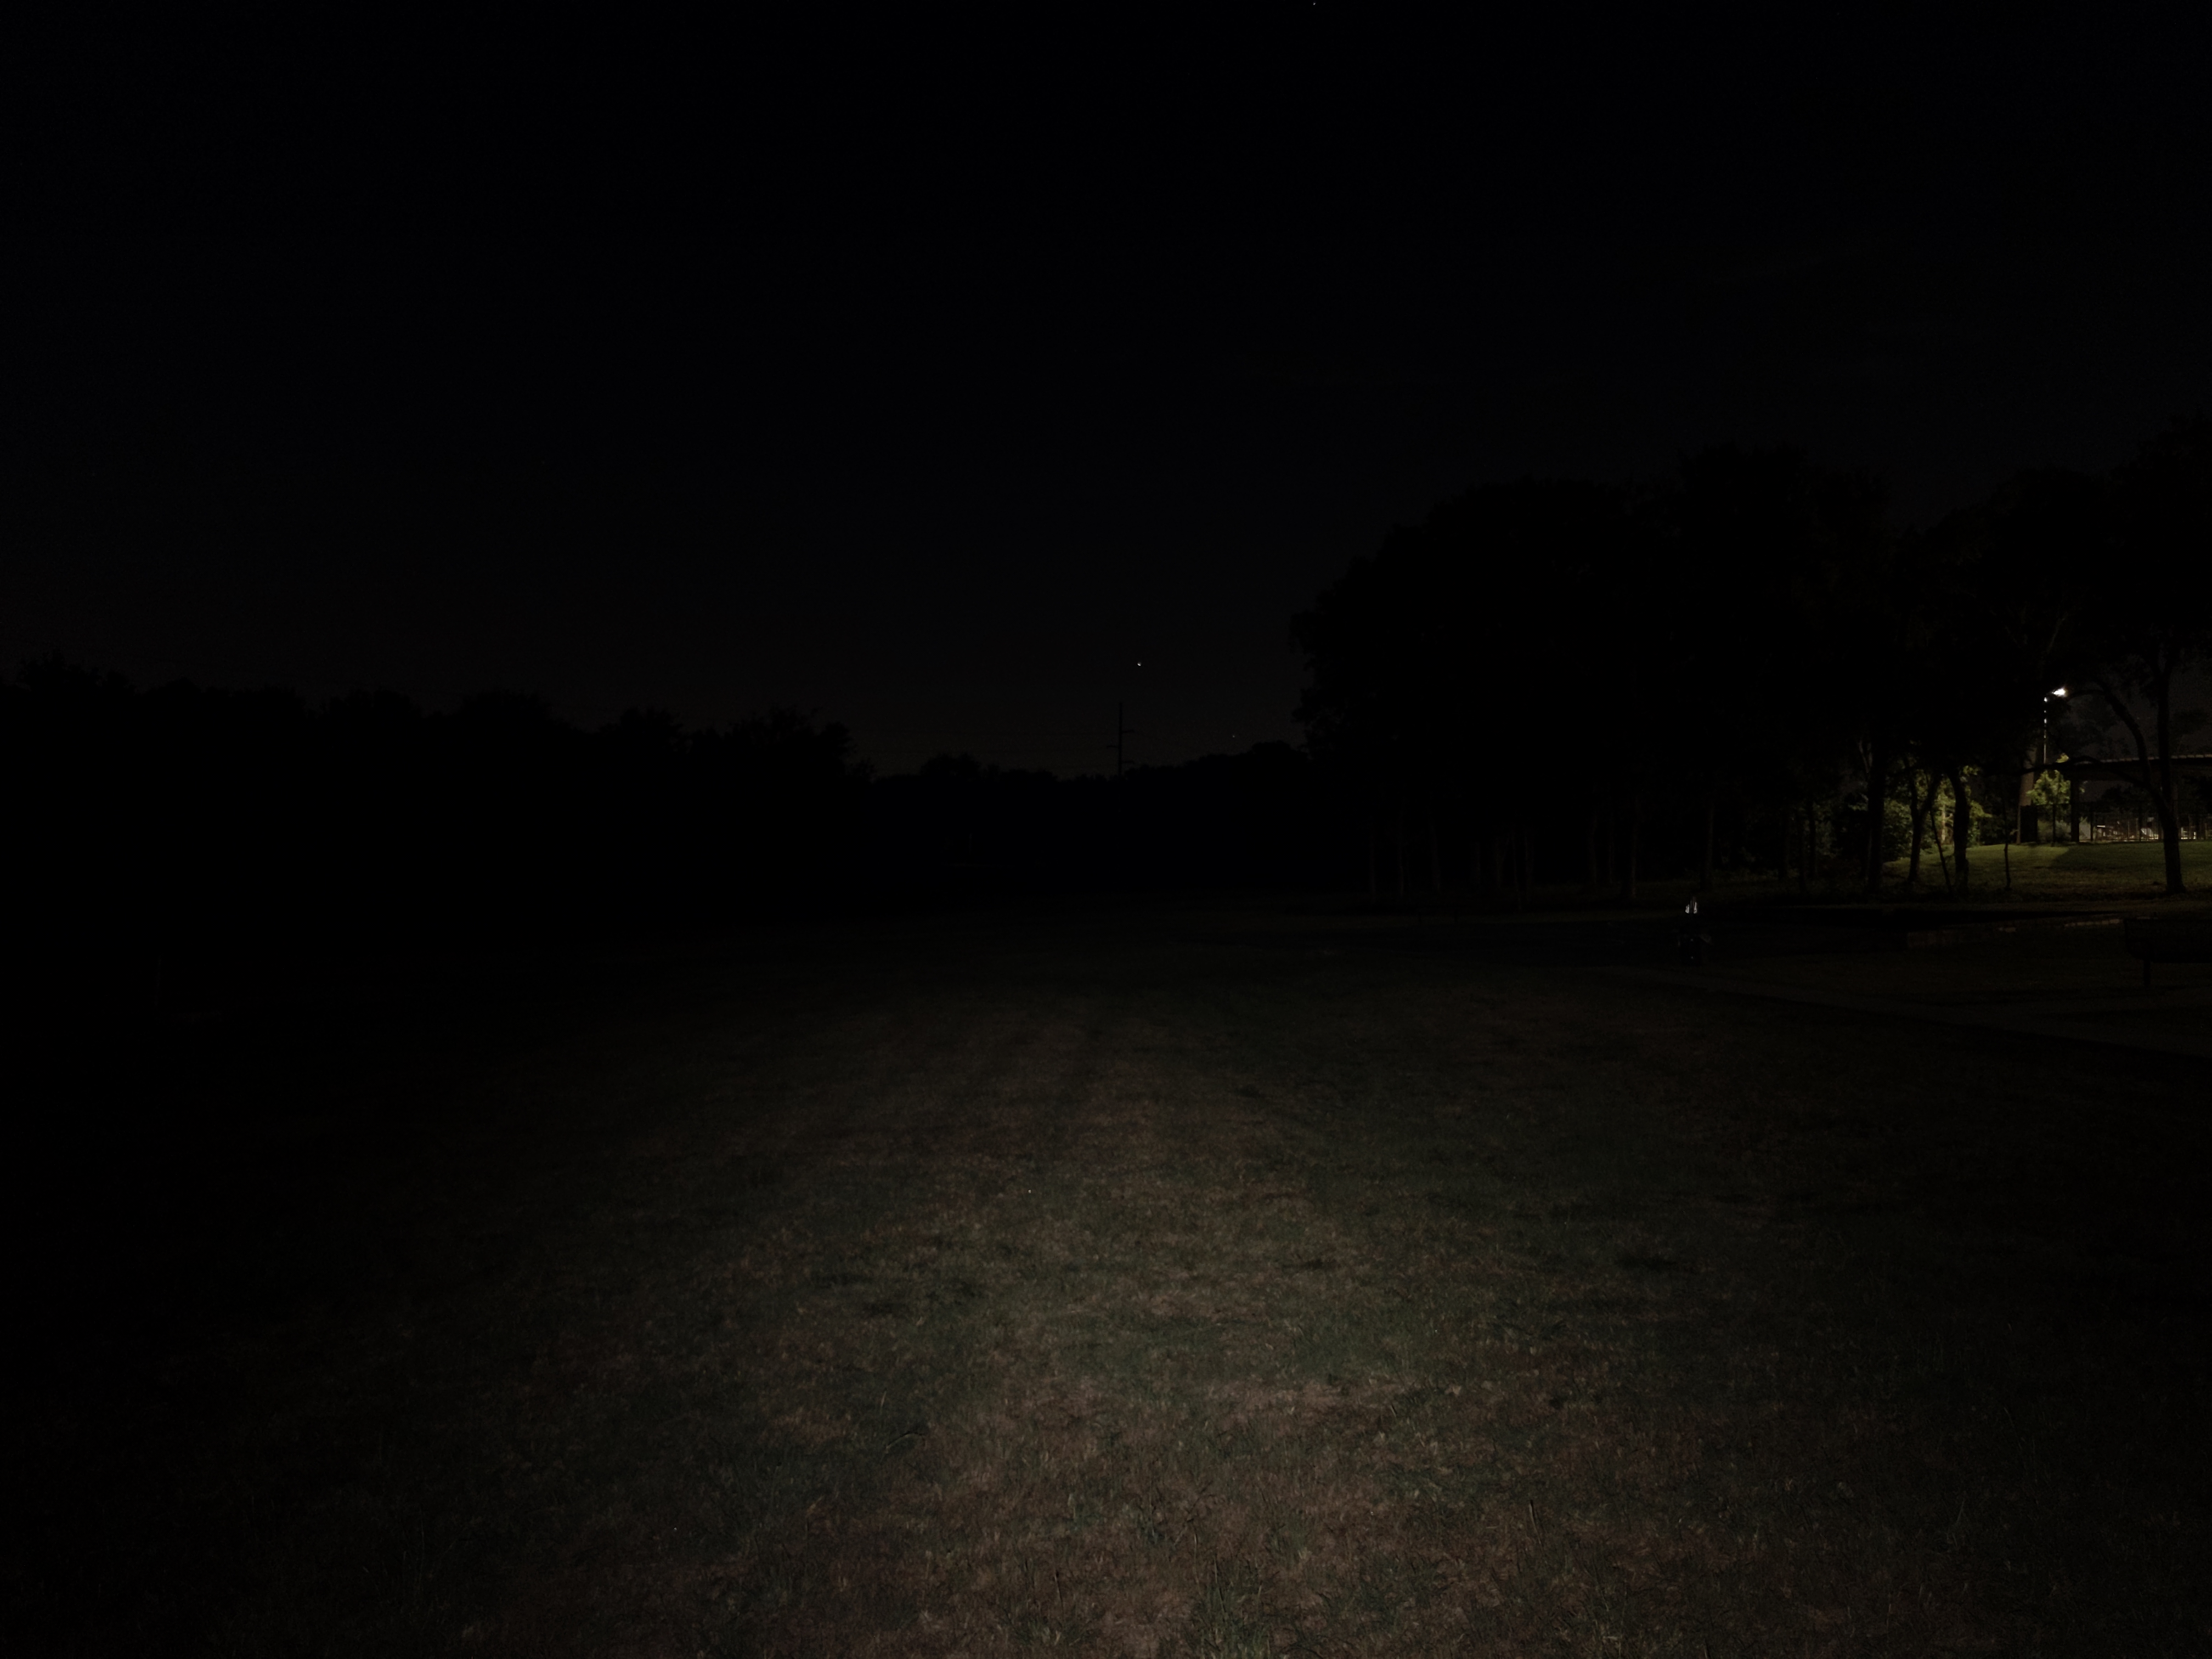
In the beamshots below, the basketball goal to the right of the hotspot is 39M away and the power pole in the center is 185M away.



Mode Chart
Disclaimer: All of my measurements are taken at turn-on. Lumen measurements were taken on a Texas Ace 3.5″ Lumen Tube. A candela measurement was taken at 10 meters with an Opple Light Master III on the highest brightness, and other candela figures were calculated relative to that. CRI, CCT, & DUV data was taken for each mode from a few feet away at the center of the hotspot with the Opple Light Master and Waveform DUV Calculator. Runtime tests were performed with the Ceilingbounce app on my smartphone. All of these tests were performed with a fully charged included battery unless otherwise specified. I cannot measure moonlight directly, so moonlight readings are calculated based on the brightness relative to the next-lowest mode. None of this is professional equipment, so take all of these measurements with a grain of salt.
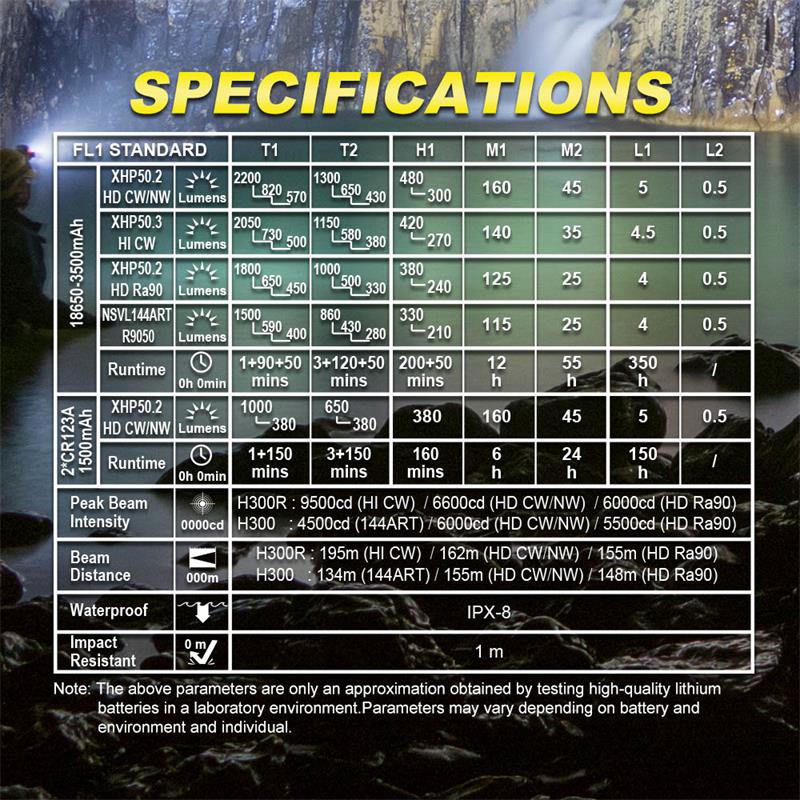
Above are the official specs, followed by my own measurements below.
| Level | Lumens | Candela | Throw (Meters) |
| Turbo | 2100 | 11000 | 210 |
| High | 400 | 2095 | 92 |
| Medium | 140 | 733 | 54 |
| Low | 28 | 147 | 24 |
| Moonlight | 0.6 | N/A | N/A |
Note: I chose not to measure L1 or T2 because I think they are superfluous. Virtually everyone buying this light will use the brighter Turbo and the dimmer Moonlight.
Moonlight: I find that ~0.5lm is just right for moonlight. 0.1lm and below is too dim to be useful and above 1.0lm is too bright for some situations. The 0.6lm moonlight here is great.
Mode Spacing: is fine. If I had to change something, I’d delete the secondary Moonlight and Turbo modes and then spread the middle modes out a bit more. High should be about 500lm and Medium should be about 200lm.
Runtime
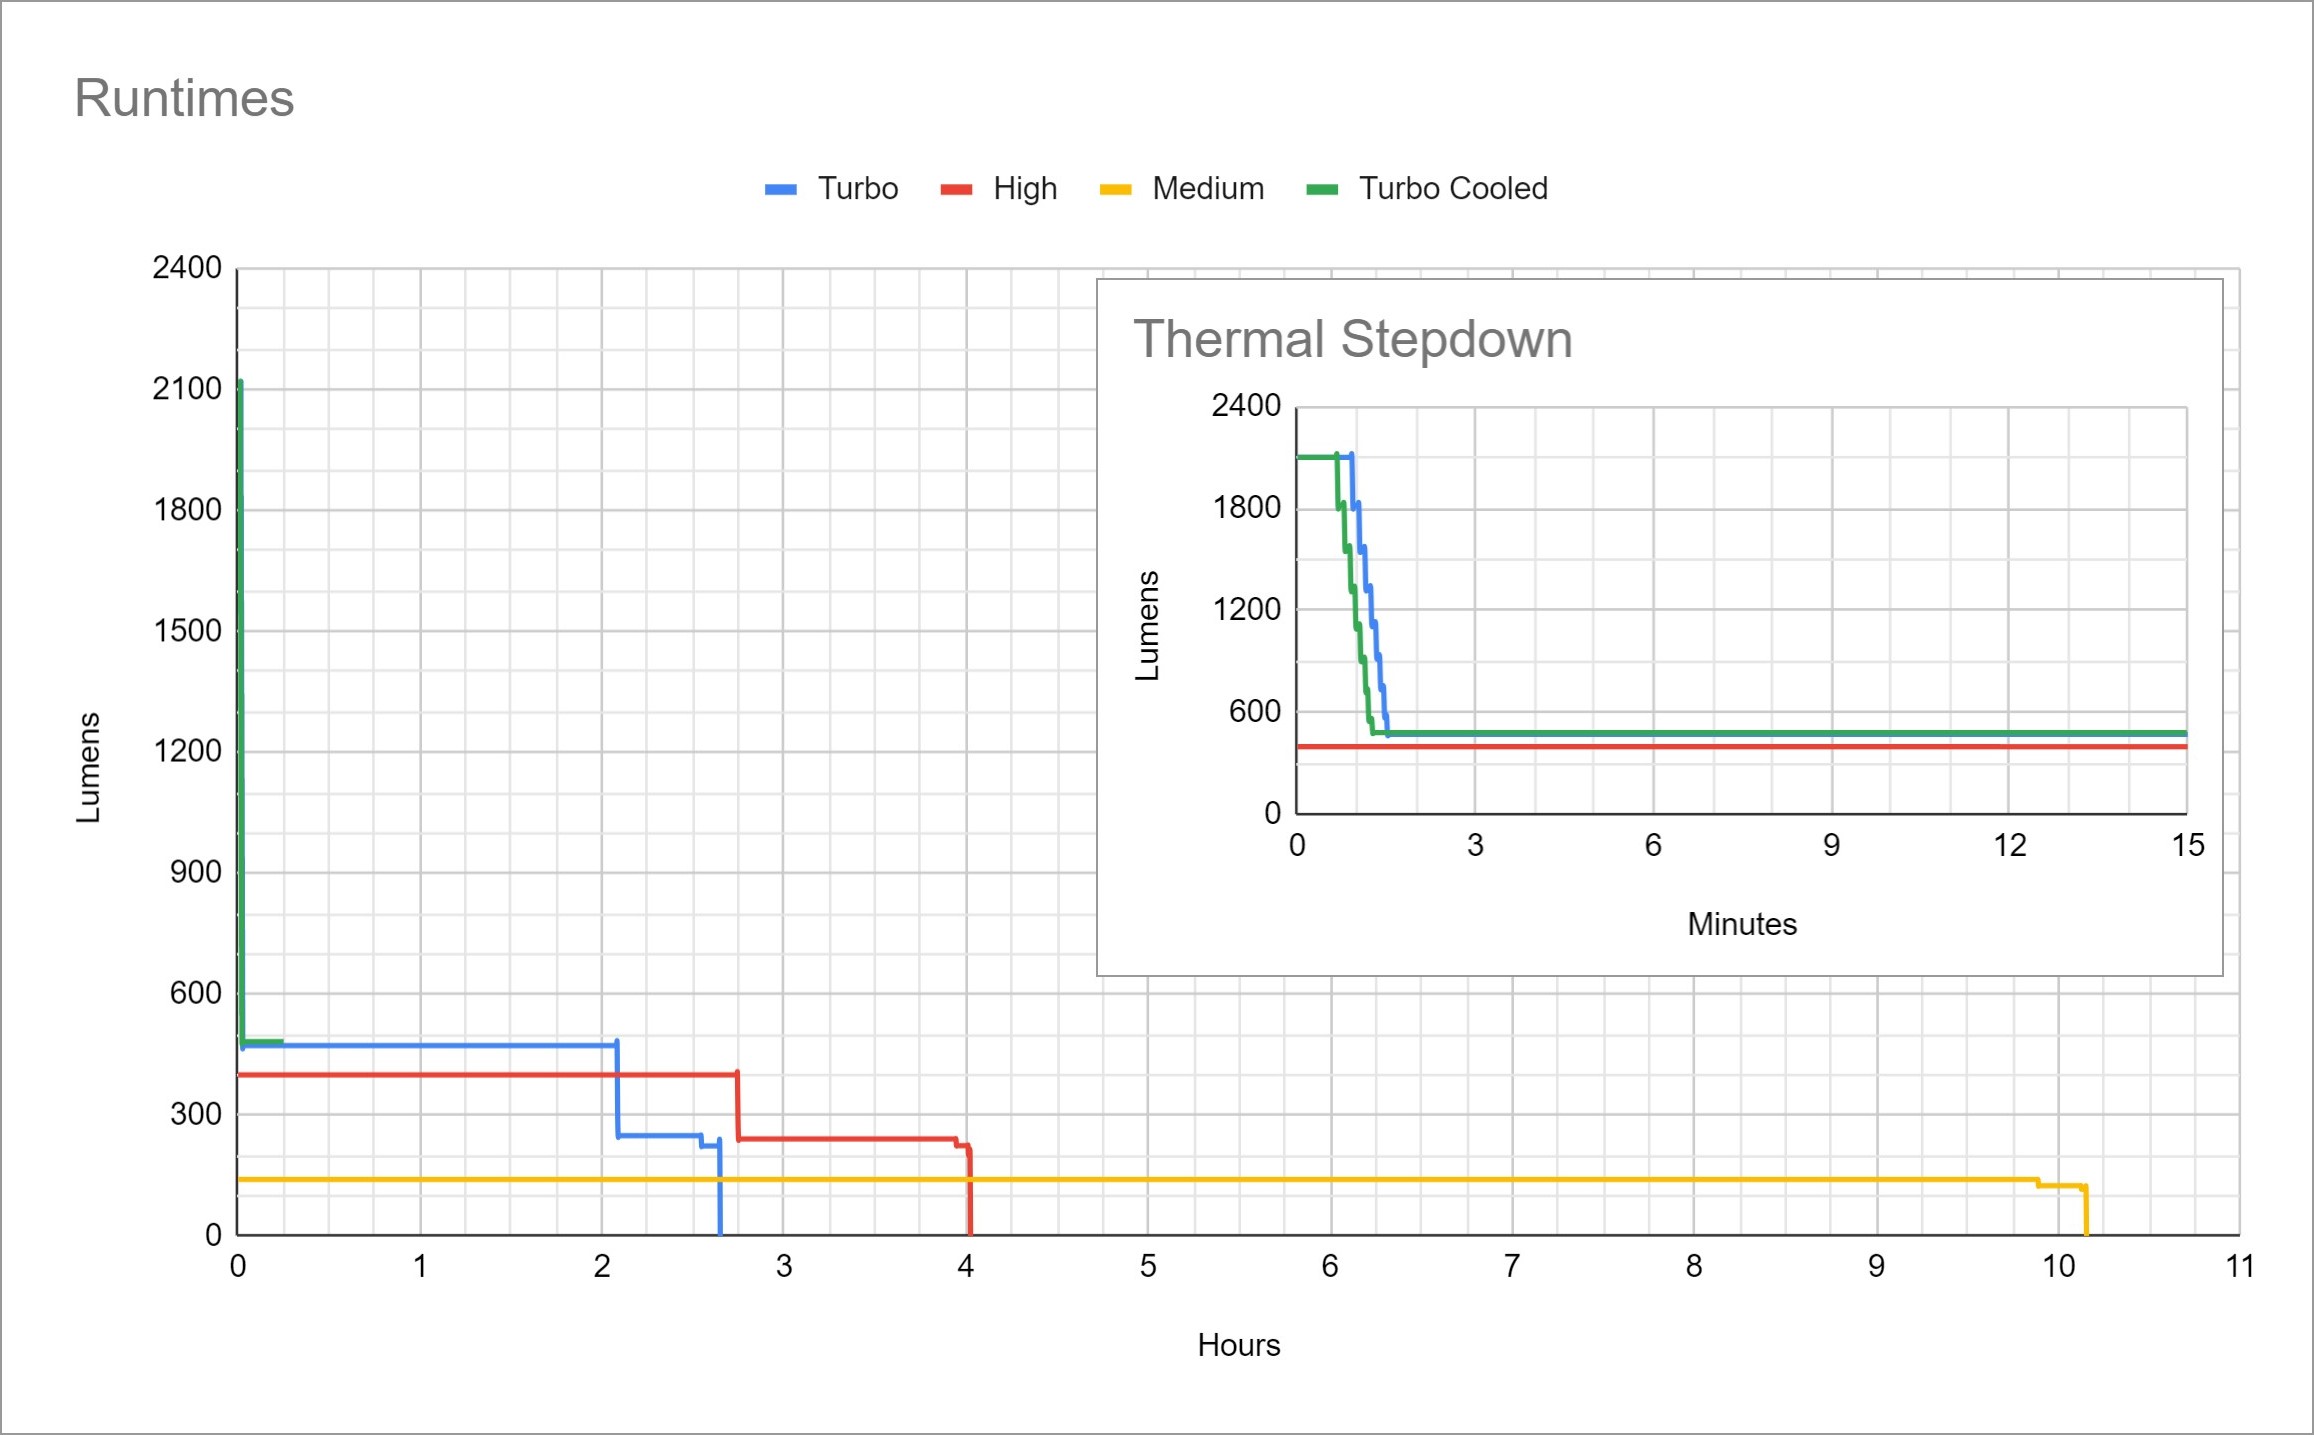
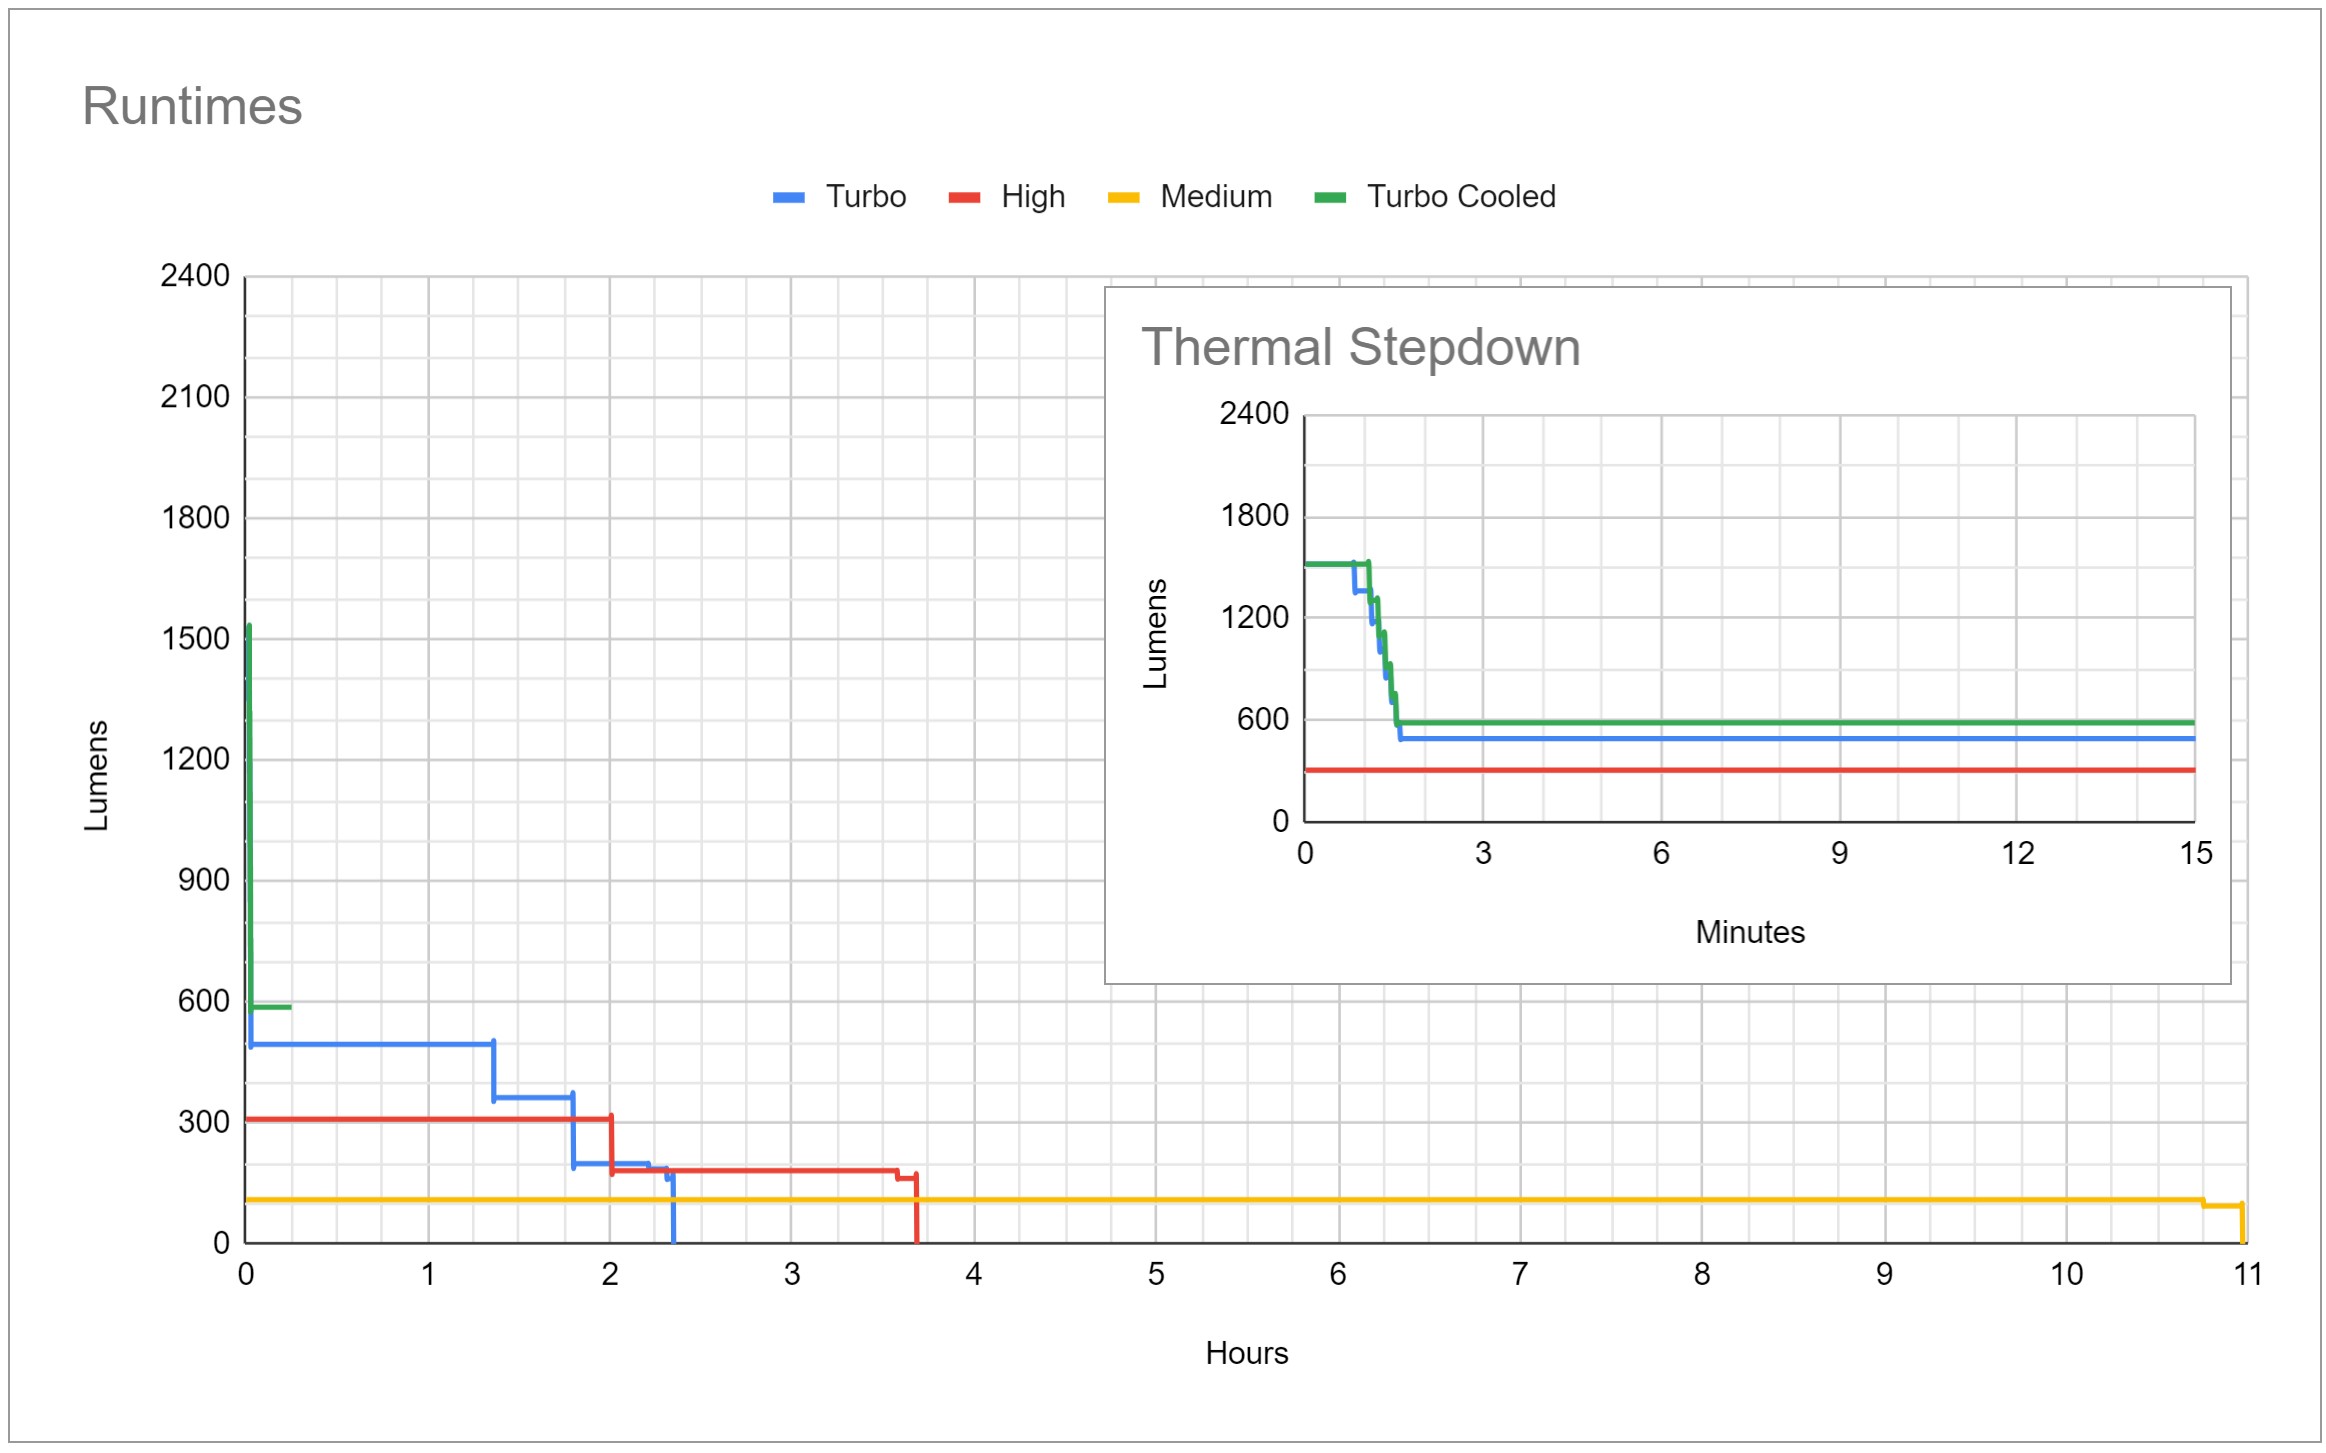
Performance: The performance is very good, but not as good as I was expecting. As you can see from the graphs above, H300R XHP50.3-HI does not perform dramatically better than H300 144A in brightness or runtime. There is a difference, but it’s not the 25-50% increase I was expecting. To be clear, this is still great performance, but it’s more a showcase of how great the H300 144A version is.
Thermal regulation: There’s a timed stepdown from Turbo about 1 minute in and that’s it. There is no active thermal regulation. I’d like to see Skilhunt add that in the next version.
LVP (Low Voltage Protection): LVP is present in the light itself and does not rely on the battery’s protection circuit. The light can be temporarily re-activated in an emergency after low voltage shutoff, so you won’t be left without any light.
Driver & Regulation
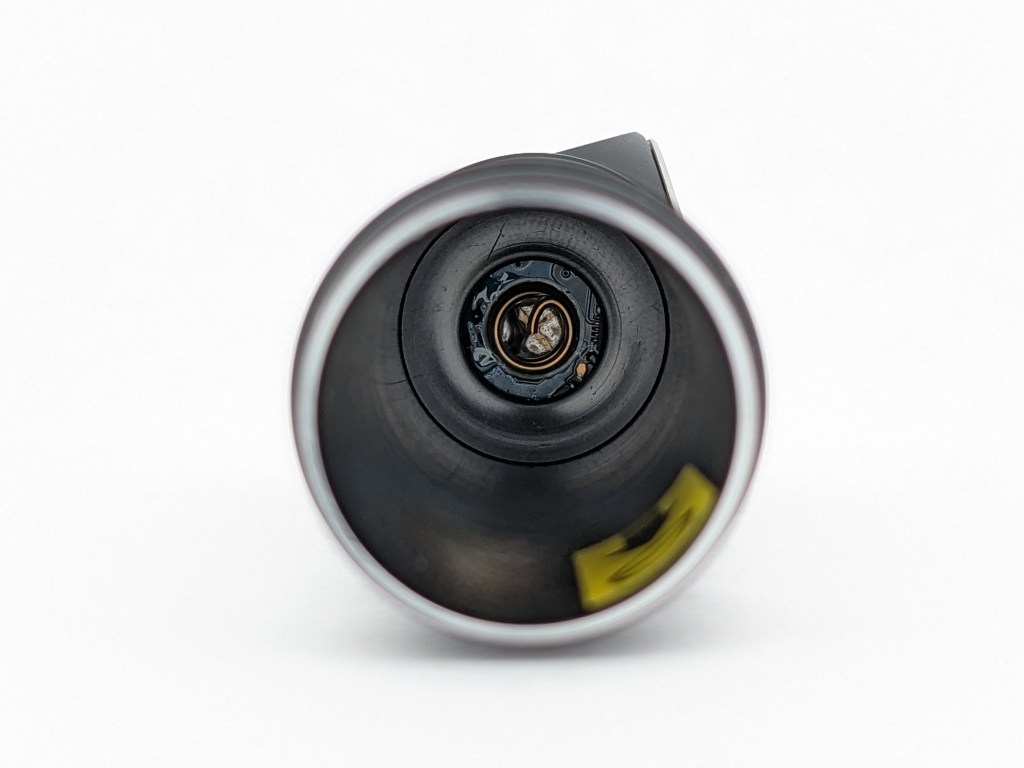
Cree XHP50.3-HI is a 6-volt LED and this light is using one 3.7-volt battery. That means it must be using a boost driver. That’s good news because boost drivers usually provide better regulation and efficiency than some other driver types. I wasn’t able to loosen the body tube to access the driver.

Regulation is average. Turbo is heavily affected by battery voltage but the other modes are largely unaffected. I hoped for a little bit better regulation since this is a boost driver, but this is totally acceptable.
Note: All regulation measurements are taken at turn-on so they do not reflect any thermal or low voltage stepdowns that may occur. A value of 0 indicates low voltage shutoff immediately upon activation.
PWM: No PWM is visible to my eyes nor audible to my ears. My phone camera picked up some kind of flickering on low mode but it was faint.
Parasitic Drain: 30 microamps. That will take 13 years to drain the included battery. NOTE: using the lockout indicator function will massively increase the parasitic drain and will drain the included battery in a matter of weeks. 2 clicks within lockout mode will enable/disable it and battery disconnection automatically re-enables it.
Switch

H300(R) uses an electronic switch mounted on the side of the head, rather than at the top of the head like many right-angle lights. This switch placement isn’t as good for handheld use but it’s much better for headlamp use. It positions the switch to be pinched between the user’s index finger and thumb, the most ergonomic switch position for a headlamp.
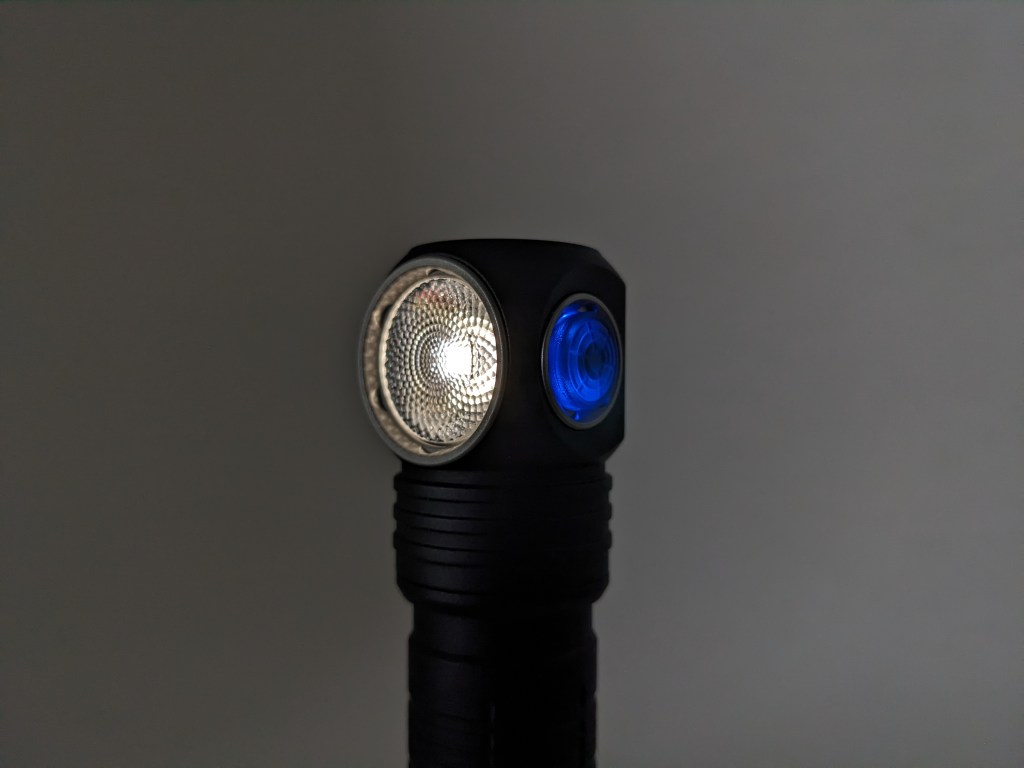
The switch is covered by a translucent rubber boot, and there’s a backlight underneath that serves as a battery indicator. It lights up for 5 seconds after the light is activated. Constant blue means the light is 80-100% charged. Blinking blue means the light is 50-80% charged. Constant red means 20-50% charge. Blinking red means 0-25% charge and it will continue blinking until the light is turned off. This battery indicator system requires a little bit of memorizing but it does work.
Carry & Ergonomics
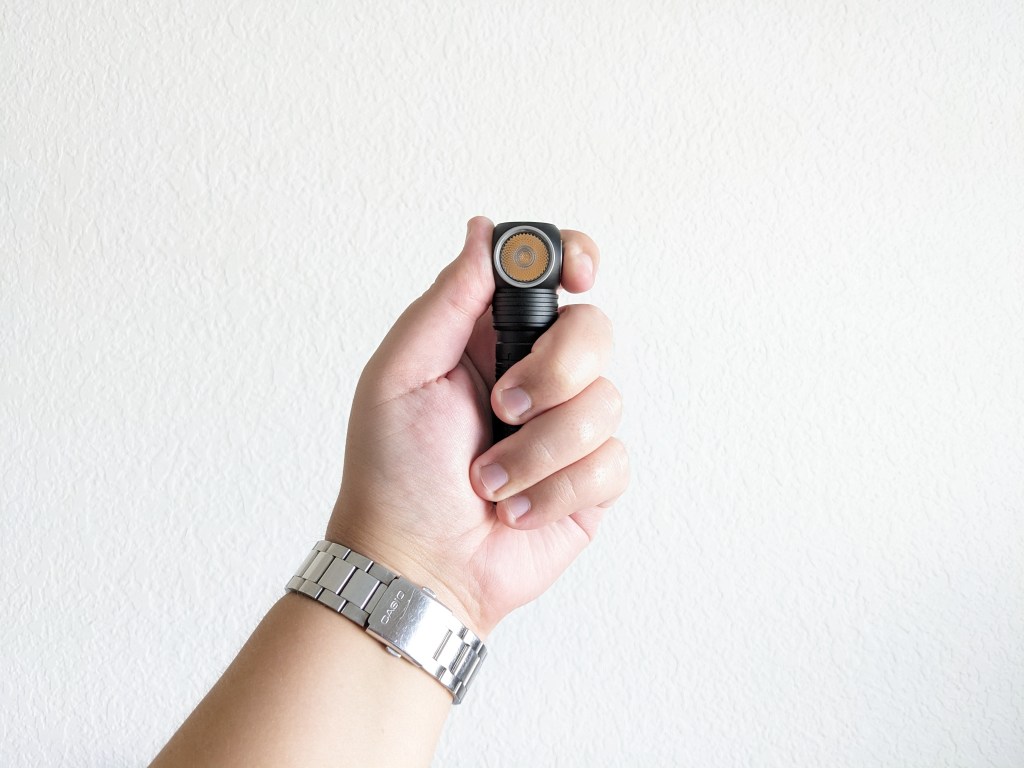
H300(R) is primarily designed for use as a headlamp, and the handheld ergonomics suffer a bit as a result. It’s a bit small for a comfortable grip and the button is on the side of the head, which is a weird spot when the light also points sideways but in a different direction. The image above shows the best handheld grip I’ve found.
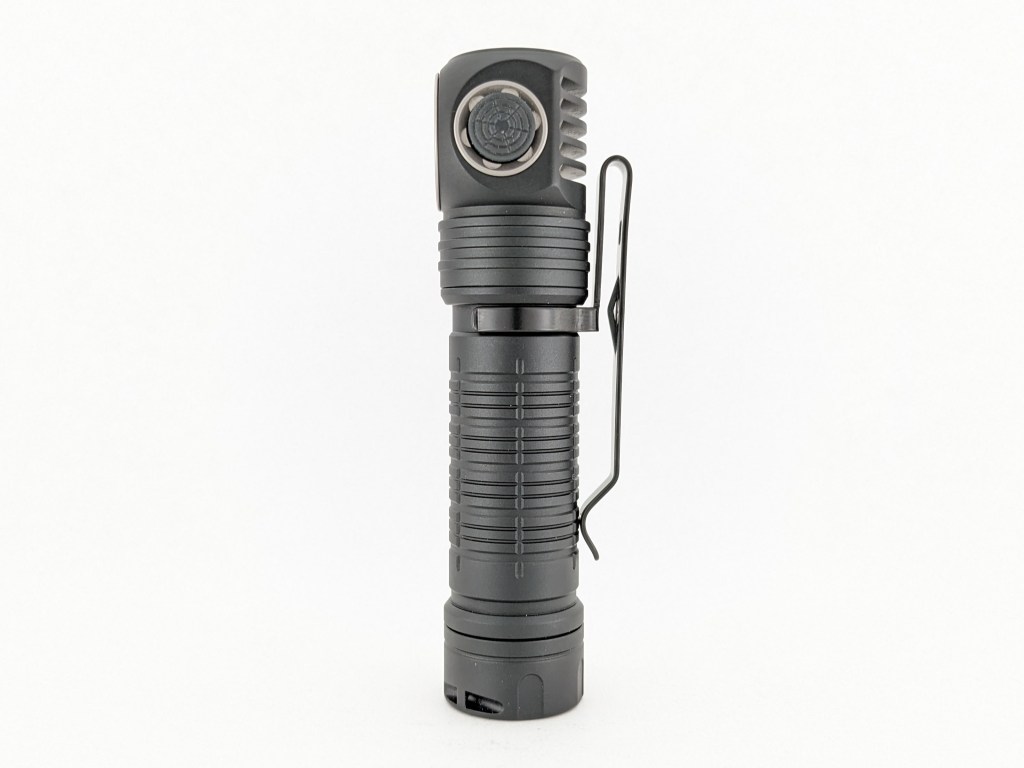
Clip: A pocket clip is included in the box along with a wrist lanyard. The clip can only attach to one spot on the light and only in the head-up orientation. A significant portion of the head protrudes from the pocket so it’s not deep carry. It’s not enough that you can stick the light in your shirt pocket and face it outward though, because the clip (and pocket) still obscure a large portion of the lens. It’s usable but it leaves a lot of room for improvement.

I wish Skilhunt had chosen to use a clip design like the one I’ve drawn above. It should be able to attach near the head or near the tailcap for head-up or head-down carry. When attached near the tailcap, it should sit nearly flush with the tailcap but without protruding past it. Similarly, when attached near the head, it should sit nearly in line with the bottom of the lens but should not protrude over the lens. This clip design would allow users to choose between a head-down deep-carry setup (shown left), and a head-up lens-out setup (shown right).
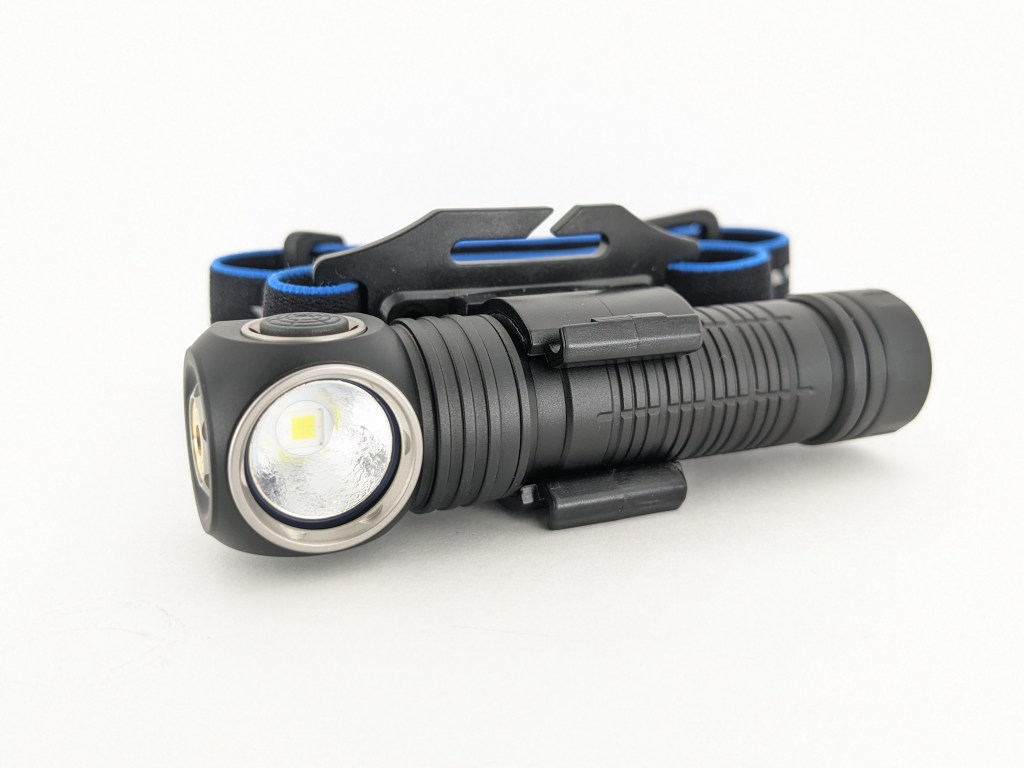
Headband: Skilhunt’s HB3 headband comes included with H300 and it’s the best headband ever made for right-angle lights. It’s completely modular so you can add/remove the top strap and even put multiple light mounts onto one headband. You can even pop out the light mount clip and put in aftermarket 3D printed ones for different lights, like these made by Spicy3D.
Skilhunt shows attention to detail by including rubber pads on the inside of the clamp to hold the light in place and silicone beads all along the inside of the bands to keep the band from slipping. There’s a slot cut into the headband clip so you don’t have to remove the pocket clip from the light to insert it into the headband. There are even two hooks to use the included o-rings and stretch them in front of the light for an extra-secure fit.
Tailstand: works well and is fairly stable. You can set the light on a surface and rotate it around to point where you need it.
Magnet: strong enough to hold the light up on a vertical surface, but not super strong
Batteries & Charging
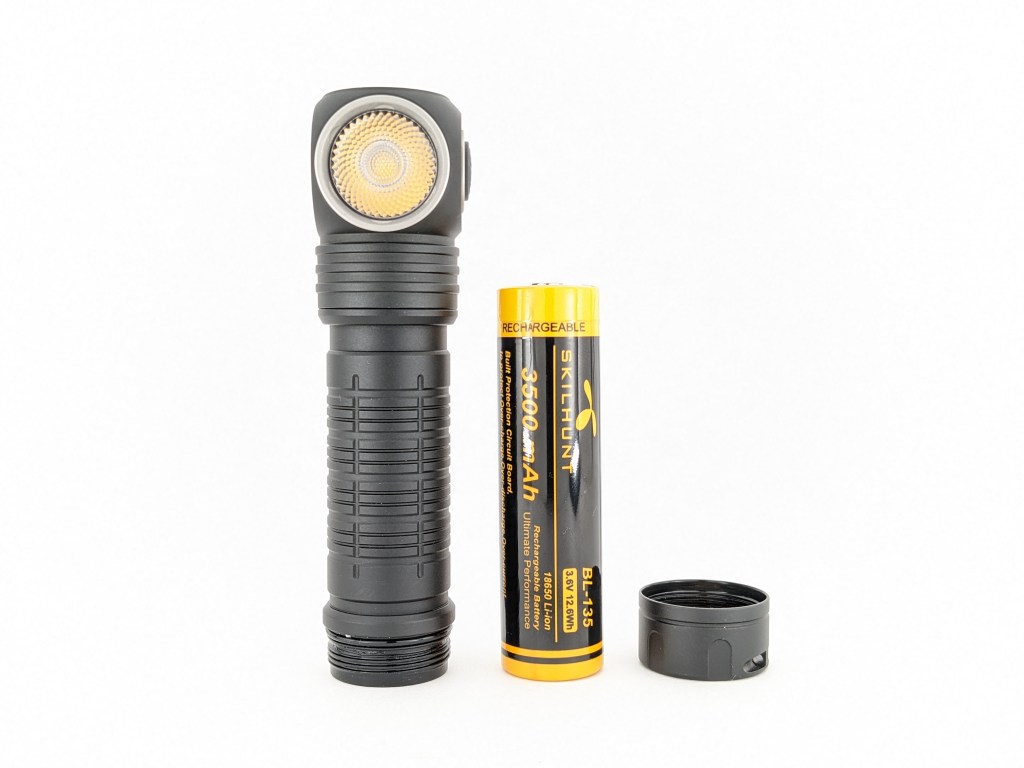
A single 18650 battery is optionally included. It’s protected, button-topped, Skilhunt-branded, rated at 3500mah, and well-suited to this light. I also tried an unprotected button top cell, but the light would shut off any time it was jostled due to the shorter battery.

Charging is facilitated by the included magnetic puck USB charging cable. The magnet end snaps onto the contacts on the head of the light for easy charging. The magnetic connection is pretty weak and finicky though. A slight jostle can cause it to lose connection. The light is fully functional while charging. Since the contacts are exposed, this may be a poor choice if you work around ferrous metal shavings regularly.
I’m delighted that Skilhunt used a standard battery here so you can still recharge your light with a normal charger if you need to, unlike another popular brand with magnetic charging (Olight).
Competition
Here are some lights in the same class and how they compare.
Skilhunt H04R RC: basically the same light but a little less bright and less expensive, formerly the best headlamp on the market in my opinion.
Armytek Wizard C2 Pro: very similar overall, unusually high drop rating, unusually high water resistance, significantly different user interface, lower moonlight, includes a bike mount, more expensive
Wurkkos HD15(R): less expensive, larger and heavier, worse headband, includes a secondary channel (throw or red), USB-C charging, much worse driver
This section is not comprehensive. If I didn’t include a particular light here, it doesn’t mean it’s bad or doesn’t deserve to be here. I simply cannot list every possible competitor.
Conclusion
This is my new favorite headlamp. It’s extremely well thought out in every detail. Skilhunt nailed just about everything. The UI, build quality, performance, beam, headband, and weight are all great! I have no significant complaints and that’s extremely impressive. If you want the best overall general-purpose headlamp you can buy right now, this is it!
With that said, I didn’t find the extra brightness or throw from this H300R, XHP50.3-HI versions to be all that impressive so I will personally be sticking with the H300 144A version to take advantage of the softer beam and nicer color properties.
Thanks to Skilhunt for sending me this light for review!







What is your favorite headlamp that also has red light?
LikeLike
I don’t have a favorite with red light. Sofirn D25LR is a very affordable option. Cyansky HS6R is better but more expensive. Those are the only two with red light that I’ve tested. Fenix HM61R and Acebeam H16 2.0 both look like very good options but I haven’t tested them.
LikeLike
the h16 does not have red light on it. at least from what ive found
LikeLike