Contents
- Pricing & Availability
- What comes in the box?
- Design & Construction
- Size & Measurements
- User Interface
- Emitter & Beam
- Mode Chart
- Runtime
- Driver & Regulation
- Switch
- Carry & Ergonomics
- Batteries & Charging
- Competition
- Conclusion
Pricing & Availability
Olight sent me this light in exchange for an honest review. Here are links to their website and the official product page to view current pricing and color options. Those affiliate links let them know I sent you, but I’ve chosen not to earn any commission. Code “tgreviews” is 10% off most items in the store.
What comes in the box?
Seeker 4 comes in one of Olight’s premium boxes with high-quality printing and a magnetic closure. It’s an unboxing experience and will impress if you gift the light to someone.
- The light itself
- Battery (inside the light)
- User manual & safety booklet
- USB A-to-C charging cable
- Wrist lanyard
Design & Construction
Seeker 4 is similar in design to all the other Seeker lights since Seeker 2. It’s a cylinder with some finger grooves and a mildly flared head. I think it looks great in this red anodizing with black accents.
Build quality is top-notch. Olights always have a feeling of quality, fit, and finish that you can’t get from budget brands. It feels hefty and durable too, like you could throw it off a roof and it would keep on working. The finish is rich and satin.
I’m glad Olight decided to omit the gimmicky proximity sensor and haptic vibration motor they include in some other models. That helps keep the cost and complexity down (though it’s still expensive).
Size & Measurements
Mini Maglite | Olight Javelot | Nitecore MH25 Pro | Olight Warrior 3S | Olight Seeker 4

| Measurement | Measured (mm) |
|---|---|
| Bezel Diameter | 35.0 |
| Maximum Head Diameter | 35.0 |
| Length | 133.9 |
| Switch Diameter | 14 |
| Switch Proudness | 0.6 |
| Lens Thickness | 2.0 |
| Lens Diameter | 30.0 |
| Reflector Hole Diameter | 8.2 |
| Reflector Diameter | 29.6 |
| Reflector Height | 16.7 |
| MCPCB Size | ~20 |
| LED Footprint | 5050 (12V) |
| Body Tube Diameter | 28.0 |
| Pocket Clip Slot Width | Only fits Seeker clip |
| Pocket Clip Slot Diameter | Only fits Seeker clip |
| Tailcap Diameter | 29.6 |
| Tailcap Length | 21.0 |
| Driver Diameter | U/M |
| Included Battery Length | 75.0 |
Weight with included battery: 206g
User Interface
This is a good, simple UI. It has all the core features you need without being bloated or complicated.
The actions are # of presses followed by a hold (H) or a release (C). So, “1C” is one click and release. “2H” is two clicks but you hold down the last one.
| State | Action | Result |
|---|---|---|
| Off | 1C | On (mode memory) |
| Off | 1H (short) | Moonlight (memorized) |
| Off | 1H (long) | Lockout |
| Lockout | 1C | Battery indicator glows red |
| Lockout | 1H (long) | Unlock (to Moonlight) |
| Moonlight | 1H | Low |
| Any | 3C | Strobe |
| Any | 2C | Turbo (memorized as High) |
| Turbo | 2C | Return to previous mode (mostly*) |
| On | 1H | Cycle mode (low-med-high) |
| On | 2H | Activate 3-minute timer, repeat for 9-minute |
What they got right:
- Clicking turns the light on/off and holding the button changes modes. That’s the way almost all e-switch flashlights should work. It’s intuitive and quick.
- The common shortcuts work. Moonlight, Turbo, and Strobe all have shortcuts that work the same way as most other lights. They work very well and there’s no learning curve when switching lights.
- There are 5 brightness levels, which is just the right amount; enough options but not so many that it’s cumbersome.
- Strobe is hidden behind a triple click outside the main rotation. You won’t activate it by accident.
- 1H from Moonlight goes to Low. That means you can get to Low mode without going through brighter modes.
What they got wrong:
- Turbo & Moonlight are memorized. They shouldn’t be memorized because they each have dedicated shortcuts for quick access. Since they’re memorized, accessing them will override your memorized mode.
- Turbo is memorized as High. Not only does accessing Turbo overwrite your memorized mode, but it doesn’t even memorize properly as Turbo.
- High only stays memorized for a few minutes. If you turn the light off in High (or Turbo) and then don’t reactivate it within a few minutes, the next time you activate the light it will be in medium mode, not High. Modes should either be memorized or not memorized. This time-based memorization change feels more like a confusing bug than a feature and should be removed.
- Lockout/unlock is long 1H from off. That’s too easy to accidentally deactivate and there’s no mechanical lockout on this light. Many other makers are moving to 4C to lock/unlock and I prefer that.
Emitter & Beam


This light uses a Cree XHP50.3-HI LED in cool white with standard color rendering. It’s a good choice for brightness, throw, and efficiency. It doesn’t have the prettiest color properties though. It’s driven at ~12V. I was able to remove the bezel, but I had to use some super grippy rubber gloves. I would have liked a warm-ish, nice-tinted, High-CRI LED option too, like a sliced XHP50.3-HD. I like this single-emitter setup better than the quad-emitter design of Seeker 4 Pro.

The beam is great. The hotspot is flat and defined. It’s not too big and not too small. The spill is wide and crisp. There are no artifacts except a faint ring outside the spill. It’s a pleasure to use.
In the beamshots below, camera settings are fixed and the wall is 2.8M away.


In the beamshots below, camera settings are fixed, the basketball goal to the right of the hotspot is 39M away, and the power pole in the center is 185M away.


Mode Chart
Disclaimer: All of my measurements are taken at turn-on. Lumen measurements were taken on a Texas Ace 3.5″ Lumen Tube. A candela measurement was taken at 10 meters with an Opple Light Master III on the highest brightness, and other candela figures were calculated relative to that. CRI, CCT, & DUV data were taken for each mode from a few feet away at the center of the hotspot with the Opple Light Master and Waveform DUV Calculator. Runtime tests were performed with the Ceilingbounce app on my smartphone. These tests were performed with a fully charged included battery unless otherwise specified. I cannot measure moonlight directly, so moonlight readings are calculated based on the brightness relative to the next-lowest mode. None of this is professional equipment, so take these measurements with a grain of salt.

Above are the official specs, followed by my own measurements below.
| Level | Lumens | Candela | Throw (Meters) | CRI (Ra) | Color Temp. (K) | DUV (Tint) |
| Turbo | 2700 | 48000 | 438 | 70 | 6080 | 0.0027 |
| High | 1020 | 18133 | 269 | 69 | 5770 | 0.0051 |
| Medium | 250 | 4444 | 133 | 69 | 5720 | 0.0052 |
| Low | 40 | 711 | 53 | 69 | 5580 | 0.0064 |
| Moonlight | 4 | 71 | 17 | 69 | 5490 | 0.0070 |
Mode Spacing: is good. There are no weirdly small or large jumps. It’d be nice if Moonlight were 1lm or less, but I think that’s only strictly necessary on small everyday carry lights.
Runtime

Performance is fine, but unimpressive. Turbo lasts for 1 minute before a timed stepdown. Maximum stable output is ~675lm (below average for a light this size). High mode has a strange stepdown from ~1000lm to ~500lm about 15 minutes in. Total runtime aligns with other lights I tested in this size/battery class.
I would have preferred the max stable output and High mode to both be 8-900lm so I could use High mode to achieve maximum brightness without worrying about a timed/thermal stepdown.
Thermal regulation: Timed step-downs only. No active thermal regulation. That means the light will perform consistently but may also overheat in hot weather or leave some performance on the table in cold weather.
LVP (Low Voltage Protection) is not present. Seeker 4 relies on the protection circuitry in its battery to prevent over-discharging. It’s a proprietary battery, so you can’t use unprotected cells even if you want to.
Driver & Regulation

Seeker 4’s driver outputs 12V from a single 3.6V battery, so it must be a boost driver. Boost drivers typically provide good efficiency and regulation performance. You can see the proprietary battery connections in the photo above.

Regulation performance is average. Turbo works down to about 50% charge, and then it doesn’t. If you try and activate Turbo when the switch LED is amber, you’ll get High mode instead. That makes it obvious that you need to recharge the light for full performance, but I would have preferred Turbo to work a little longer. High works until about 25% charge and then it drops too. The other modes are unaffected by battery voltage.
Note: All regulation measurements are taken at turn-on so they do not reflect any thermal or low voltage stepdowns that may occur. A value of 0 indicates low voltage shutoff immediately upon activation.
PWM: No PWM is visible to my eyes or camera, nor audible to my ears.
Parasitic Drain: I can’t measure parasitic drain because of the proprietary battery.
Switch
Seeker 4 uses an electronic side switch with a single indicator LED in the center. It’s a decent switch with a distinct, quiet click. The boot is metal and can rock side to side if you push it. It’s easy to find by feel in the dark.

I strongly prefer this simple switch over Seeker 4 Pro’s complicated rotary knob/switch, but I prefer Seeker 4 Pro’s array of indicator LEDs over this single one. This indicator LED glows red while charging and green when fully charged. When the light is activated, it will indicate battery status. Green means >60%, amber means 10-60%, red means 5-10%, and blinking red means <5%.
Carry & Ergonomics
Ergonomics are great. It fits well in the hand and feels solid. My thumb lands right on the button and the finger grooves fit my hand well in a forward grip. Reverse and neck grips can also work. I like this simple body tube better than the rubberized grip on Seeker 4 Pro.
The pocket clip is not included. This light is too big for most people to carry regularly in their pocket, but I would have liked the clip included. It’s an expensive light and it seems cheap for Olight not to include a piece of bent steel they already make.
Magnet: There isn’t one. Most Olight models have a magnetic tailcap, but this light has USB-C charging on the tailcap instead.
Batteries & Charging
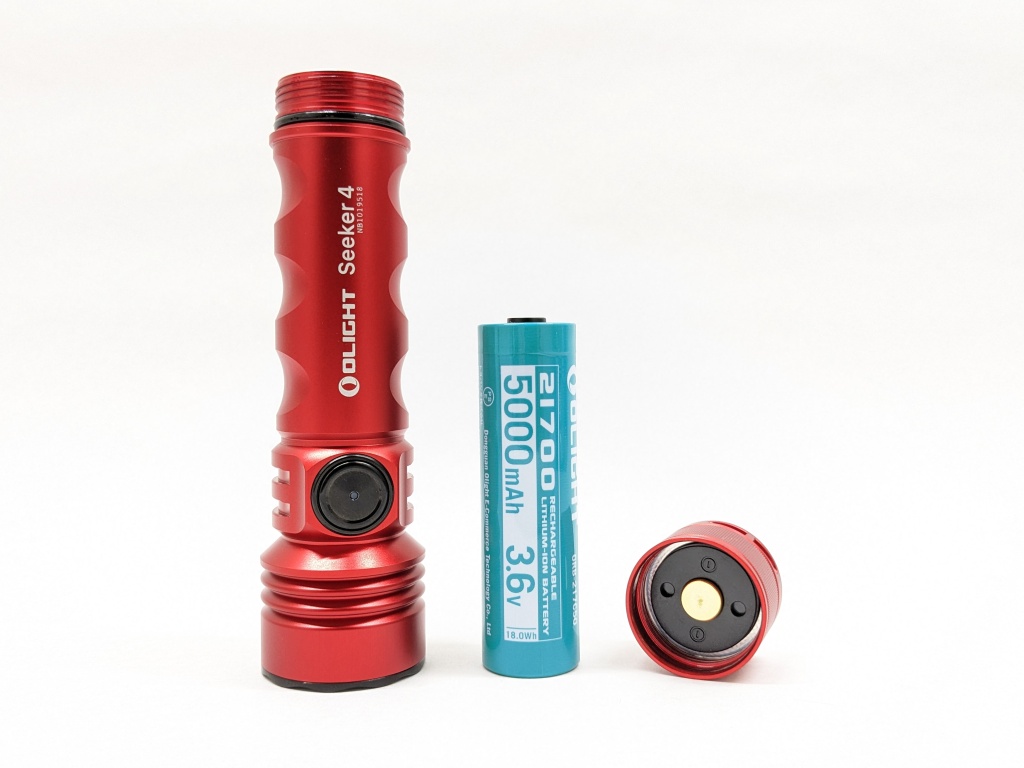
Battery: This light uses a proprietary 21700 battery with an extra negative terminal on the traditionally positive end of the cell. No other 21700 batteries will work at all and replacements are relatively expensive. This is a common cell for Olight so I expect they’ll be available for years. I wish I could use standard batteries in my Olights, but sometimes their other features are worth the tradeoff. Non-proprietary alternatives are listed in the competition section.
This proprietary cell may or may not work with other lights or chargers. Its proprietary positive end with a raised plastic ring between the contacts makes it picky. It’s also longer than a standard 21700 cell. It worked fine with my Convoy S12 and XTAR PB2S (V2), but not with my Emisar D4K nor SkyRC MC3000.


Charging is facilitated by a USB-C port on the tailcap. It’s hidden under a bowtie-shaped cover that can rotate to cover or reveal the port. I was pleasantly surprised to find it has detents so it snaps reliably into the open and closed positions. The USB-C port is a welcome change for users who don’t like Olight’s typical proprietary magnetic charging system.
The port being on the tailcap causes a few challenges. There’s no magnet, you can’t charge and ceiling bounce simultaneously, and it requires a proprietary battery or inner body tube. Naturally, Olight chose the proprietary battery. They could have put the port on the side of the light, but then it would be covered by the pocket clip. That feels like too many compromises compared to the competition (Acebeam E75) with none of those quirks/problems.
Both A-to-C and C-to-C cables work. The light is functional while charging, but you can’t use Turbo mode. There’s no powerbank function, which feels like a missed opportunity. Some competing models include that feature at a dramatically lower price.
Competition
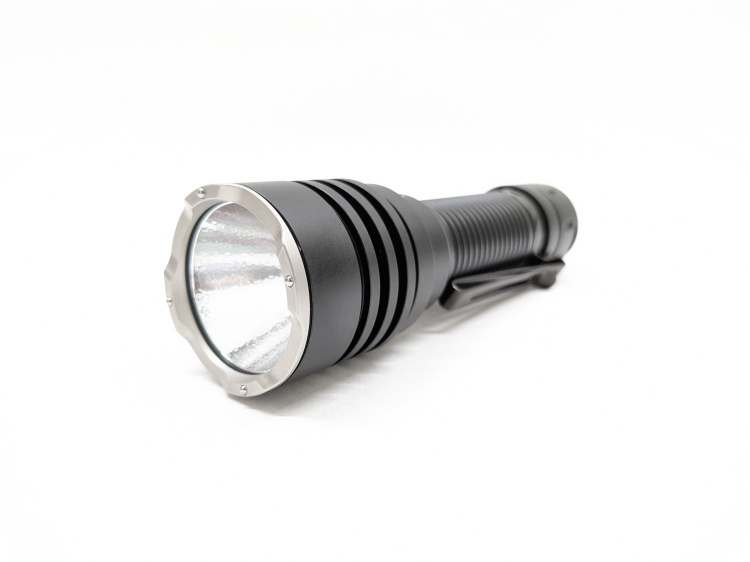
Here are some lights in the same class and how they compare.
- higher price
- excellent holster included (with USB-C charging adapter built-in)
- magnetic tailcap with magnetic charging
- rotary knob/switch
- brightness and battery indicator LEDs
- four LEDs under a TIR instead of one LED in a reflector
- more brightness, less throw
- rubberized grip
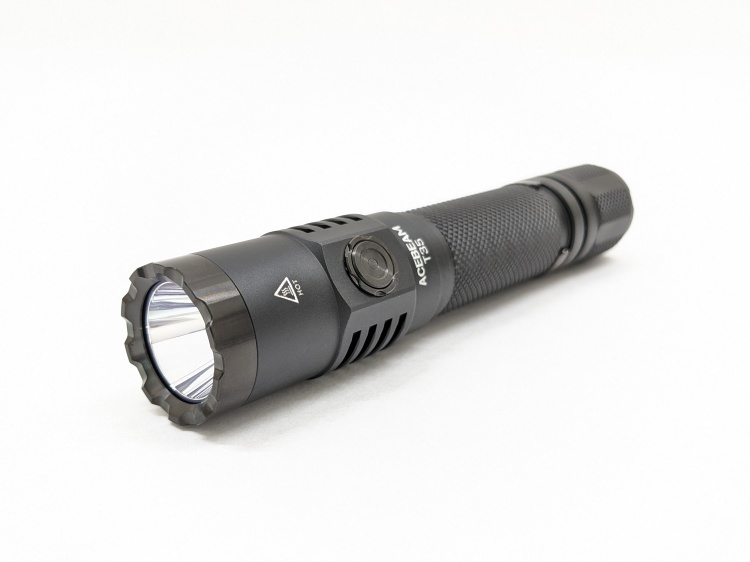
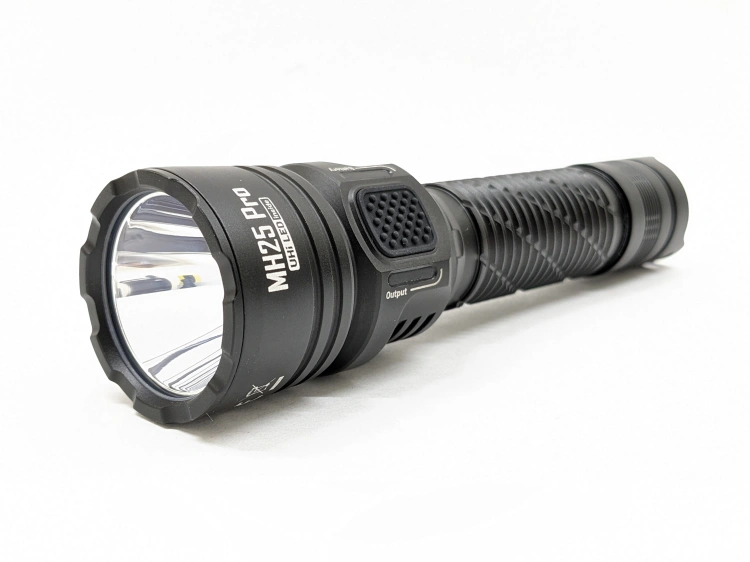
- similar price
- more brightness, less throw
- four LEDs instead of one
- multiple LED options (including Nichia 519A)
- extremely close dimensions
- magnetic tailcap
- similar metal side switch with an indicator
- pocket clip included
- works with standard batteries
- about half the price
- more brightness, less throw
- narrower head, easier to carry
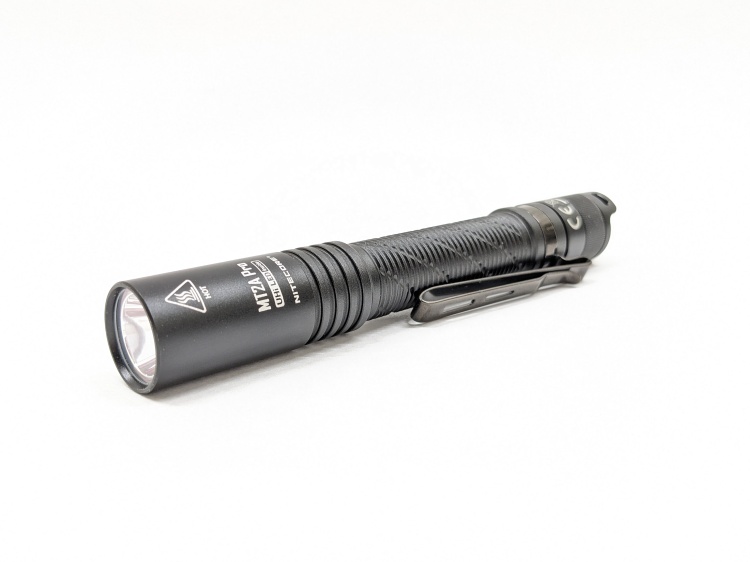
- tailswitch
- pocket clip included
- works with standard batteries
- less than half the price
- narrower head, easier to carry
- much floodier beam
- more brightness
- powerbank function
- magnetic tailcap
- pocket clip included
- works with standard batteries
This section is not comprehensive. If I didn’t include a particular light here, it doesn’t mean it’s bad or doesn’t deserve to be here. I simply cannot list every possible competitor.
Conclusion
I love this red and black color scheme. The beam, UI, build quality, and ergonomics are all great. It’s expensive though, and the battery and charging solutions are a significant compromise compared to the competition. It doesn’t have any compelling unique features either. It’s a good general-purpose household flashlight with no bells or whistles. Ultimately, I like it, but I think it’s overpriced at $110. It would be easier to recommend if it were ~$70.
Thanks to Olight for sending me this light for review!


