Pricing & Availability
Hank from Emisar/Noctigon sent me this light at my request in exchange for an honest review. Here is the official product page where you can see current pricing. At the time of writing it’s $55 USD for this exact configuration.
What comes in the box?
KR3 comes in Emisar/Noctigon’s standard plain cardboard box with a sticker. Inside is:
- The light itself
- Aluminum bezel
- Spare o-rings
- Clip spacer (for if you remove the clip)

Notably excluded are a battery (which much be purchased separately) and a user manual (digitally available here).
Design & Construction
KR3 is the latest in the KR-series that Hank has been perfecting for years. It’s sleek, elegant, and significantly narrower than KR4 despite using the same size battery. The only branding is a subtle “Noctigon KR3” on the tailcap.


Build quality is good. I have no complaints and it feels well made in the hand.
Size & Measurements
Surefire G2X Pro + Switchback | Zebralight SC65c HI | Noctigon KR3 | Streamlight Microstream | Mini Maglite

| Measurement | Measured (mm) |
|---|---|
| Head Diameter | 25.5 |
| Length | 94.6 |
| Switch Diameter | ~16.5 |
| Lens Thickness | 1.5 |
| Lens Diameter | 32.0 |
| Optic Diameter | 20.1 |
| Optic Height (from MCPCB) | 6.1 |
| LED Footprint | 3535 |
| Body Tube Diameter | 21.8-24.3 |
| Pocket Clip Ring Inside Diameter | 23.0 |
| Pocket Clip Ring Thickness | 1.0 |
| Tailcap Diameter | 25.1 |
| Tailcap Length | 19.9 |
| Weight with Molicel M35A (g) | 105 |
Switch & User Interface
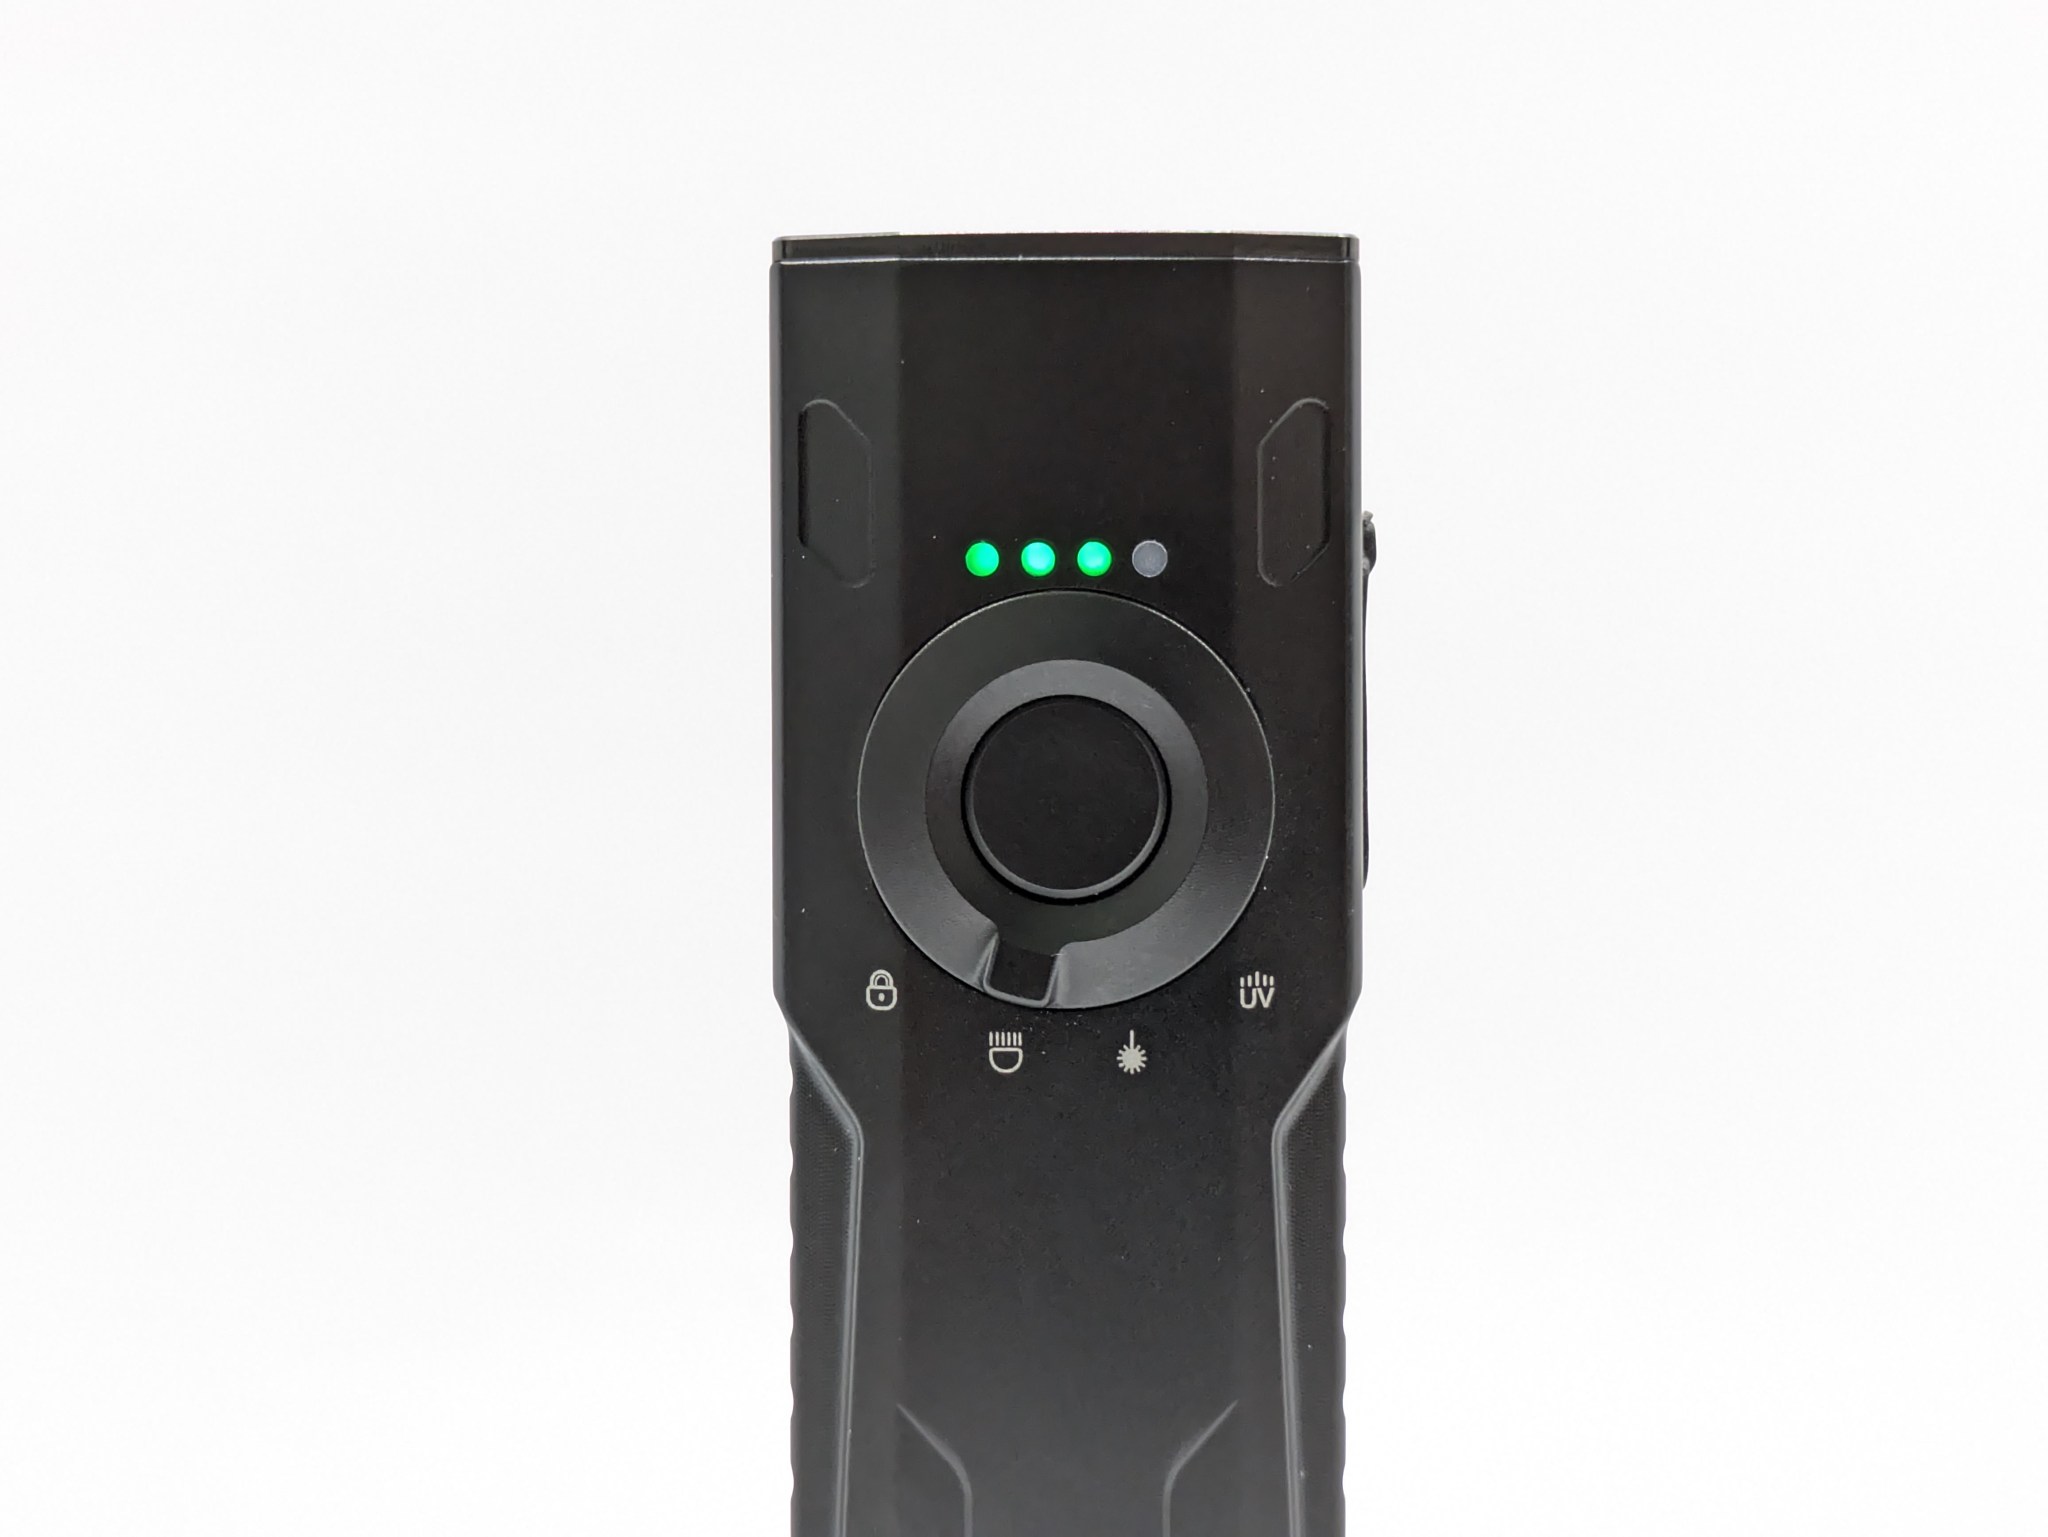
KR3 has an aluminum e-switch that sits flush with the tailcap. It requires a decent amount of force to actuate and I’ve had no pocket activations in a month of daily carry. It’s not quite as crisp as the switches on KR1AA or KR1K that I’ve tested recently, but it’s pretty good and I like it.
I did have two spontaneous activations the first day when it was tail standing on my nightstand and one time when the switch wouldn’t respond, but I haven’t been able to replicate those issues.

This light comes with an advanced, configurable firmware called Anduril 2. I’m not covering it in detail here but I’ll put it through the checklist. The default configuration works, but I put it into advanced mode and made some configuration changes to suit my preferences. There are flashing pads accessible on the driver for firmware updates.
Basic E-switch UI Checklist: 11/12
- 1C on/off✅
- 1H to change brightness✅
- Stepped levels✅
- By default it’s smooth ramping, but you can set it to stepped.
- Main rotation is Low-Med-High✅
- This is configurable. By default it’s smooth ramping, but you can set it to have as few or as many modes as you like.
- Moonlight shortcut: 1H from off✅
- Low shortcut: 1H from Moonlight✅
- Turbo shortcut: 2C from anywhere✅
- Strobe shortcut: 3C from anywhere❌
- 3C activates the battery voltage readout mode. Strobe is 3H. I wish these were reversed to be more industry-standard.
- Mode memory for Low, Medium, and High✅
- This is configurable. By default it will memorize the last mode you used unless it’s accessed via shortcut. One cool thing you can do is called “manual mode memory” where you can set the light to always come on at a particular brightness, regardless of the last mode used.
- No mode memory for Moonlight, Turbo, and Strobe✅
- If you access these via shortcut they will not be memorized. If you access it by ramping to that level, it will be memorized.
- 4C or separate switch to lock/unlock✅
- Does something when you click the switch in Lockout mode✅
- Momentary moonlight. Handy! It’s worth noting that mechanical lockout (loosening the tailcap) works great here too.
Emitter & Beam
There are a variety of LEDs available. I chose the default optic with NTG35 4200K LEDs and I quite like them.


The beam is clean and on the balanced/floody side with 3.8cd/lm. I’d be very interested in a single-LED version with a narrower beam in the ~10cd/lm range!
In the beamshots below, camera settings are fixed and the wall is ~2.5M away.


In the beamshots below, camera settings are as similar as possible, the basketball goal to the right of the hotspot is 39M away, and the power pole in the center is 185M away.


There are also six RGB auxiliary LEDs behind the optic. They can glow dimly, brightly, or intermittently, in one of 7 colors or several patterns. You can even use them to display remaining charge level based on color. Beware they will drain the battery fairly quickly if they’re set to bright.

Mode Chart
Disclaimer: All of my measurements are taken at turn-on. Lumen measurements were taken on a Texas Ace 3.5″ Lumen Tube. A candela measurement was taken at 10 meters with an Opple Light Master III on the highest brightness, and other candela figures were calculated relative to that. CRI, CCT, & DUV data were taken for each mode from a few feet away at the center of the hotspot with the Opple Light Master and Waveform DUV Calculator. Runtime tests were performed with the Ceilingbounce app on my smartphone. These tests were performed with a fully charged included battery unless otherwise specified. I cannot measure moonlight directly, so moonlight readings are calculated based on the brightness relative to the next-lowest mode. None of this is professional equipment, so take these measurements with a grain of salt.
The official specs are on the product page (2580lm for this LED), followed by my own measurements below.
| Level | Lumens | Candela | Throw (Meters) | CRI (Ra) | Color Temp. (K) | DUV (Tint) |
| Turbo (150) | 2900 | 11000 | 210 | 98 | 4210 | -0.0058 |
| High (113) | 1100 | 4200 | 130 | 99 | 4130 | -0.0062 |
| Medium (75) | 250 | 950 | 62 | 99 | 4070 | -0.0089 |
| Low (38) | 12 | 46 | 13 | 99 | 4020 | -0.0101 |
| Moonlight (1) | N/A | N/A | N/A | N/A | N/A | N/A |
A large caveat: You can change the brightness of any mode in Anduril 2. For this testing, I set it to stepped ramp, floor level 1, ceiling level 150, with 5 steps. Expect to raise the floor to somewhere around level 10 to get a “normal” ~1lm Moonlight brightness. Lowering the ceiling can help make the light last a lot longer between charges and take way longer to heat up appreciably.
Runtime

Performance is good and on par with competitors. Peak brightness is excellent but it gets hot and steps down fast. Sustained output is about 400 lumens and the light remains perfectly holdable, unlike most competitors that get too hot to hold.
Thermal Management: My Turbo Cooled test shows a significant increase in sustained brightness, meaning this light has active thermal throttling that will adjust brightness to give you maximum performance without overheating.
LVP (Low Voltage Protection) is present and works well. The light will dim to Moonlight when the battery is low, run for several hours at that level, and then finally shut off when the battery is virtually empty. It can be temporarily re-activated in an emergency.
Driver

The driver is a 32W LumeX1 driver. That should provide excellent moonlight levels, efficiency, and voltage immunity.

Voltage immunity is great. It can reach full Turbo brightness down to ~25% charge. That’s exactly what I want because it shows the components are high quality and they’re being pushed hard for great performance.
PWM: No PWM is visible to my eyes or camera, nor audible to my ears.
| Aux LED mode | Parasitic Drain | How long to drain a 3500mAh battery |
| Off | ~25 microamps | ~16 years |
| Low red | ~265 microamps | ~1.5yrs 3500mah |
| High rainbow fade | ~5 milliamps | ~30 days |
Batteries & Charging
The battery isn’t included. An unprotected flat-top 18650 cell is required. I used a Molicel M35A for my runtime testing and a Molicel P26A for my voltage immunity testing. Hank recommends swapping the battery from the head, not the tailcap. There’s an optional 18350 body tube available.

Charging: No charging solution is included, and batteries with built in charging won’t fit. You must use an external charger.
The battery indicators: I prefer four-diode indicators, which this light doesn’t have. It has two less-intuitive methods that are more granular and suited for enthusiasts.
- Voltage readout: Clicking 3x from off will cause the light to blink out the battery voltage. For example, three blinks, a pause, six blinks, another pause, and eight blinks means 3.68 volts.
- Aux color: The RGB aux LEDs can show battery charge level based on color. They can either do that constantly, or just for a few seconds after you turn off the light.
Carry & Ergonomics


Ergonomics are pretty good. It feels great in the hand with no sharp edges and nice finishing. It’s just a bit slippery. I find a cigar grip most comfortable but a modified reverse grip works too.

Clip score: 7/7 – The score doesn’t do it justice. This is peak pocket clip.
- Attachment doesn’t pop off or rotate accidentally✅
- Can be removed and bent back into shape if needed✅
- Bezel-down carry is at a reasonable depth✅
- Landing location is smooth, not on the charging port, and away from the bezel✅
- The clip lands on the body tube, not the head. That makes battery swaps through the head a breeze. That’s great attention to detail from Hank.
- Mouth/ramp and loop(s) are wide enough for pants material✅
- Finish is durable✅
- No bidirectional clips without reason✅
Magnet: You can optionally get a magnet installed in the tail. I did, and it’s plenty strong to hold the light up on a vertical surface.
Competition
Here are some lights in the same class and how they compare.
Zebralight SC65c HI: no-frills alternative
- just under double the price
- narrower beam which I prefer
- doesn’t get as bright nor as dim (though still plenty bright and quite dim)
- a bit smaller and lighter
- not as cool looking and only one color option
- worse clip (though still perfectly usable)
- no magnetic tail option
- no aux LEDs
- sub-par UI. It’s usable after some configuration but it’s not good.
- single Nichia 719 LED in a reflector
Fireflylite Z1: very similar, but with a side switch
- similar price
- similar 32W Lume X1 boost driver
- similar size and weight
- same Anduril 2 UI
- same battery requirements (no optional 18350 tube though)
- same RGB auxiliary LEDs
- similar magnetic tailcap
- performance should be similar
- different LED options (single quad-die instead of three separate diodes)
- side switch instead of tailswitch
- fewer color options
This section is not comprehensive. If I didn’t include a particular light here, it doesn’t mean it’s bad or doesn’t deserve to be here. I simply cannot list every possible competitor.
Conclusion
Pricing, size, NTG35 4200K LEDs, and overall performance are great. The aesthetics and pocket clip are phenomenal. The UI is a headache to set up but then it works very well. The switch and build quality are good. Just be aware you’ll need a separate battery and dedicated charger. I didn’t expect to find myself reaching for this KR3 instead of my usual Zebra SC65. It’s so cool and fun in a way my Zebra isn’t. Hank knocked it out of the park with this one.
Thanks to Hank/Noctigon/intl-outdoor.com for sending me this light for review!